Showing posts with label Beads. Show all posts

Tuesday, 12 April 2022

Curiosity Cabinet


I picked up a lovely box from the car boot on Sunday.


I played around with some patterned papers on the inside.


I started to pull some pieces together to put on the inside. I made these candles from straws and hot glue.


I created another embellishment using resin bones inside a glass vial and gluing a button on the end to keep the contents inside. It also helped to have a flat surface to glue it into the cabinet.


Next I started to play around with how I wanted to display the objects inside.


And kept going until all the shelves were filling up nicely.


A view of the left side of the completed box.


This is what I settled on for the bottom two shelves of the box.


These are what I settled on for the top two shelves of the box.


And a photo of all the shelves.


And the view from the front of the whole cabinet.


The outside has been painted with charcoal rusty paint to give it texture. Once dry I also gave it a coat of varnish.


This is the closure.

Friday, 18 March 2022

Gothic Style Shaker Plaque

After watching a 'free' youtube video class by the lovely Anna aka Finnabair, I made this.


A shaker plaque made from recycled wood and a plastic dome.


Close up of the shaker part of the plaque.


The bat looked a bit plain so I added a rub on.


Close up of the bottom left corner.


Close up of the top right corner.


Close up of bottom right ish corner.


And the image of what is in the shaker is revealed.


Close up of the dome shaped shaker.


And finally a close up of the top left corner.

Wednesday, 20 October 2021

Cabinet of Horrors


I picked this jewellery cabinet up at the car boot last Sunday.


I painted it with black powertex and then took the door off and painted the inside.


Then I added some grit paste and covered the insides with Halloween patterned paper.


I created a shelf on the left hand side.


Then I decided to give it a coat of black paint with silver in it.


It looks quite good with the texture.


Close ups of the patterned papers in situ.


Then I filled the shelves with lots of tiny and mini horrors.


And from the side.


Then it stopped raining, so I took some photos outside.


From the left side.


From the right side.


Close up of the top left shelves.


Close up of the top right shelf.


And finally a close up of the bottom shelf.

This is for sale in my online shop.

Thursday, 16 September 2021

Skull Lantern


I picked up this small lantern at the car boot. It was red so I painted it with black powertex.


Thanks to Tracey Fox, I made these mini candles.


I filled the inside with 3 of the mini candles, 3 mini pumpkins, 3 small bones and a mini bottle with beads.


I added various metal pieces to the top and front edge.


I put the skull in as the centre piece.


One of the sides where I added webbed fabric to the window and two small bats to the top.


And the other side, where I added a large bat to the top and more webbing.


This will be going up for sale in my new website - https://aviarto.com/workshop/sam-b

Thursday, 9 September 2021

RIP Tombstone


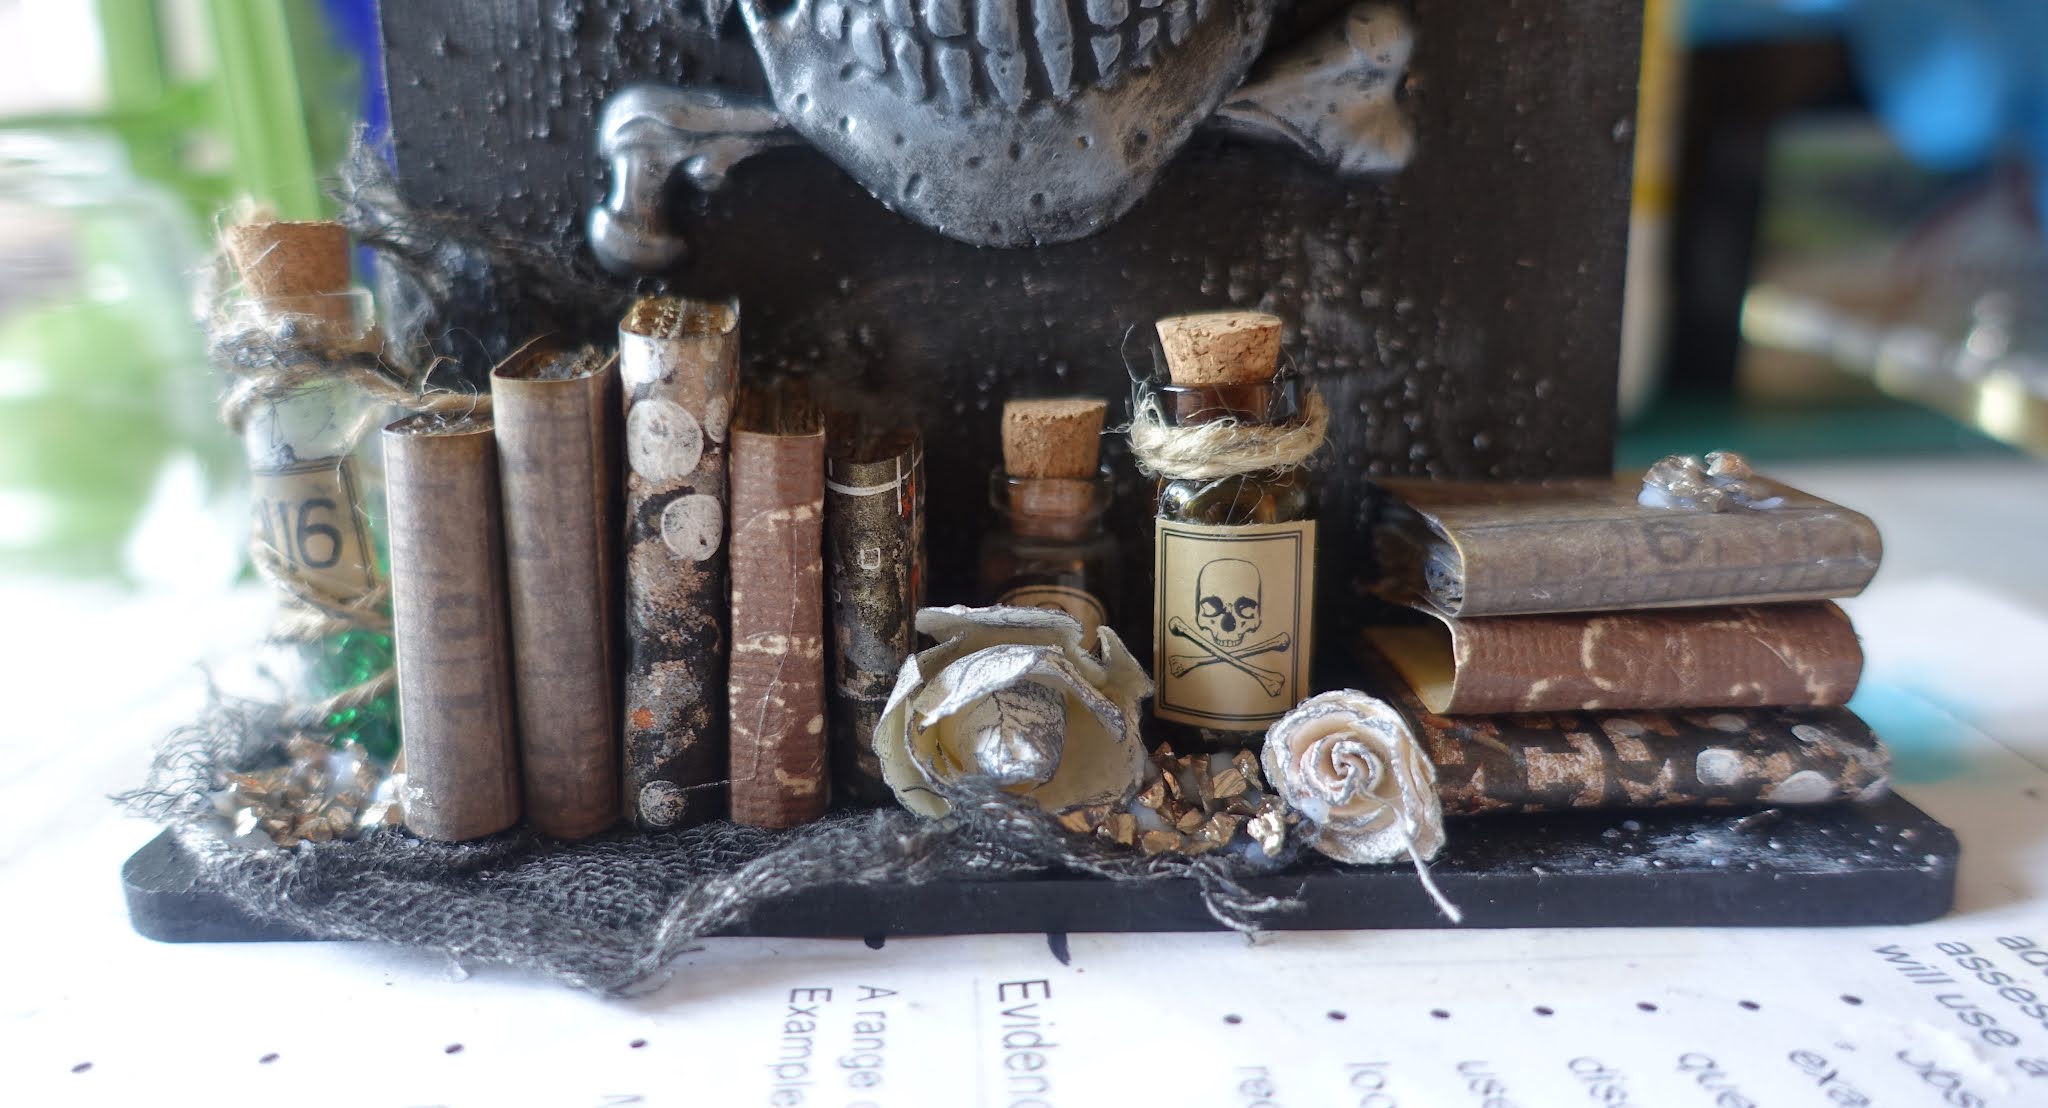
I had an upright mdf plaque from That's Crafty. I painted the front of the plaque with black powertex and added in small sand balls to create some texture. Then added the resin pieces and the three die cut letters. I dry brushed with white and silver.


I made some mini books by putting a piece of card around a square of corrugated cardboard.


I filled some small bottles up with beads and added a sticker and some string to some of them. I added some black to them and the paper flowers.


This is the base of the upright, I coloured a piece of cotton scrim with black spray  paint and glued it on.


Once dry, I placed the upright back in the slots and arranged the embellishments along the bottom.  


When I was happy with the placement I glued them down.


Close up of the dry brushing.


And finally I added gems to the eye sockets.

Blog Archive