This is what we made over the weekend. The book and heart are fairly straightforward and we did these on Sunday, but the layered heart has lots of layers to build up texture on the middle piece of foam board. Luckily I took lots of photos!!
This is Andy explaining what we were going to be doing.
Emma protecting her holiday nails!!
We were given 3 pieces of black foam board and drew around the middle and small one on the piece underneath, so we roughly knew where they were going to stack. Gesso'd the outside of the large piece. Glued an embossed piece of card to the smallest piece and added 4 large pearls. The middle piece had lots of layers.
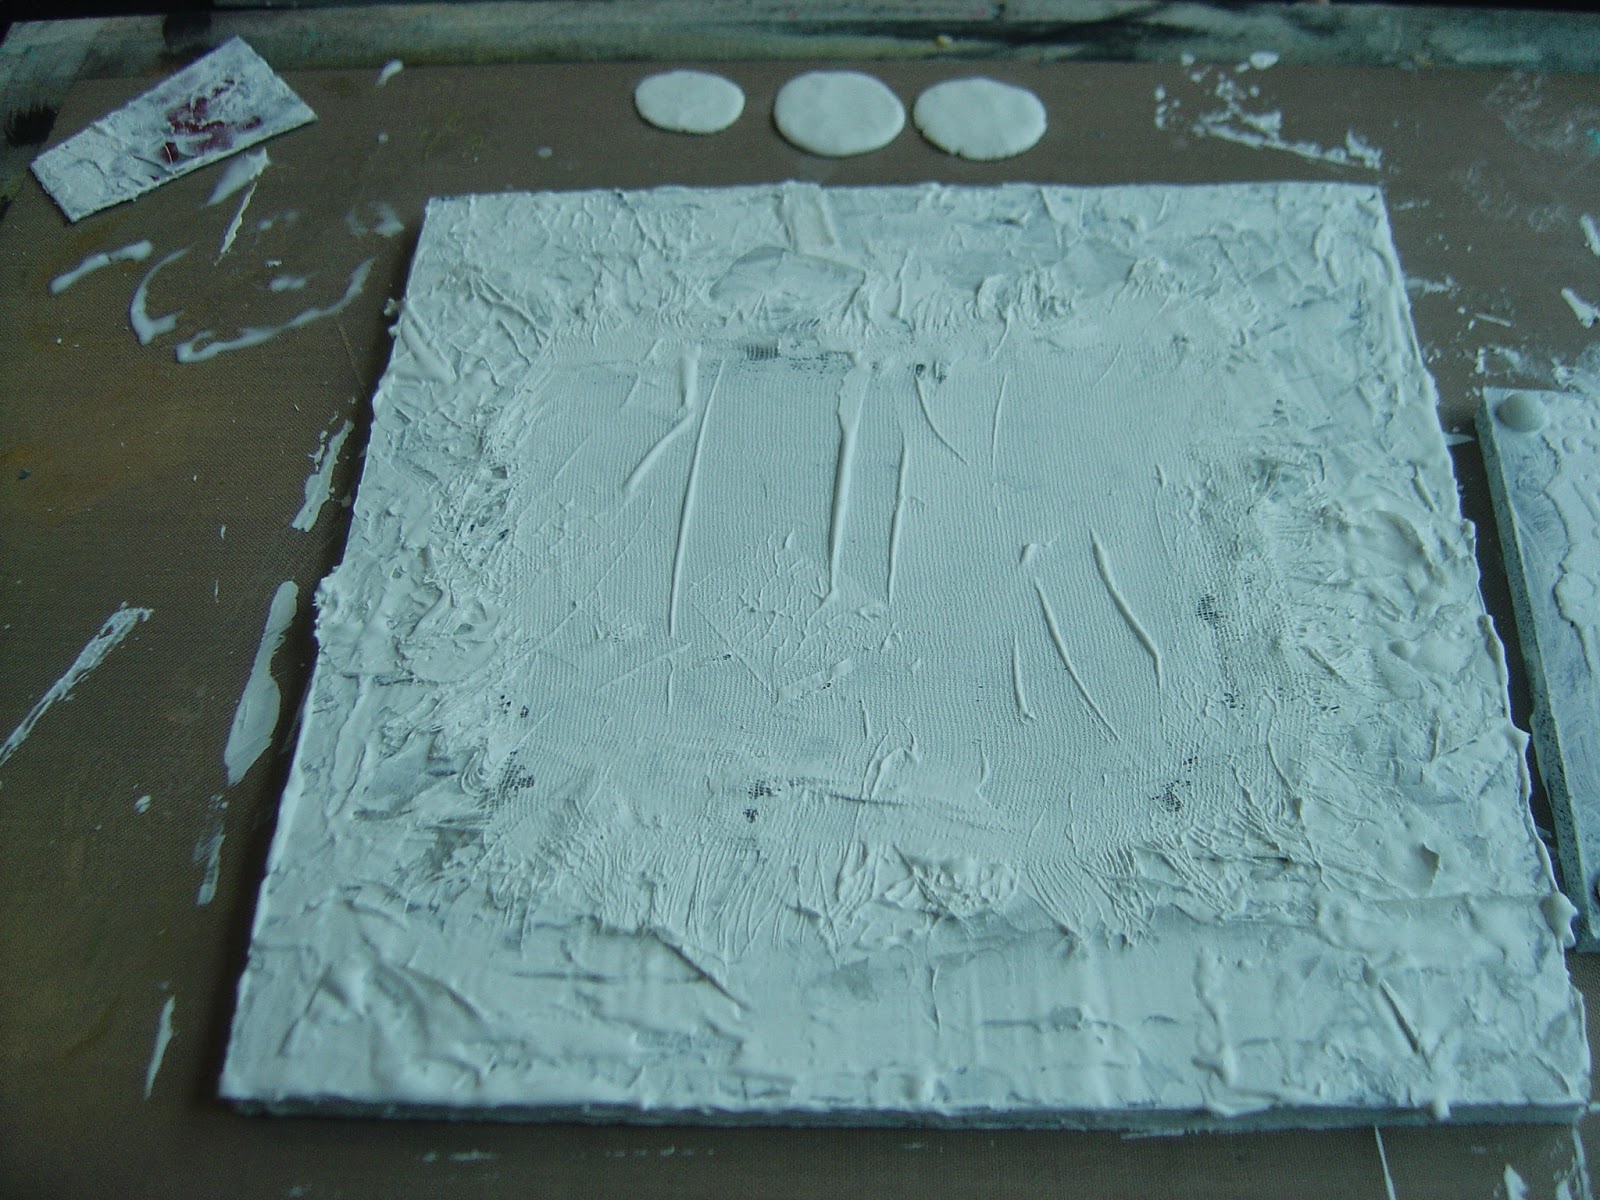
Randomly added masking tape and texture paste through stencils around the edges, keeping the middle free as we frayed a piece of cheesecloth and matt medium'd it to the centre. Then we covered the whole piece in gesso.
Gesso'd the smallest piece too.
Added blobs of glue with the glue gun to the middle panel to create more texture and painted the middle and small pieces black.
Somewhere along the way we added some texture sand paste mixed with matt medium and spread it around the edges of the small and middle pieces.
Dry brushed gesso over the top to bring out the texture.
Close up of the embossed card and pearls.
Close up of the texture paste, glue, frayed cheesecloth, dry brushed.
Dawn and Pam, two lovely ladies.
Andy painting the nails!
Stamped script around the edges of the largest piece and then started to build up the colours.
And I ended up with this.
And this for the middle piece. We used a paynes grey and then translucent orange and yellow around the edges to create the rust effect. All the products were DecoArt as this is who Andy works for.
And the same with the smaller one, so now the pearls look more like rusted rivets.
This is Sue, the lovely lady that organised it all.
Everyone patiently sat waiting for their next instruction and for the product to come round the table.
We also painted a wooden heart in bright red and added clear crackle paint. We were meant to stamp script over the heart but I loved how my heart cracked so didn't want to cover up any more of it. I hi-lighted the cracks with black paint. Glued each piece on top of each other and this is the finished project.
I think I will do Sunday's project on a new post.




.jpg)
