Showing posts with label Clay. Show all posts

Sunday, 18 May 2025

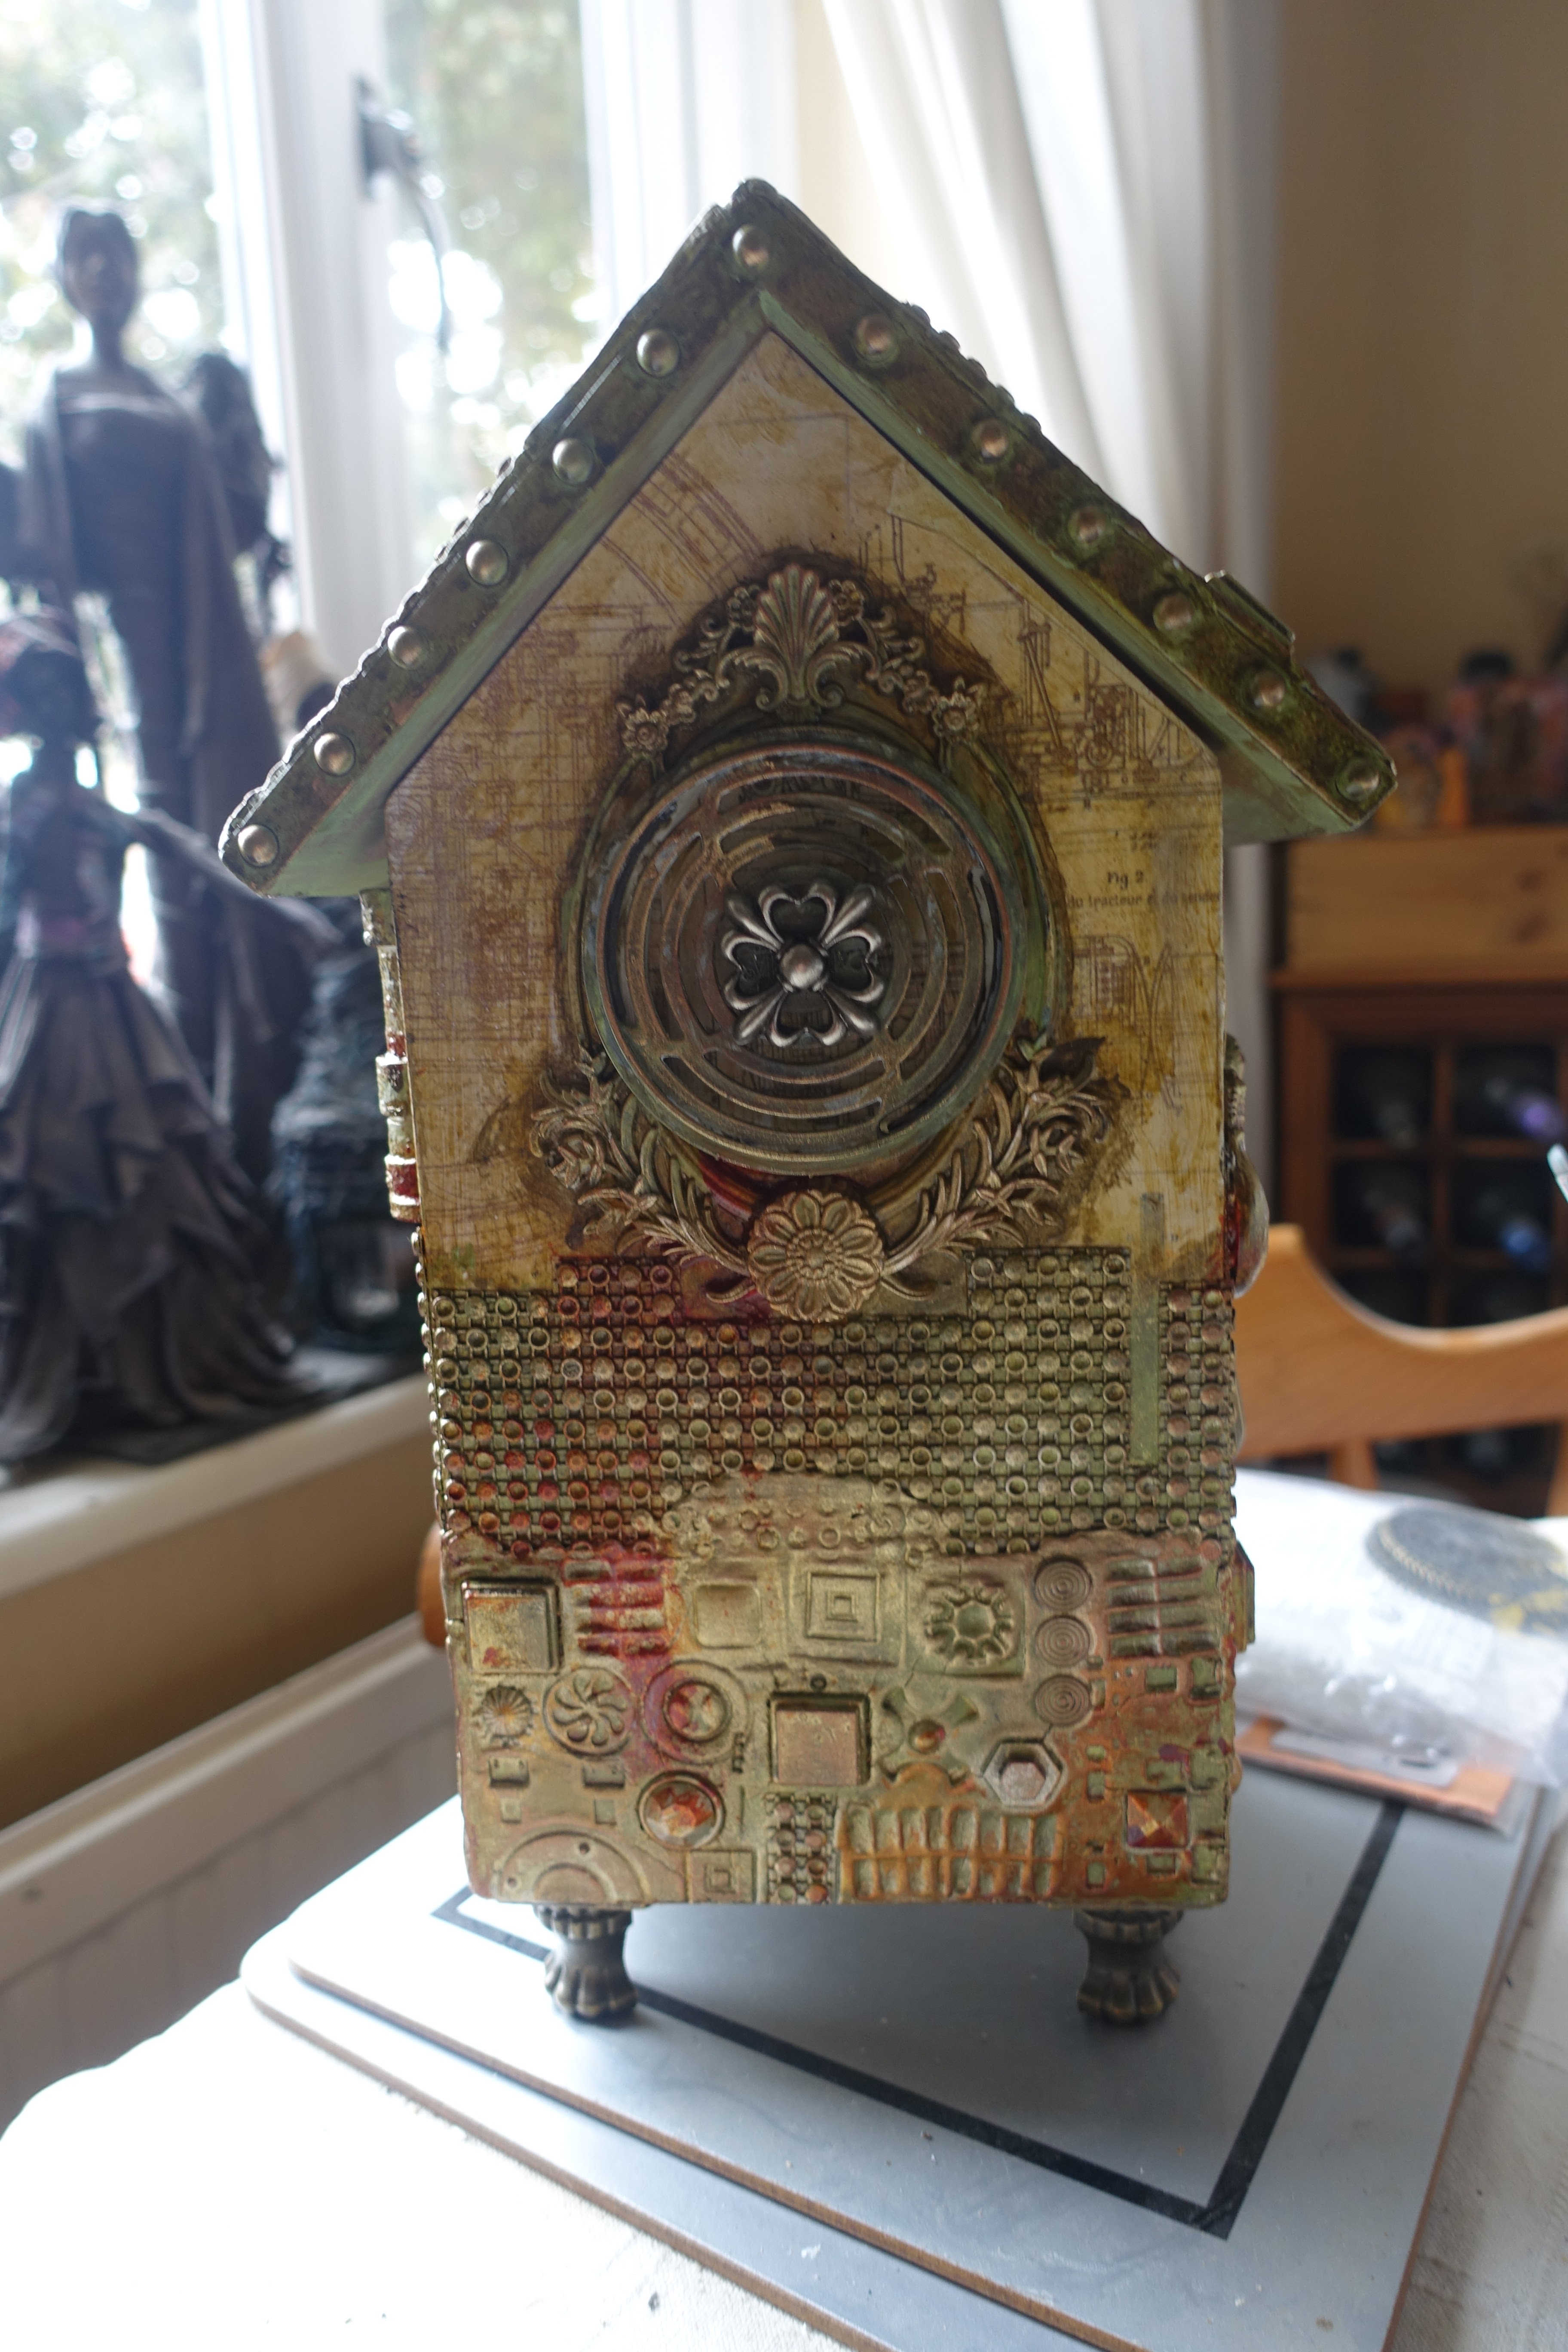
Industrial Bird House


I picked this bird house up today from Aldi for a fiver.


I prised the door and the starfish off the front.


Next I covered all the sides with an industrial style paper.


I cut up a sheet of rhinestones on a mesh background into various shapes and stuck them on the back and the two sides.


I took the roof off and covered both sides with air dry clay.


I pressed different embellishments, tiles and found objects into the clay and I left some of them in to create different textures and interest.


I added clay to the bottom of each of the sides and the back underneath the panel of rhinestones.


And again pushed found objects and embellishments into the clay.


I gave everything a coat of white gesso and once dry a coat of green paint. I used PaperArtsy Tinned Peas.


I added shades of yellow ochre and raw umber with water to the project and kept drying between adding the different colours.


Then I knocked it back a bit by re-apply the green but with a dry brush effect.


Next I added some waxes, aged brass, gold and silver.


I added some carmine for a rust effect and then started working on the top section of the bird house.


Once stuck down, I gave them a coat of gesso.


Then I painted the sides with the same green and umber and ochre paints.
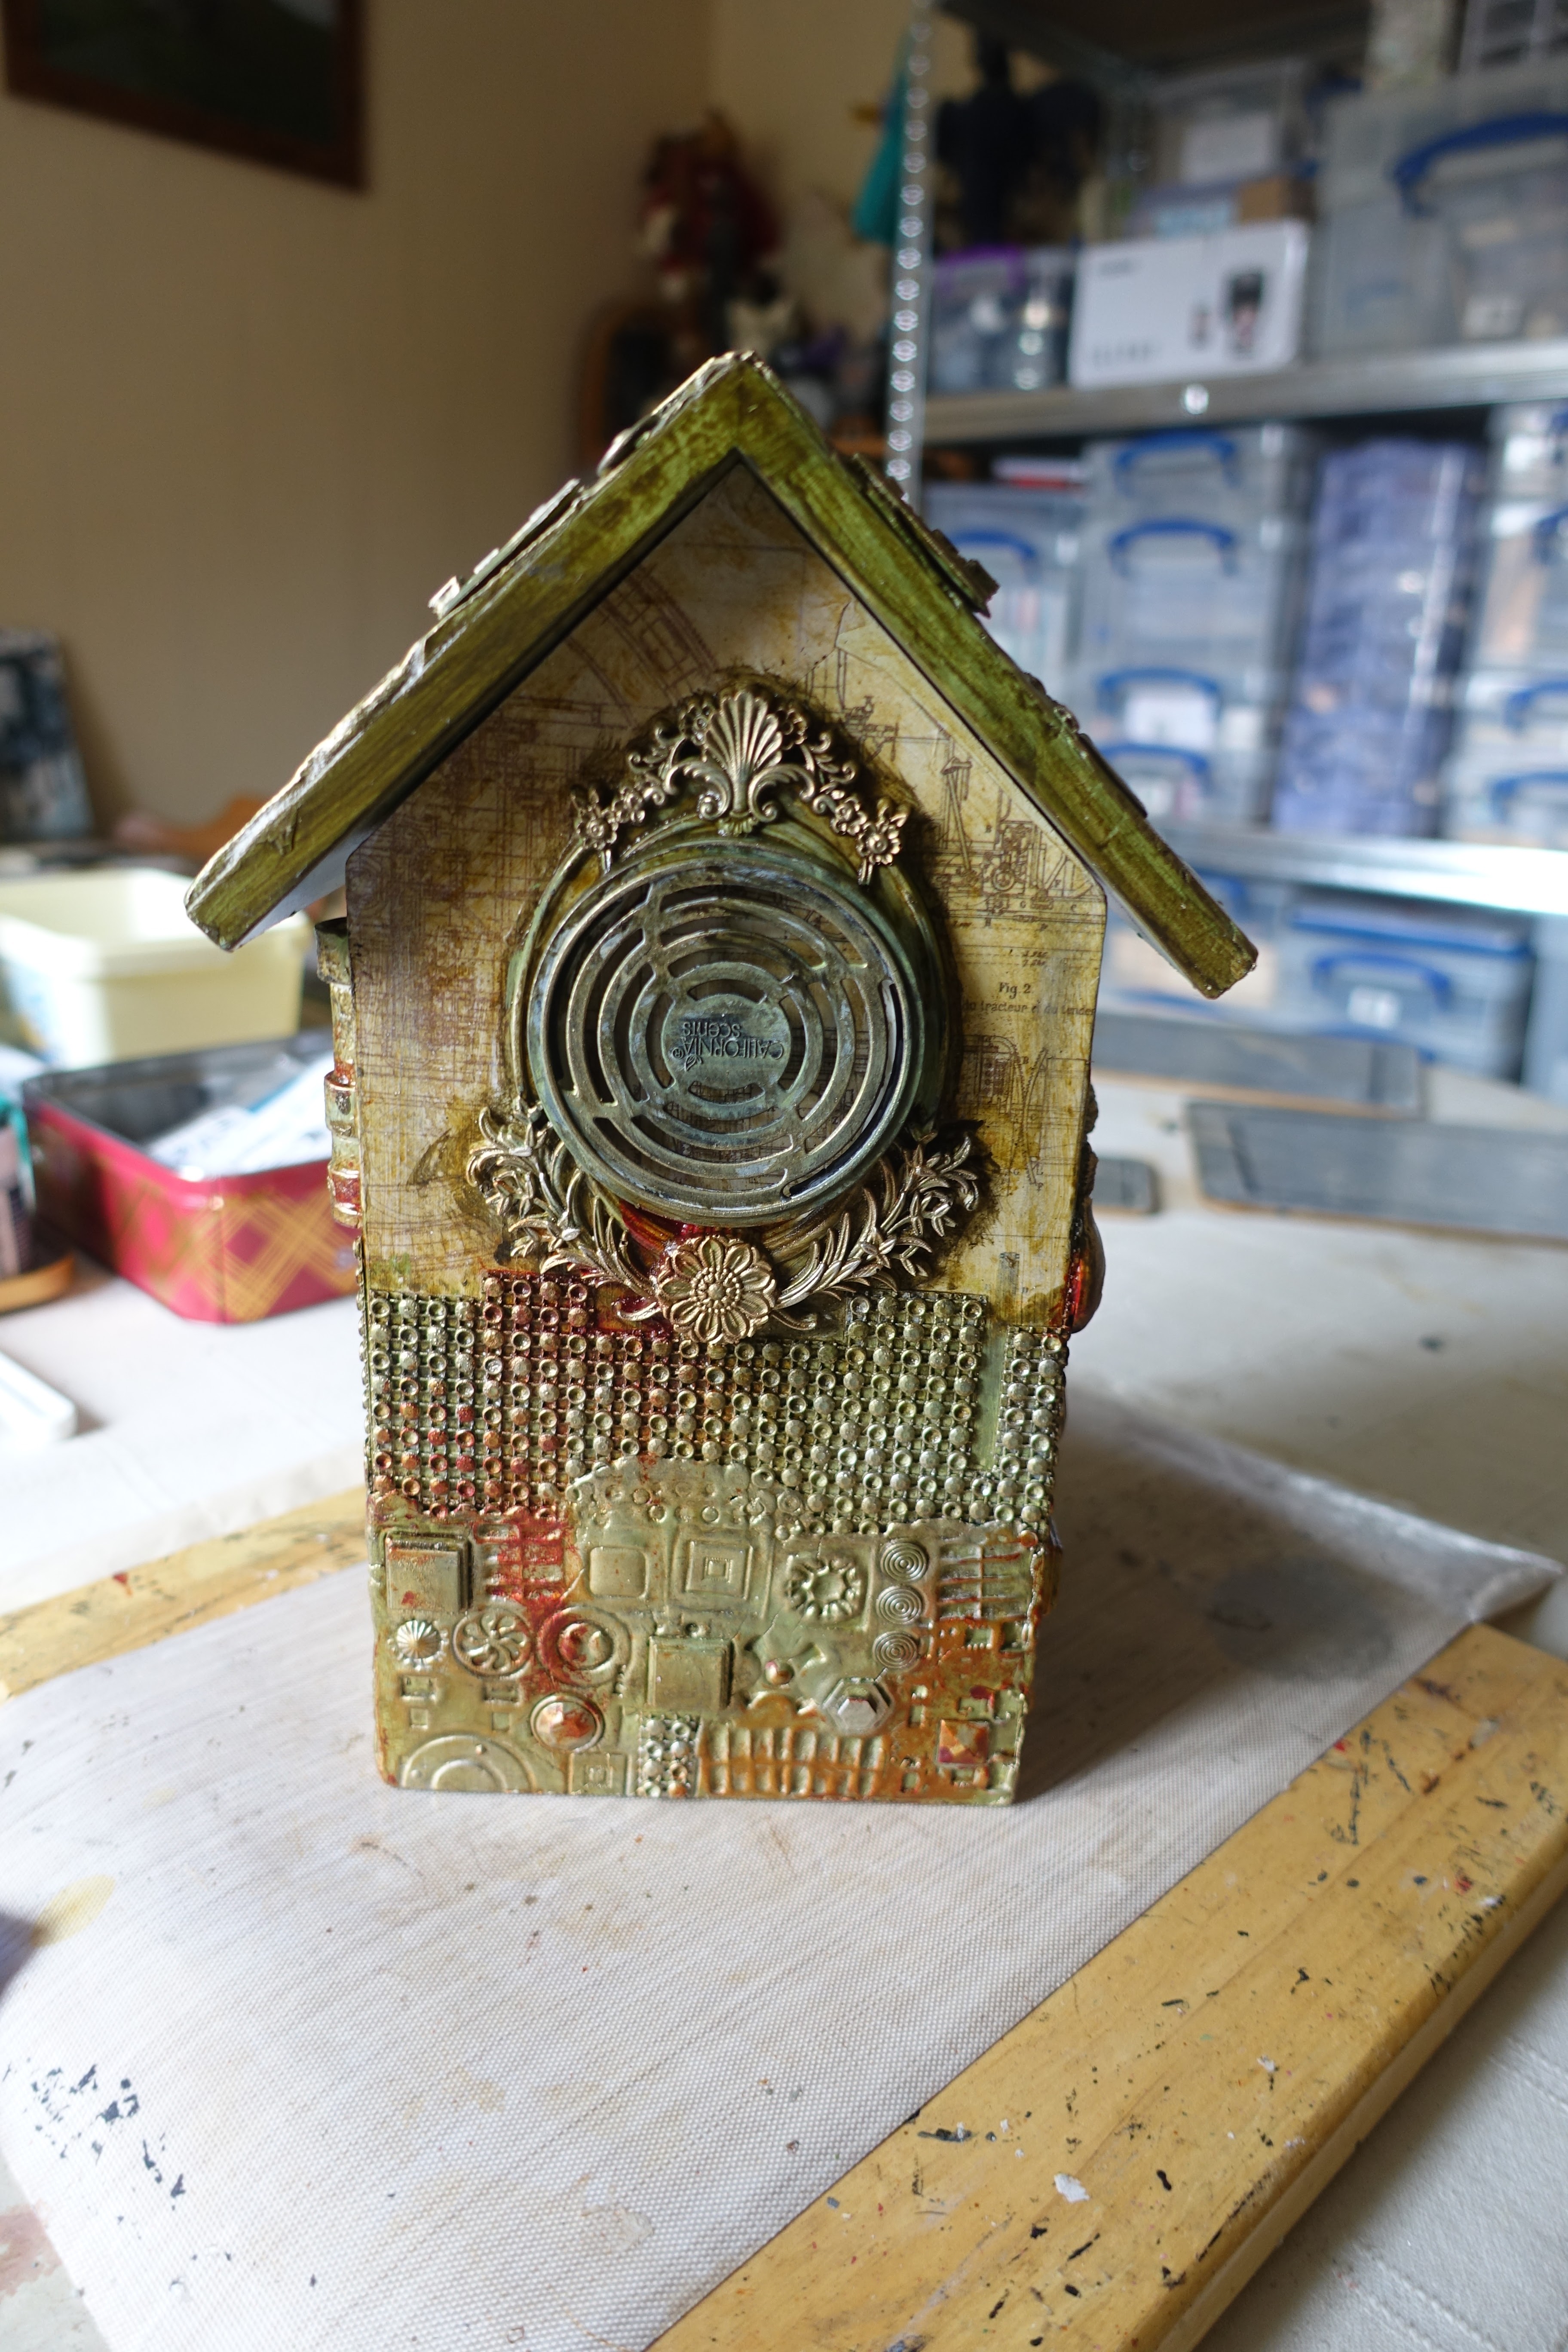

Added the same colours of waxes.


Feet added and studs to the roof.


Friday, 16 July 2021

Altered Southern Comfort Bottle


Empty Southern Comfort bottle.


Using the stone art clay I carefully peeled out the very large cog and moulded it onto the bottle and left it to dry as I wanted it to hug the bottle.


Laid wooden, resin and metal embellishments out until I liked what I'd done.


Stuck and painted all the embellishments with black powertex.


Then I went a bit mad with the colours.

#powertex #rusteffects #upcyclingchallenge

Wednesday, 30 June 2021

Pottery Classes


This is the very thing that I made on the wheel. It's not meant to be anything, I was just playing and seeing what I could do with the lump of clay.


And for my second attempt I tried to keep it uniform and decided it would make a good t-light holder as I created a ridge in the bottom for it to sit in.


I used a coaster cutter to cut 4 pieces of clay.  I stamped into them and after the first blast in the kiln I then glazed them and then they went back in again.


And this one is stamped the flower and stamped around all the sides, and after the first blast in the kiln I painted the flower in different colours of glazes and added small pieces of glass the all of the edges. I left the surround of the flower glaze-less.  I just love how it has turned out as the glass has also crackled.

I have signed up again for it starting in September, Covid permitted!

Sunday, 27 June 2021

Altered Paint Brushes


Found a pack of three paint brushes to alter.


I used clay to make the face on this one.


I was hoping this one would turn out like an angel, or something along those lines.


And of course, I couldn't forget the darker side.


Used black powertex and stuck everything down.


As you can see, I am no good at creating faces from clay, nor colouring them!!!

From the darker side, this one is in a gothic style.


And finally, my attempt at an angel!!


#powertex #upcyclingchallenge #rusteffects

Saturday, 16 November 2019

Canvas Mask


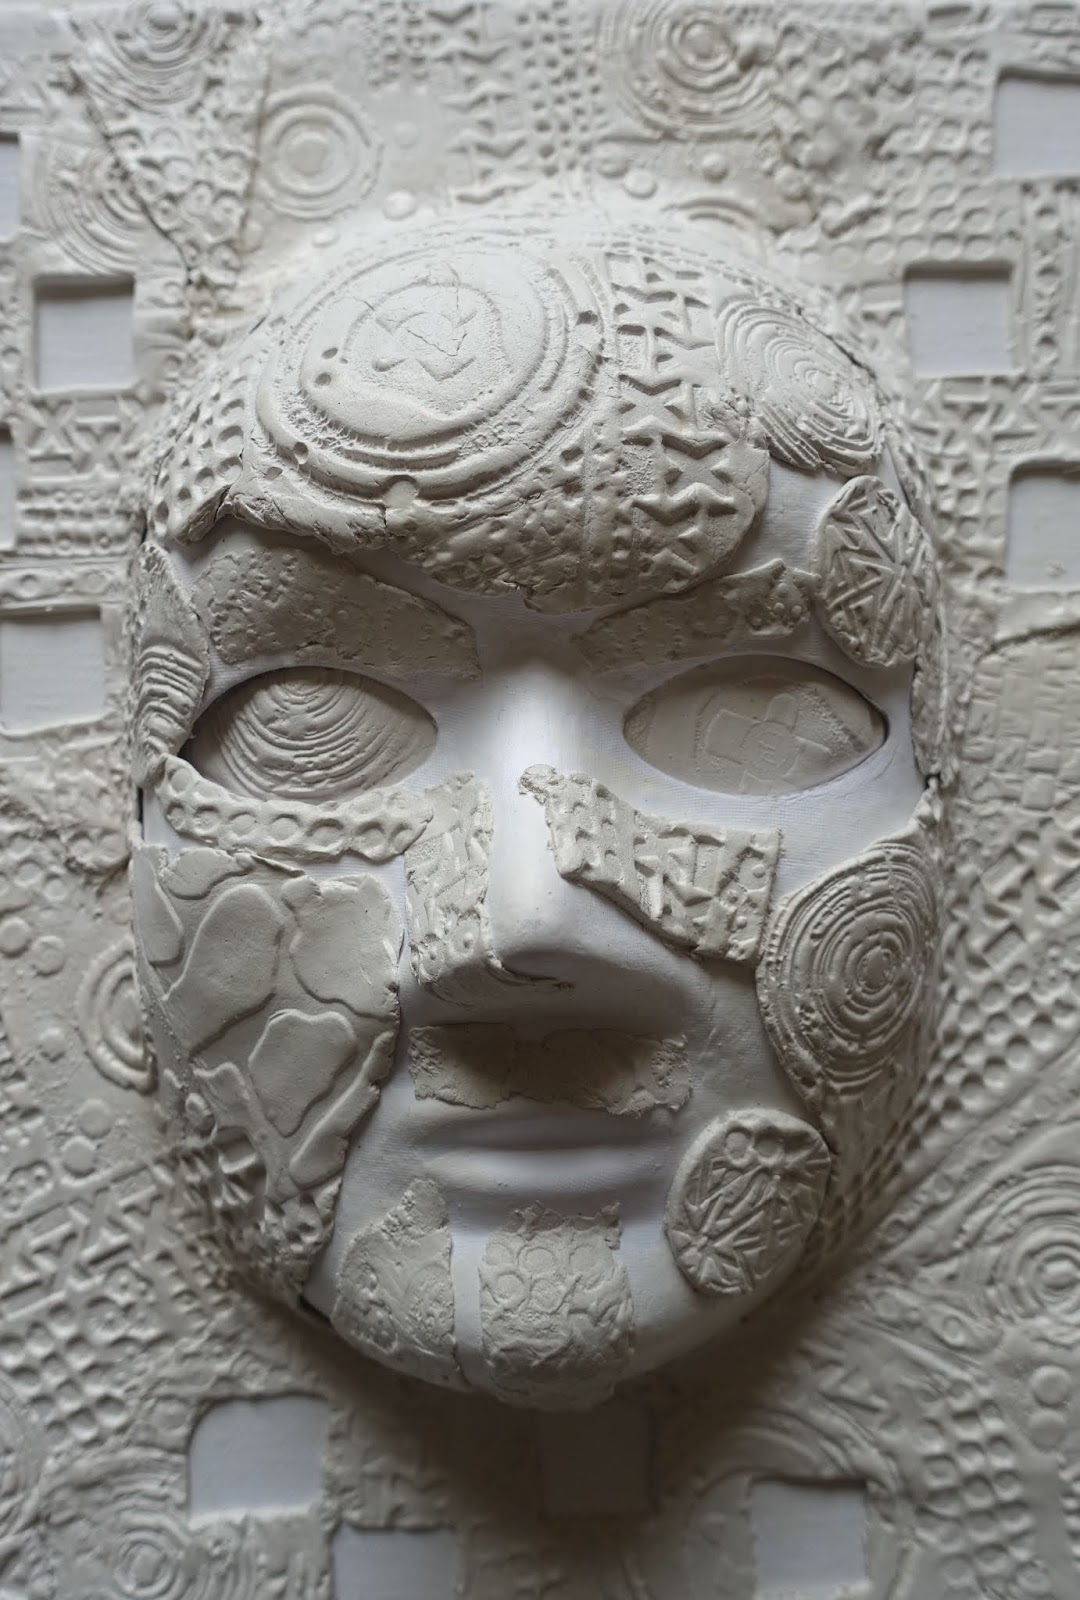
I rolled out various pieces of clay after making it with Powertex and Stone Art.


I stamped into it and also used a small cookie cutter to cut out the squares.


I then put smaller pieces on to fill in some of the gaps. 


Close up of the stamping and cut out shapes.


I cut some circles out and placed them on the face too.


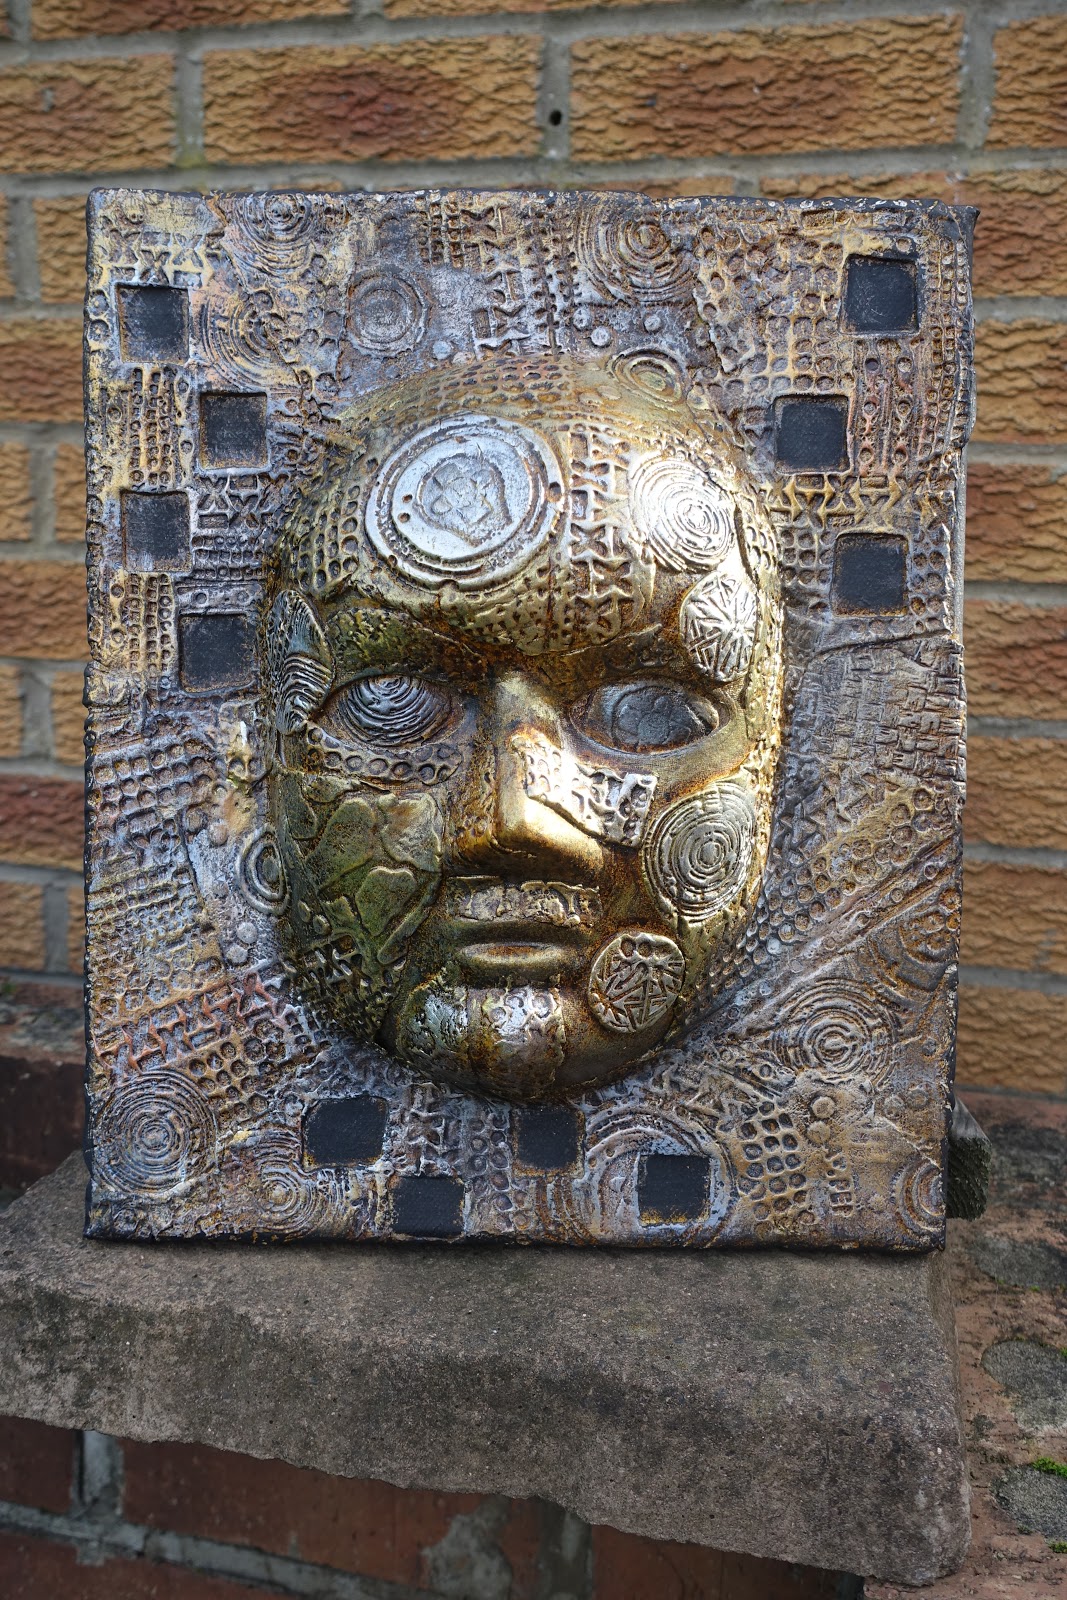
Once it had thoroughly dried, I painted areas with ochre Powertex and then once dry I also used black.


I sprayed with yellow, brown and black Bister. Drying between each colour.


I filled the spaces in with black Powertex.


I added various colours of paints and pigments, starting with the matt colours and moving onto the metallics until I was happy with what I had.


View from the side, so you can see how much the mask protrudes.


More close ups of the metallics to hi-light the stamping.


The size of the canvas is 10" x 12" and I used a £1 mask from The Works.

Blog Archive