Showing posts with label Brads. Show all posts

Sunday, 18 May 2025

Industrial Bird House


I picked this bird house up today from Aldi for a fiver.


I prised the door and the starfish off the front.


Next I covered all the sides with an industrial style paper.


I cut up a sheet of rhinestones on a mesh background into various shapes and stuck them on the back and the two sides.


I took the roof off and covered both sides with air dry clay.


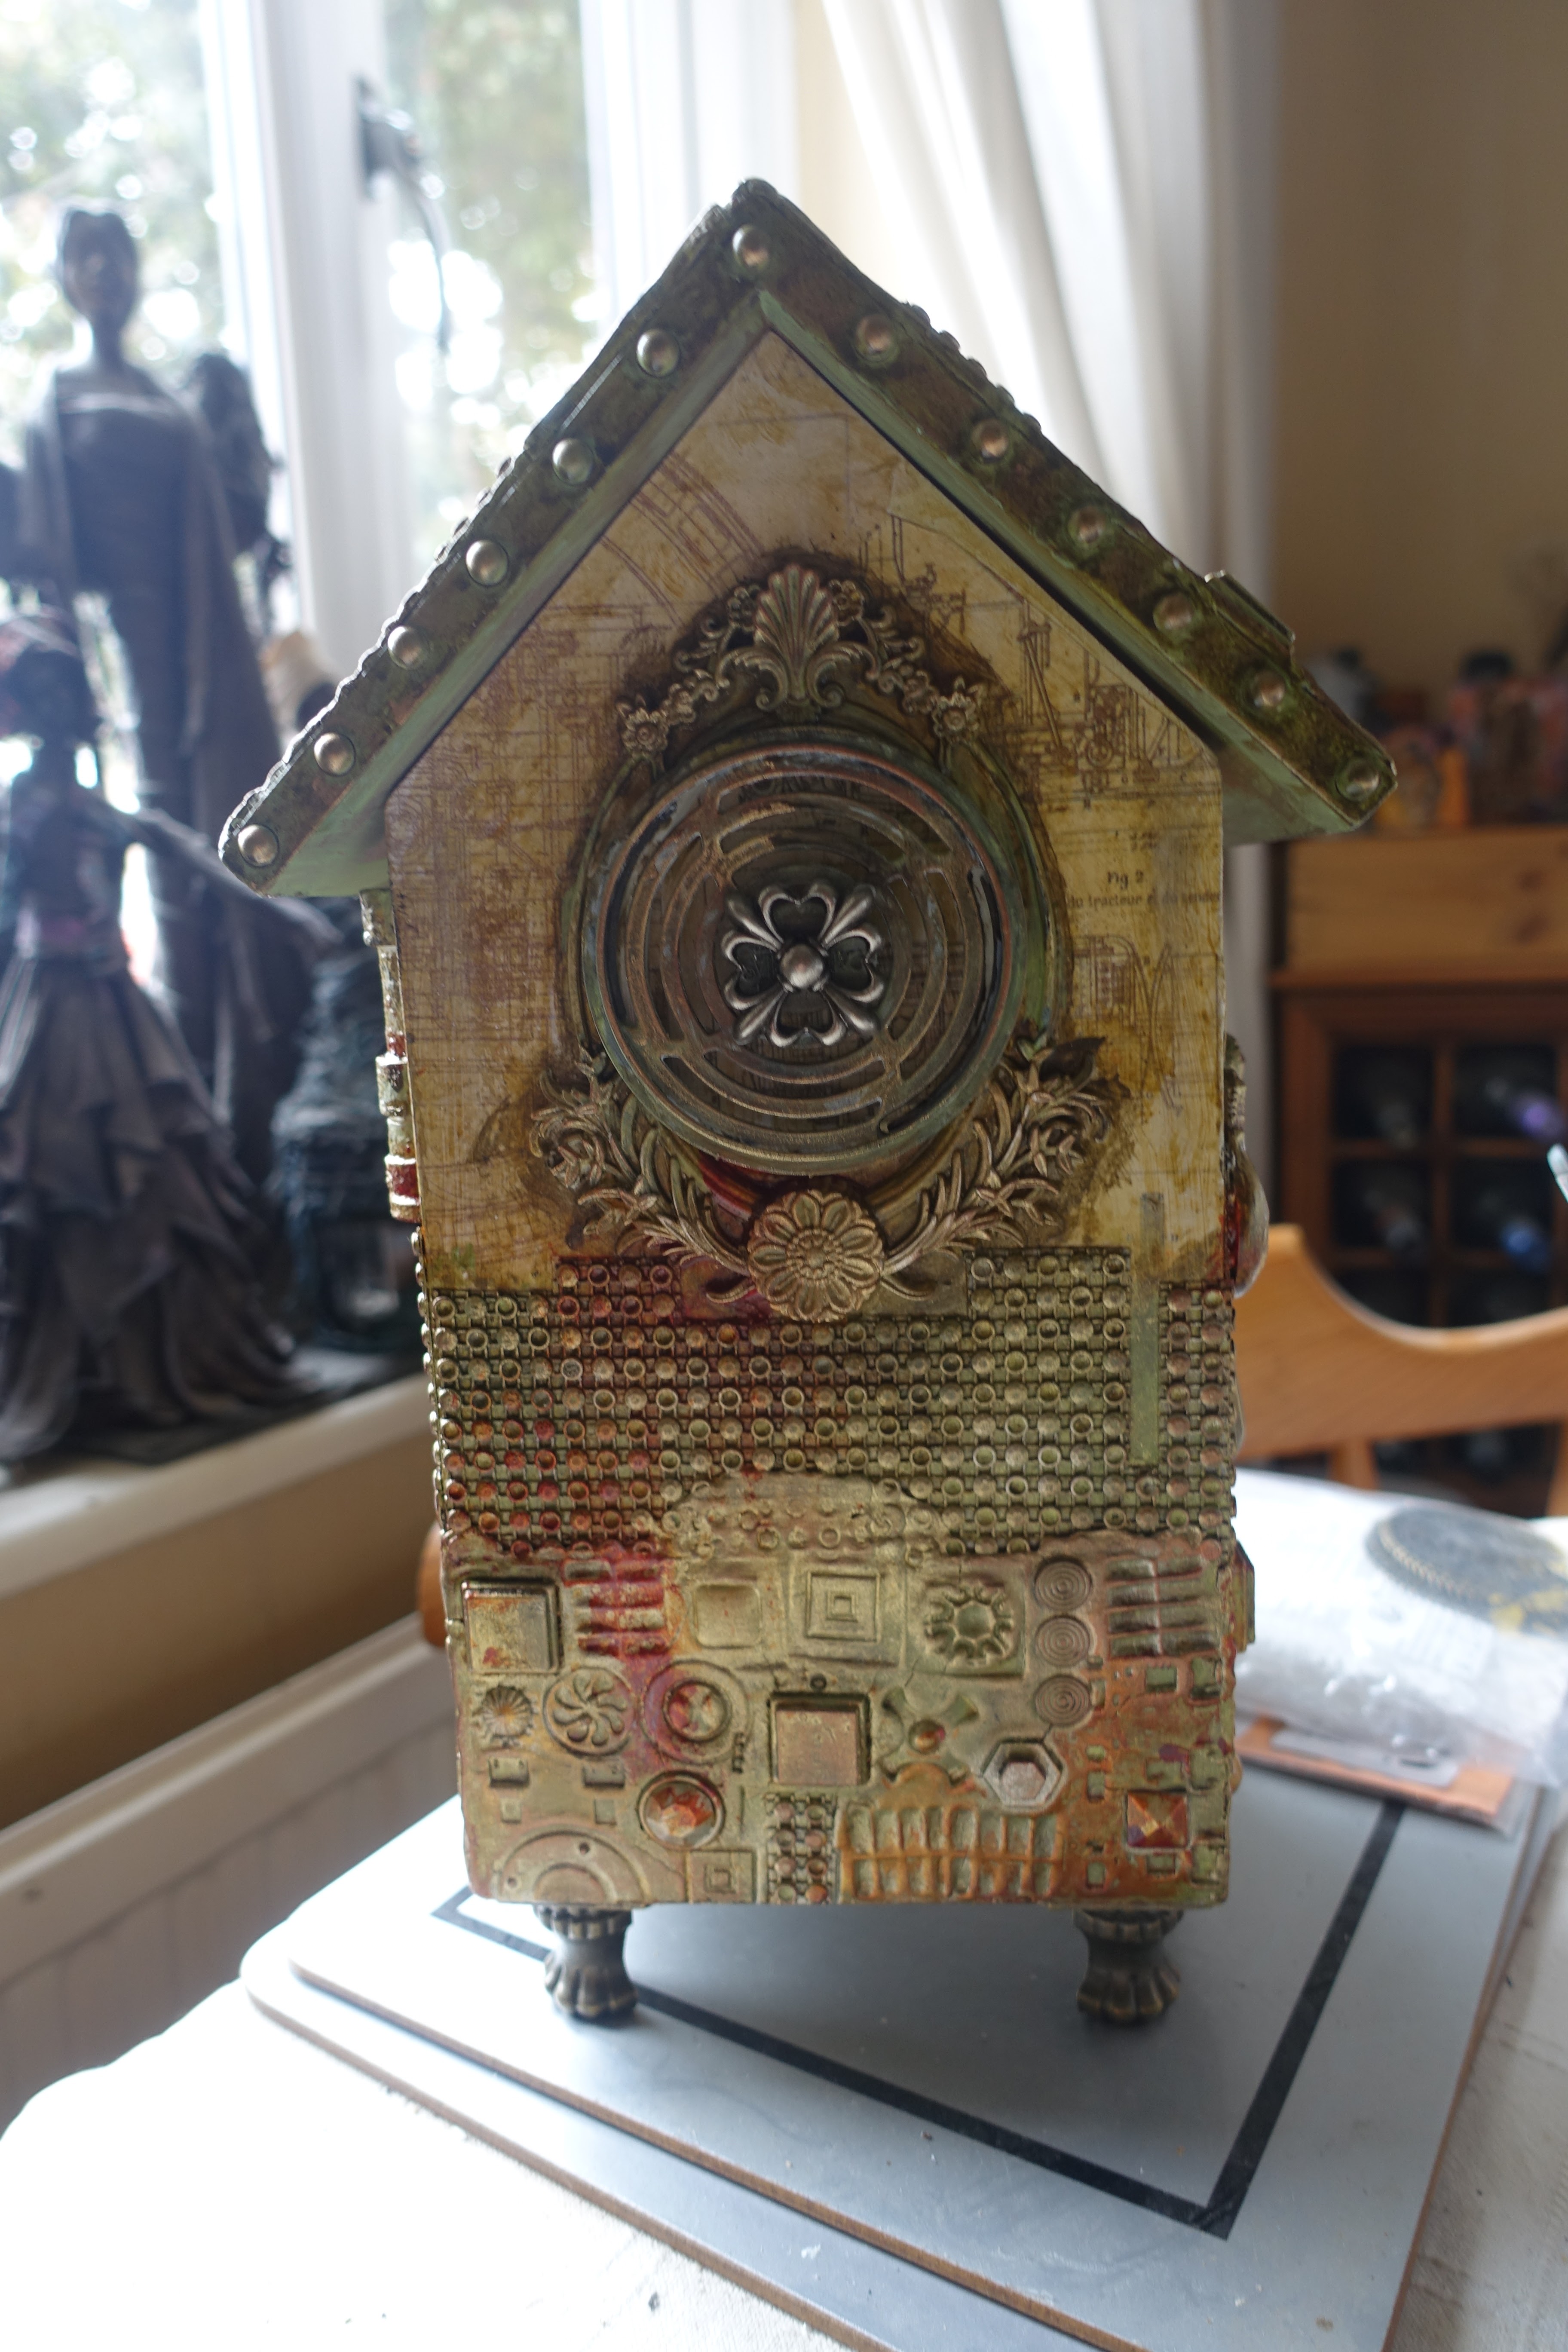
I pressed different embellishments, tiles and found objects into the clay and I left some of them in to create different textures and interest.


I added clay to the bottom of each of the sides and the back underneath the panel of rhinestones.


And again pushed found objects and embellishments into the clay.


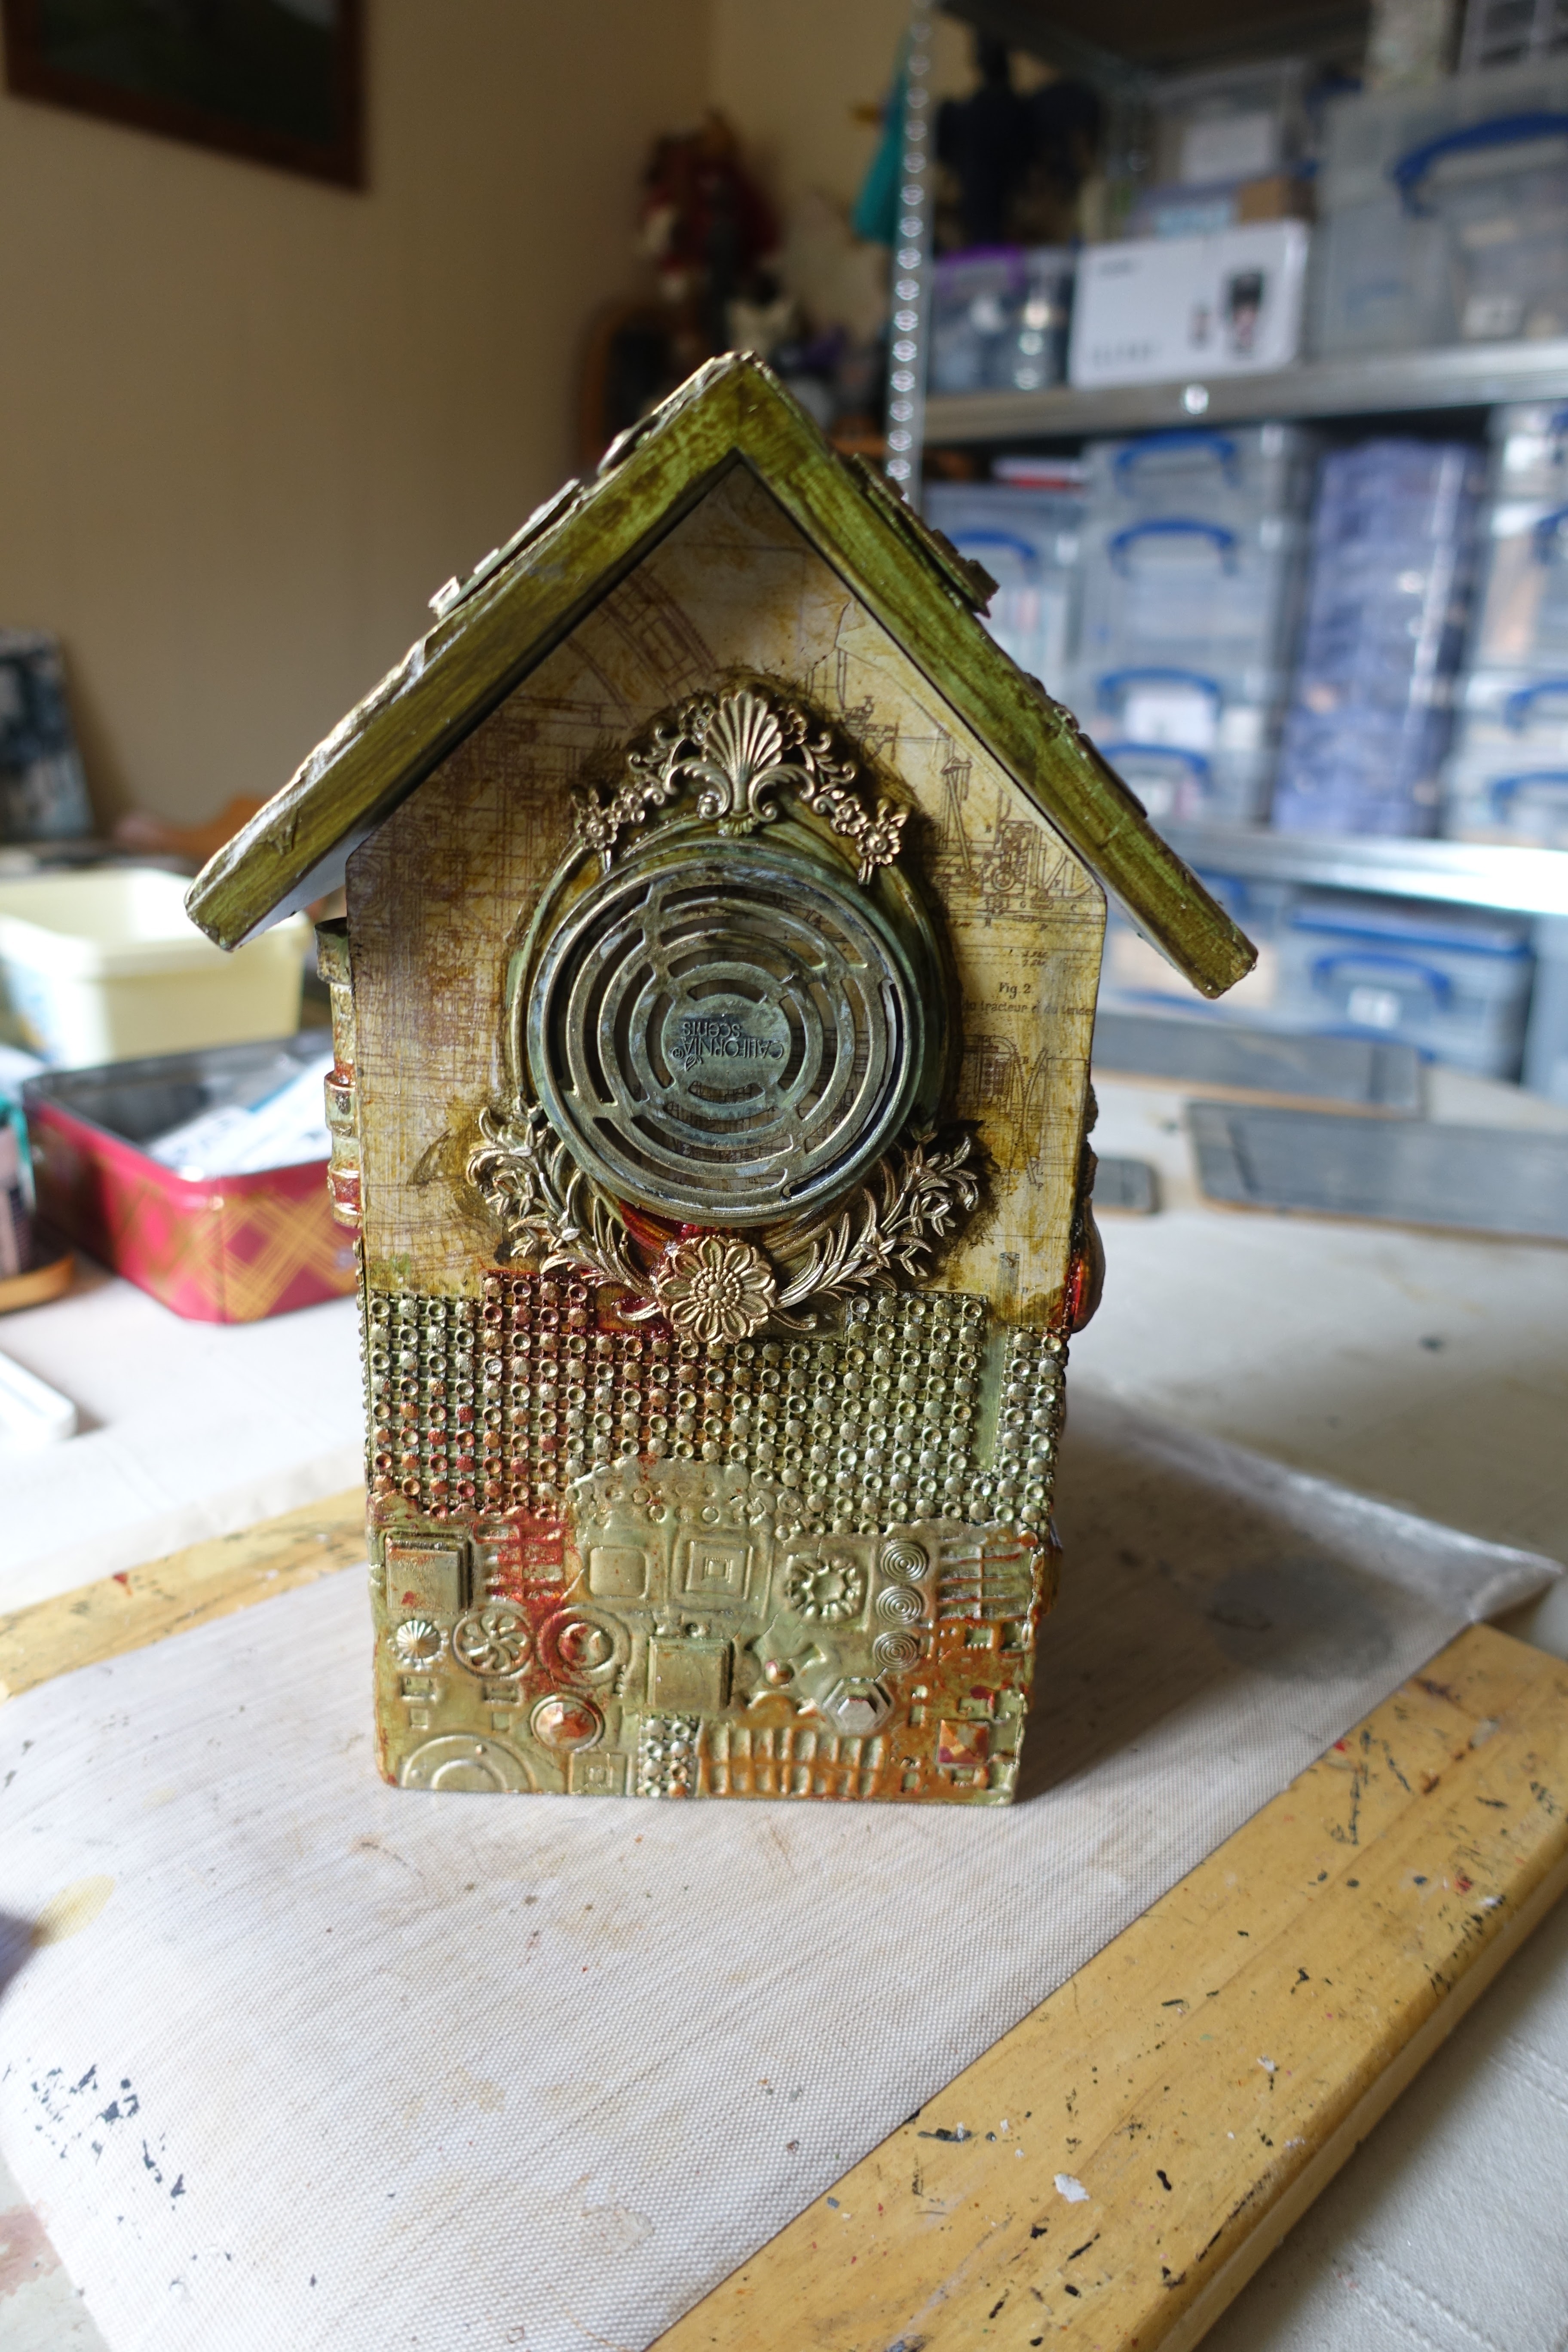
I gave everything a coat of white gesso and once dry a coat of green paint. I used PaperArtsy Tinned Peas.


I added shades of yellow ochre and raw umber with water to the project and kept drying between adding the different colours.


Then I knocked it back a bit by re-apply the green but with a dry brush effect.


Next I added some waxes, aged brass, gold and silver.


I added some carmine for a rust effect and then started working on the top section of the bird house.


Once stuck down, I gave them a coat of gesso.


Then I painted the sides with the same green and umber and ochre paints.


Added the same colours of waxes.


Feet added and studs to the roof.


Saturday, 18 July 2020

Day 14 Tags


A flurry of oriental tags today towards the #fabtag30day challenge.


Red and black and lots of gold embossing.


Black and cream with lots of gold embossing.


Lots more gold embossing and a patterned paper.


More gold embossing and origami papers.


A smaller really plain tag.


Another smaller tag, but still lots of gold embossing.

Tuesday, 5 May 2020

Wednesday, 15 August 2018

Powertex Figures


I made a new mould from a polystyrene shape of a bust and using wire and tinfoil I built up the bodies with it and used a polystyrene ball for the head. I put the head on so I could determine what size ish to make the body.


I started off by covering the pieces with t-shirt fabric and the arms with craft-t fabric as a base layer.


I added some more fancy fabrics and draped them over to make the clothes. 


I wanted to cover the arms by making some sleeves as opposed to just draping fabric or scrim over them. I also put cling film over their bodies and added the head so I could create some hair.


This is them from the back with all their hair. They were left outside in the garden to dry for a while.


Once dry I brought them inside and started too look at different things to sit them on.


As I had some Powertex left and also wanted to play with the mulberry bark to make some clothes I started on a third one. For this torso I just used wire and tinfoil and not the clay mould.


Once they were all dry I placed them on different sized bases.


From another angle.


And finally from the back.


After about two weeks I added pigments in rich gold and bronze gold Colortricx to bring out the hi-lights. I personally like to wait until they are totally dry so I can really attack them when dry brushing.


The base they are sat on is a piece of oasis painted in bronze Powertex, however the base hasn't hardened, it's just coloured.


And a view from the back.


And another view from the top which shows the hair better.


I turned the oasis around and placed the figure on top of the block.


And this is the smaller one sat at the same angle.


This is the smaller of the three and he's sat on the block. He won't sit on it the other way round as he's not weighted enough on the upper half as I didn't use any clay with this one for the core.


And finally all three sat on the block. 

I still haven't decided how I want to display them yet! I want to get a piece of fence post wood to make some blocks to sit them on to see what they would look like before I commit to anything permanent.

Sunday, 12 August 2018

Sandball Skull


After being introduced to the 'mucky mess' technique at the Garden Party and forgetting to pick some ingredients up at Pramoda Gifts, I ordered some!


I did this in stages as I didn't want to mix too much up in one go, especially in this heat.


I literally just used a pallet knife to 'spread' it over the polystyrene skull. I did 'paint' the area with black Powertex to help it to stick easier.


I cut a recess out the back and added in a skull.


Once the whole of the skull was covered, I left it outside to dry.


Then again, with no particular plan, I just started to gently add some colour. This took quite a while as I didn't want to put too much on too soon, or to get my brush too loaded and end up with an area that had a clump of colour.


From the side, I still wanted quite a bit of the black to show through.


I added some clear beads for eyes to the skull in the back of the head and mixed up some white pigment to hi-light the features.


Close up of the eyes, the left one as you look at it is a huge brad and the right one is a metal cog. I stuck them both in with transparent Powertex.


I hi-lighted some of the teeth with bronze gold pigment.

Blog Archive