Today I attended an Eco Print workshop with the lovely Joelle Harris and I had no idea what to expect.
This is the other side of the table. I sat in about the middle.
Ready for our very first experiment on linen with a cotton iron blanket.
First thing to do was to choose some foliage and greenery.
This was one that Joelle had made earlier and was explaining how the leaves work differently and give different effects.
Then we had a go, so I placed my leaves and onion skins on the dampened linen (spritzed with half white vinegar/water mix).
A piece of cotton was then placed into the iron rust mixture (things that will rust ie nails, placed in water and left for two weeks) to act as a blanket and then everything was rolled around a dowel and tied tightly with string.
As one of the ladies had to leave early, Joelle had us all chose something to put on the silk scarf and then she demonstrated it as above.
She proceeded to fold it and wrap it ready to roll and tie tightly around the dowel.
Our next experiment was on a piece of silk.
This is the linen piece after it's come out of the steamer for 20 minutes and been left to cool down.
The next fabric we played with was a piece of cotton which had a light blue tinge to it.
Claire who was to my right decided to lay her cotton layer out in a symmetrical pattern.
Karen and Sue at the other end of the table again on their cotton layers.
Linen layer started to be unrolled.
On the left is the cotton blanket and the right is the linen layer (I think!!). It's a bit like the gelli plate, often the ghost print is better than the original.
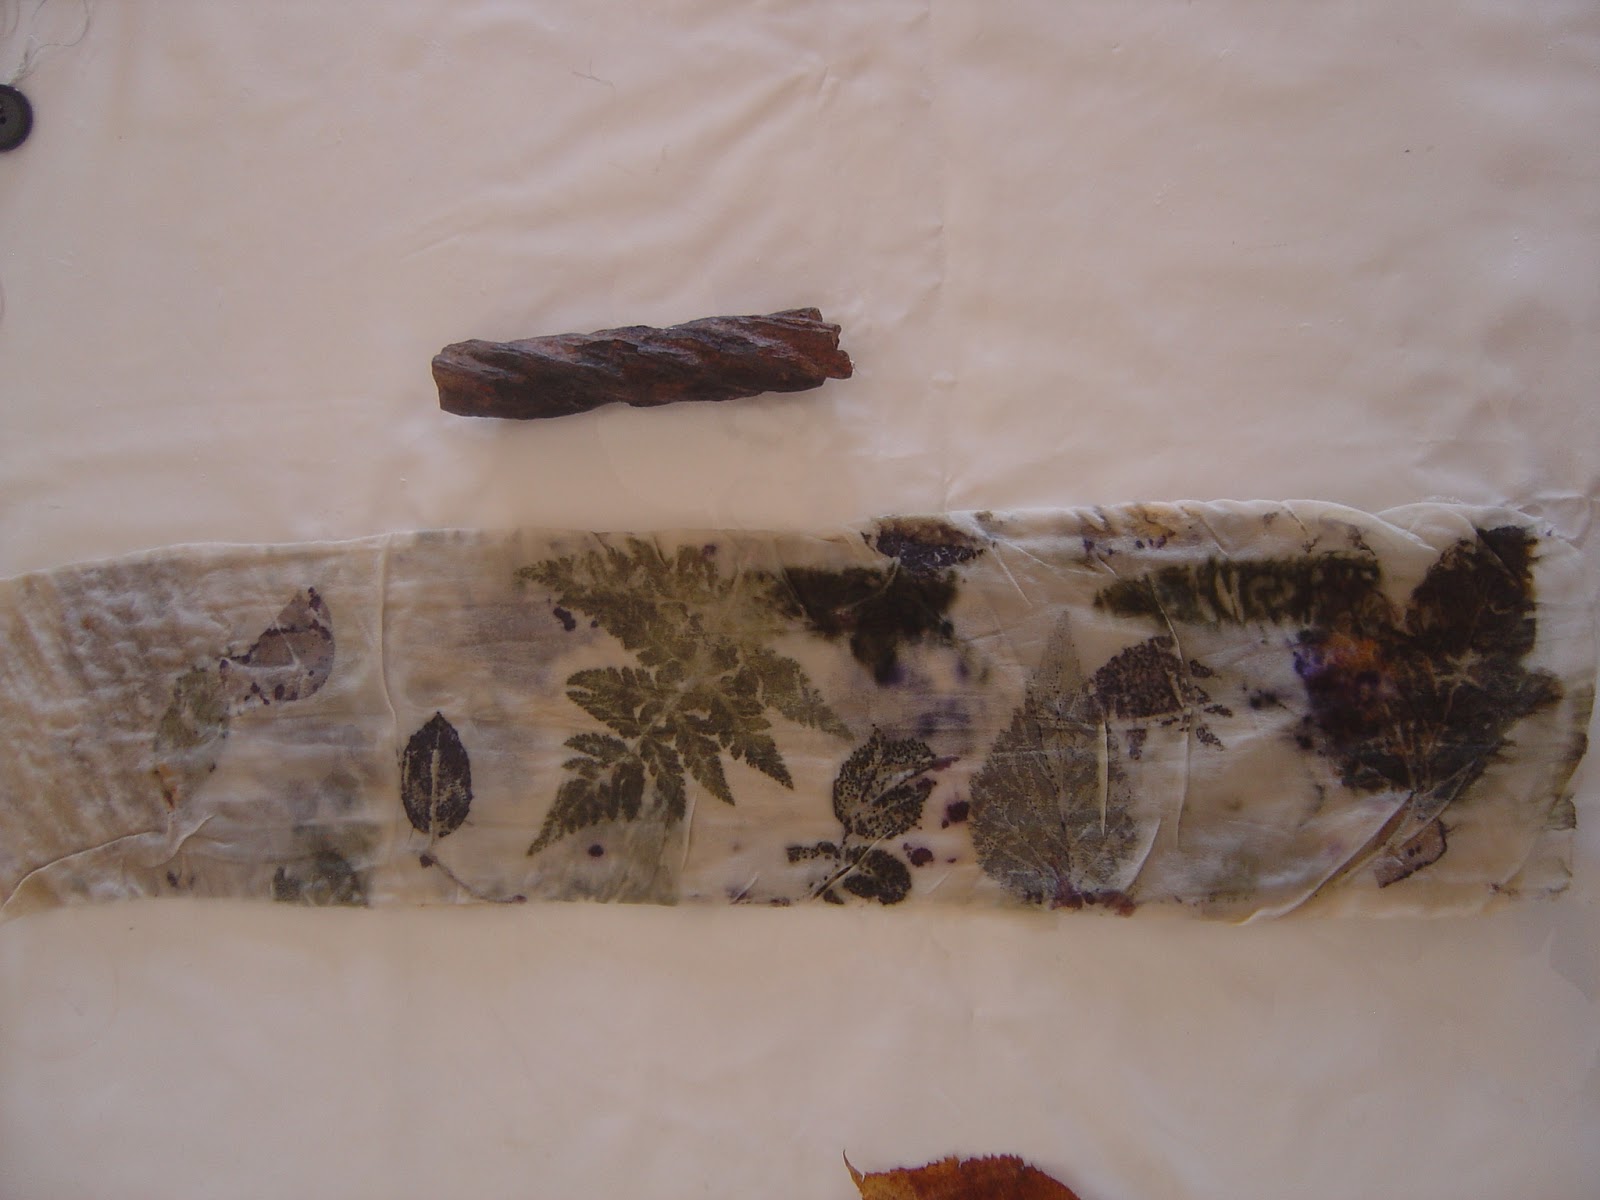
This is the silk one unrolled after being steamed and cooled. It had been wrapped around a piece of rusty metal as opposed to a dowel.
This is the cotton blanket from the silk print.
And this is the piece of silk fabric.
This is the blue tinged cotton fabric with a cotton blanket after it has been steamed for 20 minutes and is just cooling down.
And the unveiling of the blue tinged cotton.
And the print on the blue cotton tinge.
And the cotton blanket from the blue cotton tinge wrap.
Everyone working away whilst I went to check the steamer. We then broke for a spot of lunch.
After lunch we went for it with the 'proper' silk scarf!! This was some of the reason for all of our experiments because some of the items work better than others. Some leave a print and some just leave colour, some leave both and some leave nothing, it's just a case of trying and seeing what you get.
This was Pam's who was opposite me, she decided to use a light blue coloured silk scarf.
You can just see Janet taking a photo of her masterpiece and Claire already has her iron blanket over her scarf and next to Claire's is Sharrons.
And at the other end of the table L-R, Coleen, Sue and Karen and their silk scarves.
Teamwork, Heather helping Pam out whilst she rolls and wraps.
And for our last expermient we used a piece of wool fabric. It's a bit like felt but much thicker and more robust.
Silk scarf unwrapped and reveiled. The top is the silk scarf, the impressions came out very subtle indeed. The iron blanket is at the bottom and I was very impressed with this print. Wonderful images with lots of intricate detail and great, strong colours.
The woollen price of fabric cooling down after being steamed.
The left is the woollen fabric and the right is the iron blanket. This is the only print where I actually like the original better that the blanket piece!!
Had an absolutely fab day, was amazed how much we produced and I love all the pieces I created.
A huge thank you to Sharron for the organising and Joelle for the teaching.