Showing posts with label Vase. Show all posts

Sunday, 19 August 2018

Cracked Vase


Remember the pot vase that I picked up at the car boot?


I gave it a coat of prussian blue paint.


Then I mixed up some 3d flex, ivory powertex and a bit of water to create the mix to spread on the to make the cracks.


I mixed up batches at a time, so I wasn't left with way too much.


I used a pallet knife to spread the mix on this side and it created lovely large cracks.


And when I applied it to this side I used my hand to press it onto the vase. As you can see it's still created cracks, but in a different way.


I coloured it using lots of different mediums. Firstly I sprayed it with Dylusions inks in orange. Then used golden hi-flow inks in napole red and quinacridone red and finally once it was all dry I used the Powerwax mixed with ginger and peach pigments to cover all of the vase.


And this is the other side. I also painted the neck and bottom with black paint.


Close up of the side that was applied with a pallet knife.


Close up of the other side applied with my fingers.

***Edited***


When I went for a walk with Fraz this morning, I picked up these dried poppy pods that had broken off and were lying on the pavement.

Tuesday, 31 October 2017

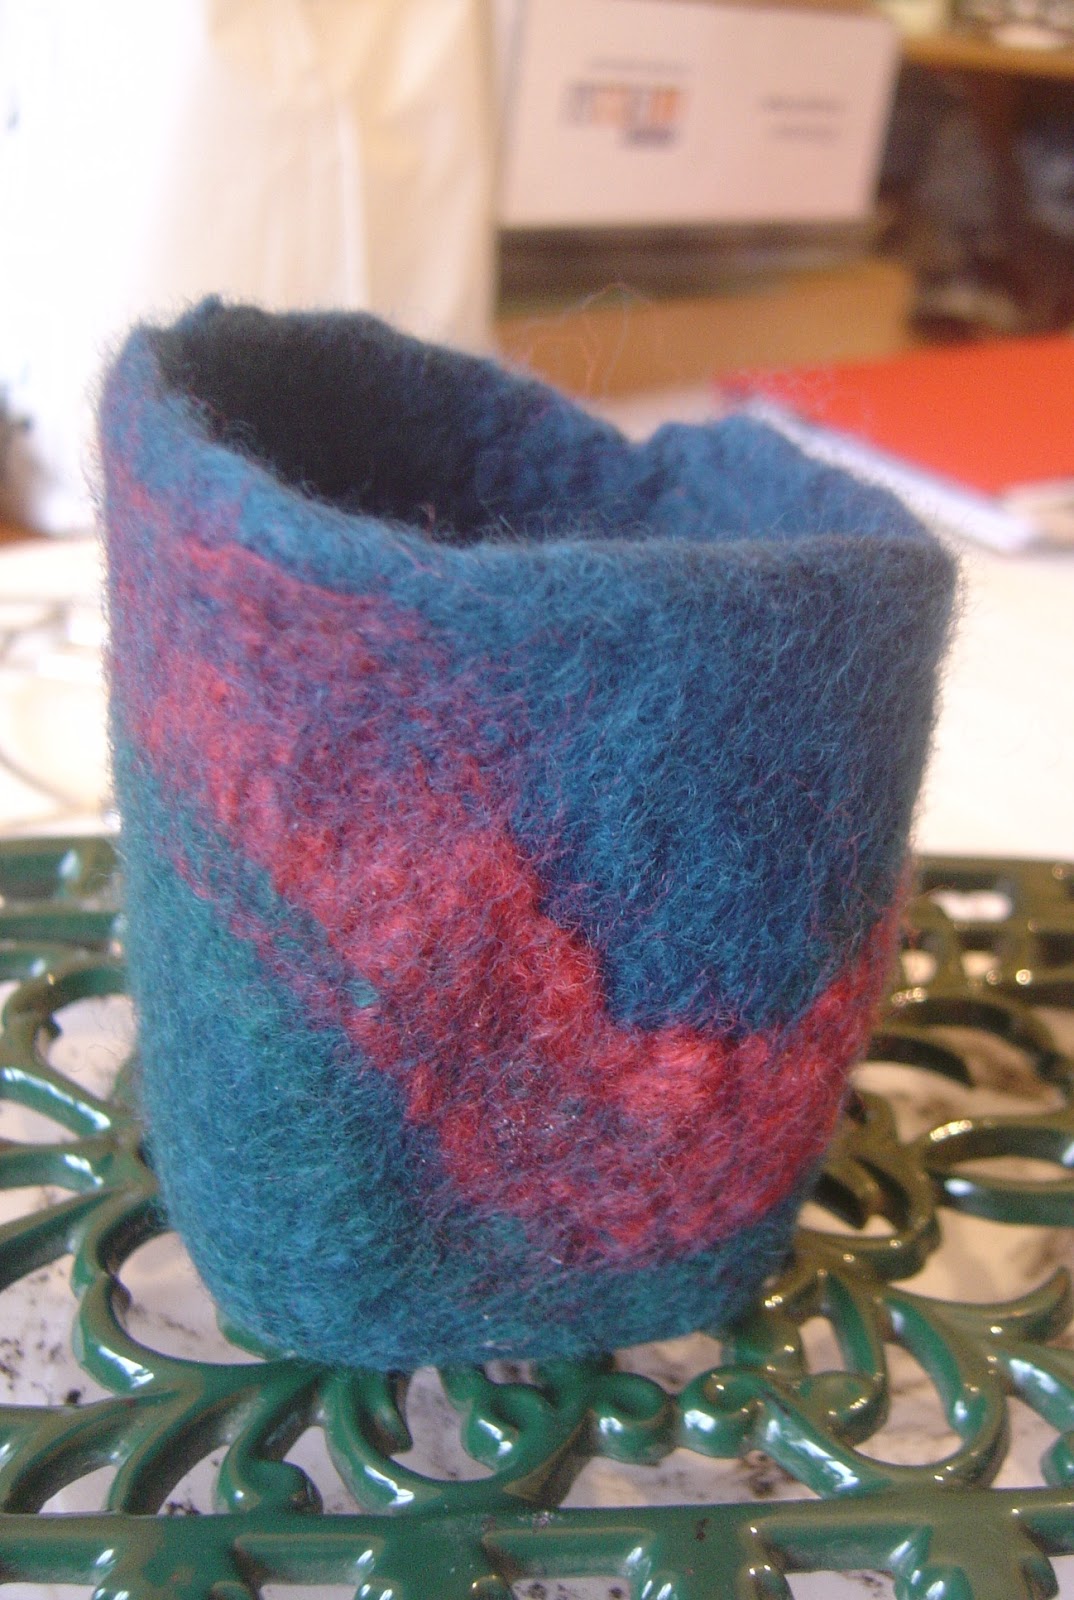
Wet Felting - 3d mini vase


I also watched another Youtube where the person used an orange and the foot of a pair of tights to make a vase, so off I went and this is what I ended up with. Instead of an orange, I used one of Fraz's balls. I found that using this method it was really hard to stop the wool from slipping off and it was also hard to get an even coverage.


But I did like the colour wave, which was actually more of an accident, as when I tried to place the ball in the end of the foot of the tights, it was that tight it moved all the wool.


It pulled up from the bottom of the ball and this is how I ended up with a really bare patch at the bottom of the vase. As you can see, you can see daylight through it. Had I have known what I was looking or feeling for, I could have actually cut this part and made it the top, but I didn't see it until I had shaped it and it had dried.


This is the back as it's the tallest part.


And this is the front, you can just see on the left that there is another bareish patch, as you can see through it.

On the video, they used sheets of batting for this method, but I didn't have any and wanted to try it, but now I know why!!!

Saturday, 22 April 2017

Powertex Vase


When my sister saw the vase I made for my mum at Christmas she asked me to do one for her too. Last week the car boots started and I popped along and picked up this square ceramic vase for £1.


Not sure you can see that well, but as it was ceramic I covered it in masking tape for the fabric to have something to grab onto.


Strips of t-shirt fabric were dipped into black Powertex and adhered to the vase with lots of ruffles to create lots and lots of texture.


After a couple of hours it was touch dry so I roughly placed the other fabrics I wanted to use.


Powertexed the fabrics and added lots of clay flowers. 


This is now over 48 hours dry and everything is solidly in place.


And from a different angle.


White pigment dry brushed all over.


I didn't do so much on the band of lace around the top.


Next came the rich gold and bronze gold pigments.


And I just kept applying until I was happy with what I had.


I added quite a bit of pigment to the lace around the top and as you can see it's darker due to there being no white applied first.


It just has to cure for three weeks before it can be filled with water and flowers.

Thursday, 6 October 2016

Powertex Vase


After seeking this vase out for £1 at the car boot, it needed the powertex treatment.


As it's quite shiny and slippery I covered it in masking tape.


I had some bronze open from another project so painted it with what was left.


And as I'm off this week, and mum and dad are away, so there is no danger of her turning up and seeing it, this was the perfect time to powertex it.


I used black powertex with strips of t-shirt material, created lots of ruffles, added some flowery lace around the top and dotted on some clay flowers.


This was it approx 48 hours after it had been left to dry.


Really pleased with the ruffles and the clay flowers have stuck solid which is perfect.


Next the really scary bit, adding white pigment so the metalics pop. I was a bit heavy handed in some places, but to be honest it just adds to the authenticity of it.


And one from the other side.


Then I added rich gold, bronze gold and a bit of red pigment until I was happy with what I had.


And again, a view from another side.


Then the sun popped out so I took a few photos in the garden.


And another one from the garden.


I'm really, really pleased with how this has ended up, been as it's my first big piece. I hope mum likes it as she's getting it for Christmas this year! 

Blog Archive