Showing posts with label Colour Wash Sprays. Show all posts

Saturday, 12 December 2020

StoneArt Tree


After watching day 5 of Ashley Hay's Creative Christmas Challenge videos I decided to have a go at making a tree but I didn't have a cone shape for the base, so instead I wrapped cardboard around a bottle.


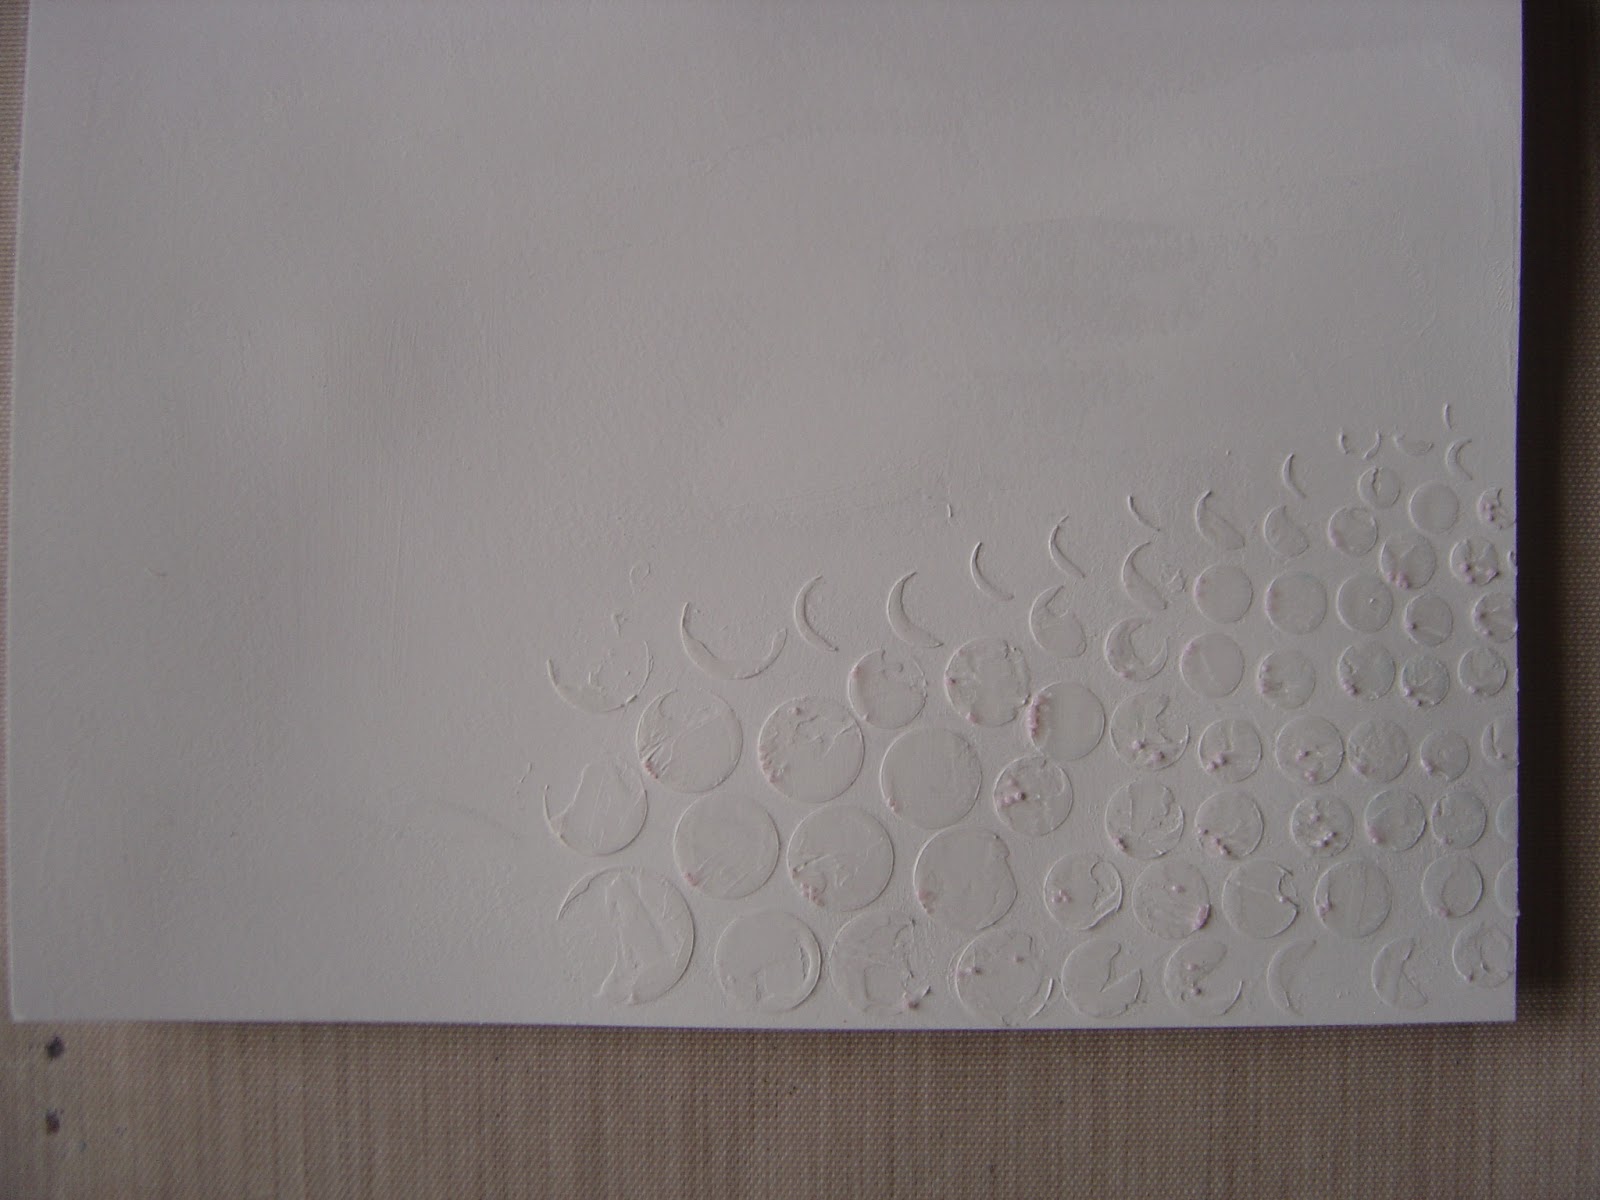
Once dry, I took the bottle out of the cardboard and was left with a cone shape.  I mixed up stoneart and powertex to make a clay, rolled it out very very thinly and then tore it and powertexed it on the cone.


I did it in layers starting from the bottom upwards.


And here it is totally covered in the clay.


Once dry, I started to apply colour.


Once I was happy with the colour I gave it all a coat of varnish and then about 2 hours later a coat of transparent powertex.


Just love the ruffles of the torn clay mix.

Tuesday, 1 September 2015

Another Journal Page


As usual, I mixed up too much paste to put through a stencil, so I used the rest up on another page through this circles stencil.


Used a Lindy's Moon Shadow mist spray and then faded jeans colour wash sprays to drip onto the texture.


Coloured the background with a shade of blue and brown pan pastel and stamped in gathered twig distress but spritzed the stamp with water for a more distressed look.


This one was taken this morning in daylight!!
 

And finally I added some stamping from a Finn plate.


Monday, 4 May 2015

Sprays, splats and drippage


Over at PaperArtsy this week they are asking for sprays, so using sprays of all kinds but only in greens and purples and some stencils, I created this background.


Then I added some random stamping using T!m Holtz images in black archival and finally added some lines in olive green stazon from a Hero Arts stamp.

Monday, 27 May 2013

PA Coasters


Over on the PA blog it's Darcy's turn to wow us this week.  She's gone for a coaster overhaul which you can see here.


Now usually spray inks, stencils and me just don't mix, have no idea why, but it usually looks a complete mess.


Luckily for me on this occasion, it worked out okay!!


Knocked it back with snowflake fresco paint.


I don't have many flower stamps, but felt I needed something 'open' as in not blocks of black in, so I went for this Stampotique flower and swirl, but couldn't resist a bit of text. I think that text from the PA Ink and the Dog backgrounds plate is my most used stamp!!


Then I swiped it back with a baby wipe to give it a distressed look. I now wish I'd used a more contrasting colour of Adirondack colour wash, but never mind.


And finally a couple of coats of satin glaze to seal it.

Friday, 28 September 2012

Artful Times - Challenge 14


I chose this weeks Artful Times challenge theme and I stipulated a postcard which must contain alphabet letters and / or script.  The background was created by layering various brands and colours of spray inks and Stewart Gill paints.  The TH alphabet was stamped lightly over the background in black soot distress stain and the letters accented with a white pen.  A Paperartsy alphabet strip was stamped down the left hand side and a numbers strip along the bottom.  I stamped a ruler image on paper and coloured it with brushed corduroy distress ink, tore it and attached it to the background.  The '5a' was cut from the TH Wordplay die in chipboard and coloured with walnut stain distress stain and outlined with a black sharpie.  The word believe is a rub on and finally I added the image.  All the edges were distressed using a paper distresser and edged in walnut stain distress stain.


Check out what Neet and Von made over at the Artful Times blog challenge.

Thursday, 31 May 2012

Tags


The girls over on the PaperPlay forum have been very supportive, so this month I sent them all a tag back with their atc swaps.

Over at Out of a Hat Creations, the theme is 'If I Had Wings', so I'm entering the above tag which was stamped with T!m's papillon plate in black stazon.


Lynne Perrella collection 003 stamp coloured with pan pastels.


Lynne Perrella collection 008 stamp coloured with artbars.


Lynne Perrella collection 008 stamp coloured with various ink sprays and paints.


Art Journey and Lynne Perrella collection 008 stamps coloured with various ink sprays and paints.

Monday, 17 October 2011

Birthday Cards


I had to make a couple of males cards for birthdays on Thursday.  My nephew and brother in law.  


The backgrounds were created using lots of ink sprays, denim and stream from the TH range and cyan and aubergine from the dylusions range. I used the black eco-friendly acrylic paint to create the lines and circles.  I used my new distrezz it tool around all the edges and coloured them with faded jeans distress stain.  I ran a piece of DCWV white core card through the circles embossing folder and sanded it back. I stamped the birthday wishes and glued them on.

Saturday, 3 September 2011

Let's Travel


I sprayed the white card with vanilla and lime dylusions spray ink.  I collaged the background with steampunk style stamps in walnut stain.  Stamped the main images onto card sprayed with butterscotch adirondack colour spray.  The tickets were stamped and cut out of card coloured with vintage photo stains.  The travel is coloured with crushed olive distress ink.  Brads, prestuds and a metal swirl added.  The whole piece was then mounted onto black card.

Vintage Tag


I used stream and butterscotch adirondack colour spray to create the background.  Stamped the mesh image onto the tag.  On a separate piece of card, stamped the main image in brown.  Once dry I coloured the white card with old paper distress ink.  Added the vintage definition and string to finish.  I am entering this into this weeks Just For Fun challenge as the theme is words.

Tuesday, 12 April 2011

Grungy Monday #3 & The Stamp Man


This week over on Grungy Monday they are offering a t!m product challenge, so you have to use the actual product and not a substitute.  So, yeah you guessed it, it's adirondack colour wash or should I say 'color' wash!!  I only have 7 of the colours so was slightly limited.  Mine is the old stuff in the 4oz bottles, but I'm sure it's more or less the same stuff else they would have changed the name.

The Stamp Man is asking for embossing this week, so I'm entering my tags into this challenge too.


Anyway I decided to create some tags.  The left one was firstly sprayed with butterscotch, the right one with terra cotta.  I then inked my new grungy alphabet stamp with clear embossing ink and embossed with clear embossing powder.  I sprayed over the tags again, the left with denim and wild plum and the right with cranberry.  I dried them off and wiped over the embossed areas with kitchen roll.  I restamped the grungy alphabet in pitch black adirondack ink on the left one and used stamps from the Urban Tapestry plate on the right and middle one.  I used black soot, rusty hinge and walnut stain distress inks to edge the tags.

The middle one was initially sprayed with lettuce, dried off and then stream was applied to to top and bottom of the tag.  The bird image was stamped with clear embossing ink and embossed with black embossing powder.  The top and bottom images and word were stamped in denim.  Hemp was tied around the tag.  It was edged with pine needle distress ink.  Fibres were added to all tags and a pin and disc to the middle one.


Close up of the clear embossing powder over the initial terra cotta wash.


Close up of the embossing over the butterscotch wash.

Friday, 21 May 2010

Dying Fabric


Last night I dyed some scrap pieces of fabric and this morning I hung them on the line to dry out been as it was such a lovely day. I used my diamond glimmer mist to get the yellow colours and my Adirondack cranberry and lettuce colour wash sprays for the reds and greens. I used lots of bits of material most of which I don't know what they are but mixed in there is a cotton hankie, some cheesecloth type fabric and some tumble dryer sheets.

Sunday, 27 September 2009

Gothic Arches - Autumn


This weeks Gothic Arch theme is autumn. I stamped my Mona and placed her in an embossed cuttlebug frame smeared over with distress inks. I cut the leaves and acorns with my cuttlebug and water coloured them to get the paler colours. The backing is a piece of tumble dryer sheet sprayed with adirondak colour wash sprays. Still deciding whether or not to add a word!!!!

Sunday, 23 August 2009

Gothic Arch Challenge - Cities


I joined in with the Gothic arch challenge again this week as the theme was cities. I created a background using peeled paint, shabby shutters and mustard seed distressed inks and sprayed them with a mix of mustard seed and water distressed re-inkers and another mixture of perfect pearls and gum arabic, this gave it a shine. Once dried I sprayed with wild plum adirondack colour wash spray, not before covering my hands in it first!!! I stamped my image three times over the paper, drew an arch around one of them to use as my base and then cut several pieces out of the other two so I could build them up onto the first image. I then added the word 'cities' down the right. You don't really get the 3d effect from this photo!!!!

Saturday, 21 February 2009

Lotstodo Week 8 - The Eyes Have It


The background for this piece is the same as last weeks entry using the acrylic dabbers and corrigated cardboard. I coated the 'red' plastic frame with pearl acrylic, left it to dry, added some copper wire and beads and printed the quote 'seeing is not always believing' onto safmat. I stamped the eye image, using black stazon, onto a piece of background paper that I'd prepared when playing with my leaves and adirondack colour washes, for technique click here. The flourishes and moon are die cut from a coke can and the button has been painted silver. I meant to give the metal a bash with my textured hammer but I'd already stuck it down before I realised I'd not done it!!!!

Saturday, 26 July 2008

Adirondak Colour Layering


Got up early this morning and took Fraz to the woods. Of course, I had an ulteria motive, I needed some decent leaves!!! I carried out the same process as before but used less of the spray. I'm quite pleased with the results and at least this time, they do look like leaves!! Top set cranberry, middle, wild plum and bottom lettuce, all adirondak colour wash sprays.


These are the results after the alcohol inks and the blending solution have been applied. I am pleased with the first 4 but I don't think the green is a dark enough colour to start the background off. I started to use cranberry alcohol ink and quickly decided it was to dark. On the opposite side I tried the gold metalic but that didn't work either, so I switched to butterscotch for the remainder

Friday, 25 July 2008

Adirondak Colour Layering


Had a go at Adirondak Layering, but it didn't work out as planned. I covered the initial piece too throughly, so when I came to add the alcohol ink and blending solution it didn't do an awful lot. So I decided to add another colour alcohol ink to the left hand side just to see what would happen. The bottom photo is a bit dark, but it's actually turned out ok and I am hoping they look even better when I cut the page into the sizes I need.

For more info and to find out what should happen check out http://www.orientalstampart1.com/TechniqueClasses/layeredadirondacks.html

Blog Archive