Showing posts with label Antiquing Cream. Show all posts

Saturday, 24 June 2017

Hearts and Cherubs


Yesterday I made some moulds from clay from my new Prima set. Poured ivory Powertex over the mdf heart, set the clay piece in, added some sand balls and cotton scrim and then sprayed with yellow bister to create the crackle with a hairdryer.


I used gold and green pigments to bring out some of the textures.
 

And in complete contrast, I applied modelling paste through a stencil and when dry, painted the heart with rouge chalky finish paint and hi-lighted the stencilling with black metalic lustre.


I painted the cherub with black chalky paint, added a layer of grey antiquing cream and wiped back.


The same, but completely different!!!

Friday, 28 April 2017

Rustic Style Tag


I came across this video by France Papillon which I partly used to create this tag but obviously me being me, I wavered off and put my own slant on it.


Added a coat of white tinting base, a layer of weathered wood on the stencilled area and then a coat of paynes grey and dark grey and wiped back.


After a layer of ultra matte media varnish I applied a layer of patina antiquing cream and again wiped back.


Added quinacridone gold.


Next I added champagne metallic lustre over some of the stencilling.


Added more quin gold until I was happy with the look.


Added some script stamping with white chalky paint and coloured a few chipboard pieces.


Wrapped rusty wire around the circle and added the heart.


Close up of the stenciling and quin gold over the lustre.


Close up of the top of the tag, more metallic lustre and the stamping.


And finally the finished tag.

All products are from the DecoArt range.

Wednesday, 1 February 2017

Valentines Theme Swap


Over on a FB group I'm in we are having a valentines themed swap, so mine was hearts, hearts, hearts.


Close up of the crackle


The layered hearts and the tulip paint.


More crackle!


Saturday, 28 January 2017

Pocket Letter Atc Set


Chris enticed me into a swap of 9 atcs with a theme running through them all. I got to choose the theme for her, so I chose shades of pink, black and white and butterflies. Now apparently they are called pocket letters as they are meant to have an element of surprise.


So my element of surprise was on the back. These are the backs, basically another set of 9 atcs with a theme.

We are at a Powertex workshop in Nottingham today, so we are swapping them there, hope she likes them and the surprise!!!

Sunday, 11 December 2016

A Play Inspired by Andy Skinner on Hochanda


After watching the rewind shows of Andy Skinner and DecoArt on Hochanda I was inspired to have a play yesterday. I didn't really have anything in mind, just got a few pieces of mdf out and tried out some techniques, most of which I've done before. Was slightly gutted when I emptied my whole mdf box to find I'd got no large tags left :o(


As I say, I had no real idea of what was going to go with what, so this morning once everything was completely dry, I started to assemble pieces and these are what I came up with.


The mini dream tag was originally meant for this background, but I love how the colours in the heart just co-ordinated perfectly.


I used prussian blue hue to enhance the cracks in the heart.


Lots of rust techniques going on in this one.


Close up of the rusty heart and cog.


I wanted to put this on a tag with a white background with a large crackle but instead I used a piece of embossed rust effect card and a piece of corrugated that I'd made at some other time.


Close up of the heart which was stamped and crackled on the 3 corners and then black antiquing cream used to enhance the cracks.


Close up of the rusted embossed card. You can see how I made this here.


This was one of Andy's new techniques, well the technique isn't new, it's the product you use that is different, luckily I had some triple thick glaze and the colours dispersed perfectly.


I stenciled the word onto a mini mdf tag and covered with clear media crackle and I got some wonderful cracks. I used white antiquing cream to enhance them.


And finally my large heart simply painted with relic and stamped with one of Andy's background stamps in everlasting chalky paint. 


Sunday, 13 November 2016

A Play with Rust


So as the sun was shining this morning, I decided to have a play with a few rust techniques as demonstrated by Andy Skinner, or a variation of!


I passed all the pieces of card through an embossing folder to give them some tooth. I sprayed this one with black media mister and painted over with quin gold, after a coat of ultra matte varnish to seal it, I used a graphite pencil to further bring out the textures.


I did exactly the same on this one as I did on the one above. I actually wish I'd have added more of the mister to start with a darker background.


This piece is literally a coat of the AS dirty wash (quin gold, mixed with paynes grey, mixed with ultra matte varnish) and rubbed over with the graphite pencil.


On this one I used antiquing creams. Base coat of medium grey 6, coat of patina antiquing cream, wiped back, sealed with ultra matte varnish, a coat of white antiquing cream, wiped back, coat of ultra matte varnish and finally a watery coat of the dirty wash just to tone down the white antiquing cream.


Added texture sand paste to the embossed card, coloured with a mix of tinting base and paynes grey.  Added carbon black around the edges, a layer of paynes grey wash all over and then a coat of quin gold. Finished with a coat of ultra matte varnish and again used the graphite pencil.


And finally I used black and white antiquing cream for this piece. Base colour is dark grey 3, a coat of black antiquing cream, wiped back and sealed with ultra matte varnish. A coat of quin gold, followed by a coat of white antiquing cream, wiped back and sealed with ultra matte varnish and finally a coat of the dirty wash, again to tone down the white and a rub over with the pencil.

No sure what I'm going to do with them yet, but was great to get messy and grungy again.

Thursday, 25 August 2016

A Couple of Tags


Finally felt okay enough to be able to move some stash around to get to other stuff and ended up making these two tags. I've been wanting to do something like this for a few weeks now.


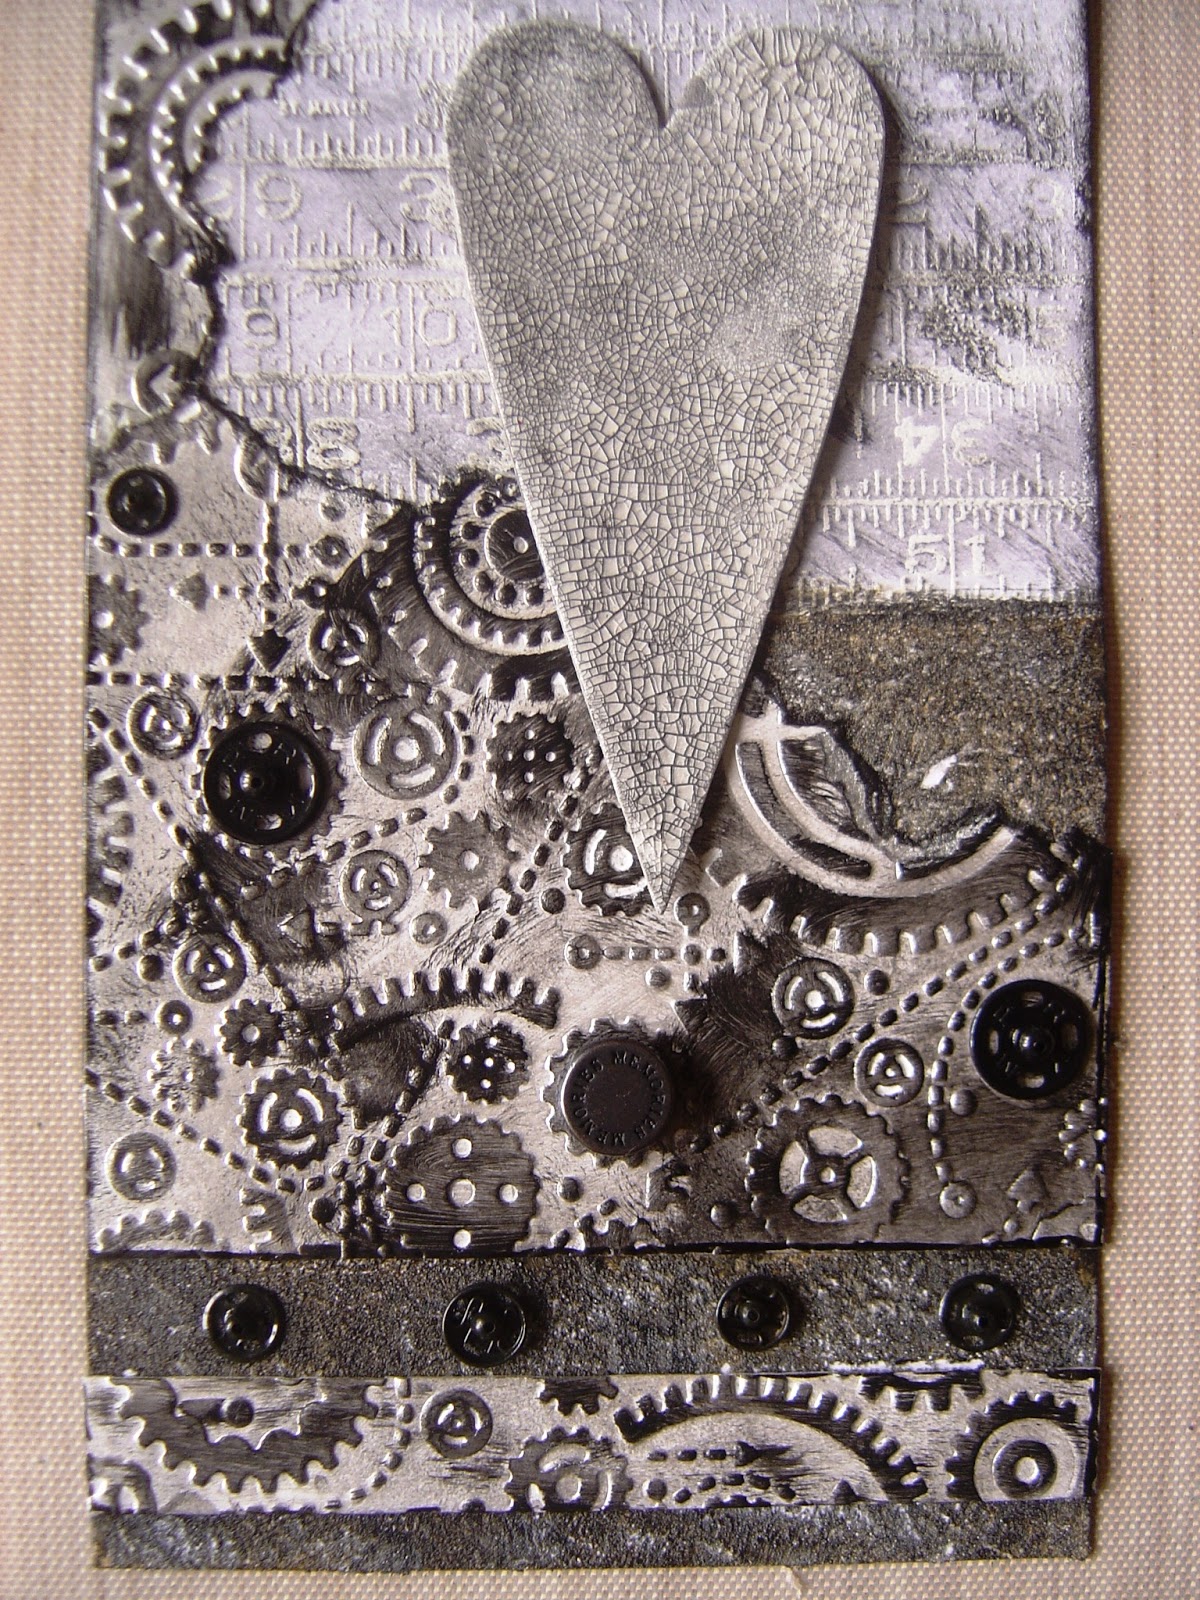
I embossed the card using a cog folder, coloured it in silver Decoart media paint and then rubbed over it with black carbon media paint.


The top half is white embossed and coloured with carbon black media paint and wiped back.


Crackle paint on the heart and covered with black antiquing cream and wiped back.


Pretty much did the same with this one except I used gold and transparent yellow oxide for the embossed background and again I tinted it with carbon black Decoart media paint.


The embossed stamping was coloured with platinum silver embossing powder. I used a dirty wash for the background and added a wooden cog.

All products used are from the DecoArt media range.


Thursday, 19 May 2016

Friday 13th Atc's


I started off by mixing media texture sand paste with ultra matte varnish and randomly spread it on three white pieces of card cut to atc size.


Once dry, I gave each one a coat of media paynes grey mixed with a hint of tinting base and continued to add different colours of media paint until I was happy with the backgrounds.


Next I added the images and gave everything a coat of ultra matte varnish. Once dry I applied clear crackle glaze to parts of the atcs.


I used a combination of black and brown antiquing cream over the crackles, although they blended the images into the background quite well, they didn't really enhance the cracks, so I went back in with the white. 


I cut some chicken wire and coloured it with quin gold, used mini staples to attach it and painted them quin gold too. 


I added the chit chat words and gave them a coat of Andy's dirty wash to tone down the white.


Again added a chit chat phrase and used the dirty wash to tone it down. The X is from my new dies.


I used the media mister to drip the red paint down the atc.

That's Crafty have a theme of Friday 13th.

All products are from DecoArt media range.

Blog Archive