Showing posts with label glass micro beads. Show all posts

Sunday, 31 January 2016

Cogs and Hearts Canvas


Texture paste and mircobeads painted on the canvas, when dry painted with night sky multi surface satin, copper metallic lustre used to hi-light the textures from the microbeads. Lots of embellishments and die cuts added to create the collage.


Close up of the crackled heart and the wooden cogs.


Close up of the microbeads.

All products used are from the DecoArt range.


Sunday, 11 October 2015

Mini Wooden Background Textures


I put a bit of each of the above in a mixing pot and spread it on some wooden mdf shapes.


I put a thin layer on the tag, two layers on the atc and a thick layer on the heart. Dried them with a heat gun and they bubbled, hissed and went sticky. I left them to dry off and then painted them in DA carbon black acrylic from the media range. I'd forgotten how good this stuff is. Great coverage, only one coat needed.


Next I added some of the DA metallic lustres and as you can see the texture has really popped.


I used champagne ice and emerald on the atc, turquoise, black shimmer and silver on the tag and copper kettle, orange flicker and iced espresso on the heart. I buffed them up with a dry cloth.

I'll be back again when I make them into something x.

Tuesday, 1 September 2015

Another Journal Page


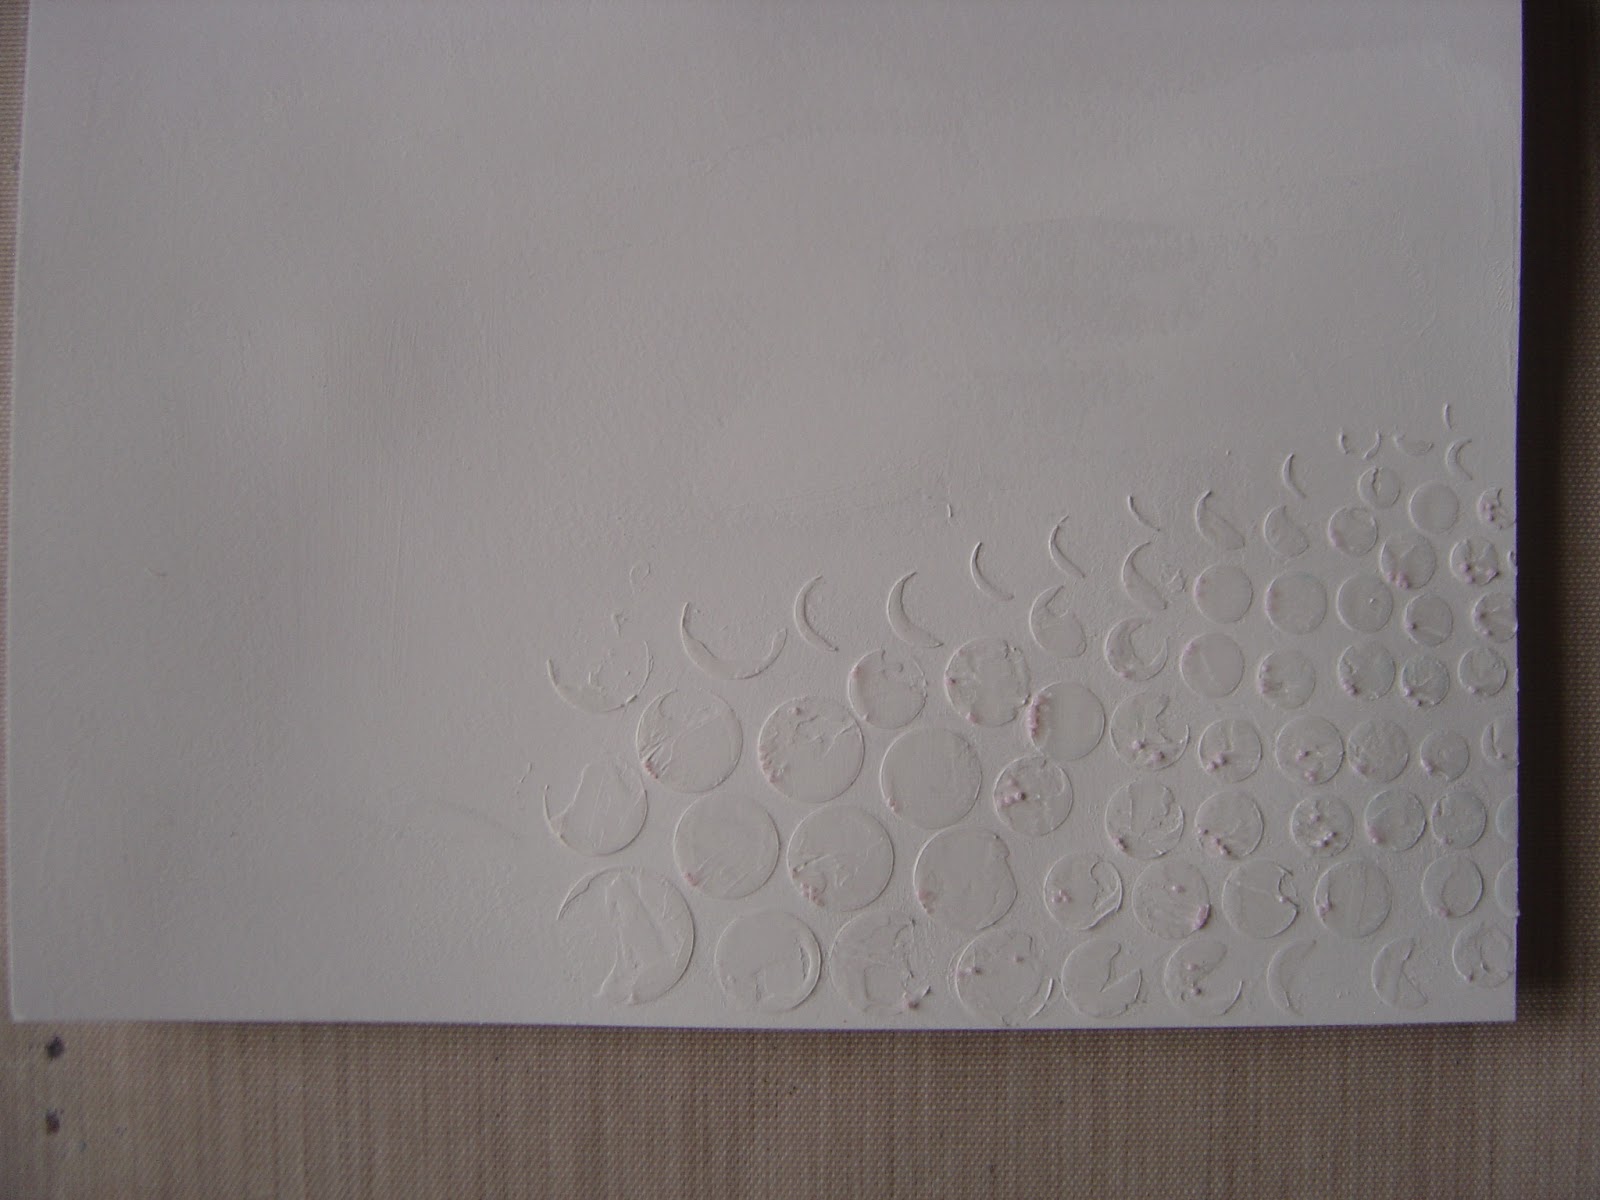
As usual, I mixed up too much paste to put through a stencil, so I used the rest up on another page through this circles stencil.


Used a Lindy's Moon Shadow mist spray and then faded jeans colour wash sprays to drip onto the texture.


Coloured the background with a shade of blue and brown pan pastel and stamped in gathered twig distress but spritzed the stamp with water for a more distressed look.


This one was taken this morning in daylight!!
 

And finally I added some stamping from a Finn plate.


Monday, 31 August 2015

The Two of Us


Golden regular gel mixed with a bit of matte medium and micro beads added and put through a stencil onto a journal page.


Once dry I spritzed the page with water, added some black media mister, dried it, mixed up some silver primary elements and used a pipette to apply it over the texture. Again sprayed to let it drip. 


I used the white shimmer media mister from the top of the page and let it drip down, again using water to help it move around.


I coloured the rest of the page with pan pastels.


Next I lightly stamped in black soot distress ink using a stamp from the Andy Skinner industrial set.


Stamped my new to me girls, masked them off, added the Ryn water droplets plus a few along the top with stickers from the chit chat idea-ology set to finish.


And I thought I'd finished but I just couldn't resist adding a bit of white pen.

Saturday, 22 August 2015

Textured Canvas


Carrying on with the PA theme of mediums and gels I randomly placed some on the above canvas board.


I didn't have any with the beads in so I made my own.


Once completely dry, which takes absolutely ages! I sprayed with black and turquoise shimmer media misters.


And then I found a bottle of Lindys Stamp Gang Starburst stain in Opal Sea Oats. I don't have it in a spray but in a bottle with a dabber top, anyway it worked great. The above photo was taken outside.


I stamped the Brette Weldele images from the presenters plate and coloured with distress ink markers. I added lots of embellishments but didn't want to cover any of the textured areas over.

Monday, 23 December 2013

More Metal Effect Atc's


Destiny - I embossed the sticky silver foil the wrong way round so the pattern was in fact de-bossed but it didn't matter, it just meant the alcohol ink sat on the top.


I stamped into a piece of the foil covered card, not very straight, but it worked out okay. I also gave the brads a bash with T!m's hammer.


New Beginnings - Before I stuck down the sticky silver foil I put some glass micro beads on the card for extra texture.


Discover - More micro beads, wire, washer and eyelets.


And here are all 3 side by side.

Tuesday, 17 December 2013

Micro Beads & Corrugated


I started playing with some pieces of corrugated, I cut the arches out with the TH die and painted them with lumiere paints. I randomly added glossy accents to some of the grooves and poured in the glass micro beads. I stamped the images onto separate card, cut them out and coloured them with portfolio pastels.


The arch has been cut from a piece running the opposite way.


Close up of the mirco beads in the corrugated grooves.


Exactly the same for this one, except I painted the corrugated in pewter lumiere paints. Stamped the LP image and again coloured with portfolio pastels.  


I started off using the light blue beads but wasn't keen on the contrast, so for the main piece I switched to the darker ones.


Close up of the beads in the grooves.

Monday, 16 December 2013

Dragonfly Duo


I stamped the foliage and the script images very lightly onto the tag by swooshing the ink pad over the stamps. I coloured the background with shaded lilac, seedless preserves and picked raspberry distress inks. The dragonfly image was stamped in versamark ink and the whole image was embossed with black embossing powder. I added an extra two coats to the wings on the left and the body. 


For the forth coat I added shabby pink frantage embossing enamels by Stampendous from their vintage kit, and also along the bottom of the tag.


I did this one in exactly the same way, but used faded jeans, salty ocean, broken china and peacock feathers on the background.


And instead of the frantage enamels, I added silver micro glass beads.

Blog Archive