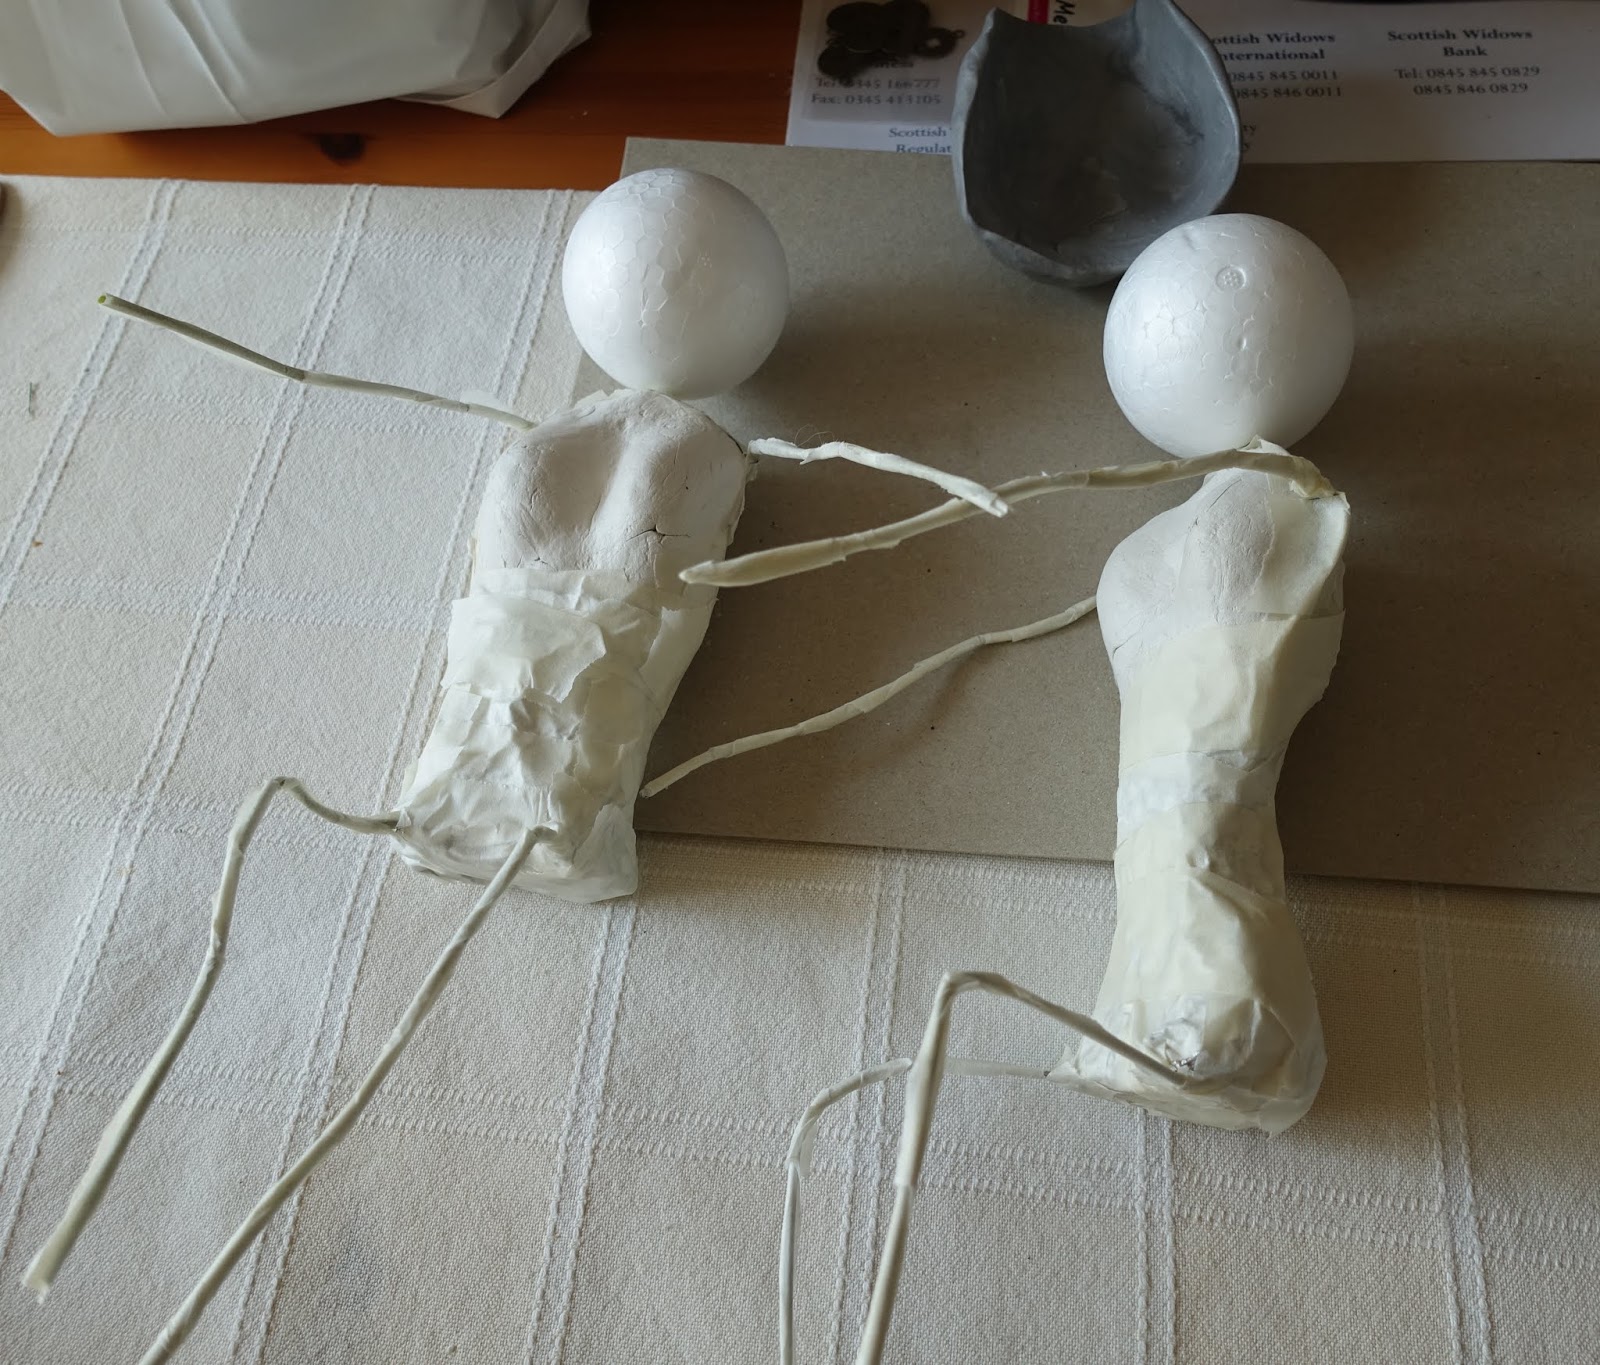
Set up for another Powertex play.

I folded a piece of wire in half and covered in tinfoil. I did this twice. I tend to use the professional catering foil as it's a lot stronger, it doesn't tear like the really cheap stuff does, and you get 75 meters on a roll.

I only had small polystyrene balls left and needed them a bit bigger, so I covered them, again using tinfoil. If I'd have had the 8cm balls I'd have missed this stage out, or if you don't have any balls at all, you can just start with screwing the tinfoil into a ball and then build on it.

Once I'd finished with the foil I covered everything in masking / paper tape. You can Powertex over tinfoil, but sometimes it leaves a shine to it.

Next I took my bottles and covered them in masking tape as Powertex finds it hard to stick to glass. If you don't want to use a glass bottle, you can use a plastic one. I would suggest putting a bit of sand or gravel inside to weigh it down and to stop it falling over.

Here I added the wire piece covered in the foil and tape. I opened up the bare wire I'd left, wrapped it around the bottle and then used more tape to stick it on the bottle.

I placed the ball on the top of the bottle to see what it looked like. Now at this point I could have added ears to the ball using foil and tape, but I decided to leave it and add them on at the end as sometimes the ball just positions itself on the bottle once it's covered in fabric.

I wanted to use hessian to cover the balls to make the head and then make the ears out of this too, so I cut some small pieces of the roll I'd got.

I was kindly sent this bundle of Boodles fabric by Emma Phillips. She'd used some in one of her projects and sent me some to try.

I cut it into different lengths of workable strips. I decided not to keep it in a long piece because it would be too difficult to handle and by the time I'd got Powertex on the last bit, the first bit would probably be dry!

I gave the bottle a coat of Powertex for two reasons. One, Powertex sticks to Powertex, so it acts like a glue. I have found it works better when it's been left for 5 minutes or so, as it goes tacky, so it sticks better. And number two, if I miss any bits it will still show bronze underneath!

Then I simply wrapped the Boodles fabric around the bottle, leaving the tail for the moment.

For the next one, I decided to add more texture, so added in some other bits I had as above to create some interest.

And again, the same process, just cut them into small strips and wrapped them around the bottle.
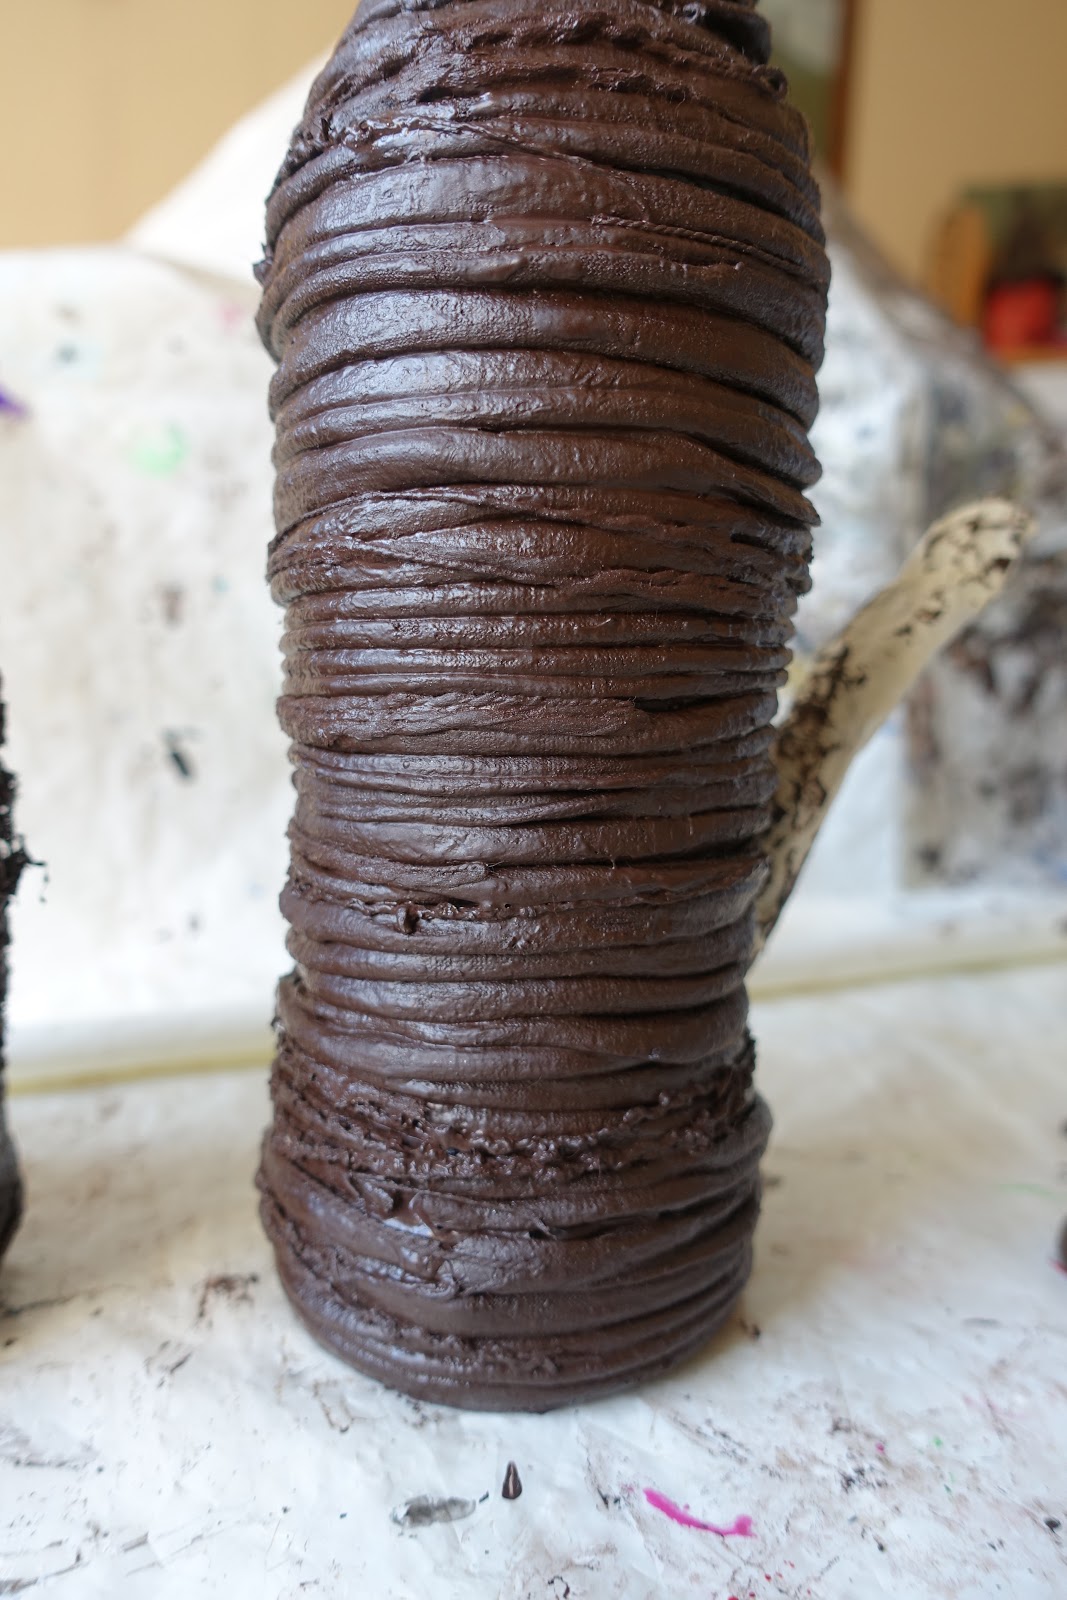
Now as Powertex is so forgiving, you can't really go wrong. If you have missed some areas or not butted it up enough you can simply fill in the gaps with other fabrics. I used some of the small pieces I'd cut in the photo a couple above to fill in some gaps and cover up some of the joints.

So here they are with all the gaps and joints filled in.

I covered some of the ball with my small pieces of hessian.

I left it outside to dry with the other pieces.

Once dry I put it on the bottle neck to see how it best fitted.

Covered the rest of the ball with hessian and stuck it on the top of the neck of the bottle and added some ears, again using the hessian. I did this for both of them and left them in the sun to dry. Can you tell what it is yet?

Then I decided that the tail wasn't long enough for the taller one, so extended it using foil and wire in the same way that I put the original one on.

I covered the extended part of the tail and added some whiskers by cutting three pieces of string to the same length for each one and securing them on with a piece of hessian to create the nose, again using the Powertex as a glue.

I started to colour it with gold pigments. I only started very lightly, which I hope you can see in this photo above. It's best to put less on at first and then keep building up the layers until you like what you see.

This is a comparison of the pigment against the one on the right which is still the raw Powertex but after it's dried.

And this is what they look like. I personally like to wait until the pieces are fully dry before I apply colour as I find that I can be more aggressive with it especially when dry brushing.

So following the same process I coloured this one too, again building up the layers.

Close up of the body where you can see how the pigments have brought the texture out.

Close up of the tail. Remember I extended it.

Comparison of the two colours and textures.

Close up of the larger cats face. I made him a pair of glasses out of green florist wire. His whiskers are pieces of string.

Close up of the smaller face and again I made some glasses and he has whiskers too.

And here they are together. Love how they turned out.
Emma initially sparked off this idea I had when she covered a tall thin vase with the Boodles and then one of the Powertex tutors did a workshop on similar lines. Great minds think alike I guess.