Showing posts with label Nesties. Show all posts

Thursday, 10 July 2014

Triple Frame Hanging


After I returned from the AS weekend, using the products I already had, I tried to recreate the grit effect on this trio of circle frames.


I gave them all a coat of white gesso, and mixed equal amounts of matte medium and coarse pumice gel by Golden and applied to the outsides of each of the frames.


I stamped some LP oriental images onto a piece of card that I'd previously coloured with alcohol inks.


I die cut all the images with a spellbinders nesties circle die.


Unfortunately they were still too big and I had to cut them down further.


Painted the frames in little black dress and hi-lighted with treasure gold.


Finished piece hanging from the light fitting!!

Sunday, 22 June 2014

Oriental Plaque


I started off with a fairly small piece of plain MDF.


And then I forgot to take any more photos, and ended up with this.


Close up of the grunge past through the mini bamboo stencil and olive green and oxynite treasure gold.

Artful Times have a theme of made in / on wood.

I'm also entering into this month Artistic Stamper as they have a theme of red.

Monday, 13 January 2014

It's Springtime at Arty Inklings


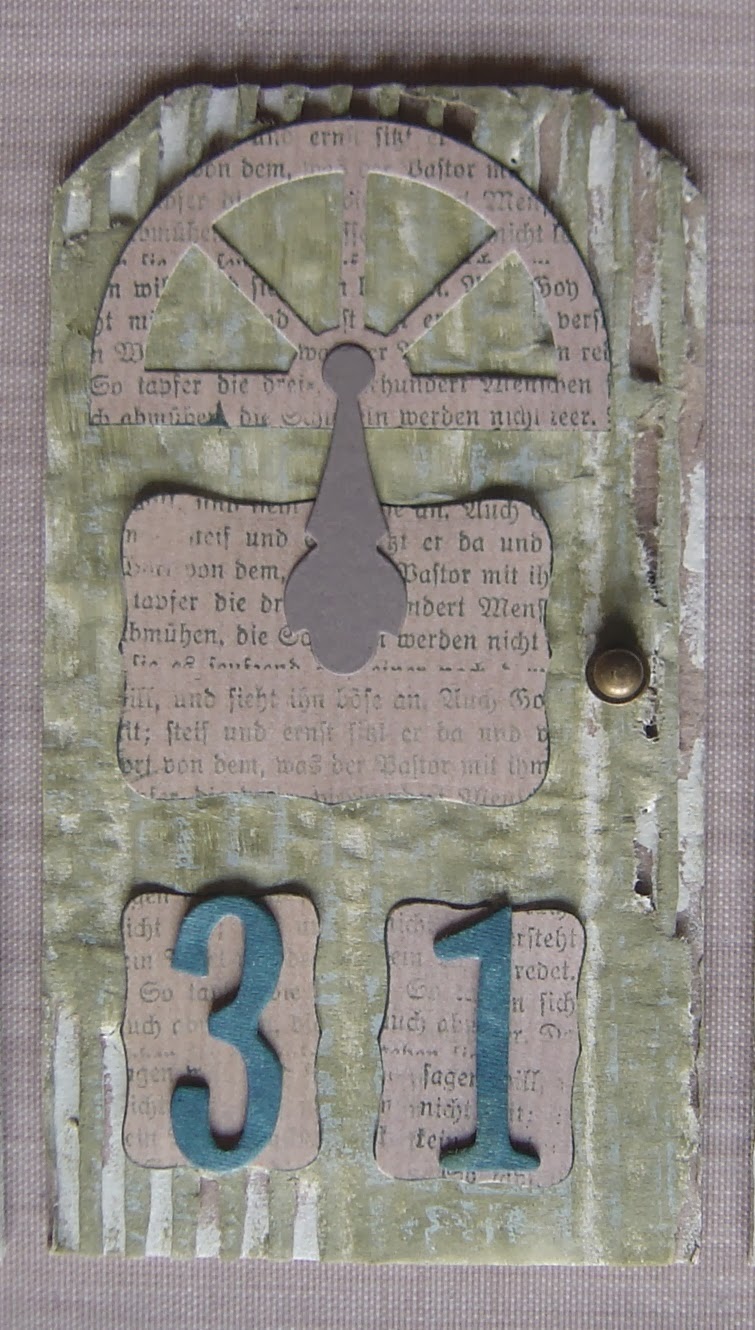
Over at Arty Inklings, Anita has set the challenge of 'springtime' but also wants to see some texture, the colour green and some stamping. So I set to work. I knew I wanted to use some tags and I'd also just got my new T!m foliage die and I wanted to incorporate some corrugated for the texture element and came up with the rough design above.


Then I painted and inked and found a bird, a flower and a button.


Then I created a background using paint, ink, stencils and stamps.


I knew I wanted it in a frame, so painted some thin chipboard pieces in black, but it just didn't work, the background was way too busy.


Then Helen Chilton appeared on the PA blog with this technique here.


But again, it was way to bright for the tags. For me they got lost in it.


So then I went to patterned paper from TH retro pad but it was too plain. Gone from one extreme to the other.


So then I tried to combine the two, again not doing anything for me.


I turned the patterned retro paper over and settled for this.


Close up of the LP image in the arch.


The tag with the flower.


The door which you've seen before in a previous post.


And the birdie tag.


And finally the foliage using my new TH bigz die.

I got there eventually!!!


Thursday, 9 January 2014

Home Sweet Home


Over at Tag Along challenge this week they have a theme of home sweet home. As you can see I have a front door tag. It is eventually going to make part of a larger piece, so I will tell you more about it then.

Thursday, 5 December 2013

A Mini Chrimstmas Wreath


Using the thicker parts of the broom, I cut them into various lengths to fit onto the cardboard hoop I had cut out using Spellbinders nesties.  I also cut a piece of hessian.  I glued all 3 layers together and started to arrange the twigs, sticking them down with the hot glue gun.


I took some of the beaded centres out of some flowers, coloured them red with a sharpie pen, glued them on along with the bows with glossy accents and finally added a ribbon loop so I could hang it.

I had great fun making this with pieces of twigs flying everywhere whilst I was cutting them up.

Arty Inklings have a theme of a Crimble Challenge.

Country View Crafts have a theme of Bah Humbug.

Anything but a Card have a theme of Anything goes....with a holiday twist.

Friday, 4 January 2013

I Accept


Well I have to admit, I was more than a little stumped with this weeks challenge over at Out of a Hat Creations as they have invited everyone to their 'hatters' tea party and would like a reply in keeping with the theme.

The reason I was stumped, I have no stamps, papers, in fact nothing, to reflect anything to do with Alice or a tea party, or even a tea cup!!

I downloaded a teapot template from Google and roughly sketched something like it onto a piece of chipboard.  Run a couple of pieces of kraft card through a clock texture fade and coloured with mustard seed, rusty hinge, iced spruce and walnut stain distress inks and covered the teapot with it.  

Now for the image, well I scoured the tv mag as I knew there had been a bit of a write up about the movie with Mr D, stuck him in the biggest circle nestie I had and cut him out.  I used the smallest circle to create the knob on the lid. 

Then I stamped my acceptance to the party.

I now need to apologise to Sandra as I didn't scroll all the way down the post and I didn't see her creation until I'd finished mine.  I didn't copy honestly, great minds just think alike!!!!

Friday, 21 December 2012

Christmas Ornament


Over at Stampotique this week they are asking for Christmas ornaments to hang on a tree, the front door or a present.  I chose to make a Christmas tree hanging.

Simon Says Stamp have an anything christmassy theme and PanPastelUK have the theme of Christmas time.

I took 3 bottle tops and ran them through the big shot to squish them flat.  I stamped a couple of Stampotique Scary Mary images onto white card, used my smallest circles spellbinder nestie, selected various sections of the images and die cut them.  I coloured them with distress inks and distress markers.  I couldn't resist and added a pair of legs from another image!!!

I can't show you it hanging on a tree, as I don't have one and it's raining outside!!!

Saturday, 1 December 2012

A Layered Tag


Most of the layers have been painted with Fresco paints.  Image stamped with black stazon on a piece of card which has been cracked and cut with a spellbinder die.  


Saturday, 17 November 2012

Have a Heart Tag


Last one, I promise!!!  


Again covered with white fire liquid leaf.


Then I used a colour I don't normally use, red.


But I toned it down a bit with the bronze.  Again I used the lumiere paints.


And lastly, the finished tag.

Friday, 16 November 2012

Another Textured Tag


Can you tell I mixed up way too much texture paste and puff paint!!


This time I covered the whole tag with white fire liquid leaf.


I rubbed over the whole of the tag with onyxite treasure gold.


The finished tag.

Wednesday, 14 November 2012

Shades of Green


More texture paste and puff paint through a stencil onto the tag and heated.


Coloured with olive green lumiere paint.


The top section has been accented with olive bronze treasure gold and the bottom section with onyxite treasure gold.


The embellished tag.  The image is stamped onto a crackled background cut with a nesties spellbinder. For some reason the light has really picked up on the colour of the crushed olive distress stain used to colour the lace.  It's nowhere near that bright IRL!!!

Wednesday, 18 April 2012

One for the Boys


This week over on the PanPastel challenge blog their theme is 'one for the boys'.  The card was run through T!m's brick texture fade and coloured with various colours of pan pastels.  I die cut the umbrella man and gave him a honeycomb umbrella.  The nestie was die cut and stamped with T!m's quote.  The edges were lightly coloured with distress ink.


This week Simon says stamp & show has the theme of 'anything goes' so I am also entering this piece into their challenge.

Monday, 31 October 2011

Quick Wedding Card


We need a card for next Sunday as Martins niece is getting married.  So I quickly made this primarily from a napkin and a doily.  I die cut the shape, coloured the background with old paper distress stain and the new brown distress ink (can't think of the name), stamped the letters and added the flowers, brads and key charm. I lightly coloured the card with tattered rose distress ink and stamped some flourishes in the same colour.

Monday, 17 October 2011

Birthday Cards


I had to make a couple of males cards for birthdays on Thursday.  My nephew and brother in law.  


The backgrounds were created using lots of ink sprays, denim and stream from the TH range and cyan and aubergine from the dylusions range. I used the black eco-friendly acrylic paint to create the lines and circles.  I used my new distrezz it tool around all the edges and coloured them with faded jeans distress stain.  I ran a piece of DCWV white core card through the circles embossing folder and sanded it back. I stamped the birthday wishes and glued them on.

Saturday, 4 September 2010

18th Card


This card was a happy accident as I wasn't planning on making it yet as it isn't until the 20th of October and I had no idea of what to make.  But over on KCUK group this months challenge is to use part of a stamp, cut it out and mount it onto something else.  I used the jeans from the PBS 'dreamer' plate, of course the colour is faded jeans distress ink, although on the photo they do look extremely bright, but they aren't!!!  Then I cut a nesties shape from a piece of red script paper (again this looks pink) and a larger one from a piece of green and gold card.  I like to use this as it sands back really, really well.  I run it through the big shot using the happy birthday embossing folder and distressed it with a sanding block.  So this was now shaping up to look like a male card, due to the image and the colours. I folded a piece of A4 card in half but it needed a little something else, so I cut a piece of the navy blue to matt but created a border down one edge with the EK Success bubbles border punch for a bit of variety. I cut the numbers from the Red Tag Sale alphabet cuttlebug dies and the letters from the Hippy Chick set and glued them on.

So thanks to Cath for the challenge and for the inspiration to make the card.

Sunday, 6 June 2010

Lotstodo Challenge - Bees Wax


This weeks Lotstodo challenge is Bees Wax. So this afternoon I got my meltpot out and had a play. The background was run through an embossing folder, coloured and scrunched with distressed inks. The brown diagonal square nestie was sewn on. The quote is stamped in pumpkin stazon, cut out, chalked over and attached and coated in bees wax. The edges have been decorated with zig zag stitiches.


I burnt around the edges of a piece of corrugated cardboard with a candle flame. I dipped each side into a bowl of water to put the smouldering out!!! and then dried it with a heat gun. I covered the whole image in bees wax and when dry scraped some of the wax off their faces. The 'when?' is also stuck on with some bees wax. Finally I attached a piece of string for a hanger and applied wax to the knots.

Blog Archive