Showing posts with label AS stamps. Show all posts

Thursday, 11 January 2018

Mystery 101 - Eve


Using the fabulous ARTZONE stencils designed by Deb Wainwright I created this piece. The background has been coloured with a wash of magenta and dioxazine Decoart premium acrylics. I used titanium white through the essentials 1 and patterns stencils. The main image, Eve, was stencilled with prussian blue.

All the stencils (and more) can be found in Debs online shop here. If you get chance, please pay a visit. They retail at £5.75 and are excellent value. They are made from a very robust material and because of this they are very to use and also easy to clean. They are also very versatile as they can be used either way, which you will see in another post.

Friday, 14 July 2017

Tags


I stamped on some of the tag backgrounds I made eariler. I used Dina Wakley stamps for the main images and used black soot oxides to stamp with.


These are stamped with black stazon as I wanted to see the difference.

Saturday, 24 June 2017

A Couple of Oxide Tags


Created the background with the distress oxides. Seth border stamps and my new steampunk man stamped in timber brown stazon and then an Andy Skinner stamp lightly stamped in the background.


And more or less the same with this one. Seth border stamp, Andy skinner main images and background stamp all stamped in timber brown stazon.


And the pair side by side.

Saturday, 6 May 2017

Oxide Cards


I used a couple of my oxide backgrounds to make these two birthday cards which I can now show you as they have both been received.


For the explanation of how I created the backgrounds check out the blog post here.

Sunday, 9 April 2017

Another Oxides Play


So this morning saw me have another play with the oxides to see what else I could do with them. I created stripes using a paintbrush here. On the left is white cardstock and on the right is kraft cardstock.


I used them on glossy card too, it really sucked the colours out!


And yesterday my friend Helen told me that she'd been at a make and take and they'd stamped with water and got a good impression. She told me to really wet the stamp, hold it in place for a while and then blot it, which I did above, but again for me, it didn't work. However, it may be the type of card I used, so I won't give up yet!


For this one I used the blending tool and went direct from ink pad to card, spritzed the card and dried and as I was wafting the heat gun I kept adding more sprays of water. I went back in and added some broken china to the faded jeans, peeled paint and iced spruce.


I used a paintbrush to place the colours on this piece of card, it's much more controlable especially if you need to have certain colours in certain places. I dried before adding the next colour.


I wanted to see how they stamped with a detailed stamp and how they also stamped on kraft card. I used the red oxide and stamped onto watercolour card and then twice onto the kraft card. 


I spritzed the right image very lightly with water from quite a distance and then dried it. It's sort of given it an embossed look. Not sure if you can see the difference between them in this photo.


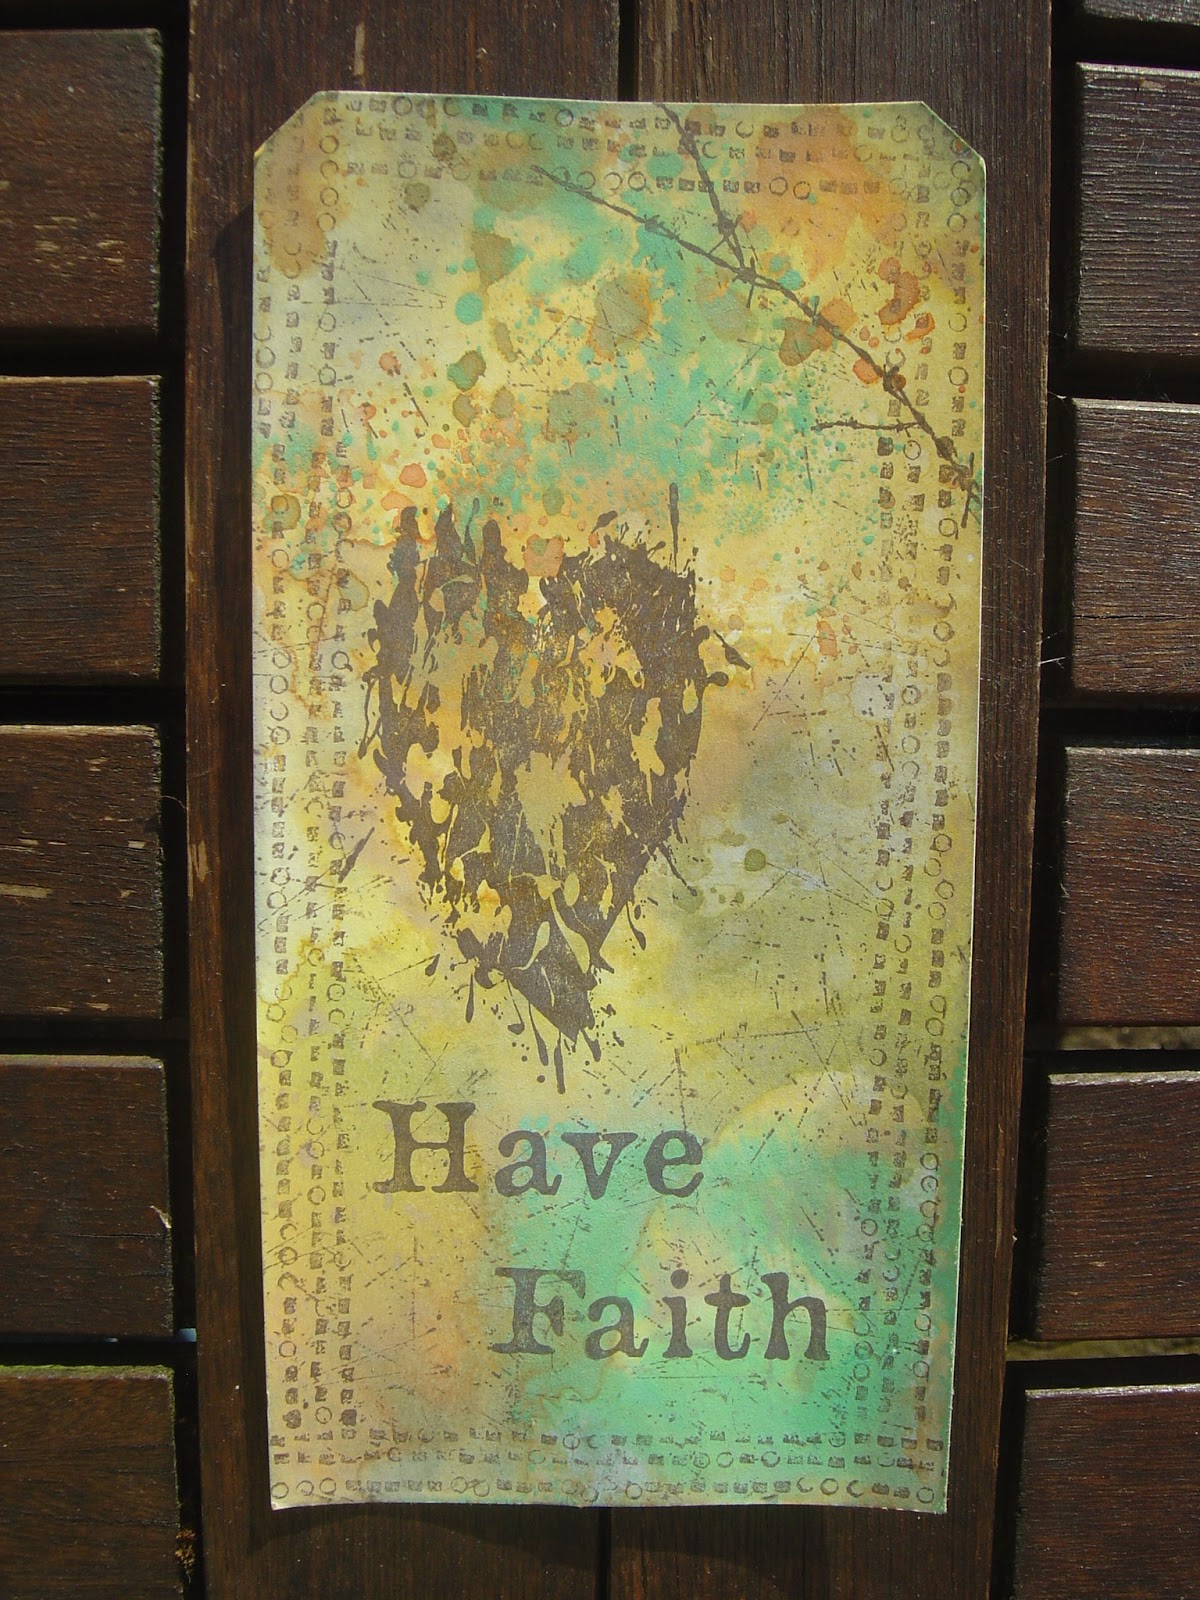
I used the ink blending tool for this background, I gave it a spritz and love how it came out, this is onto watercolour card. As I liked it so much I didn't add any further layers. I tried spritzing the stamp heavily with water again to remove the ink and although it worked quite well, you couldn't make out the image as I'm guessing it was too detailed. I just ended up with the outside edges, so I decided to over stamp it with the faded jeans and again not sure if you can see or not, but it looks like it's got a shadow around it. 


This is the stamp I used and once I'd stamped it above, I spritzed it and got three impressions.


I took the inkpads directly to the card for this one and didn't do anything else to it. I also left it to dry naturally. 


I again tried to do the stamping with the water spritzed stamp to remove the colour. You can sort of see here at the bottom that you can see the outside image but it's very faint. It just looks like a watermark.


And I don't even know if you will see this one, but I stamped the word unexplained right at the very top, again, it's very ghostly.

Still more play time needed!!!

Saturday, 8 April 2017

Oxides Play


I now have 11 of my 12 oxides, just awaiting delivery of fossilized amber to make up the full set. So today I had another play with them and tried out a few different things, so here goes.


This is the pink, red and orange. I put the colours down on the craft mat, but spritzed the card and not the inks.


Not sure if you can see or not but I tried two different water techniques on this, where the faded out blotches are is where I threw some water onto the background and used my rag to lift off the water. Where there looks to be colour around the blobs, that's where I again threw some water on, but immediately dried it with a heat tool and it wicked the colour and settled around the water blob.


And for this one I created the background by using the round distress tool and the sponges to add the peeled paint and broken china to the background, put some faded jeans down onto the craft mat, spritzed and picked some up. Next I stamped in vintage photo with the AS background stamp. I spritzed the stamp and also stamped.


For this one I used peeled paint, faded jeans and wilted violet putting the colours on the craft mat, spritzing them and picking up the colours. I went around the edges with the peeled paint and distress tool direct from the ink pad. I spritzed the AS background stamp with water and stamped it into the background piece. Love how this one turned out.


I used loads of colours on this one creating loads of layers. When I had something I liked again I spritzed the stamp with water an removed the colour with the stamp. As it puddled in places, it did the wicking thing.


Next I decided to try a stamp with an image as opposed to a background stamp. I thought for some reason it might work better on a dark background, so I used walnut stain and vintage photo to create the background. I took the AS heart and wings stamp and sprayed it with water. As you can just about make out, (look level with the actual stamp) I didn't get much of an impression, so I tried the words and again you can just about make it out. So if you want a faded image in the background effect, this would work perfectly.


This background is just a mop up of the above and I also added some orange to lighten it up a bit. In the white space I stamped the heart and wings image with what I had removed from the background of the one immediately above and as you can just about make out, I didn't get much off it, but again, if you just want something very subtle, it's a great way to use the stamp.


And finally I stamped with them, the heart and wings is the second stamping after I'd spritzed the stamp and the top eye image is the first impression and then then second and finally the third. They stamp really nicely.

Next I want to experiment with them on my geli plate as they stay wet quite a while so I'm sure they would work.

Sunday, 2 April 2017

Oxides Play


So this morning I only had a couple of hours to play as due to going out yesterday, I had to go food shopping which is a pain on a Sunday as they don't open until 10am. So when I'd got back, I cracked open the nine oxides and had a play.


I didn't really have anything in mind, I just wanted to try them on different surfaces, differing amounts of water and different colour combos, so this is what I ended up with.
 

I decided to cut this piece in half and also have a play with my new to me Seth Apter stamp sets, I got two sets of boarders and the rotary set. I'm hoping to find a suitable focal image for the one on the left.


I also had a play with my new to me Andy Skinner stamp sets too. I used coloured stazon as I wanted to know how it would stand up on the oxides background.


I just simply stamped with black stazon on this one.


Was curious to know how the black stazon would work against the walnut stain oxide. 


And finally I decided to stamp with the oxides and I have to say, I'm very impressed with how they stamp.

Unfortunately it's a bit dull outside today, ie no sun, so the photos look slightly darker than the actual pieces do in real life.

Friday, 10 February 2017

Acrylic Crackle Square


Having watched Andy Skinner on Hochanda on Wednesday, I searched for some acrylic shapes and came across these 3" x 3" squares which I think Chris sent to me as part of a prize. I didn't have any two step crackle so decided to see if it would work with clear media crackle, which as you can see, it did.


Next I made up a wash of media paint to seep into the cracks to further hi-light them.


Next I found out why it was important to stamp the substrate first instead of after the crackle has been applied. The stazon when stamped took some of the crackle off when the stamp was pulled away. But I carried on and painted the triangle of the eye with titan buff media paint.


Once the titan was dry I painted the background with pyrrole red and then heat set.


And finally I peeled the backing off, which then became the front and this is what was revealed. Where the paint has splodged is where the stamp pulled the crackle off.

Had good fun playing though. All the products were from the DecoArt media range.

Sunday, 15 January 2017

Layers and more layers


I couldn't even begin to tell you how many layers this piece of card has taken, I simply just kept going until I liked what I saw. There is brayering, stenciling, stamping and I must have used about twelve different colours and varieties of paint from the DecoArt range. I had some of Seth dies already cut, so grabbed a handful and started to place them on the background, as this is what I ended up with, which incidently was nothing like what it started out as! Finally I added the black words and 'X's. 

I'm sat looking at this photo and I'm thinking that something needs to added to the space at the bottom between the two sets of 'x's. I may go back in and add another word in black.

Little Book of Wonder


I'm involved in a swap over on a Facebook group and the criteria was for it to be no larger than 4" x 4" with a maximum of 12 pages / signatures, decorated in whatever medium you fancy or how you like, with quotes on at least half of the amount of pages you have in your book.


All the quotes are stamped in a coloured stazon.


The pages were painted with DecoArt multi satin paints and stamped in co-ordinating colour of stazon inks.


Also included are some images including ones from Teesha Moore.


I used DecoArt chalky black and white paint with lid tops and a credit card to make the marks.


These images are from the Crowabout pages.


This quote is from Stampotique.


This quote is also from Stampotique.


Seth Apter and Andy Skinner stamps used in the backgrounds.


Another Stampotique quote.


And I thought I'd add my name to the back page.


I added a piece of ribbon as a closure for the book.

I hope my swap partner likes it, I had fun making it.

Blog Archive