Showing posts with label Cotton Scrim. Show all posts

Thursday, 16 September 2021

Creepy Doll Lantern


I picked up this lantern from the car boot.


I gave it a coat of black powertex.


I took a mini dolls head and painted it in white gesso.


Then I added some nails and painted the face on.
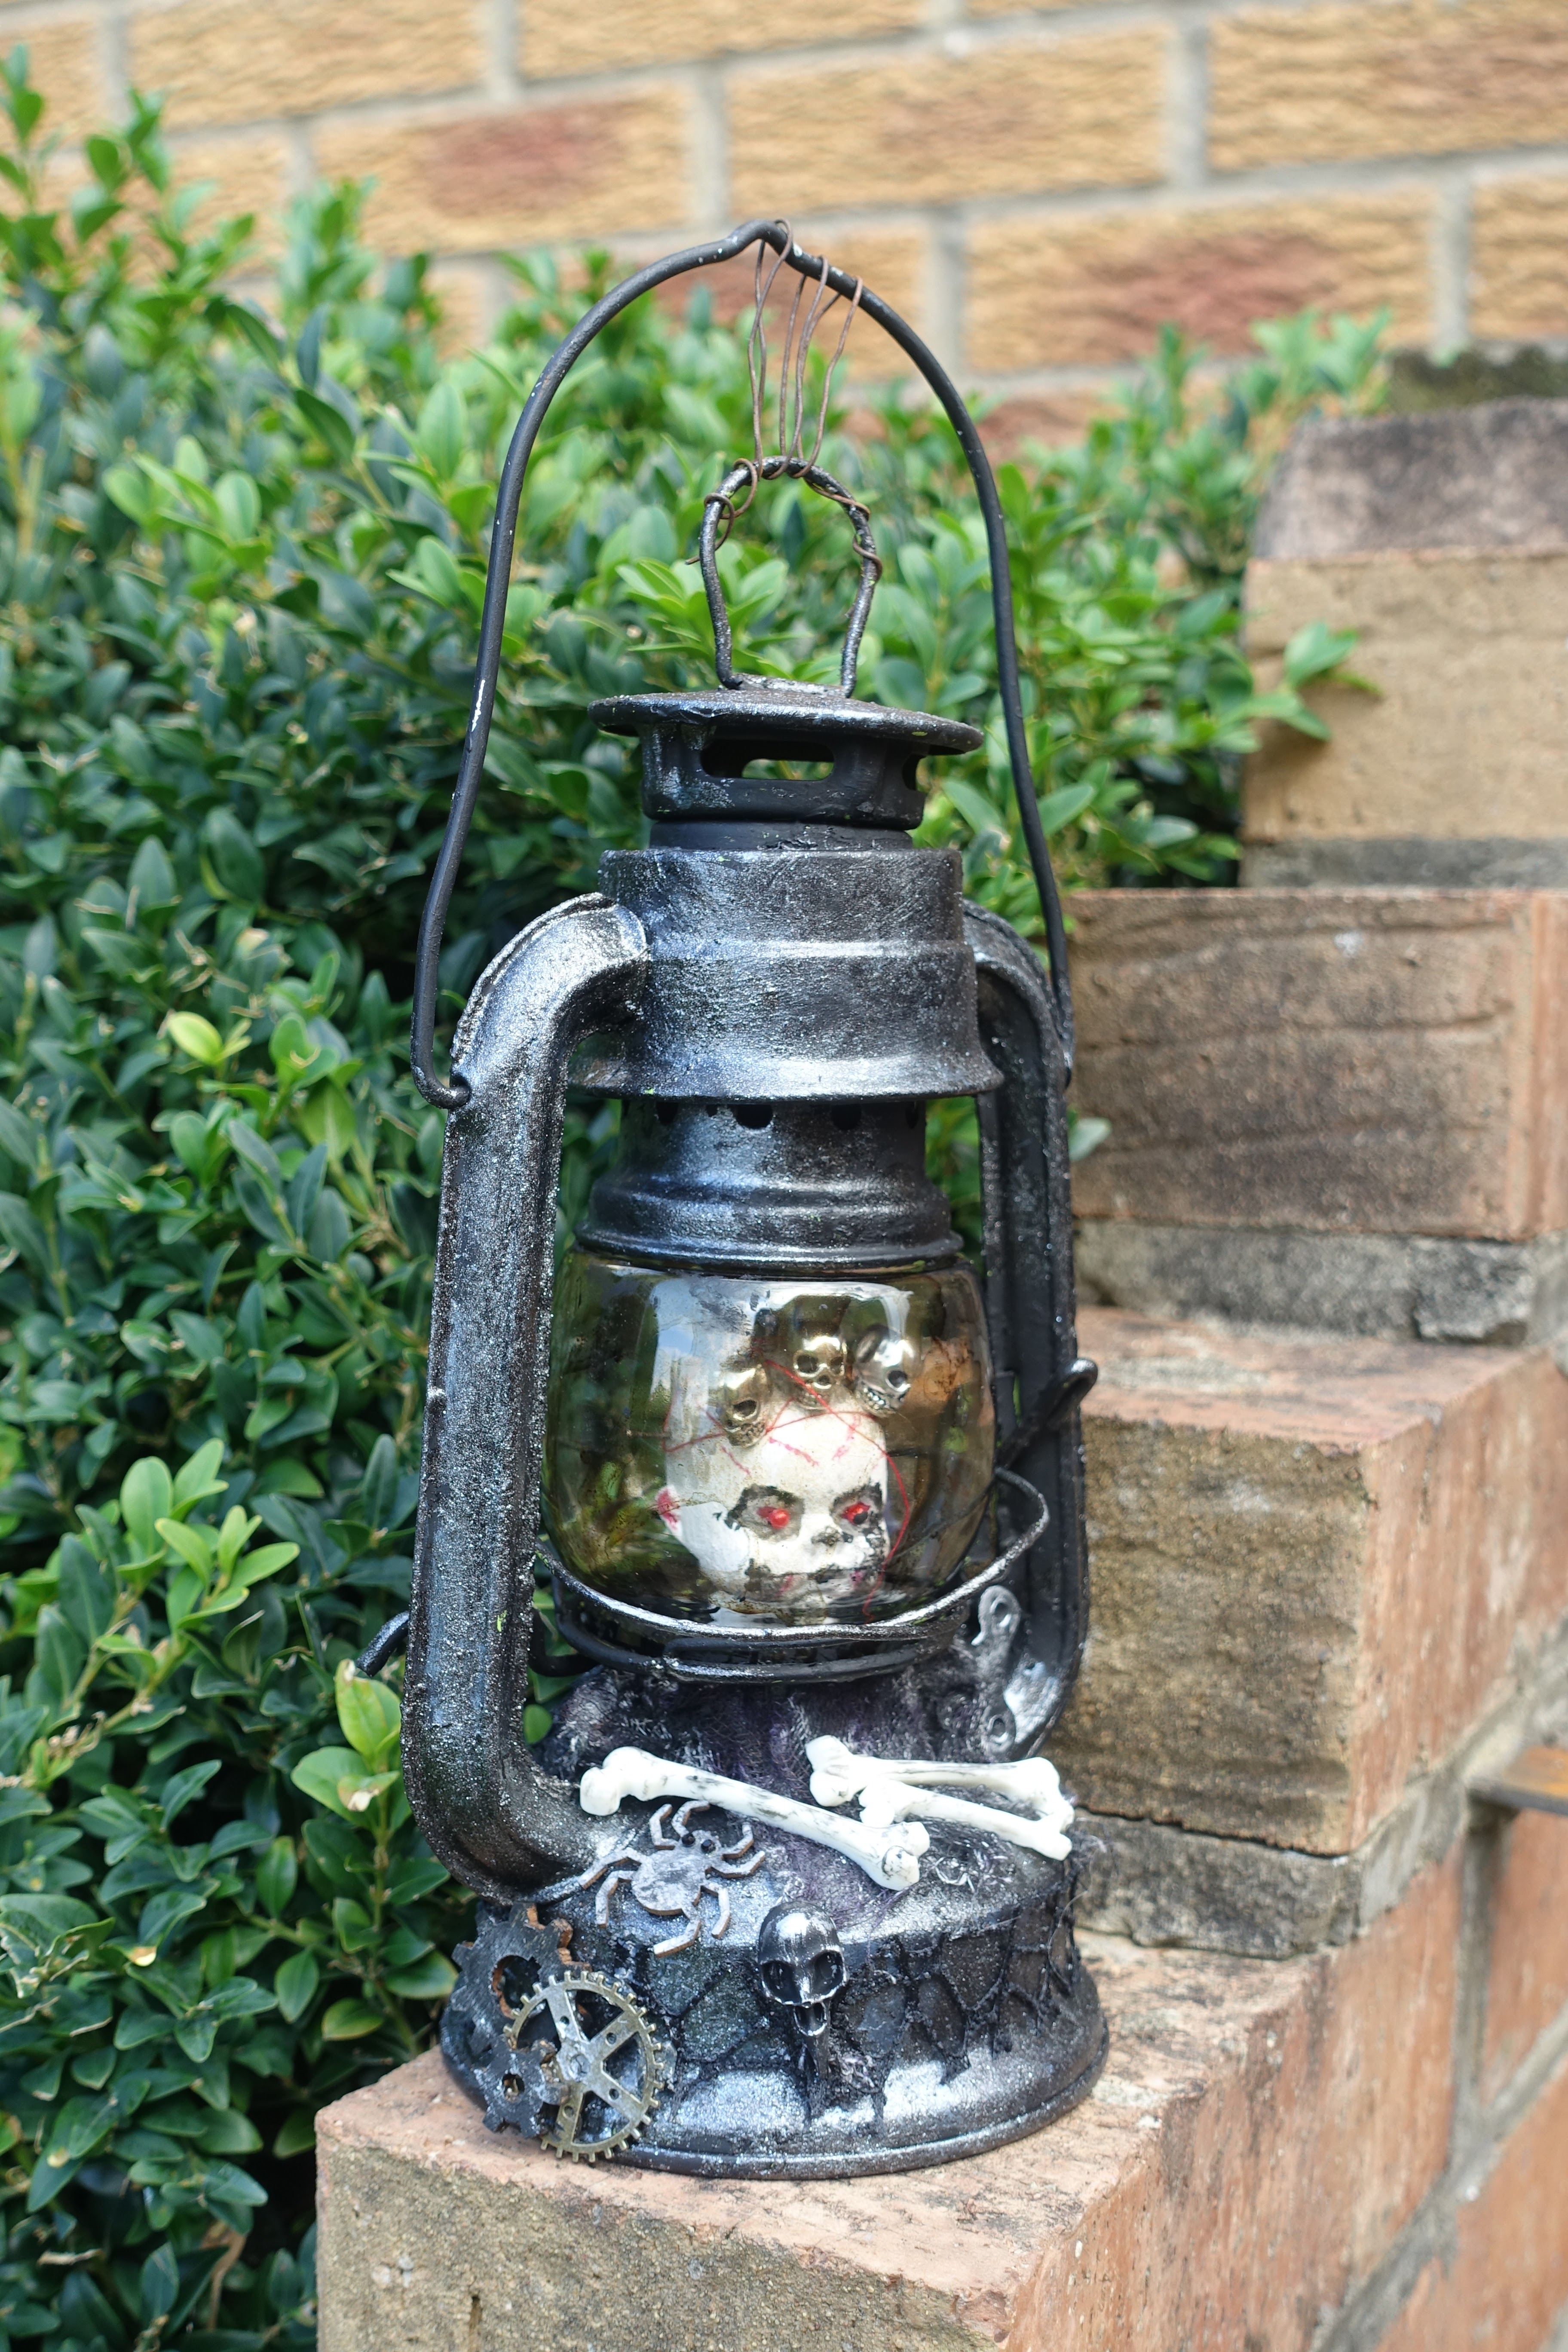

I added different colours of alcohol ink to the glass dome and swilled it around so its less shiny and clean.


I added cotton scrim which I sprayed with black and purple.  I also added some resin bones, a skull, a spider, three cogs and a key.  I also added metallic skulls to the dolls head.


This is the view from the back.


And a close up of the face.  It was really hard to get a good photo because of the glare on the glass and the bars that go across the bottom.

Thursday, 9 September 2021

RIP Tombstone


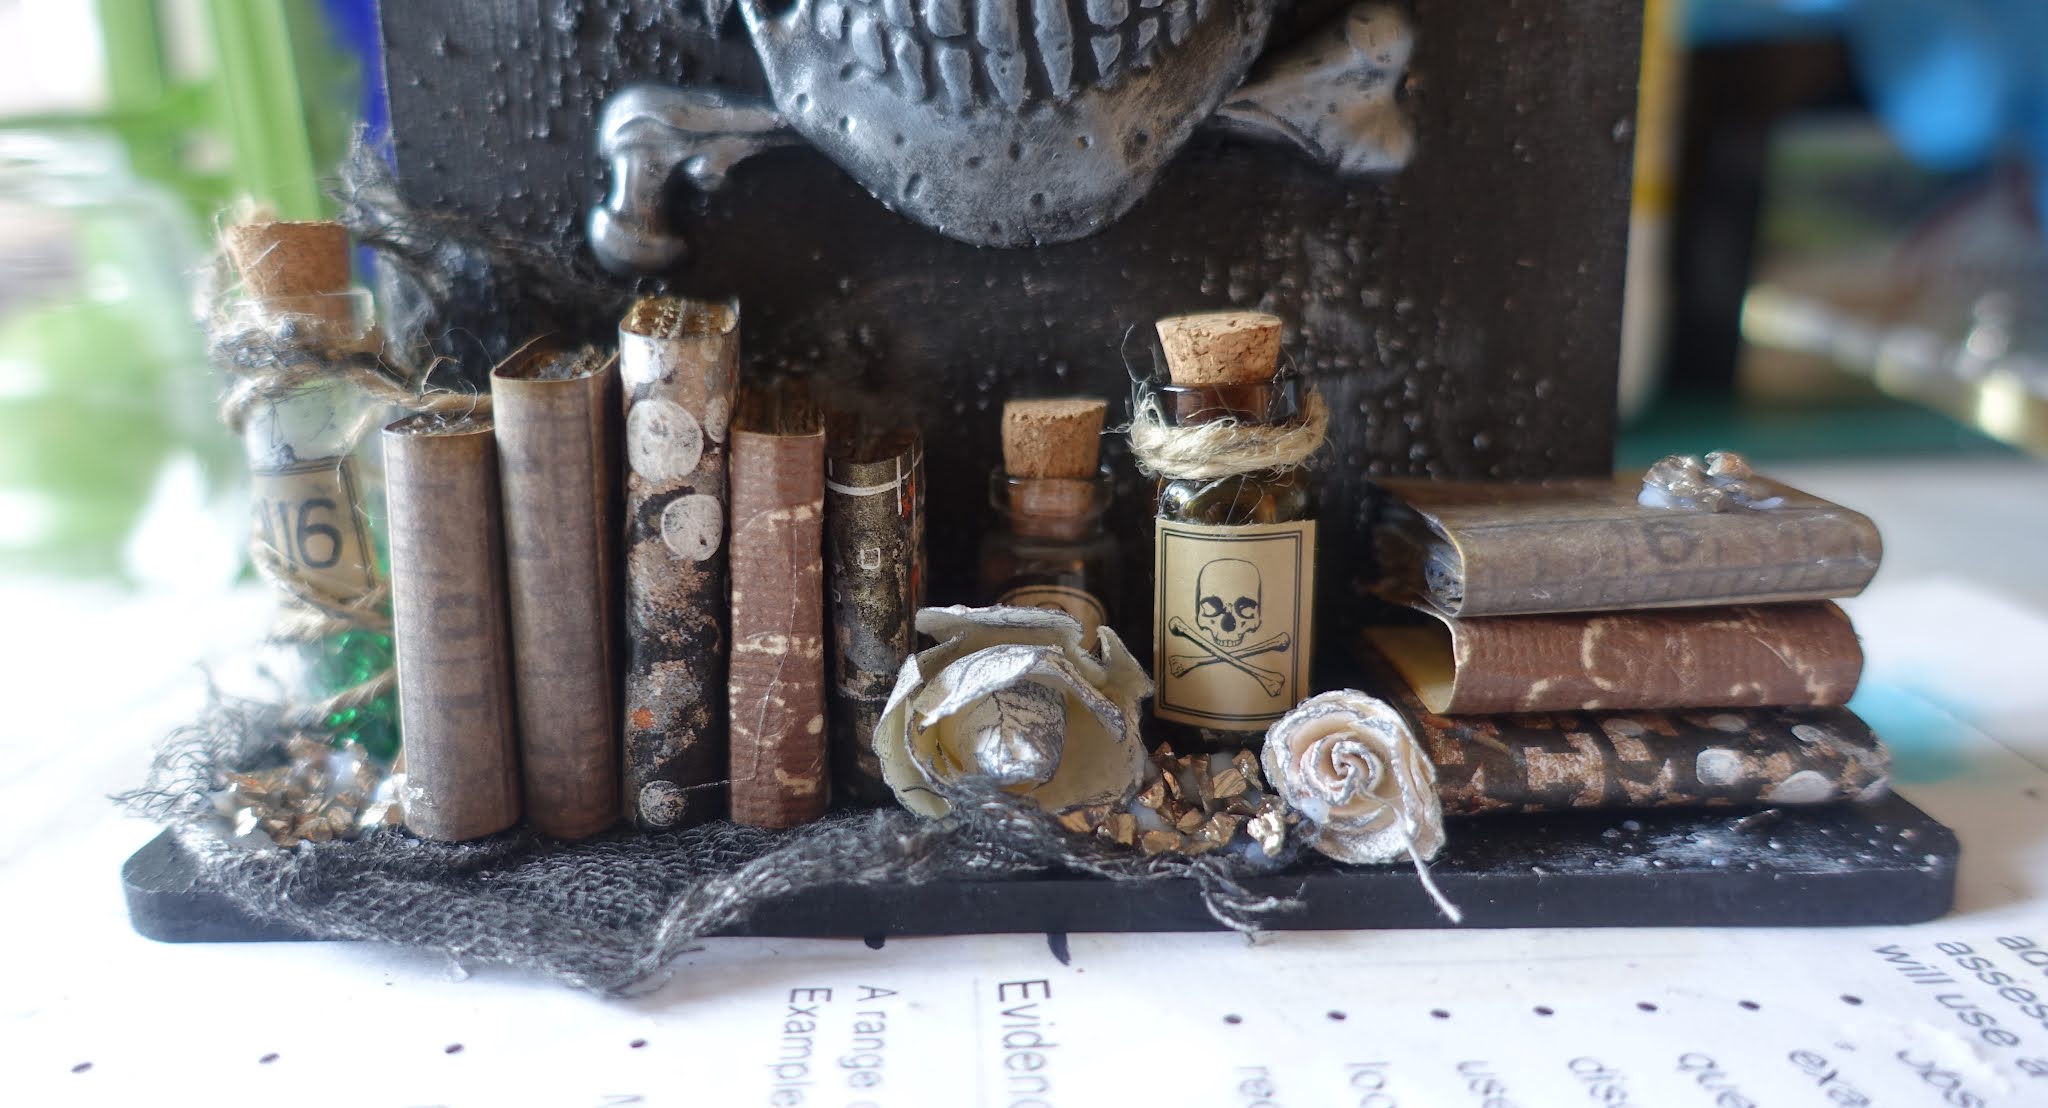
I had an upright mdf plaque from That's Crafty. I painted the front of the plaque with black powertex and added in small sand balls to create some texture. Then added the resin pieces and the three die cut letters. I dry brushed with white and silver.


I made some mini books by putting a piece of card around a square of corrugated cardboard.


I filled some small bottles up with beads and added a sticker and some string to some of them. I added some black to them and the paper flowers.


This is the base of the upright, I coloured a piece of cotton scrim with black spray  paint and glued it on.


Once dry, I placed the upright back in the slots and arranged the embellishments along the bottom.  


When I was happy with the placement I glued them down.


Close up of the dry brushing.


And finally I added gems to the eye sockets.

Saturday, 24 July 2021

Two Forks Plaque


Two ordinary kitchen forks, put on the gas to heat and then bent with pliers.


This is a third of an A3 clipboard with the metal clip removed.


I stencilled over with easy structure and then gave everything a coat of black powertex.


Then I took some bits and bobs out from the resin, wood and metals containers and arranged them to how I like them.


Once I'd sorted out the layout I used black powertex to glue them down.


Then I coloured it using treasure gold, alchemy waxes and pigments and varnish.

#powertex #rusteffects #upcyclingchallenge

Tuesday, 15 December 2020

Egyptian Pharaoh Sculpture


Been making big circles again with my cutter.


I cut one of them into quarters.


Using my solder tool I made some marks in two of the pieces.


Used up the blue powertex I mixed for the bauble on two pieces and did the other two pieces in black powertex.


Then I toned them down a bit.


Next I secured the two lots of pieces together with wire and started to build up the bottom pieces and coloured it until I was happy with it.


And here it is finished and mounted.

Tuesday, 8 December 2020

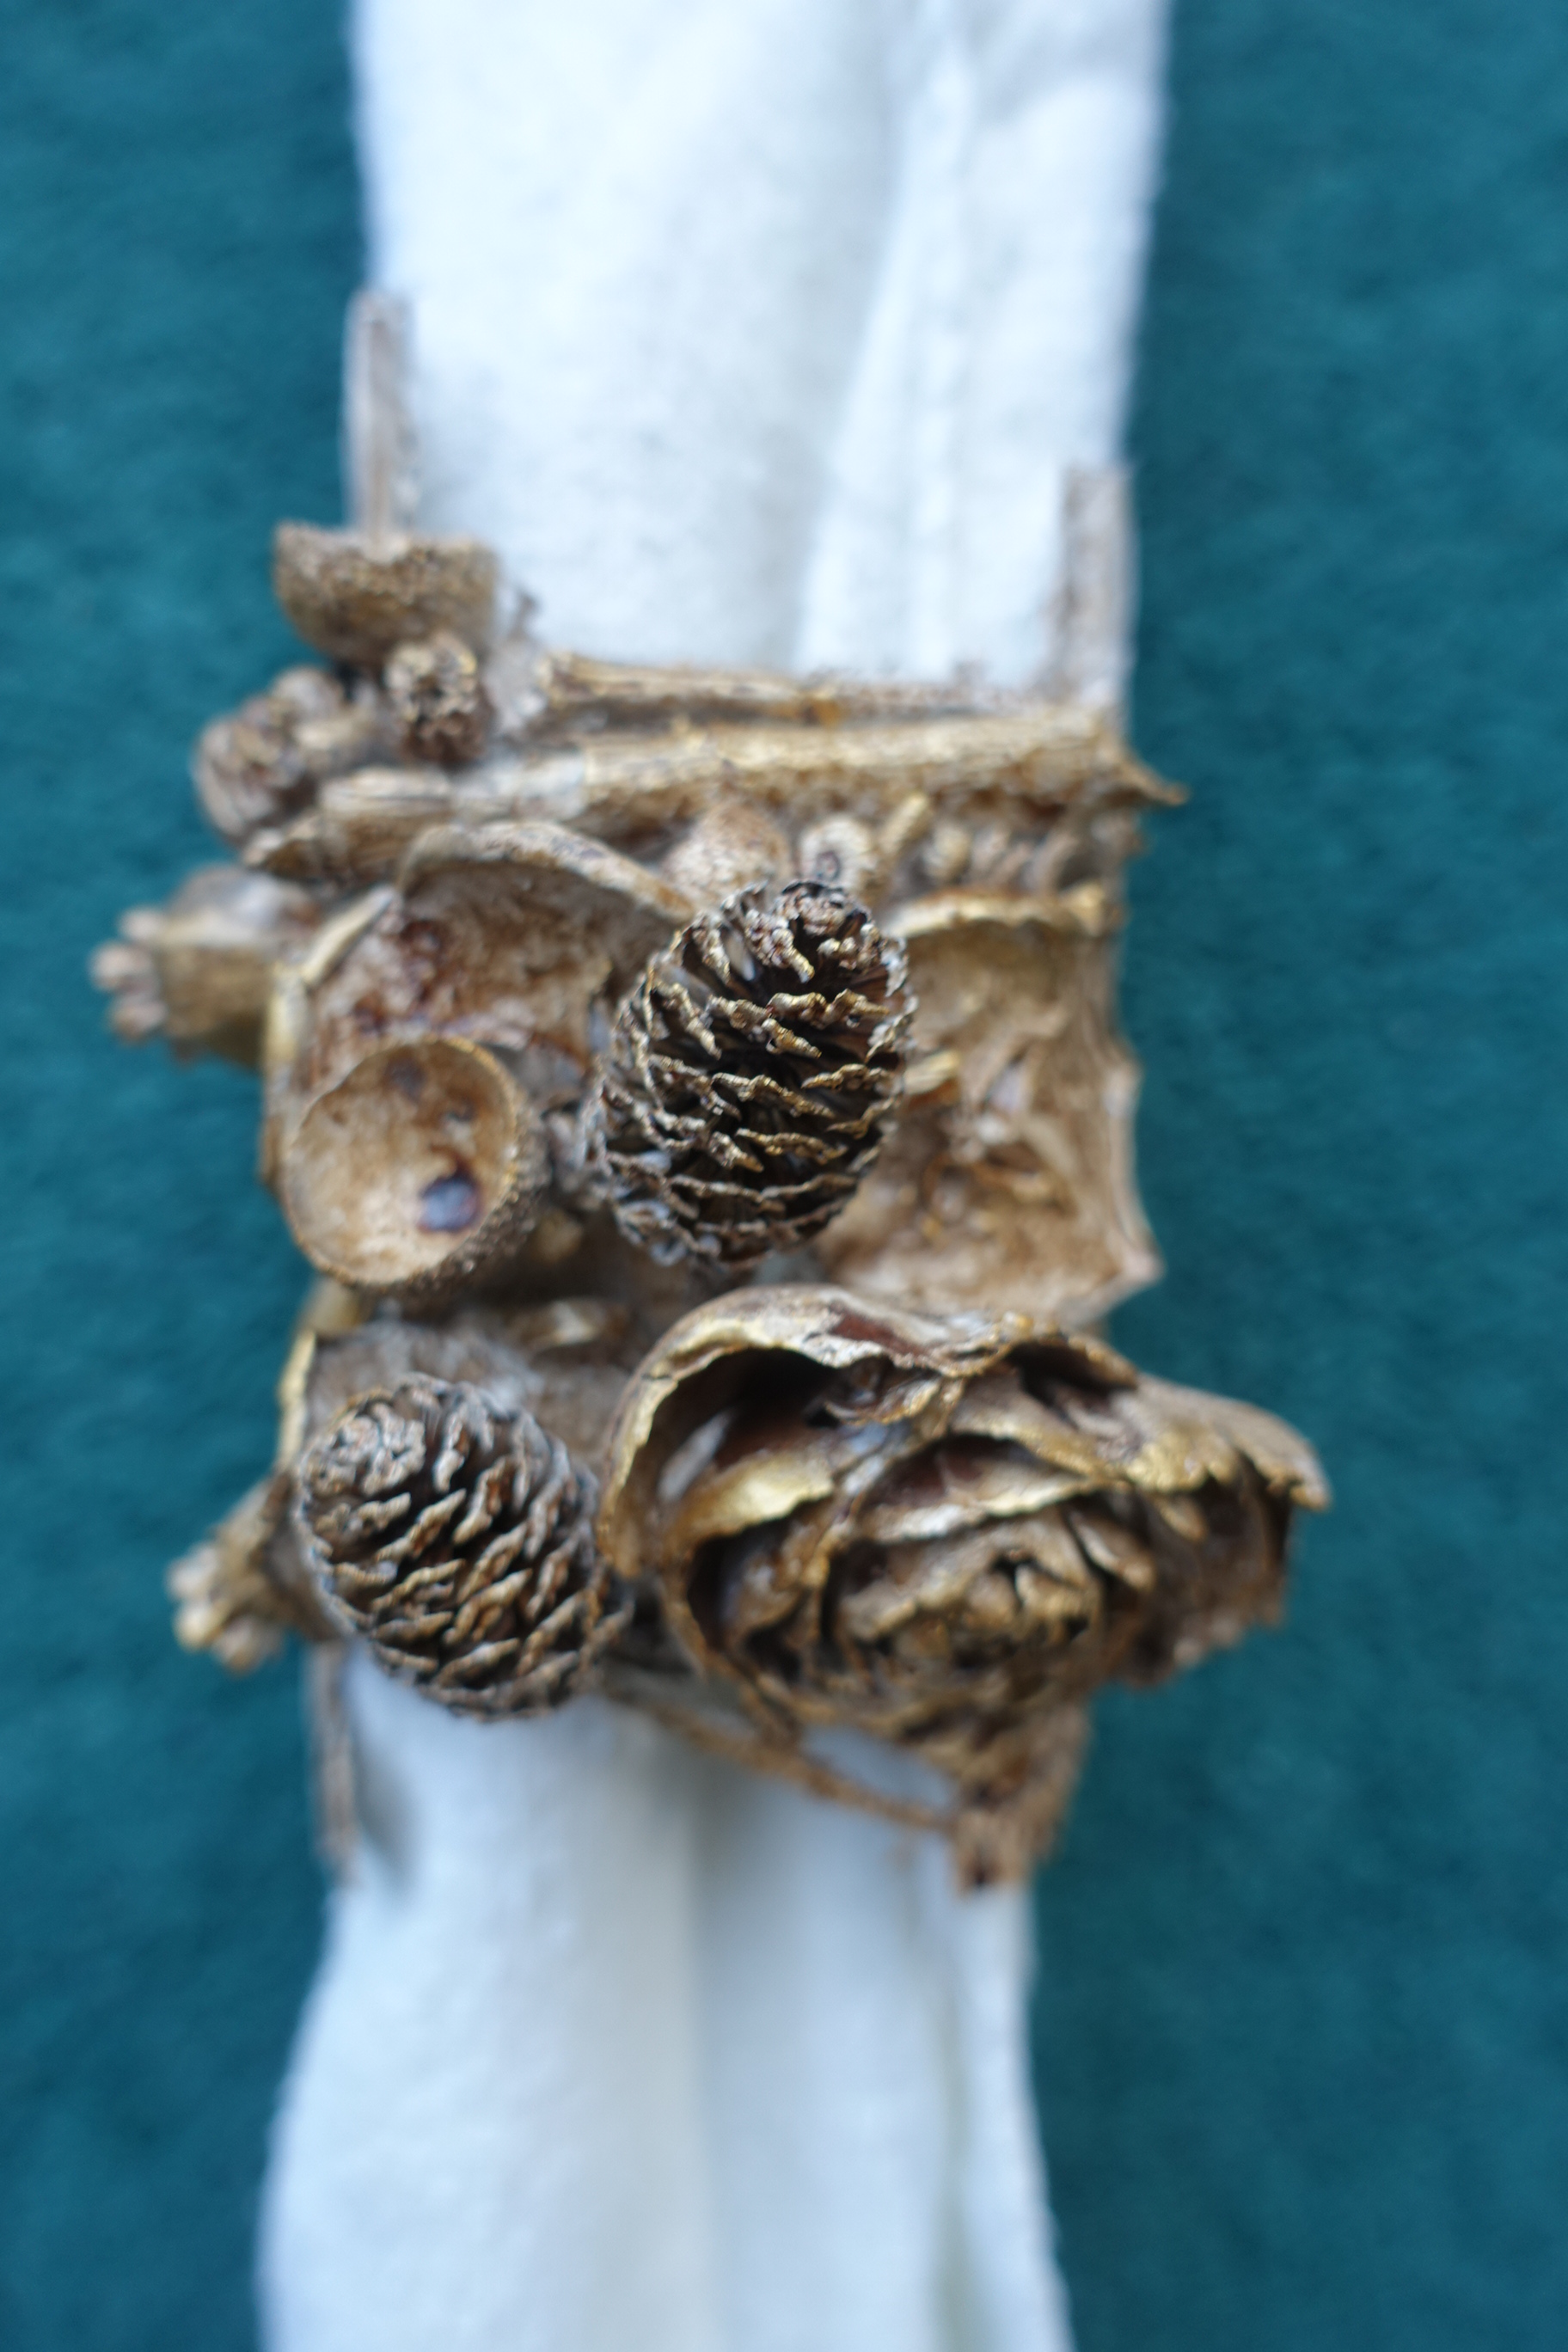
Christmas Napkin Holder


Covered a loo roll in cling film, powertex'd the corrugated, tied string around everything to secure it.


Next I added some embellishments in the open space but making sure that they connected to something.


Once dry I sprayed a coat of natural bister.


Then I sprayed it again.


I didn't have a napkin so I rolled up a duster instead.


I used gold pigment to embellish it.


This is the back and I went over the string with gold pigment.


And here it is finished.  I think a set of these would look lovely.

Friday, 4 December 2020

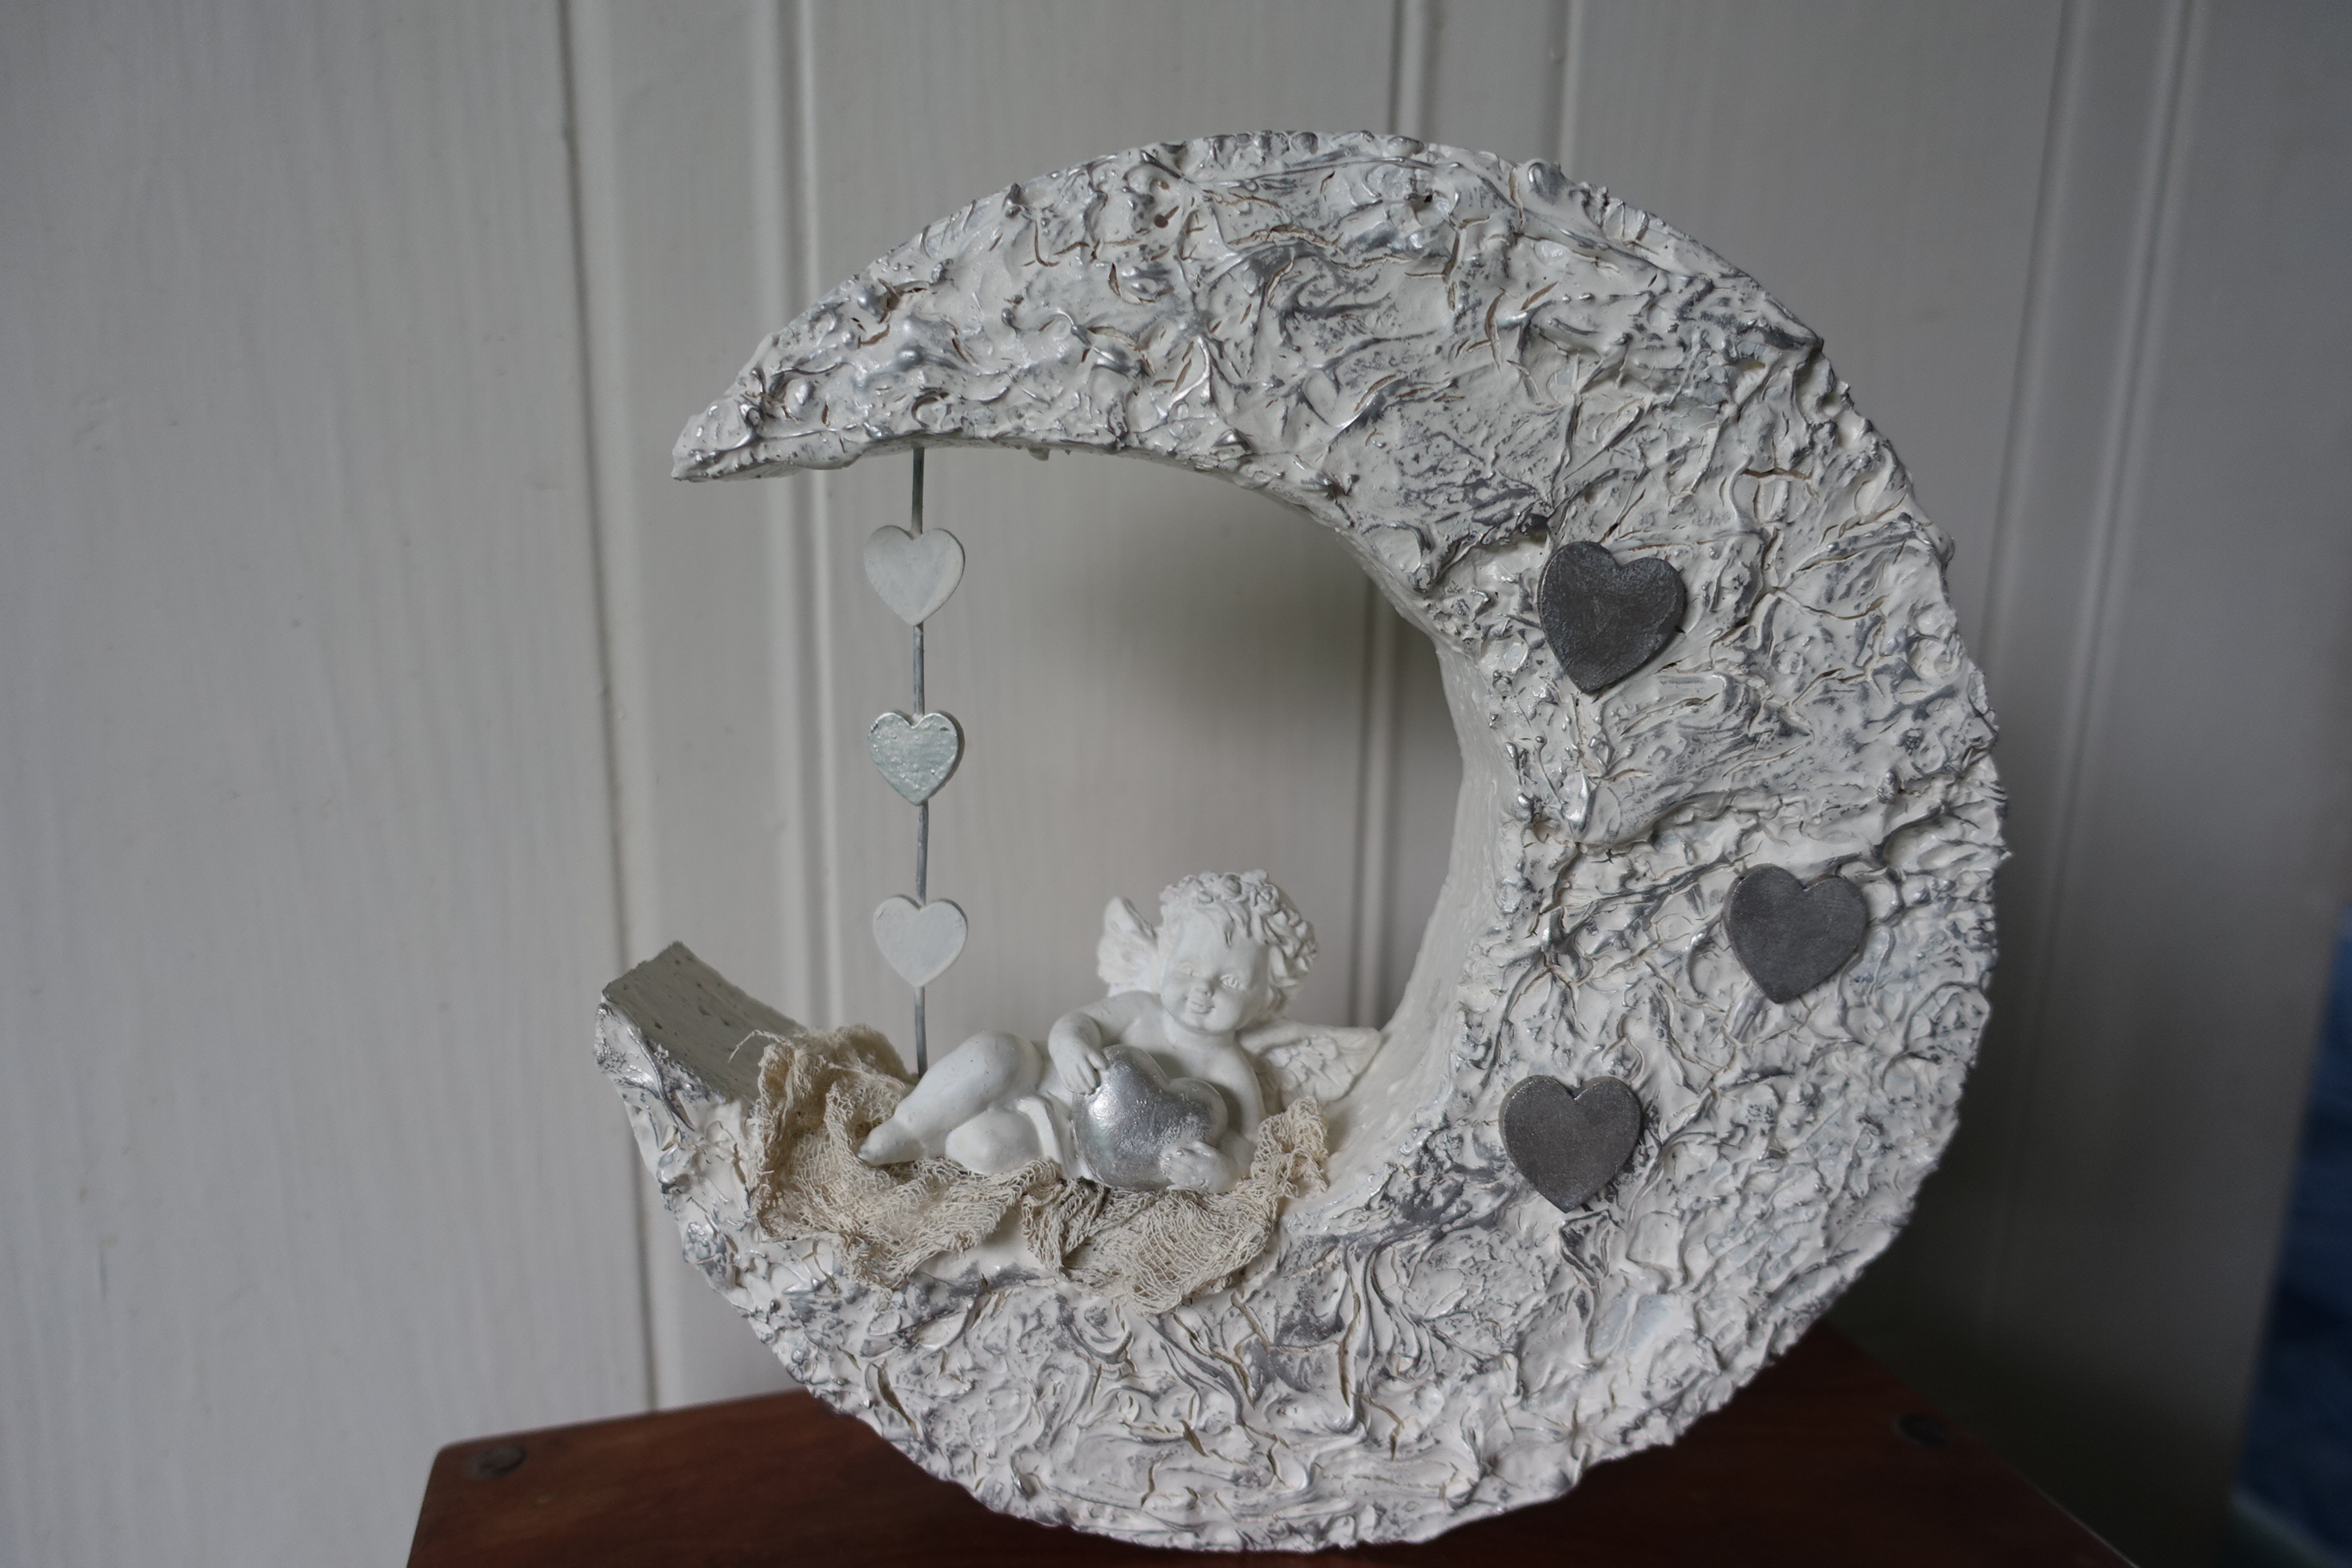
Cherub in the Moonlight


This was the middle out of my wreath.  I used a sharpie to mark where I wanted to cut another shape out.


Cutter used, and I now have a 'C' shape.


I then gave it a coat of white powertex.


Next I made up a mix of 3d flex and powertex and splodged it on one side.


Next I found a cherub and some hearts and started arranging them.


I made some grooves in the three smaller hearts so they fitted on my piece of thickish wire.


Got a piece of cotton scrim for the figure to sit on and it's an easy way to attach it to the polystyrene.


I picked out some hearts and coloured them silver and also used silver treasure gold over the easy 3d flex texture.


Close up of the little cherub and hearts.


Close up of the treasure gold on the 3d flex.


Then I mounted it on a wooden stand.

Huge thanks to Ashley Hay and Natalie Parish for the inspiration over these last 5 days.

Saturday, 25 July 2020

Day 21 Tags - Free Artymaze Downloads


Thank you to Andrea for the free downloads used to make these tags. I was just playing around with the layouts here.


And here are the finished articles. 

Day 21 tags for the #fabtag30day challenge.

Blog Archive