Saturday 28 April 2018

Wet Felted Bag Workshop


So today found us in a different location for our wet felted bag workshop with Dawn of Dawn Allen Fibre Artist. Lin and Chris had just arrived and were getting settled in with a cuppa.


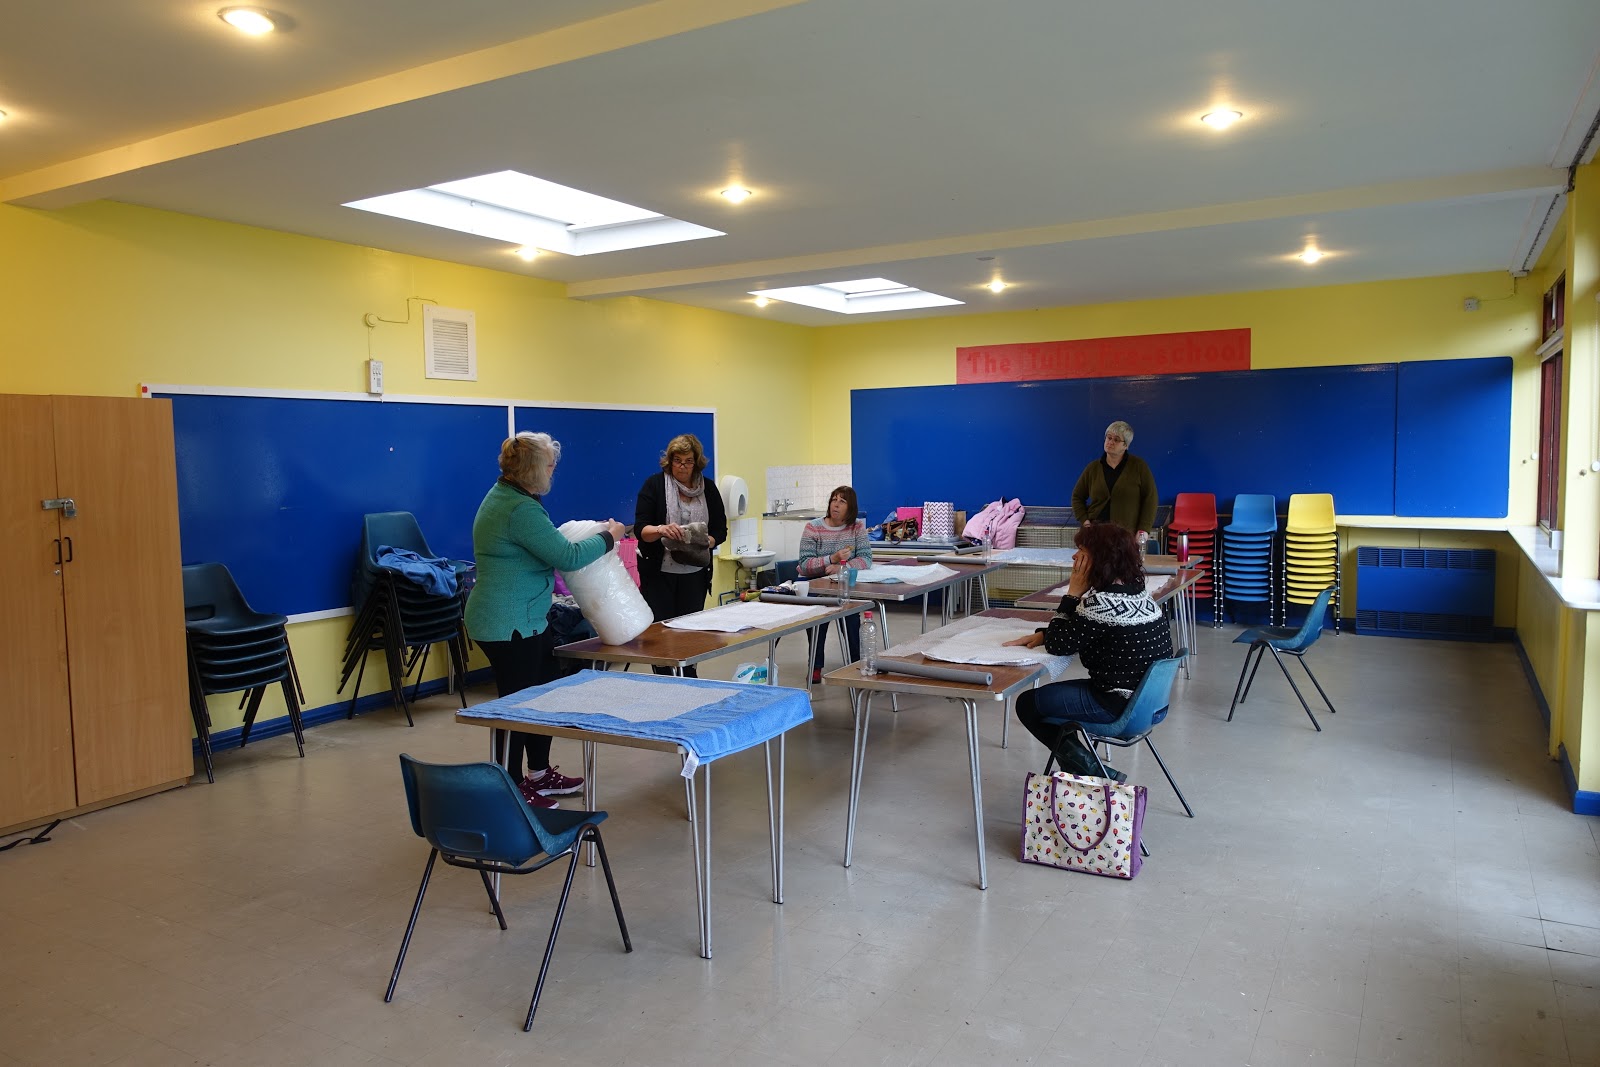
Dawn explaining to the group what a resist is, how to use it and the types of material you can use for one.


In the morning we made a smaller tester piece to get a feel for the wool and the shrinkage values. First thing to do was decide what we were going to make and what size of a resist we would need.


Once we'd decided, we started to add the wool. For the first layer we used a Bergschaf batt, which I thought was gorgeous. You can see it in the photo above. 


This has two layers on each side and I added a random design on the front side using some locks and nepps.


Here you can see the locks on the bottom. I covered them to do the rolling as I did't want them to felt.


Lin decided to add colour to hers. The colours are made up using Merino wool, nepps and masham wool locks.


And Chris laying her design out again using Merino wool, locks and nepps.


Chris's landscape design.


Everyone adding the finishing touches to their designs before the wetting and rolling process begins.


Lin taking a photo of Chris finishing her design as Chris forgot her phone.


And then the rolling begins. This is where you get your exercise!
  

Testing and looking - is it done yet??? Dawn giving Sue a bit of advice.


Lin is happy with with how her piece has come out after, rolling, hot and cold shocking and wringing out.


Chris is still rolling to try and shrink hers down to mobile phone size. We then stopped for some lunch.
 

After our practice this morning we went for it and made a bag in the afternoon using exactly the same process and taking into account what we learnt from this mornings make.


The first thing we did was to make a handle for our bags. Then we covered each side of the resist using the Bergschat and for the second layer we used the Merino, locks and nepps again to create the design of the outside of the bag. 


Then more wetting and rolling to get the wool felted and to the required size.


Chris cutting the resist out of the felted wool.


Dawn showing Linda how to felt the raw edges once the resist has been removed.


Front of Dawn's bag, she added a bright pink flap to hers. I really love how she felted along with us.


This is the back of Dawn's bag.


This is the front of Sue's bag. She's just removed the resist and is felting the raw edges after making a cut.


Moving along the cut edges of the bag to seal them.


This is mine, I've just cut the resist out and seeing how the flap looks.


These are what Carol made. In the morning she made a phone case and in the afternoon a matching bag. 


Carol decided to add a bit of needle felting to her pieces.

For some reason I don't appear to have a photo of either Lin or Chris's finished bags.


When I got home I found something to stand in my bag whilst it dried so I could mould it to the bag shape that I wanted. Here it is standing on the draining board with an empty biscuit tin inside standing on a cooling tray to help it dry out.


Once they are properly dried tomorrow I will add the clasp and I may add some needle felting to them.

Thanks to all, had a fabulous day and learnt loads.

Friday 20 April 2018

A Couple of Tags


I used oxides on the background, added a piece of fabric which had previously been stamped with spikey haired boy by Teesha Moore which I machine stitched onto the tag. I added some of Seth Stamps from the rotary set in seedless preserve oxide.


I made this tag as Version Scrap is on this weekend, and four years ago I was lucky enough to attend the show and then have a day sight seeing. The Eiffel Tower was ticked off the list of places to visit.

Journal Pages TM Style


A couple of weeks ago I cut out some magazine images and stuck them in my book. I used gelatos on this page with white pen.


I used zig pens for the background on this page.


I used zig pens and decoart translucent yellow iron oxide media on this page with black pen.


The yellow background is gelato and I used zig pens over the top.


I used sharpie pens on the background for this page.


And this one I just stuck the images down and left it, until today.


And this morning I added the background using a wash of cerulean blue premium decoart paint and then in a darker shade I used Kate Cranes hand carved stamp for the circles. Once dry I added some white paint dots. And after seeing it here, I think I am going to add the word, floating to the page.


Again, this was another page where I just stuck some images down and left it.


And I simply added a strip of red and blue gelato to finish it.


This is another page which needed finishing.


 A wash of primary magenta premium acrylics and some stamping with black stazon using Seths border stamps and some white dots with a pen.


Then this one I made this morning using an old credit card and decoart premium paints which I scraped on the page. I used bubble wrap with the pink and then white paint and pen tops for the circles. The pink and white lines were created using the edge of the credit card. The words were stamped in black stazon.

Monday 9 April 2018

Felt on Earth - Sarafina Drop


I spent this morning making the nests to put the mini bunnies and mice in ready to be packaged and left somewhere in my community for others to pick up and enjoy.


A close up of the little bunnies.


And here they are wrapped in cellophane and decorated with some curly ribbon.


They all have a Sarafina (tm) Felt on Earth postcard attached to them too.

They were great fun to do and I feel priviledged to be taking part.

Friday 6 April 2018

Packaging Tape Tag


I cut some images out from my magazines and printed images and made a tag shape with borders and added a few images in the middle. They are loosely glued together at the edges with prit stick.


The same was done for the other side and then the two were sandwiched together. Any white patches that I didn't want to show I coloured with Zig brush pens.


I added clear packaging tape over the top of one side.


Flipped it over and covered the other side, cut off the excess around the edges and used a bone folder to smooth it out. It still creased in the bottom panel, but that's okay, as it provides some texture.

This was inspired by a FB post by Julie Ann Lee who followed a tutorial in Somerset Studio, but I found this blog link by Kim Collister who wrote the original post in the magazine.


Blog Archive