Showing posts with label Tissue Paper. Show all posts

Thursday, 14 August 2025

Clockwork Muse


I took a piece of wood from the shed, cut a piece of black lace and I also wanted to incorporate the plastic film strip. Then I started to lay embellishments down.


And I just kept building up the layers.


I finished it off with a frame and a face in a pocket watch piece of chipboard.


I stuck everything down including the piece of tissue paper on the bottom right hand corner.


I gesso'd with the white.


Then used chest of gold paint, aged brass wax and finally patina green wax to highlight the edges.

Sunday, 16 June 2024

Ray Ray’s Creative Circus Class of 2024 - Part 2 - Finnabair


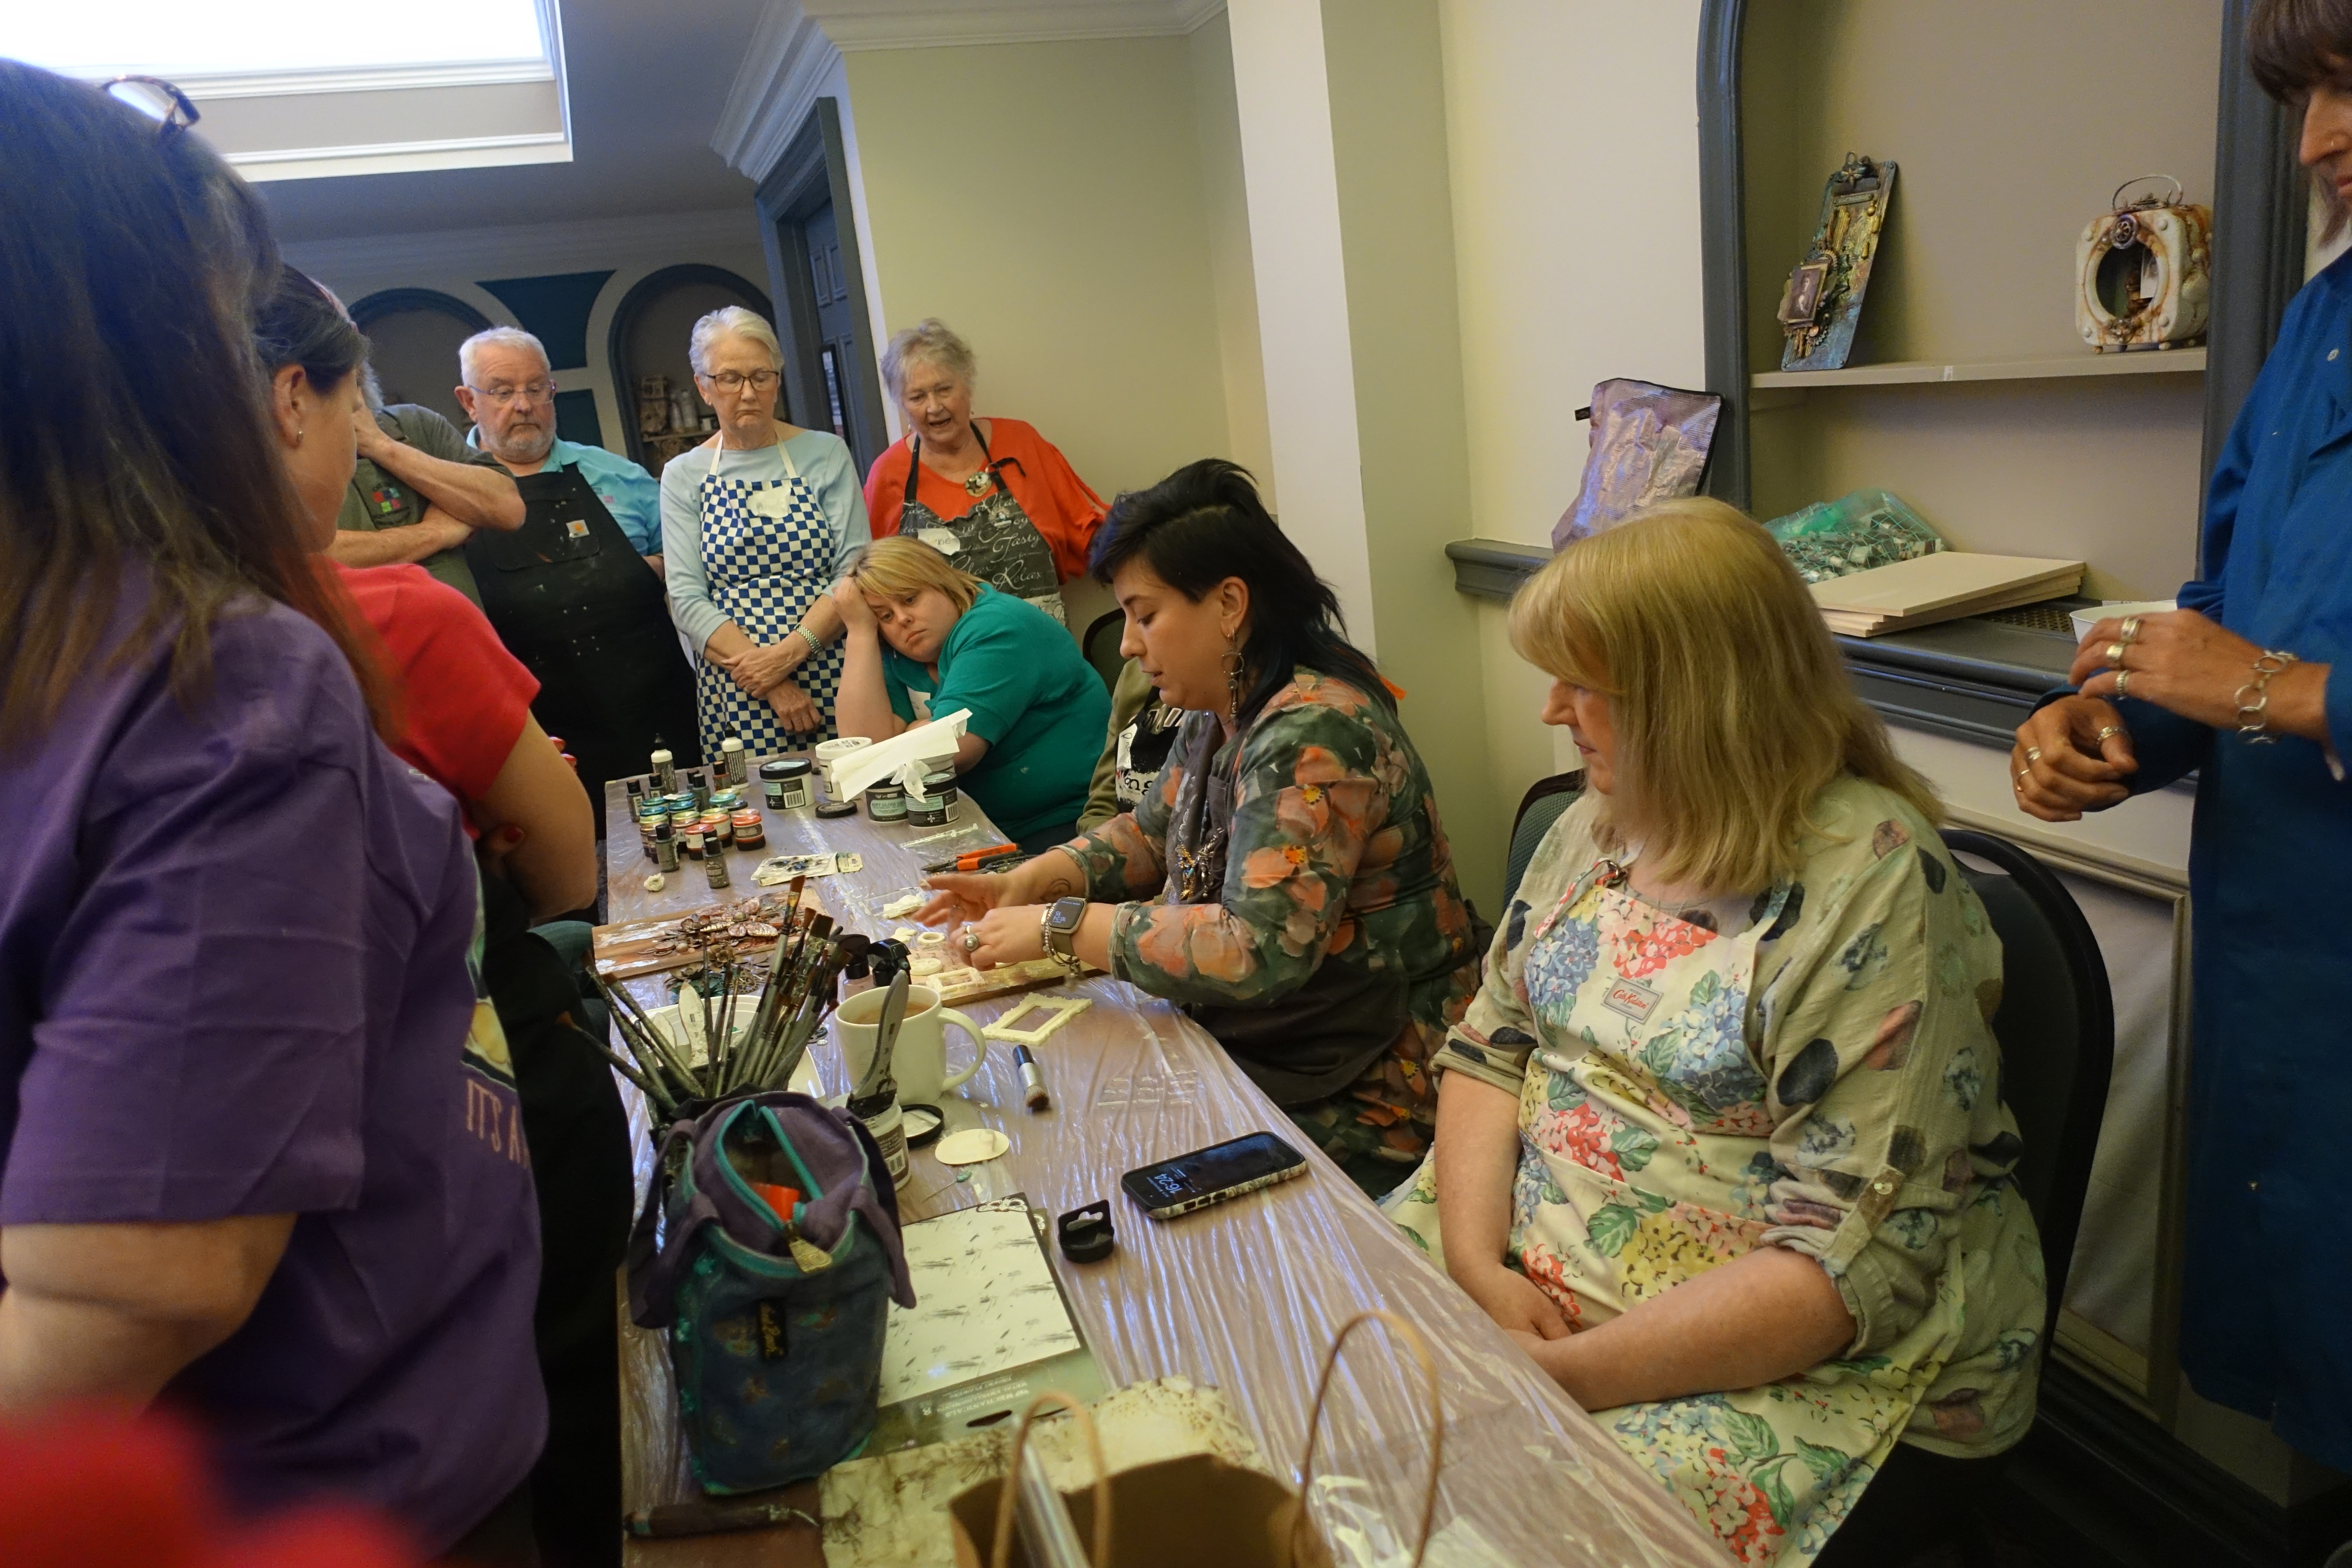
After a mammoth task of trying to find a supermarket to buy some lunch and being run off the road by a fire chief in an unmarked car, we finally got back to the hotel in order to make a canvas like the one above with Anna (Finnabair).


So Anna's style of teaching is completely different and she has everyone come up to the top table so that she can demo what to do.  


So the plan was to gesso the wood, then use three different colours of acrylic, water them down and create a sort of wood effect on one half.  The more water, the more streaks.


Next we added tissue paper to the top half and dried it thoroughly because the next step was to add guilding flakes. I chose to use all 3 available colours (gold, silver and copper) and on the wings of the moth.


There were lots of different colour combos going on.


Everyone still having fun.


Next step was to create the composition and unfortunately I totally forgot to take any more photos, so here is what I ended up with.
 

I used the same 3 colours of acrylic (avocado, umber and ink black) that I used for the bottom half. We then used white gesso and gesso'd all of the elements.  I took the black acrylic and painted around the outside of all the elements and used lots and lots of water to get the drip lines on the bottom half and dried each time between the spritzing.  Now the next thing we did is totally new to me, I used a matt wax (sage leaves) but like paint and totally covered all the elements.  Next I used a green metallic paint and randomly painted over the waxed areas using lots and lots of water, sort of washing the paint away but leaving the mica behind.  This also created more drips for me. I kept drying between adding more water.  Once happy with this, I chose the silver metallic wax and used it to bring back the highlights on the elements for a contrast.  I still have to stick the moth and add some pebbles.


And a huge thank you to Anna for bringing my prize with her from the latest patreons party.  This is so generous because there is only half of it here, I shared the paper with Janet.


I absolutely love these sticker sheets.

I am happy to say that the drive home was much less eventful than the journey down there. In fact, nothing happened at all - lol.


Friday, 21 August 2020

Second Patchwork Page


I changed it up, this time I used patterned papers to create the patchwork shapes.

I mounted it on some of the card I got from the scrap store and also made use of the frame I picked up there too.

Monday, 29 June 2020

Oriental Tags - Tag Challenge


I've joined an event on a FB group called 'FAB Tag 30 Challenge' and this is day ones batch.  There are no rules apart from make as many tags as you can in the next 30 days.

Sunday, 14 June 2020

Napkin Background Tags


Spritzed a layer of plain napkin with water and added droplets of distress re-inkers.


Once dry, I stuck it to a piece of card.


Used gesso to tone it down a bit.


Chopped it up into tag sized pieces.


Added various colours of gelatos and distress crayons.


Cut them into tag shapes and sewed around the edges.


Added some tissue papers to the top two smaller tags.


Next I added some script stamping in timber brown stazon.


Added various embellishments and a paper doll.


And the same with this one.


Finished tags side by side.

Inspired by Andrea at ARTYmaze - thank you.

Tuesday, 26 May 2020

Masterboard


Created this masterboard on the back of a pizza box using scraps and leftovers.


Once dried I cut them into tag size pieces and all I had left was the slither on the right.

Sunday, 24 May 2020

Paper Clusters & Punches


Paper clusters made from scraps and sewn.


Did lots of punching today in prep for making my own toppers.


Started putting some pieces together.

Tuesday, 14 April 2020

AT Coins


Chris sent me a stack of these ages ago and today I had a play but I'm not convinced they are for me. I think I will stick to the rectangular AT Cards in future.  

Sunday, 10 June 2018

Stencil Transfers


I took a piece of A4 card and using PVA glue pasted on various pieces of paper including book, tissue and map and also added some washi and tissue tape to the mix.


I did exactly the same with this piece but coloured the background first.


Once dry, I added various colours of decoart premium acrylic paint. The right hand side ended up more green than what I wanted it so I added a watered down layer of white.


And this one I left bright.


I added some marks in silver and gold.


To both of the pieces. I then gave them both a coat of matte medium to seal them.


I printed out a background using my cheapo inkjet printer. Remember if you are using words, they need to be the wrong way round for this step.


Next I placed the stencils were I wanted them on the background and used a bit of masking tape to hold them in place.


For the music stencil I coloured in the image using a black sharpie pen.


And for Eve I used black decoart modelling paste.


Once they were completely dry I took a couple of photocopies, again using my cheap inkjet printer.


Next I completely covered both of the images with decoart tinting base.


In total, I did three coats of the tinting base and once dry, one coat of the matte medium and again left it to completely dry.


I gave the coloured base another coat of matte medium, and whilst it was still wet I placed the photocopy on the top.


This is the photocopy placed on the top of the coloured background.


To ensure it was totally stuck down I used a brayer.


Then I left them overnight to dry.


I dampened them slightly with warm water and a sponge.


And started to gently rub away the top layer of paper.


And the second one. Don't get paper too wet and don't rub too hard or you will rub the transfer away.


All the paper has been removed from each piece.


Once dry, I gave each one a coat of decoart ultra matte varnish which makes the colours pop.


Next I cut them to size.


And mounted them onto black card.


They look completely different with different coloured backgrounds.

I really enjoyed making these and I know some of you will be thinking, why didn't you just stencil the image straight onto the backgrounds, but I wanted to show how they could be used in a different way.

Blog Archive