Showing posts with label Candle Flame. Show all posts

Saturday, 7 November 2020

Table Decoration - Christmas Gifts


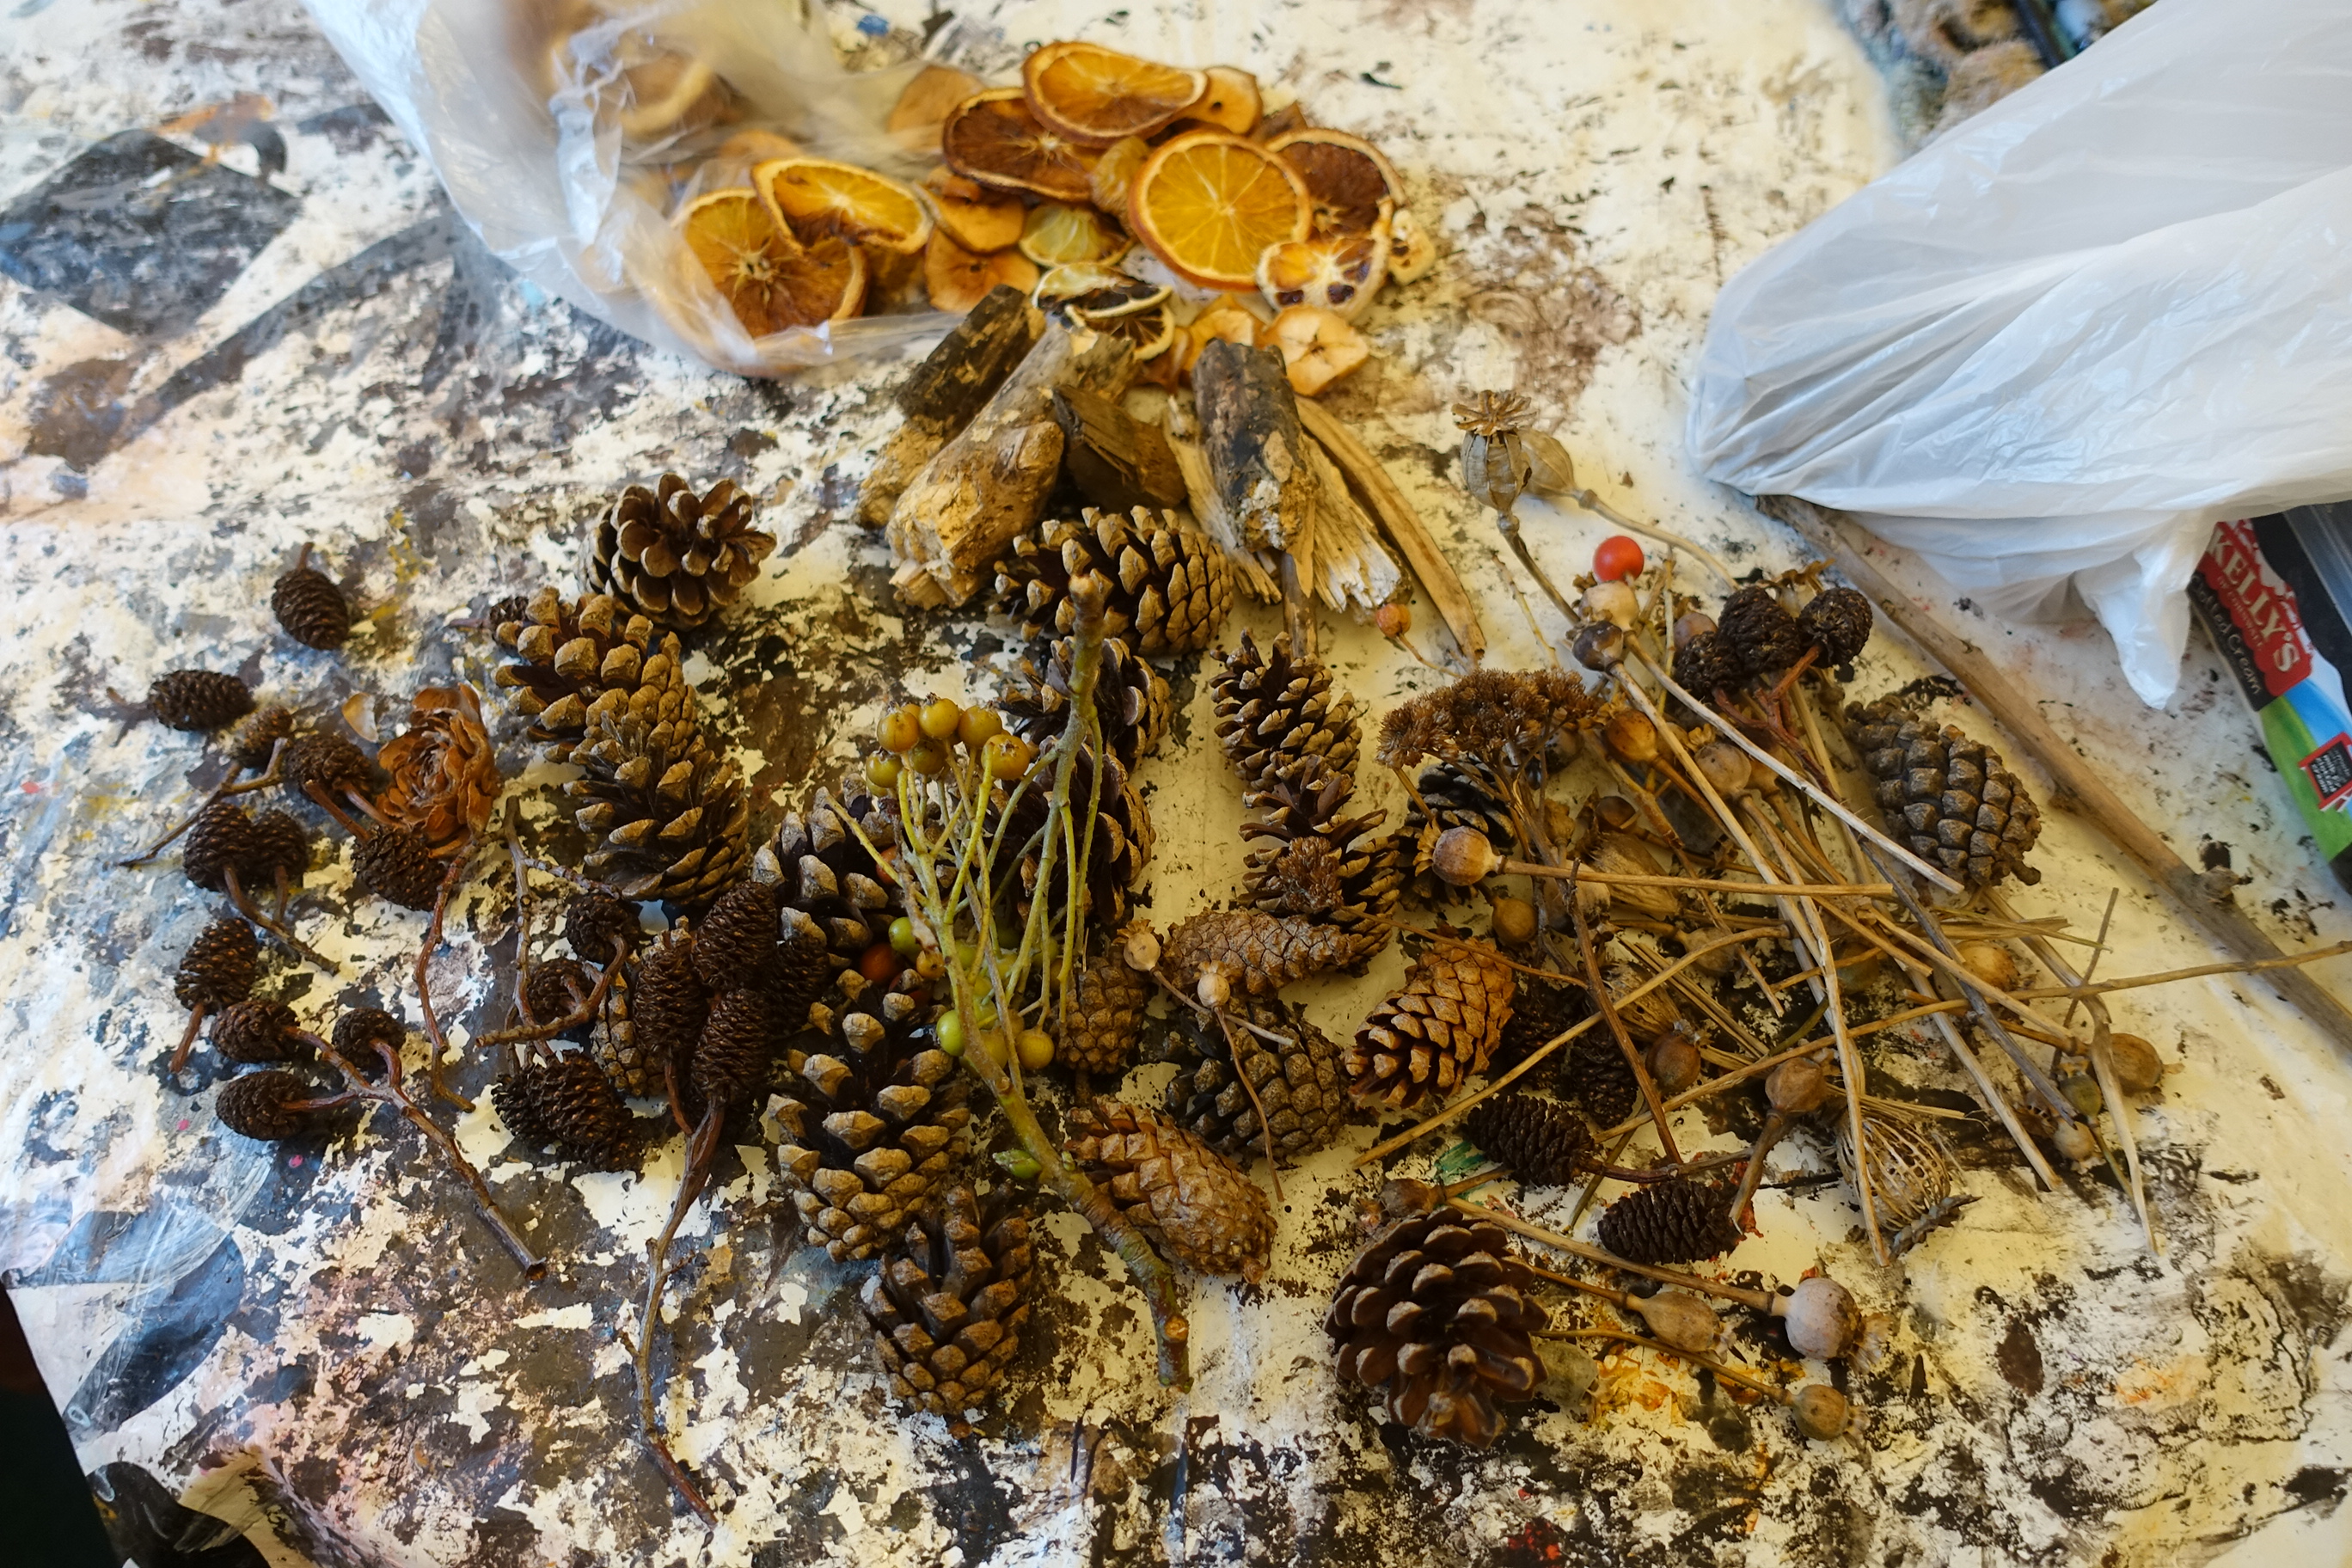
On our walks over the fields near where we live, I picked up these bits and bobs.  The orange, apple and lime slices were homemade and baked in the oven to dry out.


Close up of the fruit slices and pieces of wood.


Berries, pine and fir cones.


Then I powertexed them all in bronze.


Next I drew around a glass and then used crackle paste through a flourish stencil leaving the space around the inner circle free from paste.


Once dried, I coated in bronze powertex.


Next I cut up four pieces of corrugated cardboard and moulded them around a glass.


Once everything was dry, I started to arrange the elements on the mdf plaques and gave everything a coat of powertex as it also acts as a glue.


Once completely dry I used pigments and varnish to colour them up.  This one is tones of green.


And this one was coloured in shades of red.


And this one has been coloured in silver.


And finally a blue one.


And here they are all together, with led wax candles in.


And then later on this evening when it got dark and I turned on a couple of the candles.

I've made these for Christmas presents for my mum, sister, niece and boyfriend and my nephew and his girlfriend, hence all the different colours as they are done to tie in with their decor.

These are based on an idea that Jill at Purple Meadow Crafts had.  There was meant to be a workshop on them, but unfortunately, due to the lockdown all classes have had to be cancelled.  They are trying to reschedule but I wanted to get them done ready for Christmas so I made my own versions.

I also have some smaller ones for sale if anyone is interested.  They are not coloured up yet though so you can choose your colour.  If interested please email or pm me on FB.

Friday, 5 November 2010

Acetate Makes


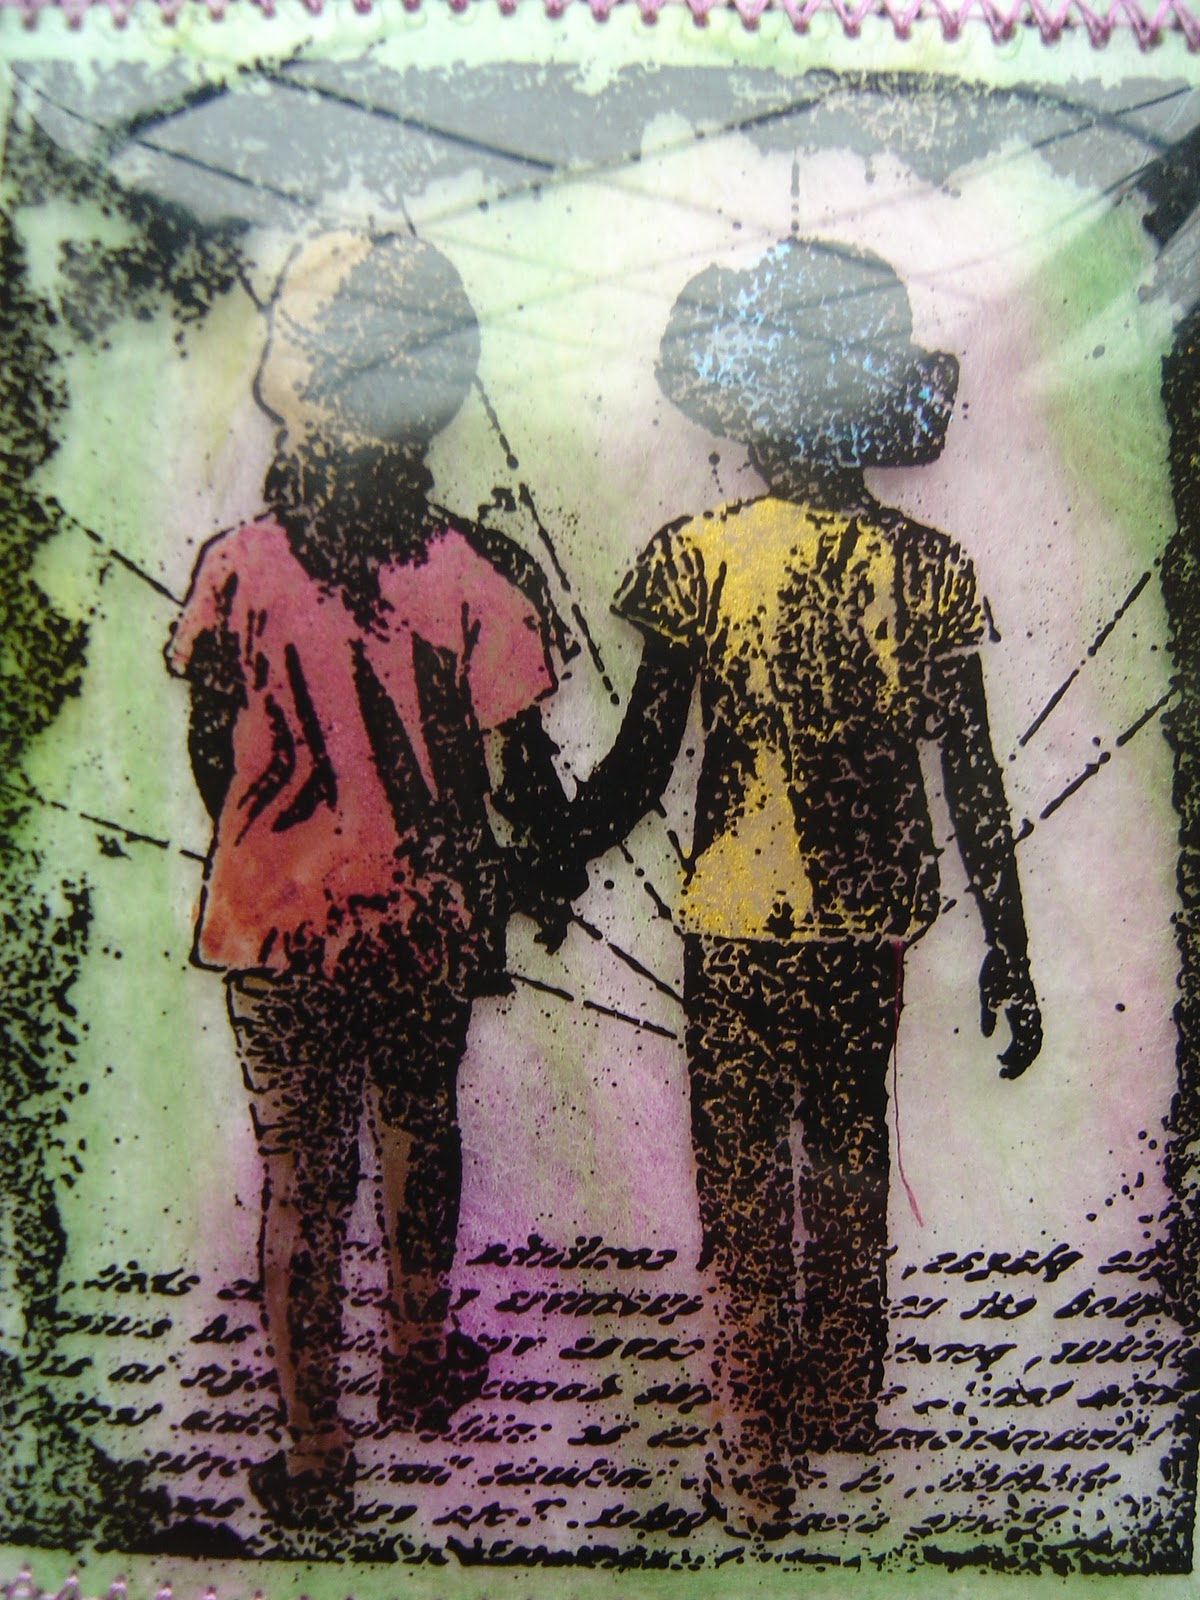
I decided to heat emboss a few images onto acetate using versamark ink and black embossing powder.  I took a used babywipe and needle felted green and pink felted wool into it.  I sewed the images onto the babywipe and sewed the babywipe onto a piece of calico which I'd previously dyed. I used the heat gun to shrink the babywipe (it wouldn't burn) and I burnt the bottom of the calico but it started to set on fire so I didn't do any more. I stamped green swirls with momento bamboo and raspberry adirondack ink.  I printed 'just good friends' onto a piece of acetate, outlined it in black pen and used a candle flame to melt it.  I sewed it onto the bottom of the calico.  I turned the fabric over at the top and sewed a line across to create a pouch to thread the wood through to create the hanger.  I put a bead at each end of the piece of wood and added a piece of co-ordinating wool to hang the piece.


This is a close up of the acetate image.  It has been coloured with Pearlescent Watercolour Paints from Once Upon a Stamp.


And this is a close up of the just good friends on the acetate. It has been computer generated and outlined with a fine black pen.

Sunday, 25 July 2010

Guilding Flakes & Acetate


This is another postcard.  The background is the tissue paper from the caught in crystal I previously made.  I stuck it to the card with intentional creases in for a more textured effect.  The image was printed onto the acetate.  Guilding flakes were adhered to one side of a piece of double sided film and the image on the acetate was stuck on the other. The bird image was cut from text paper with T!m's alteration dies.


The image and guilding for this one were done in exactly the same way as above except I run the edges over a candle flame for a different effect.  A piece of white core was run though the bigshot using the new cuttlebug clockworks embossing folder and sanded back. I stamped the word altered onto the hessian pillow, added a few metal embellishments and a corner piece.

Sunday, 6 June 2010

Lotstodo Challenge - Bees Wax


This weeks Lotstodo challenge is Bees Wax. So this afternoon I got my meltpot out and had a play. The background was run through an embossing folder, coloured and scrunched with distressed inks. The brown diagonal square nestie was sewn on. The quote is stamped in pumpkin stazon, cut out, chalked over and attached and coated in bees wax. The edges have been decorated with zig zag stitiches.


I burnt around the edges of a piece of corrugated cardboard with a candle flame. I dipped each side into a bowl of water to put the smouldering out!!! and then dried it with a heat gun. I covered the whole image in bees wax and when dry scraped some of the wax off their faces. The 'when?' is also stuck on with some bees wax. Finally I attached a piece of string for a hanger and applied wax to the knots.

Blog Archive