"The love of my life opened my heart the warmth it let loose poured into my art" by Claire Ivins
https://youtu.be/yhrEOCbZDY4
*** You may not get an exact replica of this box, but similar items will be included ***
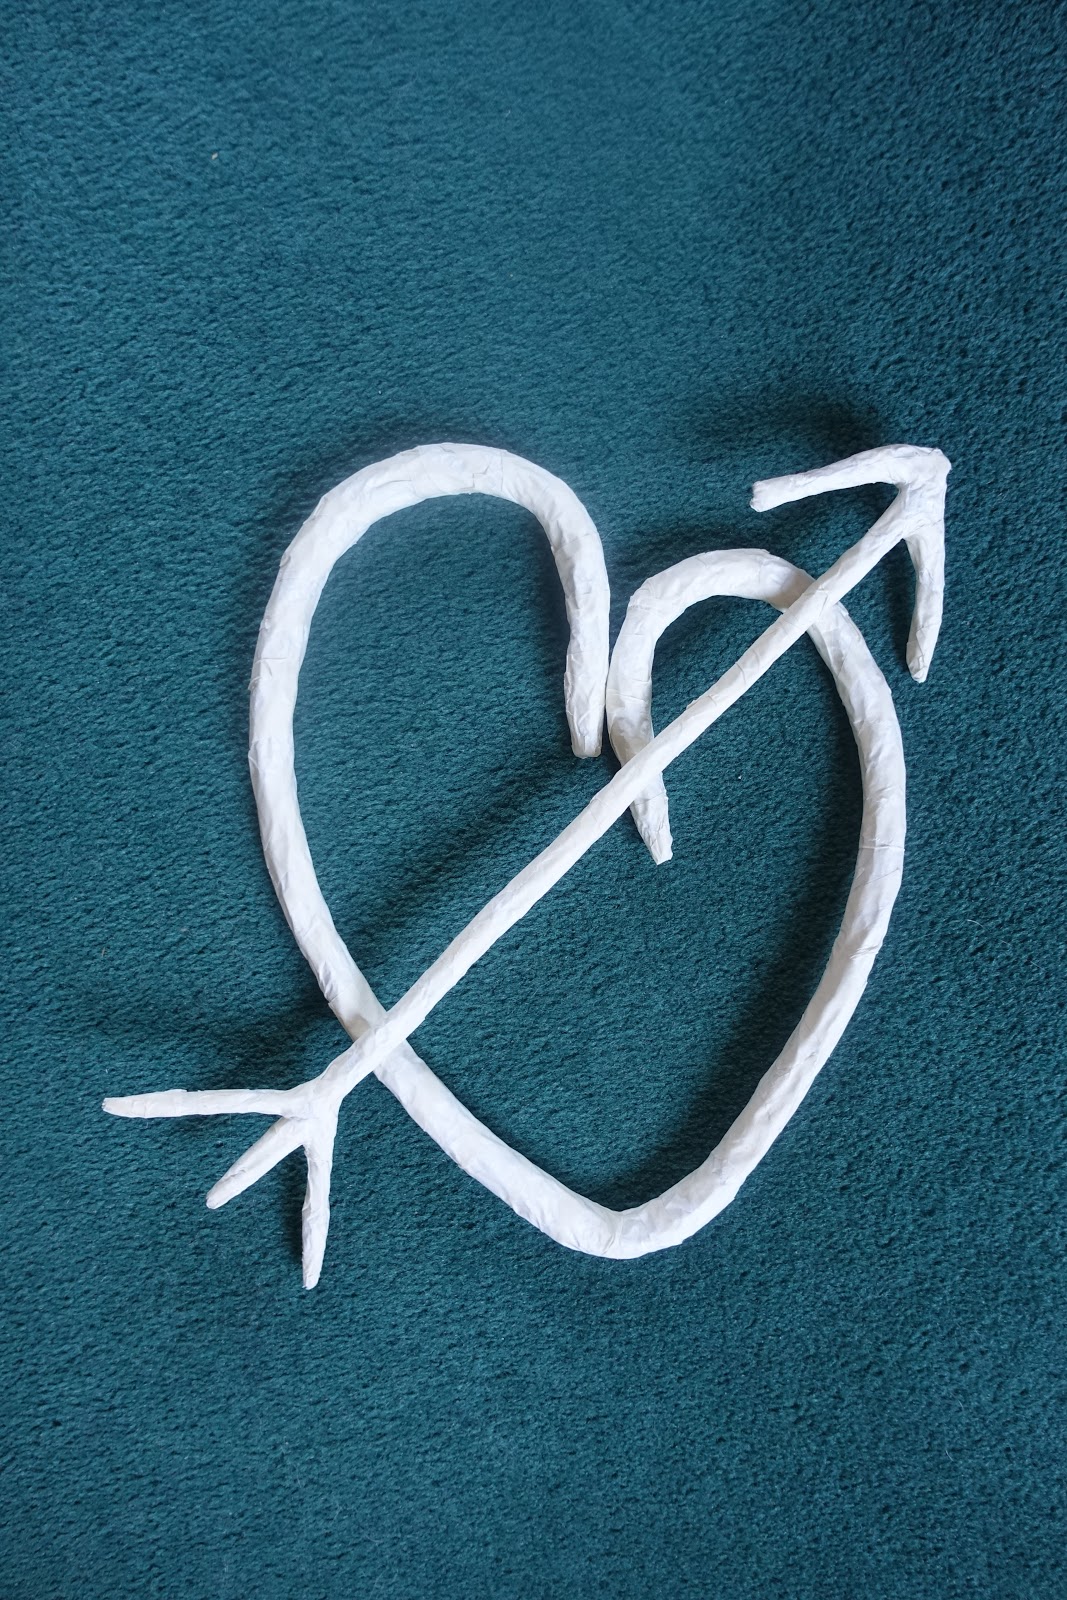
I also gathered a few more supplies, wire, paper tape, tinfoil and a larger mdf heart shape.
I used the mdf heart shape to mould another from wire.
I used tinfoil to pad it out and create the shape I wanted.
Next came the making of the arrow. This is a thicker wire as I wanted it strong and sturdy.
I covered everything in masking tape.
Then I started to play around with some of the contents in the box.
I wanted to make a recess in the polystyrene heart for the plaster heart to sit in, so I drew round it.
And using a craft knife and a small pair of scissors, I dug out the shape.
I placed the plaster heart in the hole to try it for size.
I painted it with a coat of red Powertex and whilst still wet pressed Stone Art powder onto it and rubbed it in, letting the excess fall off. The Stone Art creates a stone like effect.
Then I sprayed it with red Bister. This red is more of a mahogany colour, ie a deep red.
I painted the heart and arrow shapes with the red Powertex an stuck the arrow on with it too. I cut out some of the polystyrene heart so it sat on the frame. I added the gold sequins from the January box and also used rich gold pigment from my stash over some of the heart shaped frame.
And to finish I mounted it on one of the Powertex metal stands.
Some close ups.
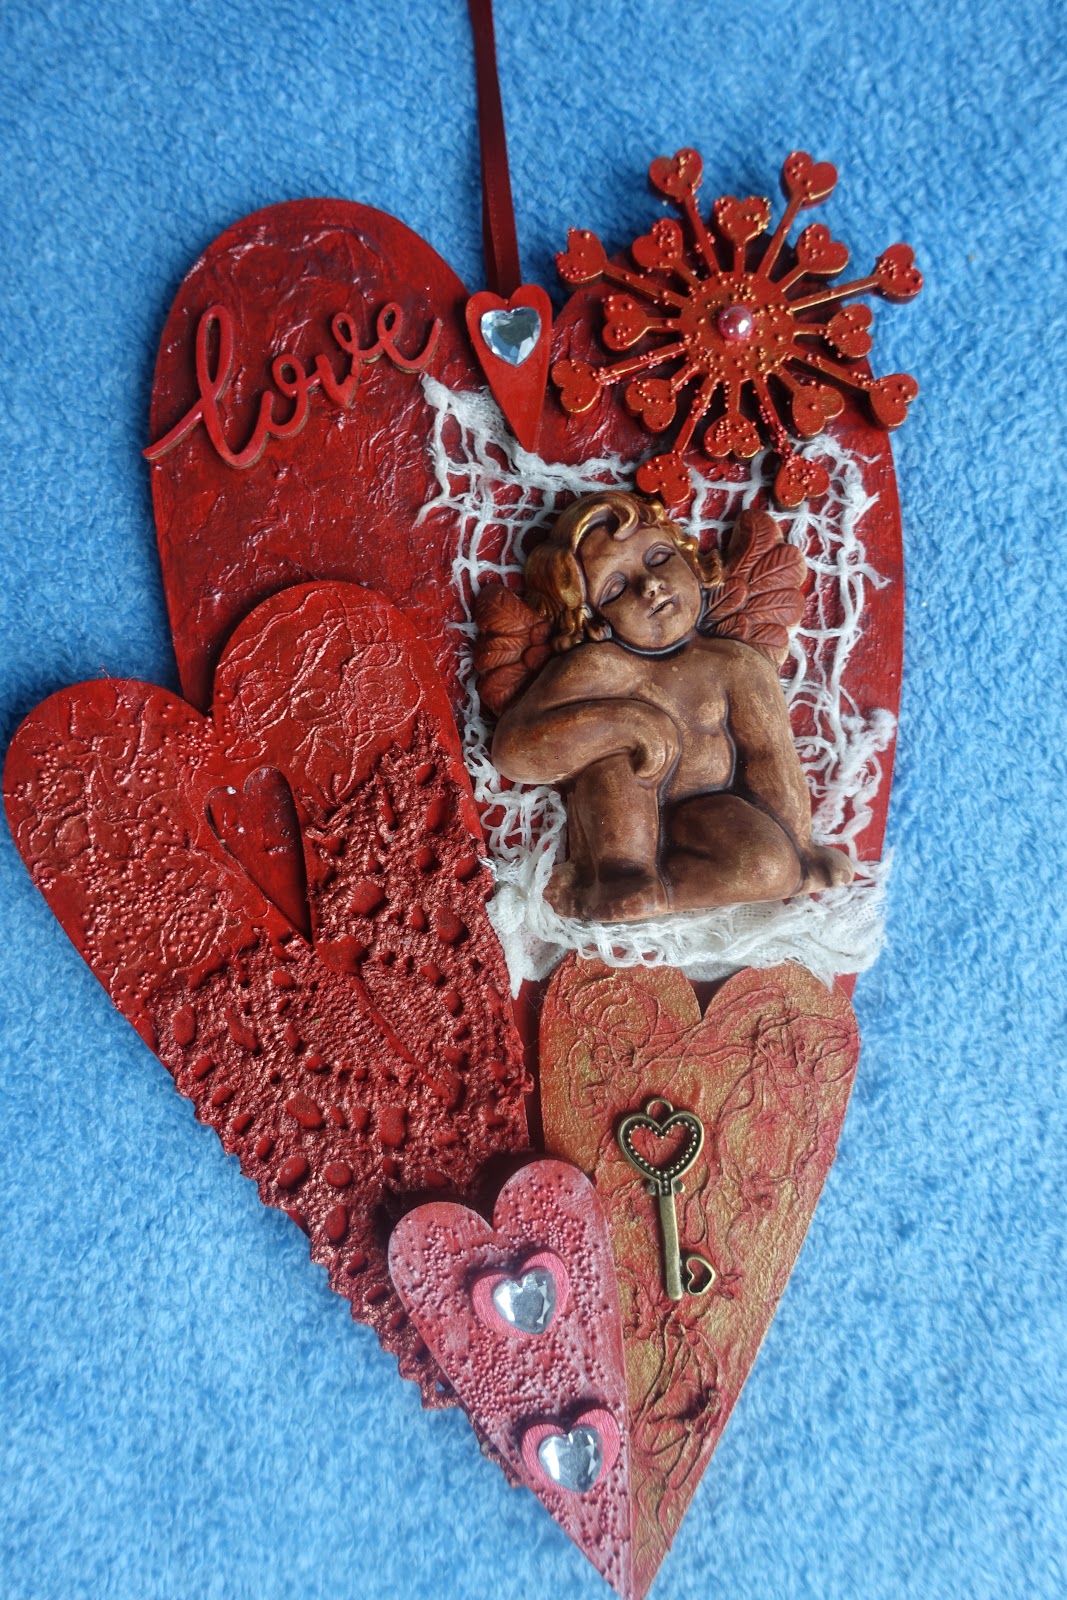
I did the same for my next project and started off by creating a layout. This time I wanted to show different shades of red and different textures.
I sprayed the plaster cherub with the red Bister.
I used the red ochre and varnish to create a paste and painted the wings, and did the same with the rich gold on the hair.
I painted the large heart from my stash, and from the box, the set of four hearts (including the one out of the middle of the biggest one), the smaller starburst shape, mini hearts and the wooden love word, all in the red Powertex.
This one I added strands of Power Cotton to the wet Powertex, painted over it and added the key whilst still wet. Once dried, I dry brushed with green olive pigment, which if you were lucky enough, was in the January subs box.
This one I sprinkled some of the small Powertex sand balls into the wet Powertex and dry brushed with rich gold pigment.
And for this one I added pieces of tissue to create some texture and to dry brush I mixed some of the blueberry pie with the red velvet acrylic paint and a touch of lipstick fizz pigment (for the shimmer) to create a deep purply colour.
Next I layered everything up and put it all together. I used the Powertex as a glue once I was happy with the placement.
Some more close ups.
For my next project I wanted to section off parts of the sheet of rice paper included in the box.
Instead of cutting it, I like to get a rough edge as I find it blends in better and isn't such a harsh line. If you take a wet paintbrush and mark out where you want to tear, if it's wet enough it should just pull apart. If it rips then the paper isn't wet enough.
It should just pull apart and creates a lovely edge.
This is what I ended up with. Don't you think they look much nicer than straight cut edges.
I also cut a piece to size and fitted it inside one of the metal embellishments I got in my box.
Then I completely filled it with transparent Powertex and left it for several days to dry. It is cloudy when a liquid, but dries clear.
I wanted to create a pink colour to combine with the images, so I mixed red and white Powertex until I achieved the colour I wanted.
I found a suitable glass bottle and completely painted it with my new hot pink colour and left it to totally dry before the next step.
Using transparent Powertex I glued on the pieces I'd torn out. I smoothed them out and also added a layer over the top. Now this looks really messy and you might think, oh no, what have I done. But, don't panic, stick with it, the transparent goes on cloudy, but dries brilliantly clear. I also added some of the fancy yarn I had left from my Bluebird (January) box around the top.
And this is what I ended up with once it was all dry.
I added some chain and a couple of metal charms, the hand and heart from the box. The transparent Powertex has now completely dried that I put in the heart shape, so it has now sealed the image.
And a decorated bottle makes a great candle holder. Should you wish to light the candle the dripping wax won't be a problem when it meets the Powertex. However, don't let a naked flame come into contact with any fabric, as Powertex is not a flame retardant. As with all naked flames, do not leave it unattended, we won't be held responsible for your house burning down!!
All three makes together. I hope that you have gained some inspiration for your own box, I can't wait to see what you do with it. Don't forget to share your makes on the Powertex Studio Facebook page as we love to see what you've been up to.