Showing posts with label metallic paint. Show all posts

Monday, 17 February 2025

Winter Steampunk Online Class


All set up ready for the class to start.


Painted the background, added silver flakes, stencilling and lace.


Started to build up a composition using found objects, resin pieces and wooden shapes.


And I kept going until I liked what I saw whilst trying to build up dimension.


Painted the edges to tone down the silver flakes.


Added the main focal point to check she would fit on her machine.


Painted everything with white gesso, two coats.


Put silver flake over the two light bulbs and painted the rest in chest of gold metallic paint.


Added black for some contrast and shadow.


Added white pearl wax with my finger over the top of the elements. Added some white splatters.


Added carmine to create a rust effect. Added pebbles.


Added crushed crystal effect paste and touched up with more wax, silver and pearl.  Watered down unicorn sparks and painted over the light bulbs and the wooden snowflakes.


Added the main image and the wing once everything else was dry.


Managed to get a couple of photos out in the garden.


Close up of the main image (from DigitalsbyJen on Etsy).

Sunday, 16 June 2024

Ray Ray’s Creative Circus Class of 2024 - Part 2 - Finnabair


After a mammoth task of trying to find a supermarket to buy some lunch and being run off the road by a fire chief in an unmarked car, we finally got back to the hotel in order to make a canvas like the one above with Anna (Finnabair).


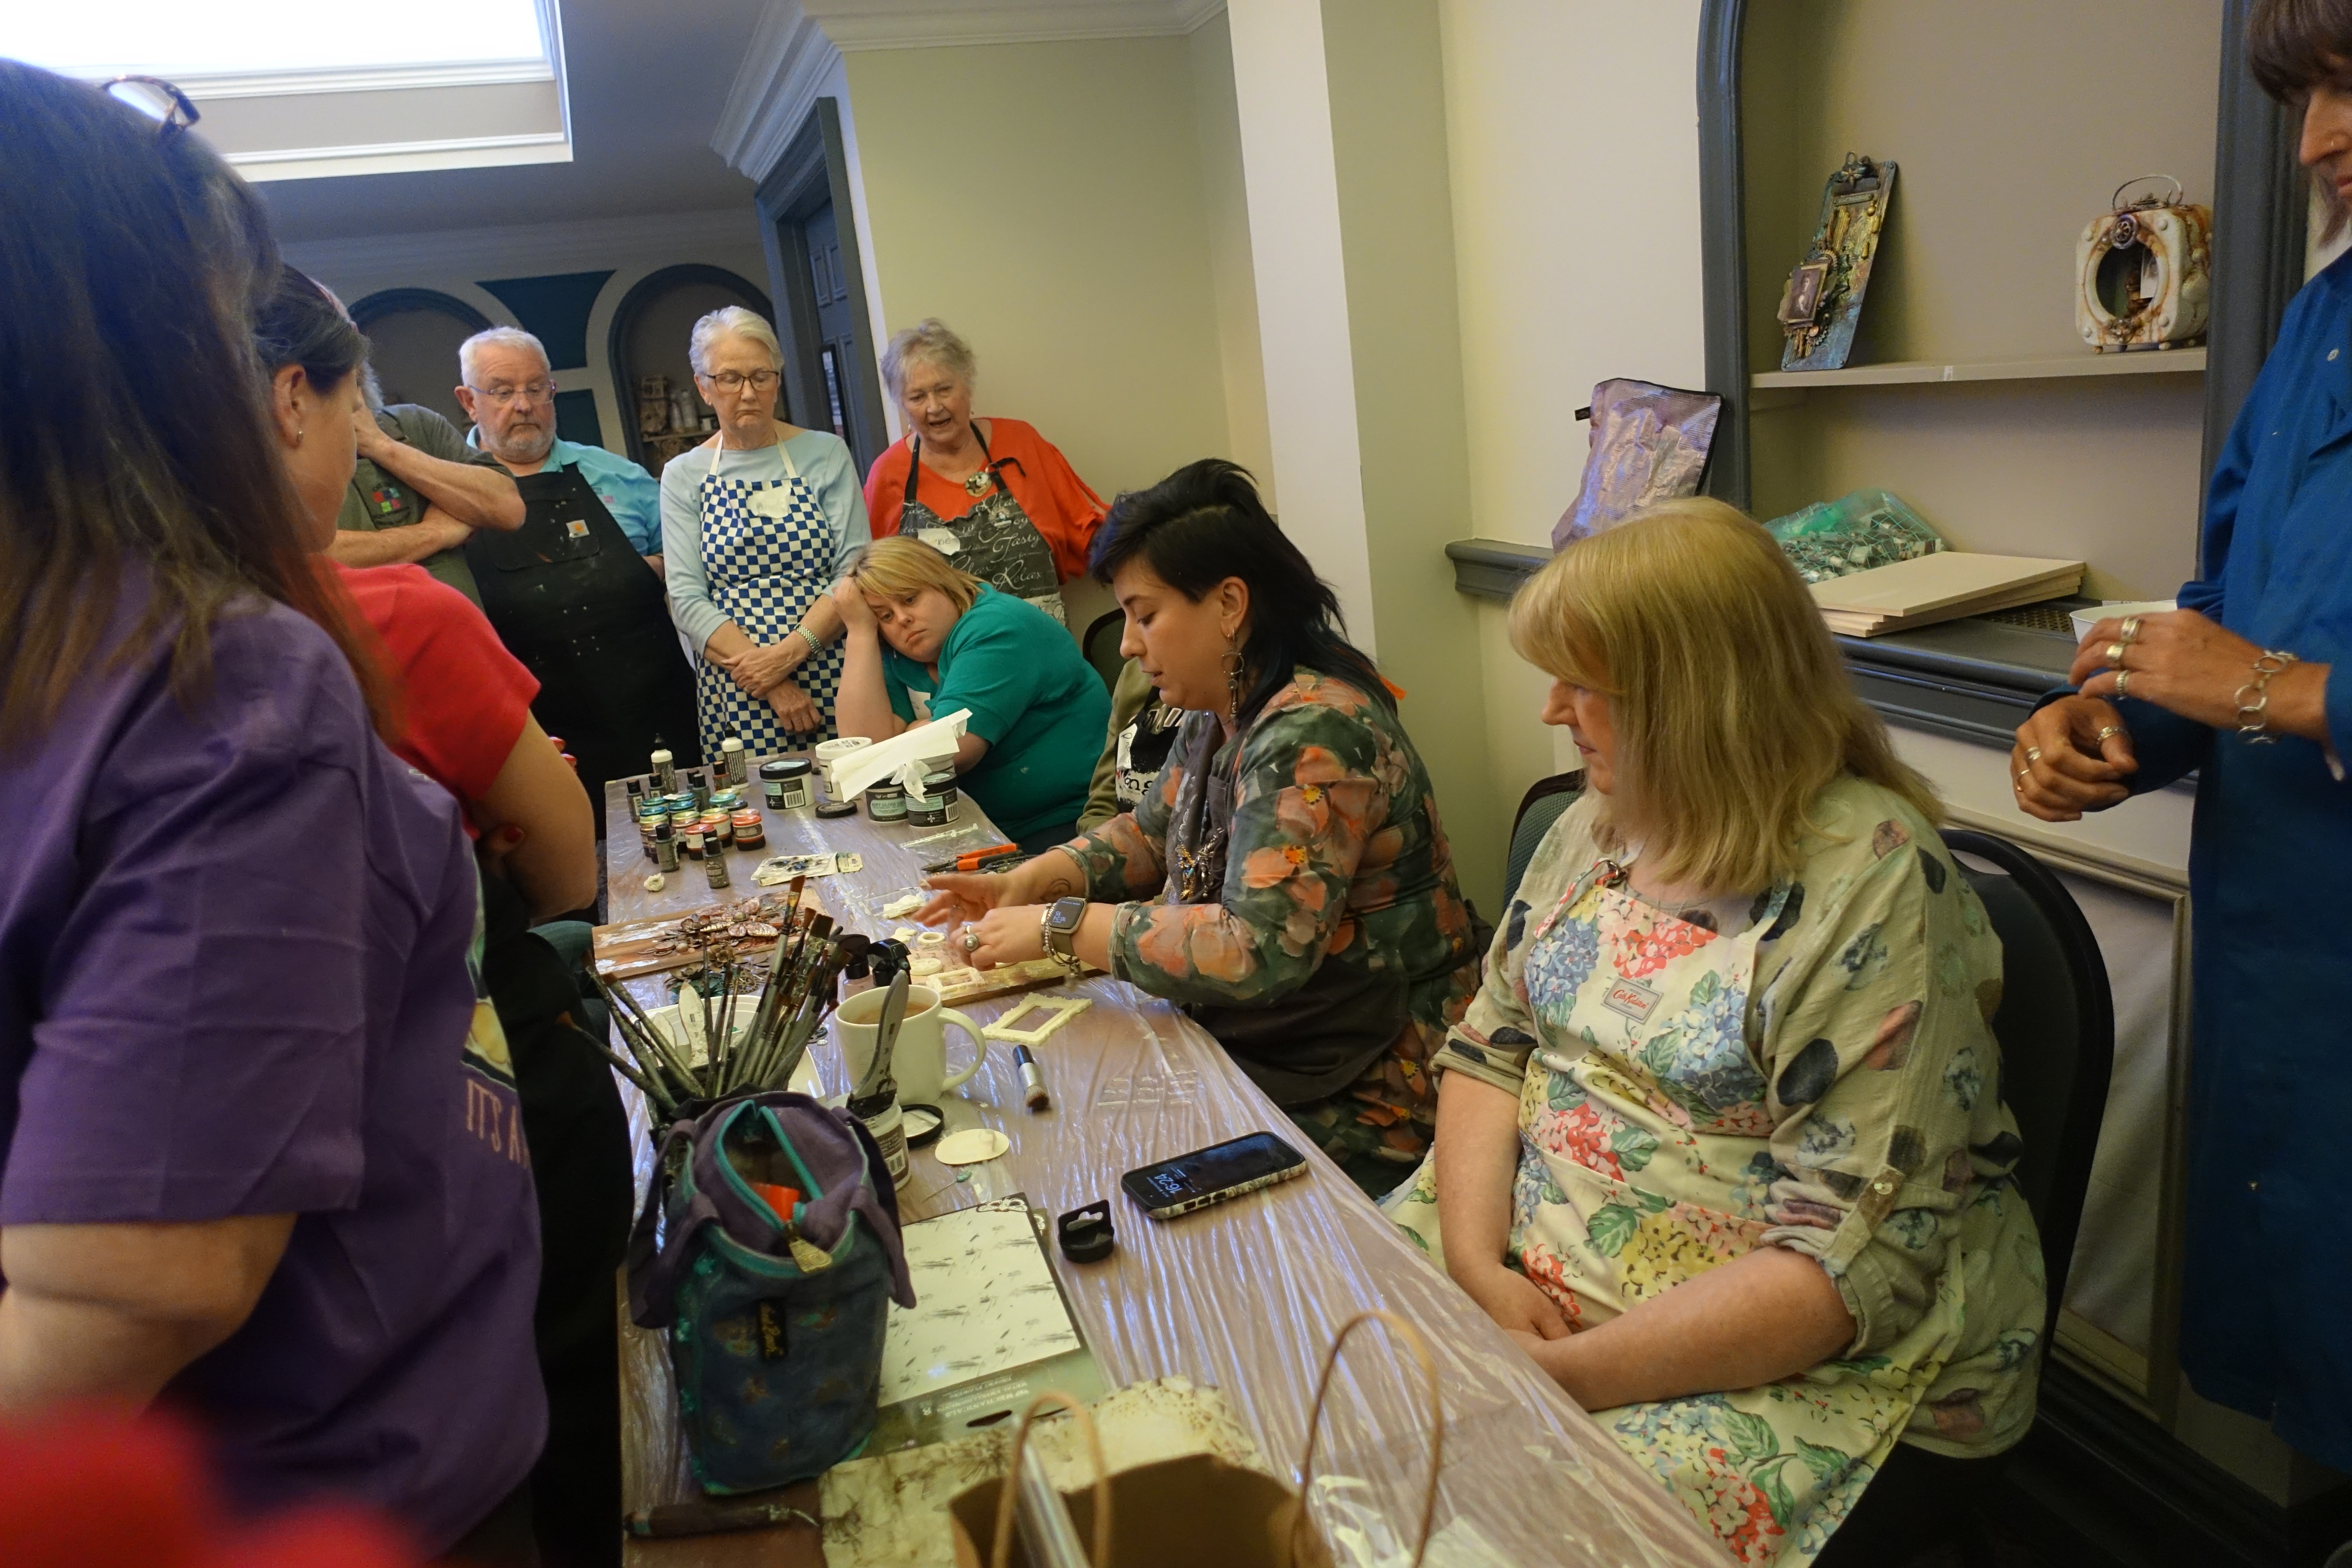
So Anna's style of teaching is completely different and she has everyone come up to the top table so that she can demo what to do.  


So the plan was to gesso the wood, then use three different colours of acrylic, water them down and create a sort of wood effect on one half.  The more water, the more streaks.


Next we added tissue paper to the top half and dried it thoroughly because the next step was to add guilding flakes. I chose to use all 3 available colours (gold, silver and copper) and on the wings of the moth.


There were lots of different colour combos going on.


Everyone still having fun.


Next step was to create the composition and unfortunately I totally forgot to take any more photos, so here is what I ended up with.
 

I used the same 3 colours of acrylic (avocado, umber and ink black) that I used for the bottom half. We then used white gesso and gesso'd all of the elements.  I took the black acrylic and painted around the outside of all the elements and used lots and lots of water to get the drip lines on the bottom half and dried each time between the spritzing.  Now the next thing we did is totally new to me, I used a matt wax (sage leaves) but like paint and totally covered all the elements.  Next I used a green metallic paint and randomly painted over the waxed areas using lots and lots of water, sort of washing the paint away but leaving the mica behind.  This also created more drips for me. I kept drying between adding more water.  Once happy with this, I chose the silver metallic wax and used it to bring back the highlights on the elements for a contrast.  I still have to stick the moth and add some pebbles.


And a huge thank you to Anna for bringing my prize with her from the latest patreons party.  This is so generous because there is only half of it here, I shared the paper with Janet.


I absolutely love these sticker sheets.

I am happy to say that the drive home was much less eventful than the journey down there. In fact, nothing happened at all - lol.


Ray Ray’s Creative Circus Class of 2024 Retreat - Part One - Nuneka Box


Although this looks like a wonderful place to stay, it really was dire from every aspect.


Not only were the rooms tiny, and I mean tiny, not just small, tiny.  They were filthy with crumbs and grit all over the carpet.  It was clear that they'd not seen a hoover for some time, and this is probably because there is no room to get a hoover in.


The lounge area was okay and my food was fine, but the same couldn't be said for Janets. Hers finally arrived about an hour after everyone else had eaten even though it was ordered the same time as mine.  She didn't even get what she asked for!!


So this was the function room, hardly any natural light at all and green and blue strobe lighting, not exactly ideal.  No plug sockets for heat guns either, so the gang got together to get that sorted out whilst we found ourselves a seat and dived into our goodie bag.


They were all the same but slightly different, if that makes sense. So they all had the same contents ie a stamp plate, but it was a different set of stamps.


So here we are, getting acquainted with our neighbours.


This is Nuneka and this is our first project.


Started off using 3d gel through a stencil.


Tore a piece of cardboard and glued it down.


Our table, Nanette, Helen, Dawn and ........


and ................ Janet!!


Added random string and lightbulb casts.


Popped all the cogs out and painted everything with black gesso including the resin pieces.


Started to arrange a composition using the biggest elements first.


Dry brushed with white gesso.


Then I used the light green sparks (fairy wings) randomly over the project and flooded it with water spritzing everywhere, dried it and ditched the water.  This gave me a gold shimmery base colour.  Using 3 more colours of sparks paints (two blues (night shadow) and a brown along with the green) placing them where I wanted them to stay and lastly added a bit of carmine for the rust and spritzed.  I only concentrated the rust in the top right hand side but let it drip.


And this is what I ended up with.  I still need to add the focal point when I decide what I want.  The original was layered with papers, but I didn't want to do that.


This was taken at about 7.30pm as we were ready to leave for home, most people were still working on the afternoon project.

Wednesday, 20 October 2021

Bookends or Treasure Boxes


I painted the drawers I took out the top part of the cabinet.


I added patterned papers in the back and bottom.


Used texture paste on the outsides and top.


Then I decided to paint them both in purple metallic acrylic.


And I also did the tops.


I then filled them in with mini bits and pieces.


I added some tulle on the bottom and heated it to curl around the bases.


They can either be used for bookends of display ornaments.

These are for sale in my online shop.

Blog Archive