Showing posts with label Plastic wallet. Show all posts

Thursday, 20 August 2020

Paper Bag Boho Book


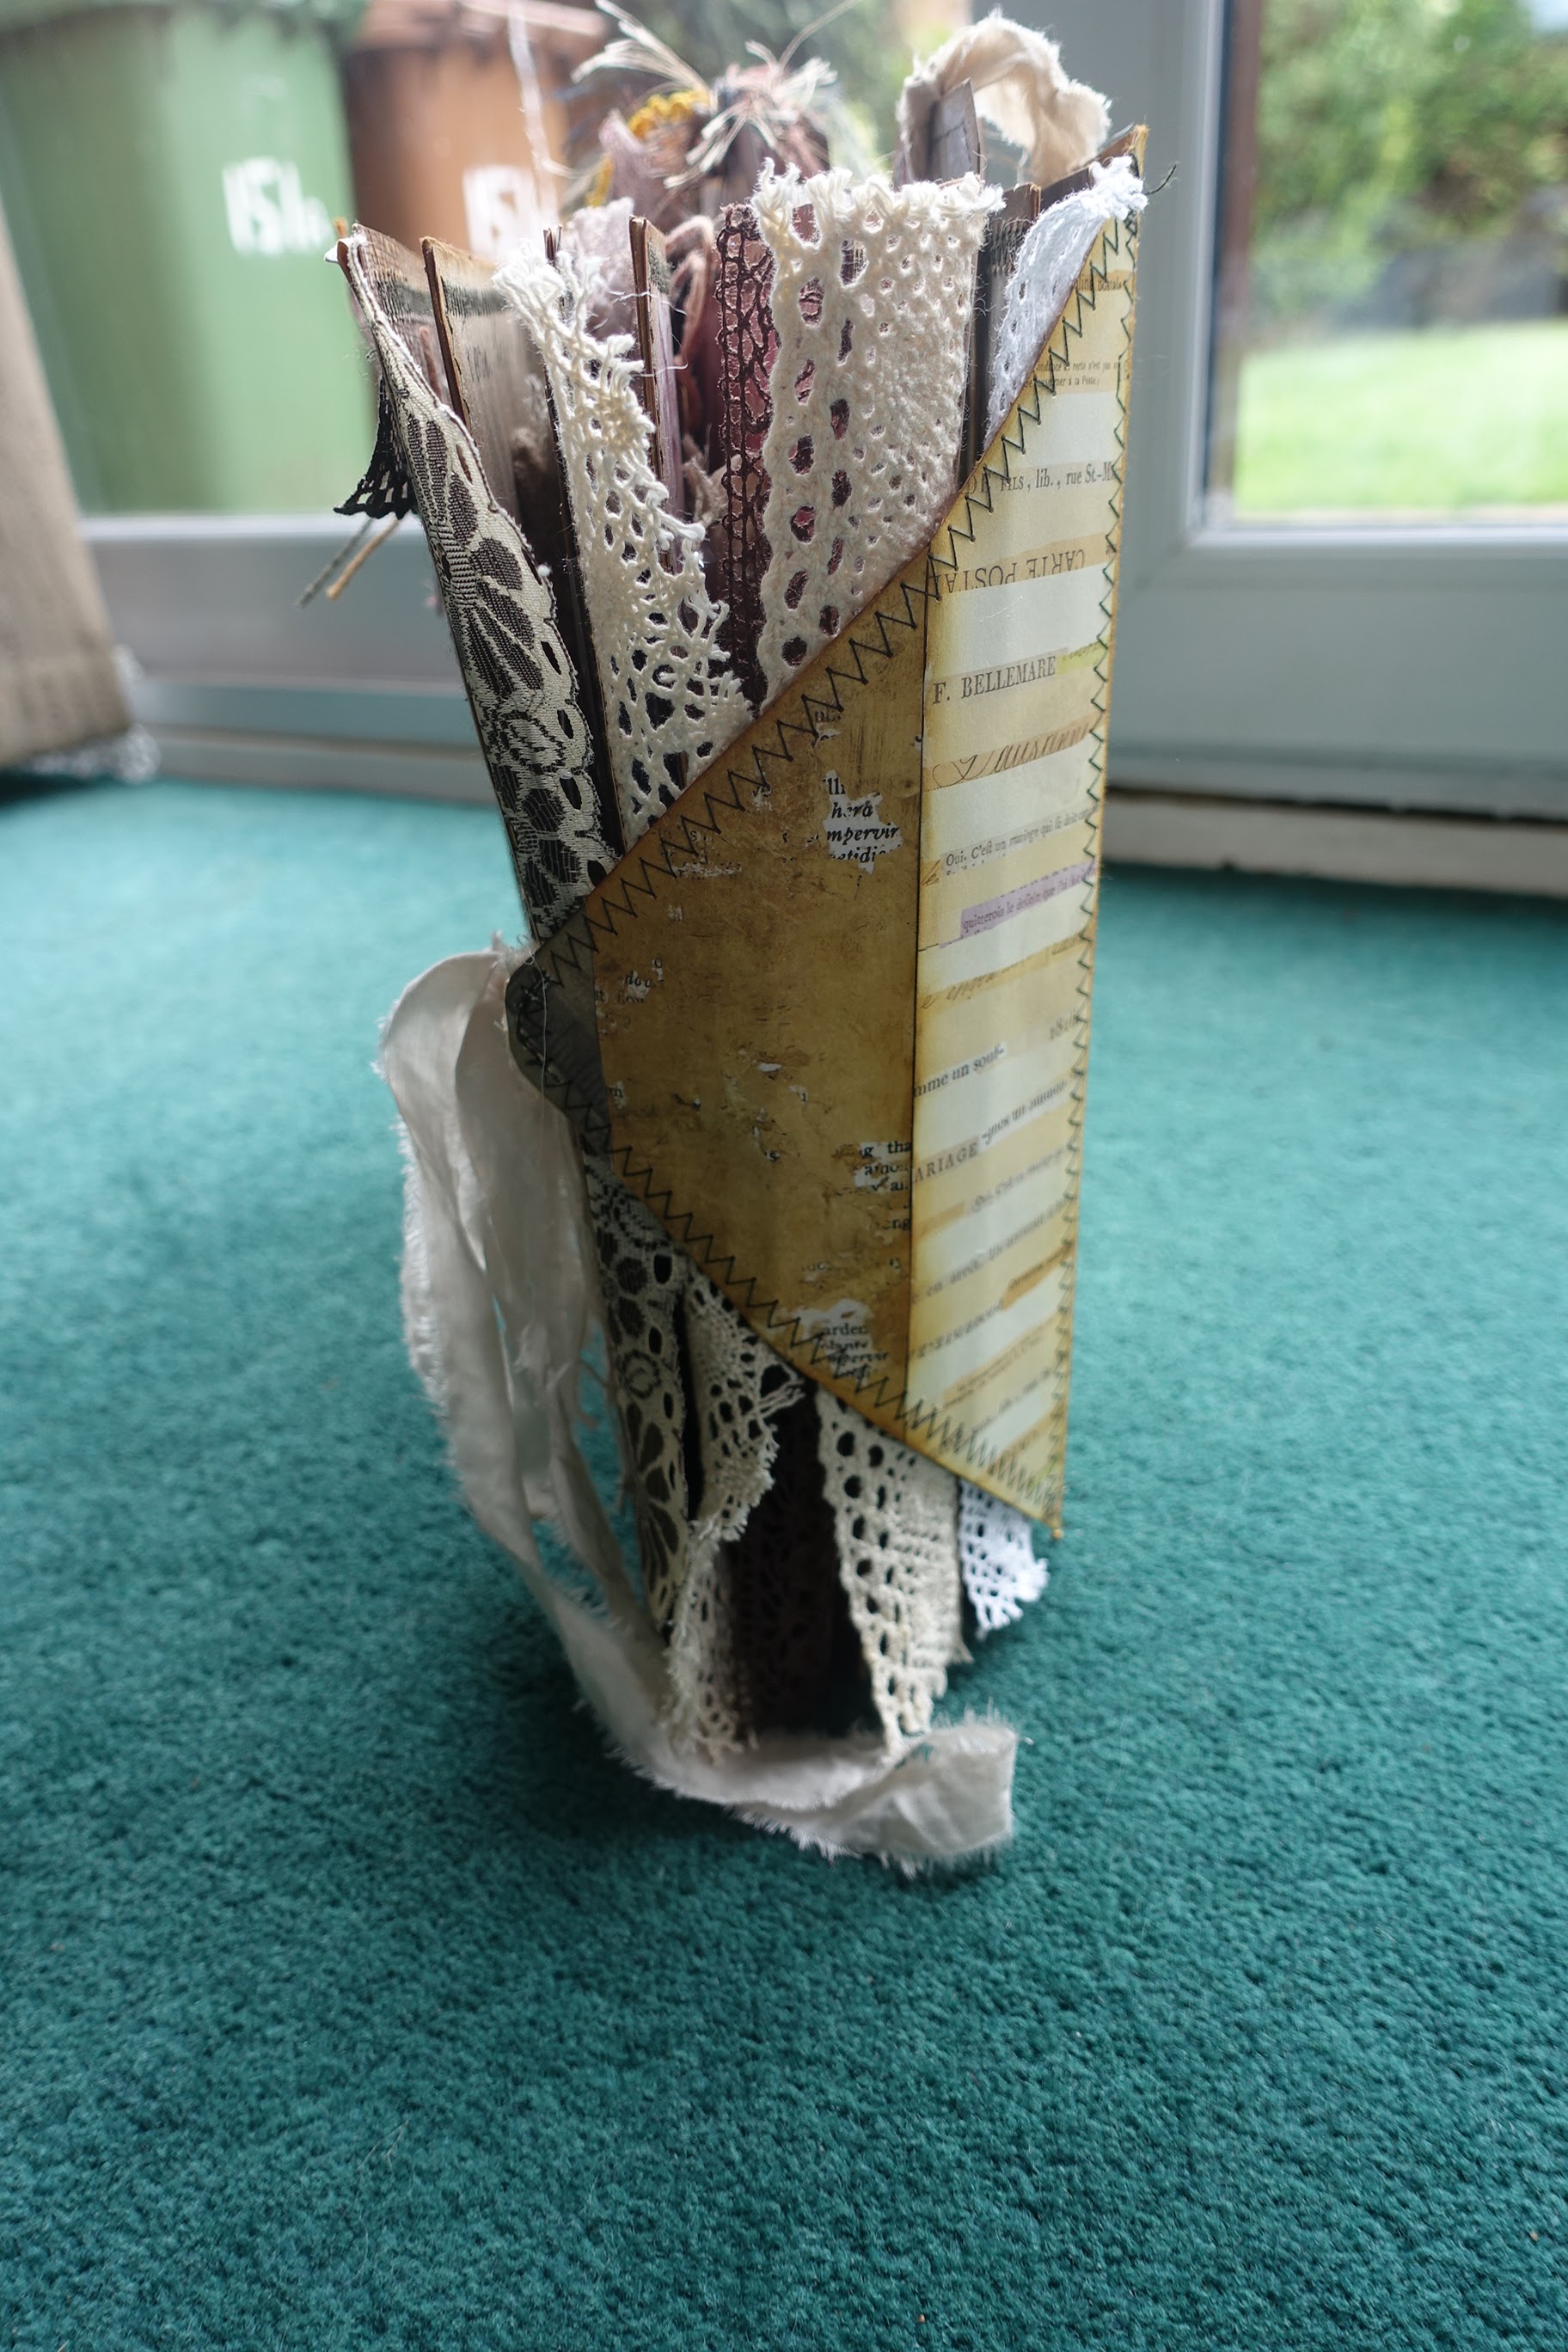
Using large brown paper bags, fabric, patterned papers, trims and things, I created this Boho journal.


The tags are a mixture from the #fabtag30days challenge and some I had previously made. 


I painted the pages first.


Then added the patterned papers.


And bits of trims and ribbons to compliment the colours.


I added fabrics to some of the pages.


Lace and crocheted doilies.


This is the back page and I didn't want anything that could get caught or rip on it. Then I found the perfect thing. Remember the masterboard I made for RRR, well I didn't do anything with it and it fitted perfectly.


I picked up these little plastic wallets last week on my trip to Hull and they have made perfect pockets.  They are much sturdier than the A4 plastic wallets and I didn't have to do any sewing either.


I also created some pouches in the tops of the pages to insert more tags.


This is the view from the top.


And this is the bottom, I added some trims and frills between the pages.

I'm toying with the idea of adding ribbons to the right hand sides of the pages too.


Friday, 14 August 2020

Paper Bag Book


I have a stash of large sized brown paper bags so I decided to try and make a book out of them.


Folded them and held them together with two huge paper clips that I was kindly sent by Becky.


Next I chose some papers and trims.


I used the sewing machine and whizzed around the edges.


Using the largest zig-zag stitch on the machine.


Next I had a play with what I was going to do on the front cover.


As I didn't want to stick the tags in the book and buying self adhesive plastic sleeves was going to work out too expensive, I made my own from A4 clear plastic wallets.


I stuck them onto the pages using double sided red liner tape.


Here it is completed with all the pages tied together using the ribbons.


And this is the back. (Off cuts from the 12 x 12 pages I used for the insides.)


I extended the end piece so it was a better fit and wrapped round the laces.


This is how it looks from the side when tied at the front.


A view from the top.


And just a couple of views from the insides.


I haven't put any decoration on the insides as I wanted to be able to move the tags around easily and it turned out to be bulky enough without adding anything else.
 

I wanted to make something to put my vintage style tags in from the #fabtag30day challenge.

Thursday, 16 July 2020

Day 12 Tag


Day 12 tag for the #FABtag30days challenge using up leftover bits from the previous tags.


Then I decided it needed something else, so I added a couple of large gems to balance it out.

Wednesday, 15 July 2020

Day 11 Tag


My tag for day 11 of the #FABtag30day challenge.  I decided to encase the smaller tag in the larger tag behind a sheet of plastic.


Then I decided to bling it up a bit and added some gems.

Friday, 10 July 2020

Green Oriental Style Tags


I decided to have another go at Tracie's double window tags, but this time tried out an oriental theme.


Once the base tags were made I got out some embellishments and started to play around with them.


I only slightly veered off the original layout, and glued everything down.


Loving these window tags. There is so much going on.


In the process of rounding the corners I managed to break another punch today, my corner rounder! It just jammed.


I've had a hell of a game getting hold of Zutter to replace it as it has a lifetime warranty.


The inner tag pulled out of the window.


And tag number two, I added some washi tape to the bottom of the smaller tag.


Removing the smaller tag from the window pocket.


And finally the smaller tag pulled all the way out.


And the two tags together with the smaller tags removed.


And I also covered the backs.

These are my day 8 tags towards the #FABtag30day challenge.

Thursday, 9 July 2020

Vintage Double Window Tags - Day 7


After watching Tracie's video I decided to have a go at creating some windows myself but unfortunately I broke my 2" circle punch in the process, so had to go with an oval instead!


I was lazy and used pen around the edges to create faux stitching and I didn't fancy that oval either.


And the inner tag pulled out.


And tucked back inside the window.


And the second vintage tag.


And smaller tag pulled out to expose the window.


And with the smaller tag going back inside the window tag.


And both tags together with half the windows showing.

These are my day 7 tags for the #FABtag30day challenge.

Blog Archive