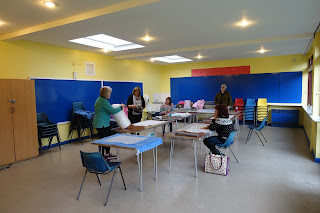
So today found us in a different location for our wet felted bag workshop with Dawn of Dawn Allen Fibre Artist. Lin and Chris had just arrived and were getting settled in with a cuppa.
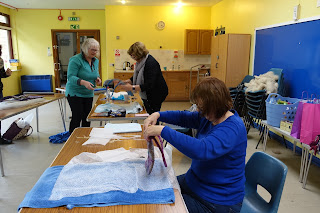
Dawn explaining to the group what a resist is, how to use it and the types of material you can use for one.
In the morning we made a smaller tester piece to get a feel for the wool and the shrinkage values. First thing to do was decide what we were going to make and what size of a resist we would need.
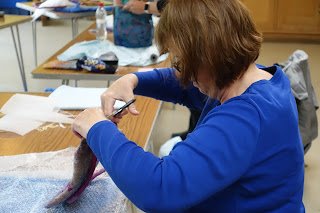
Once we'd decided, we started to add the wool. For the first layer we used a Bergschaf batt, which I thought was gorgeous. You can see it in the photo above.
This has two layers on each side and I added a random design on the front side using some locks and nepps.
Here you can see the locks on the bottom. I covered them to do the rolling as I did't want them to felt.
Lin decided to add colour to hers. The colours are made up using Merino wool, nepps and masham wool locks.
And Chris laying her design out again using Merino wool, locks and nepps.
Chris's landscape design.
Everyone adding the finishing touches to their designs before the wetting and rolling process begins.
Lin taking a photo of Chris finishing her design as Chris forgot her phone.
And then the rolling begins. This is where you get your exercise!
Testing and looking - is it done yet??? Dawn giving Sue a bit of advice.
Lin is happy with with how her piece has come out after, rolling, hot and cold shocking and wringing out.
Chris is still rolling to try and shrink hers down to mobile phone size. We then stopped for some lunch.
After our practice this morning we went for it and made a bag in the afternoon using exactly the same process and taking into account what we learnt from this mornings make.
The first thing we did was to make a handle for our bags. Then we covered each side of the resist using the Bergschat and for the second layer we used the Merino, locks and nepps again to create the design of the outside of the bag.
Then more wetting and rolling to get the wool felted and to the required size.
Chris cutting the resist out of the felted wool.
Dawn showing Linda how to felt the raw edges once the resist has been removed.
Front of Dawn's bag, she added a bright pink flap to hers. I really love how she felted along with us.
This is the back of Dawn's bag.
This is the front of Sue's bag. She's just removed the resist and is felting the raw edges after making a cut.
Moving along the cut edges of the bag to seal them.
This is mine, I've just cut the resist out and seeing how the flap looks.
These are what Carol made. In the morning she made a phone case and in the afternoon a matching bag.
Carol decided to add a bit of needle felting to her pieces.
For some reason I don't appear to have a photo of either Lin or Chris's finished bags.
When I got home I found something to stand in my bag whilst it dried so I could mould it to the bag shape that I wanted. Here it is standing on the draining board with an empty biscuit tin inside standing on a cooling tray to help it dry out.
Once they are properly dried tomorrow I will add the clasp and I may add some needle felting to them.
Thanks to all, had a fabulous day and learnt loads.


