Showing posts with label Flowers. Show all posts

Sunday, 16 June 2024

Ray Ray’s Creative Circus Class of 2024 - Part 2 - Finnabair


After a mammoth task of trying to find a supermarket to buy some lunch and being run off the road by a fire chief in an unmarked car, we finally got back to the hotel in order to make a canvas like the one above with Anna (Finnabair).


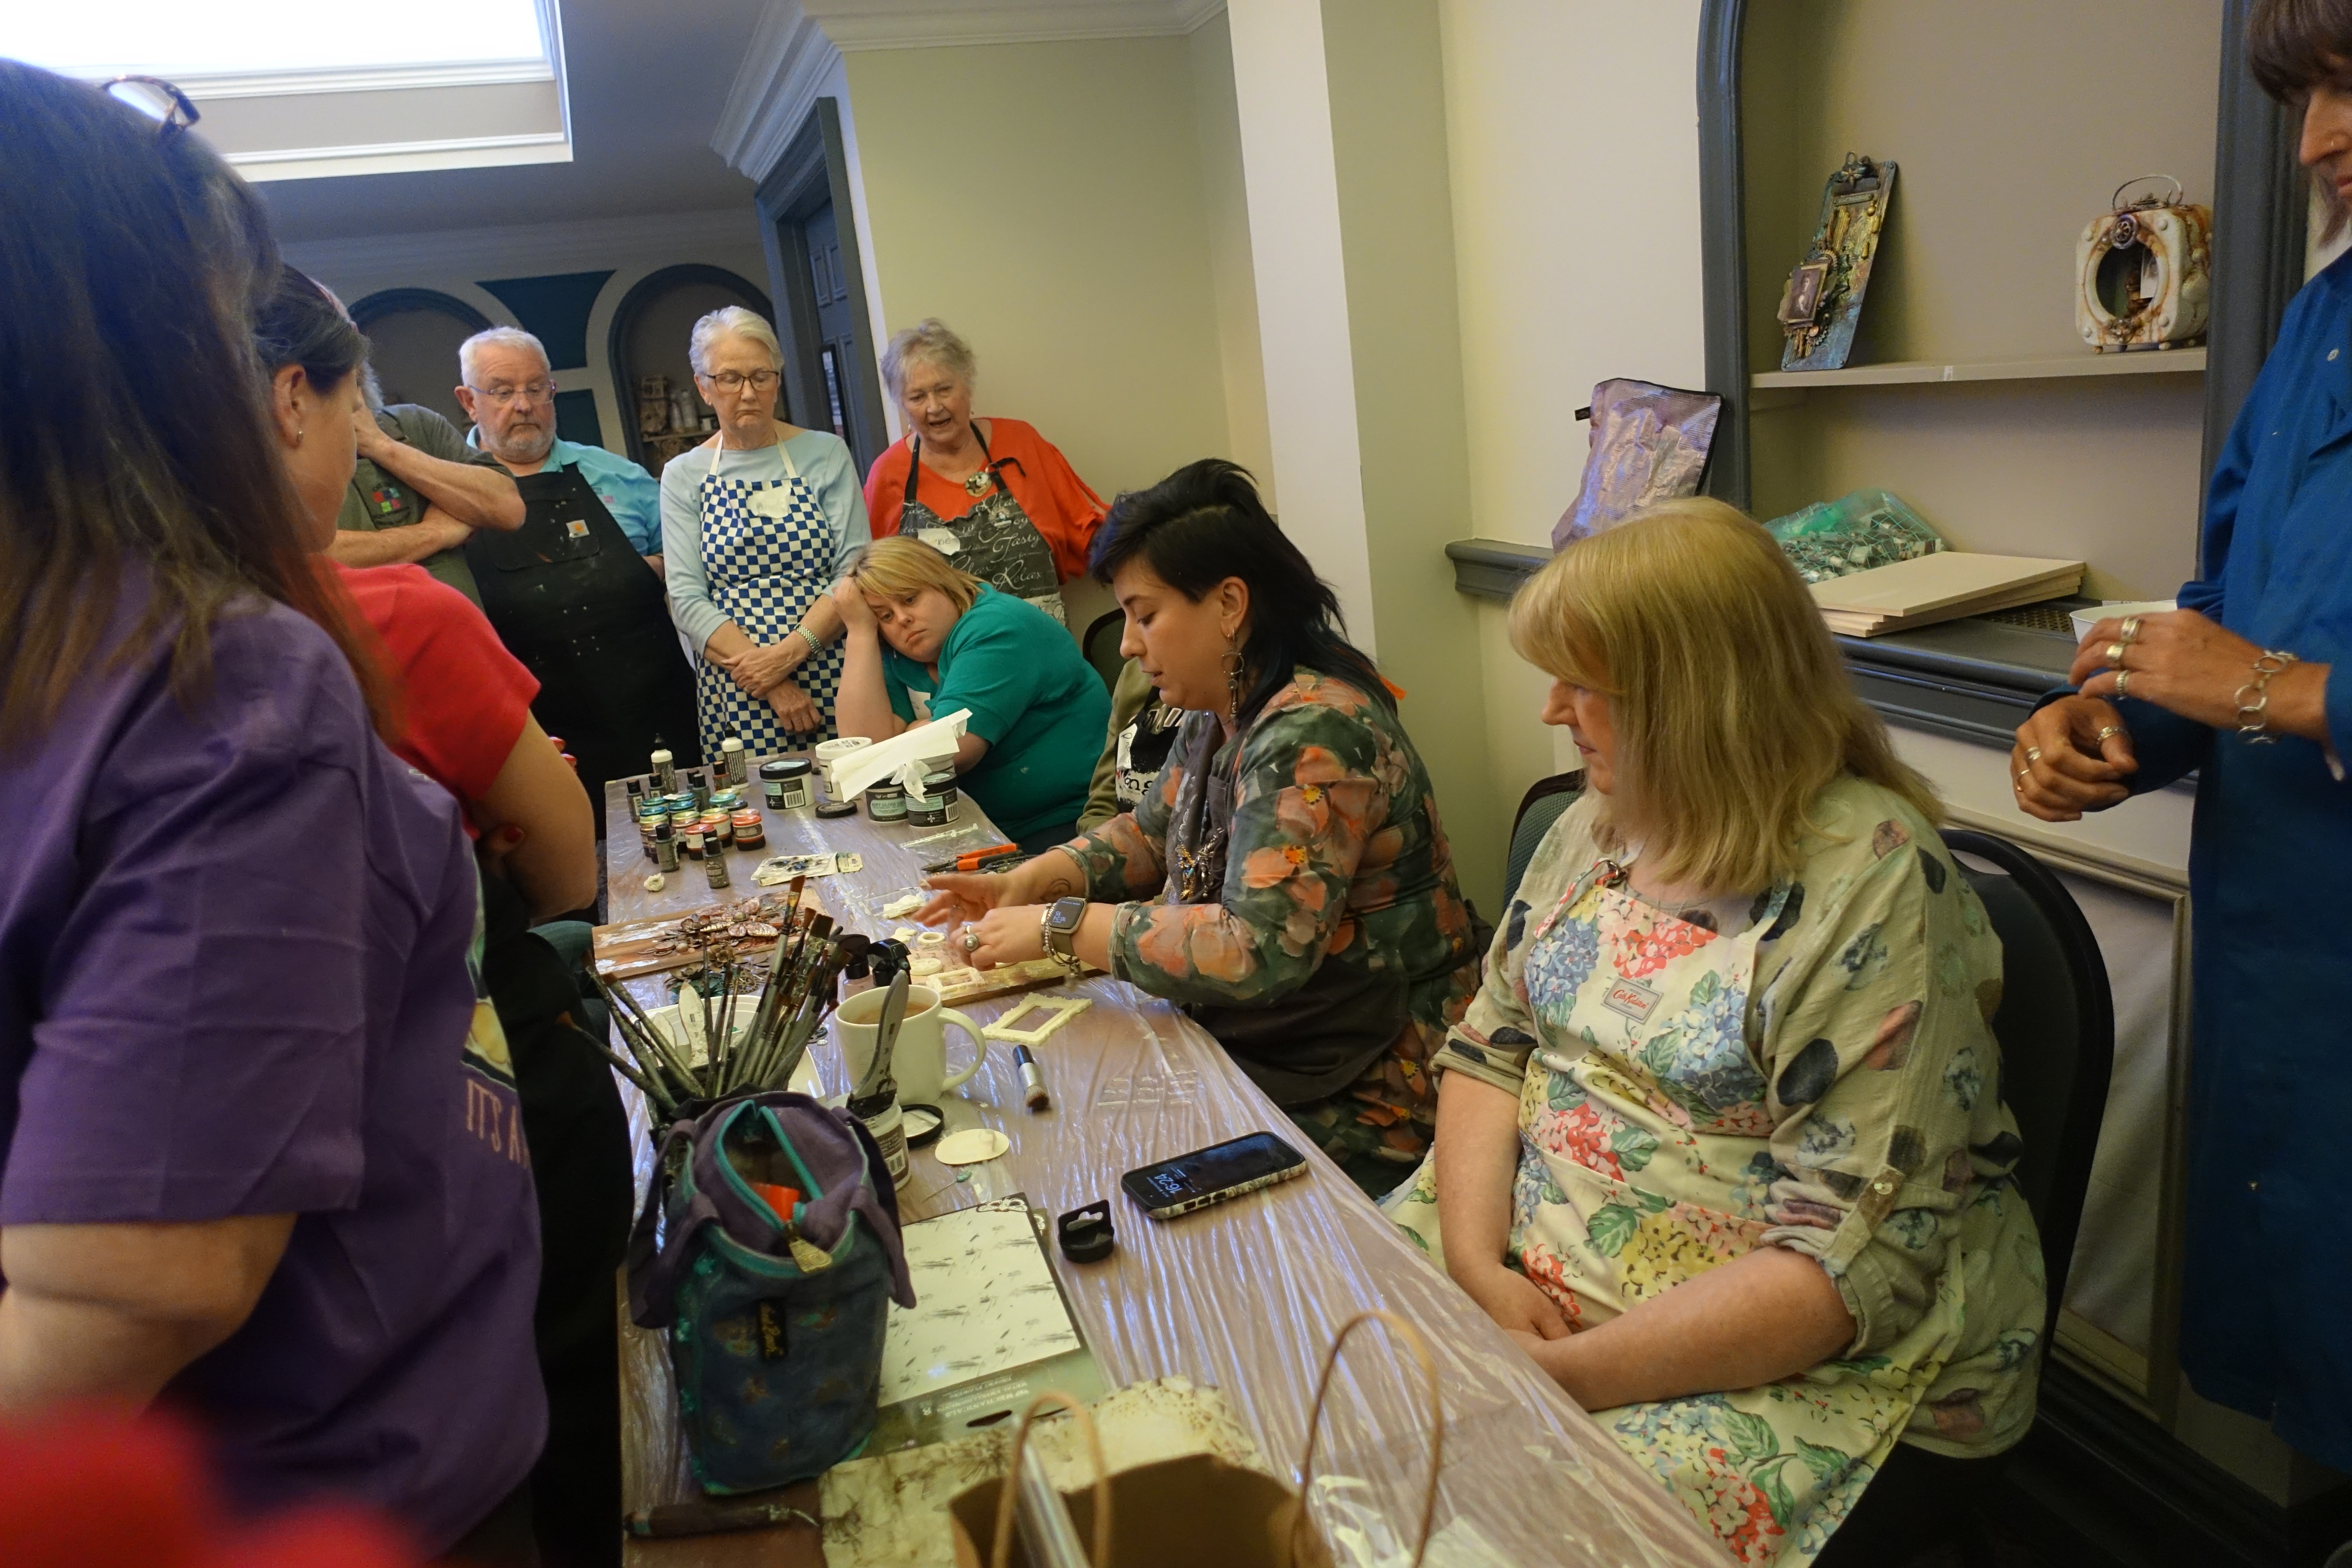
So Anna's style of teaching is completely different and she has everyone come up to the top table so that she can demo what to do.  


So the plan was to gesso the wood, then use three different colours of acrylic, water them down and create a sort of wood effect on one half.  The more water, the more streaks.


Next we added tissue paper to the top half and dried it thoroughly because the next step was to add guilding flakes. I chose to use all 3 available colours (gold, silver and copper) and on the wings of the moth.


There were lots of different colour combos going on.


Everyone still having fun.


Next step was to create the composition and unfortunately I totally forgot to take any more photos, so here is what I ended up with.
 

I used the same 3 colours of acrylic (avocado, umber and ink black) that I used for the bottom half. We then used white gesso and gesso'd all of the elements.  I took the black acrylic and painted around the outside of all the elements and used lots and lots of water to get the drip lines on the bottom half and dried each time between the spritzing.  Now the next thing we did is totally new to me, I used a matt wax (sage leaves) but like paint and totally covered all the elements.  Next I used a green metallic paint and randomly painted over the waxed areas using lots and lots of water, sort of washing the paint away but leaving the mica behind.  This also created more drips for me. I kept drying between adding more water.  Once happy with this, I chose the silver metallic wax and used it to bring back the highlights on the elements for a contrast.  I still have to stick the moth and add some pebbles.


And a huge thank you to Anna for bringing my prize with her from the latest patreons party.  This is so generous because there is only half of it here, I shared the paper with Janet.


I absolutely love these sticker sheets.

I am happy to say that the drive home was much less eventful than the journey down there. In fact, nothing happened at all - lol.


Tuesday, 12 April 2022

Curiosity Cabinet


I picked up a lovely box from the car boot on Sunday.


I played around with some patterned papers on the inside.


I started to pull some pieces together to put on the inside. I made these candles from straws and hot glue.


I created another embellishment using resin bones inside a glass vial and gluing a button on the end to keep the contents inside. It also helped to have a flat surface to glue it into the cabinet.


Next I started to play around with how I wanted to display the objects inside.


And kept going until all the shelves were filling up nicely.


A view of the left side of the completed box.


This is what I settled on for the bottom two shelves of the box.


These are what I settled on for the top two shelves of the box.


And a photo of all the shelves.


And the view from the front of the whole cabinet.


The outside has been painted with charcoal rusty paint to give it texture. Once dry I also gave it a coat of varnish.


This is the closure.

Monday, 29 November 2021

Accordion Book


The front


First couple of pages.


Lots of tag pockets on these two pages.


More pockets to add tags into.


This is the back.


The back sides of the pages


Just one pocket on this one so it didn't get too bulky.

I watched a series of 4 youtube videos by Tracie Fox and was inspired to make an accordion book.

Wednesday, 20 October 2021

Cabinet of Horrors


I picked this jewellery cabinet up at the car boot last Sunday.


I painted it with black powertex and then took the door off and painted the inside.


Then I added some grit paste and covered the insides with Halloween patterned paper.


I created a shelf on the left hand side.


Then I decided to give it a coat of black paint with silver in it.


It looks quite good with the texture.


Close ups of the patterned papers in situ.


Then I filled the shelves with lots of tiny and mini horrors.


And from the side.


Then it stopped raining, so I took some photos outside.


From the left side.


From the right side.


Close up of the top left shelves.


Close up of the top right shelf.


And finally a close up of the bottom shelf.

This is for sale in my online shop.

Sunday, 10 October 2021

Santa of the Dead


I covered a skull with a mix of powertex and different sizes of sandballs.  I added a couple of flowers in the eyes, but they have kind of got lost, so did the mouth, so I was playing around with some hardware in the shape of nuts, bolts and screws.


Once I was happy with the mouth/teeth, I then started playing around with pieces for the nose and eyes.


Added a gem to each eye socket and some red roses.


I then added hand charms and some chain. 


Due to all of the nuts and bolts at the front, I needed to add some 'weight' to the back so it would stand up on the wooden spool.


View from the left.


View from the front.

I actually love how he turned out. He is for sale in my on-line shop.

Blog Archive