Showing posts with label Sharpie Pen. Show all posts

Thursday, 21 May 2020

More Boho Tags


Another set of Boho Tags.


Close up of the threads on the flower.


Close up of the fabric trims.


Close up of the silver ribbon which I split and frayed.


Close up of the two smaller tags.

Monday, 11 May 2020

Back to Basics


Created myself a masterboard.  I just kept going until I was happy with it.


I cut it up into two postcards, two tags and two atcs.


They looked a bit plain, so I added some dymo words and they are now finished.

Thursday, 7 May 2020

Another Tag Pocket


This time I didn't use any scraps, I used one of my new paper pads.


That's why they are in 'panels' as opposed to lots of different pieces joined together.


View of the back when fully opened.


Fully opened - view of the front with the tags out the pockets.


I made the tags from the off cuts of the papers so I still managed to use up some scraps.

Sunday, 26 August 2018

More Paint Pouring


Yesterday I had another play with paint pouring, but decided to try on a smaller scale.


This time I tried the swipe technique with a damp kitchen towel.


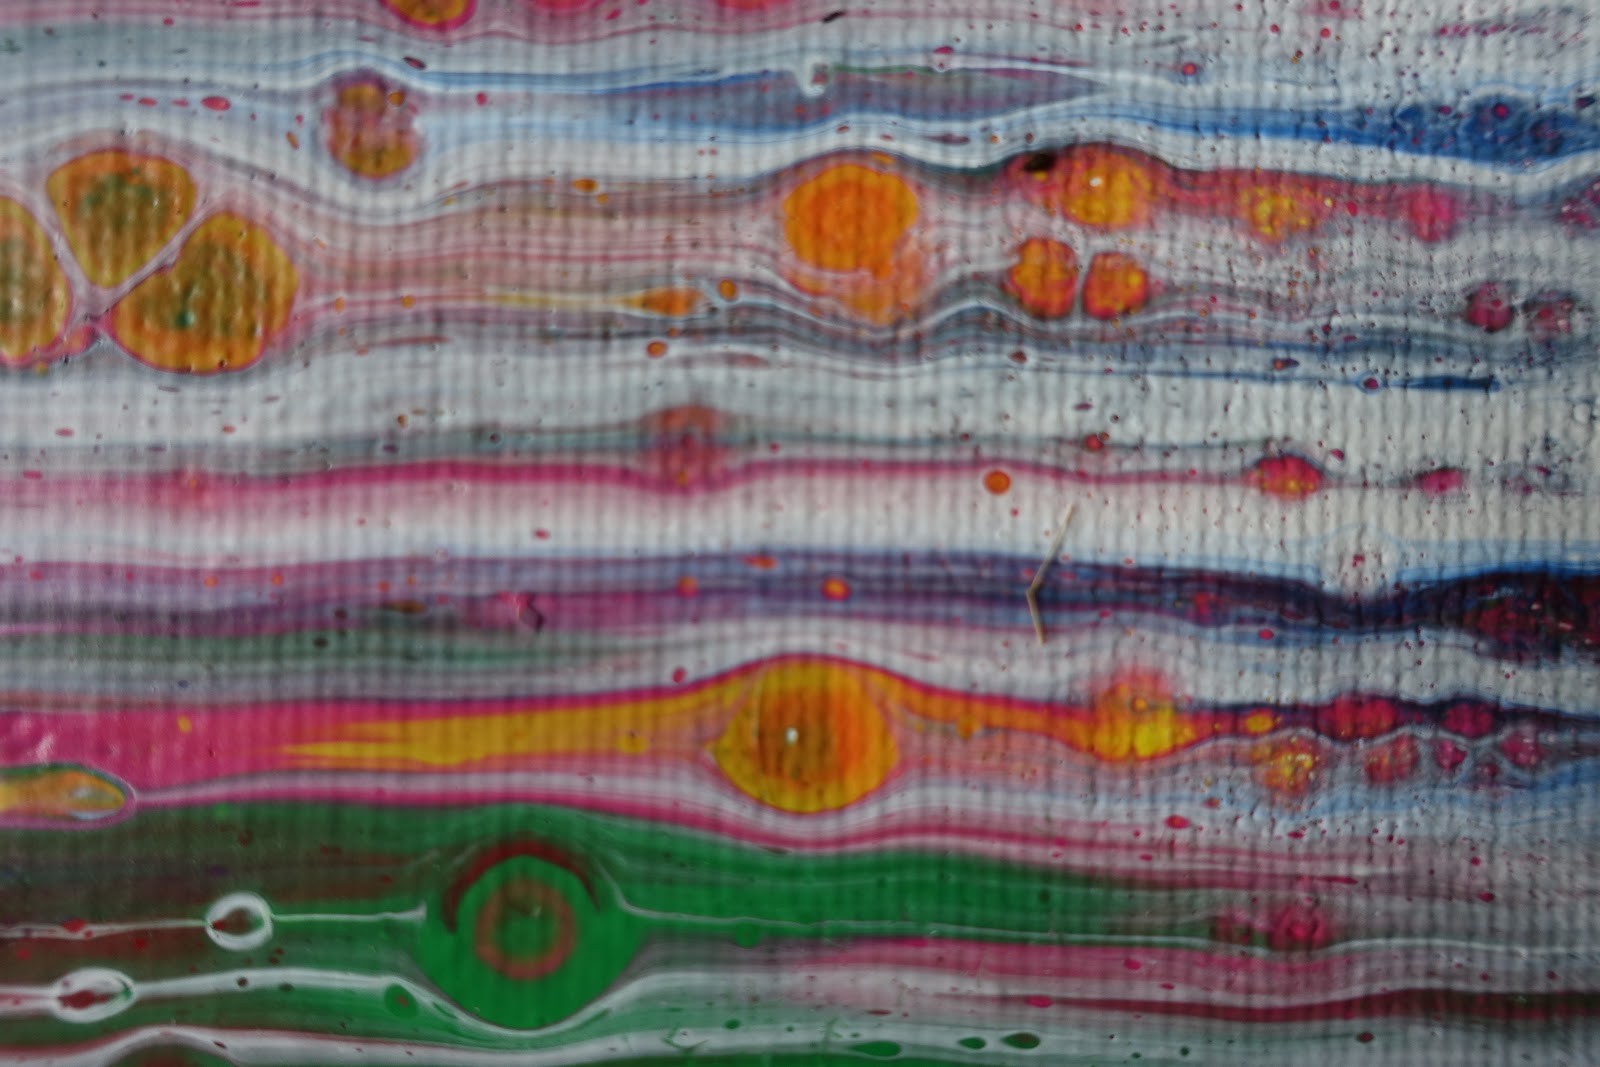
And this is what I ended up with. I would have liked more cells and probably less white, but it was only my first try!


Then I tried one on watercolour paper. This one is still drying this morning! Still not many cells to speak of and the green has somewhat taken over too, but I have less white showing.


This morning, this one is dry and I'm quite pleased with how it came out.


Close up of the cells which came out pretty good, but they are quite small.


And this one wasn't quite dry, as you can see, top left, I stuck my thumb in it!! I cut out a face profile, drew round it and painted it black.


Close up of the cells, again not many of them for some reason.


I think I've left too much white paint over the colours, ie I didn't swipe enough off. 


And just an update on this one, I added an image.

All paints and pouring mediums are from the DecoArt range.


Sunday, 1 July 2018

Biker Skull for a Friend


I made this one for a friend as when she saw the previous two I had made she said how she would like one.


He is made in exactly the same way as the first two that I made.


And he came out different yet again, but happy to say she loves him.

Sunday, 10 June 2018

Stencil Transfers


I took a piece of A4 card and using PVA glue pasted on various pieces of paper including book, tissue and map and also added some washi and tissue tape to the mix.


I did exactly the same with this piece but coloured the background first.


Once dry, I added various colours of decoart premium acrylic paint. The right hand side ended up more green than what I wanted it so I added a watered down layer of white.


And this one I left bright.


I added some marks in silver and gold.


To both of the pieces. I then gave them both a coat of matte medium to seal them.


I printed out a background using my cheapo inkjet printer. Remember if you are using words, they need to be the wrong way round for this step.


Next I placed the stencils were I wanted them on the background and used a bit of masking tape to hold them in place.


For the music stencil I coloured in the image using a black sharpie pen.


And for Eve I used black decoart modelling paste.


Once they were completely dry I took a couple of photocopies, again using my cheap inkjet printer.


Next I completely covered both of the images with decoart tinting base.


In total, I did three coats of the tinting base and once dry, one coat of the matte medium and again left it to completely dry.


I gave the coloured base another coat of matte medium, and whilst it was still wet I placed the photocopy on the top.


This is the photocopy placed on the top of the coloured background.


To ensure it was totally stuck down I used a brayer.


Then I left them overnight to dry.


I dampened them slightly with warm water and a sponge.


And started to gently rub away the top layer of paper.


And the second one. Don't get paper too wet and don't rub too hard or you will rub the transfer away.


All the paper has been removed from each piece.


Once dry, I gave each one a coat of decoart ultra matte varnish which makes the colours pop.


Next I cut them to size.


And mounted them onto black card.


They look completely different with different coloured backgrounds.

I really enjoyed making these and I know some of you will be thinking, why didn't you just stencil the image straight onto the backgrounds, but I wanted to show how they could be used in a different way.

Blog Archive