Showing posts with label Fibre Paste. Show all posts

Tuesday, 8 February 2022

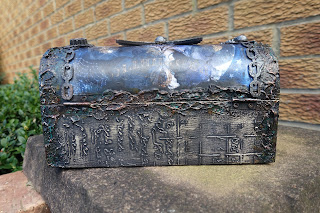
Steampunk / Gothic Chest / Coffin / Tomb


Painted a mini chest with black gesso, added some stenciling with black modeling paste. Add a section of a decoupage queens and kings 12 x 12 paper and some steampunk pieces.


This is the top of the lid.


I put a skull face on each of the smaller sides.


Stenciling on the back.


I put some of the papers inside and then a skeleton for good measure.


Added a couple of spiders and a chain as the lid was too heavy.


Next I added some fibre paste to the edges and corners.


Then it was just a case of colouring it up to how I wanted it to look.


It opens and closes perfectly.
It's available to buy in my online shop.

Saturday, 16 October 2021

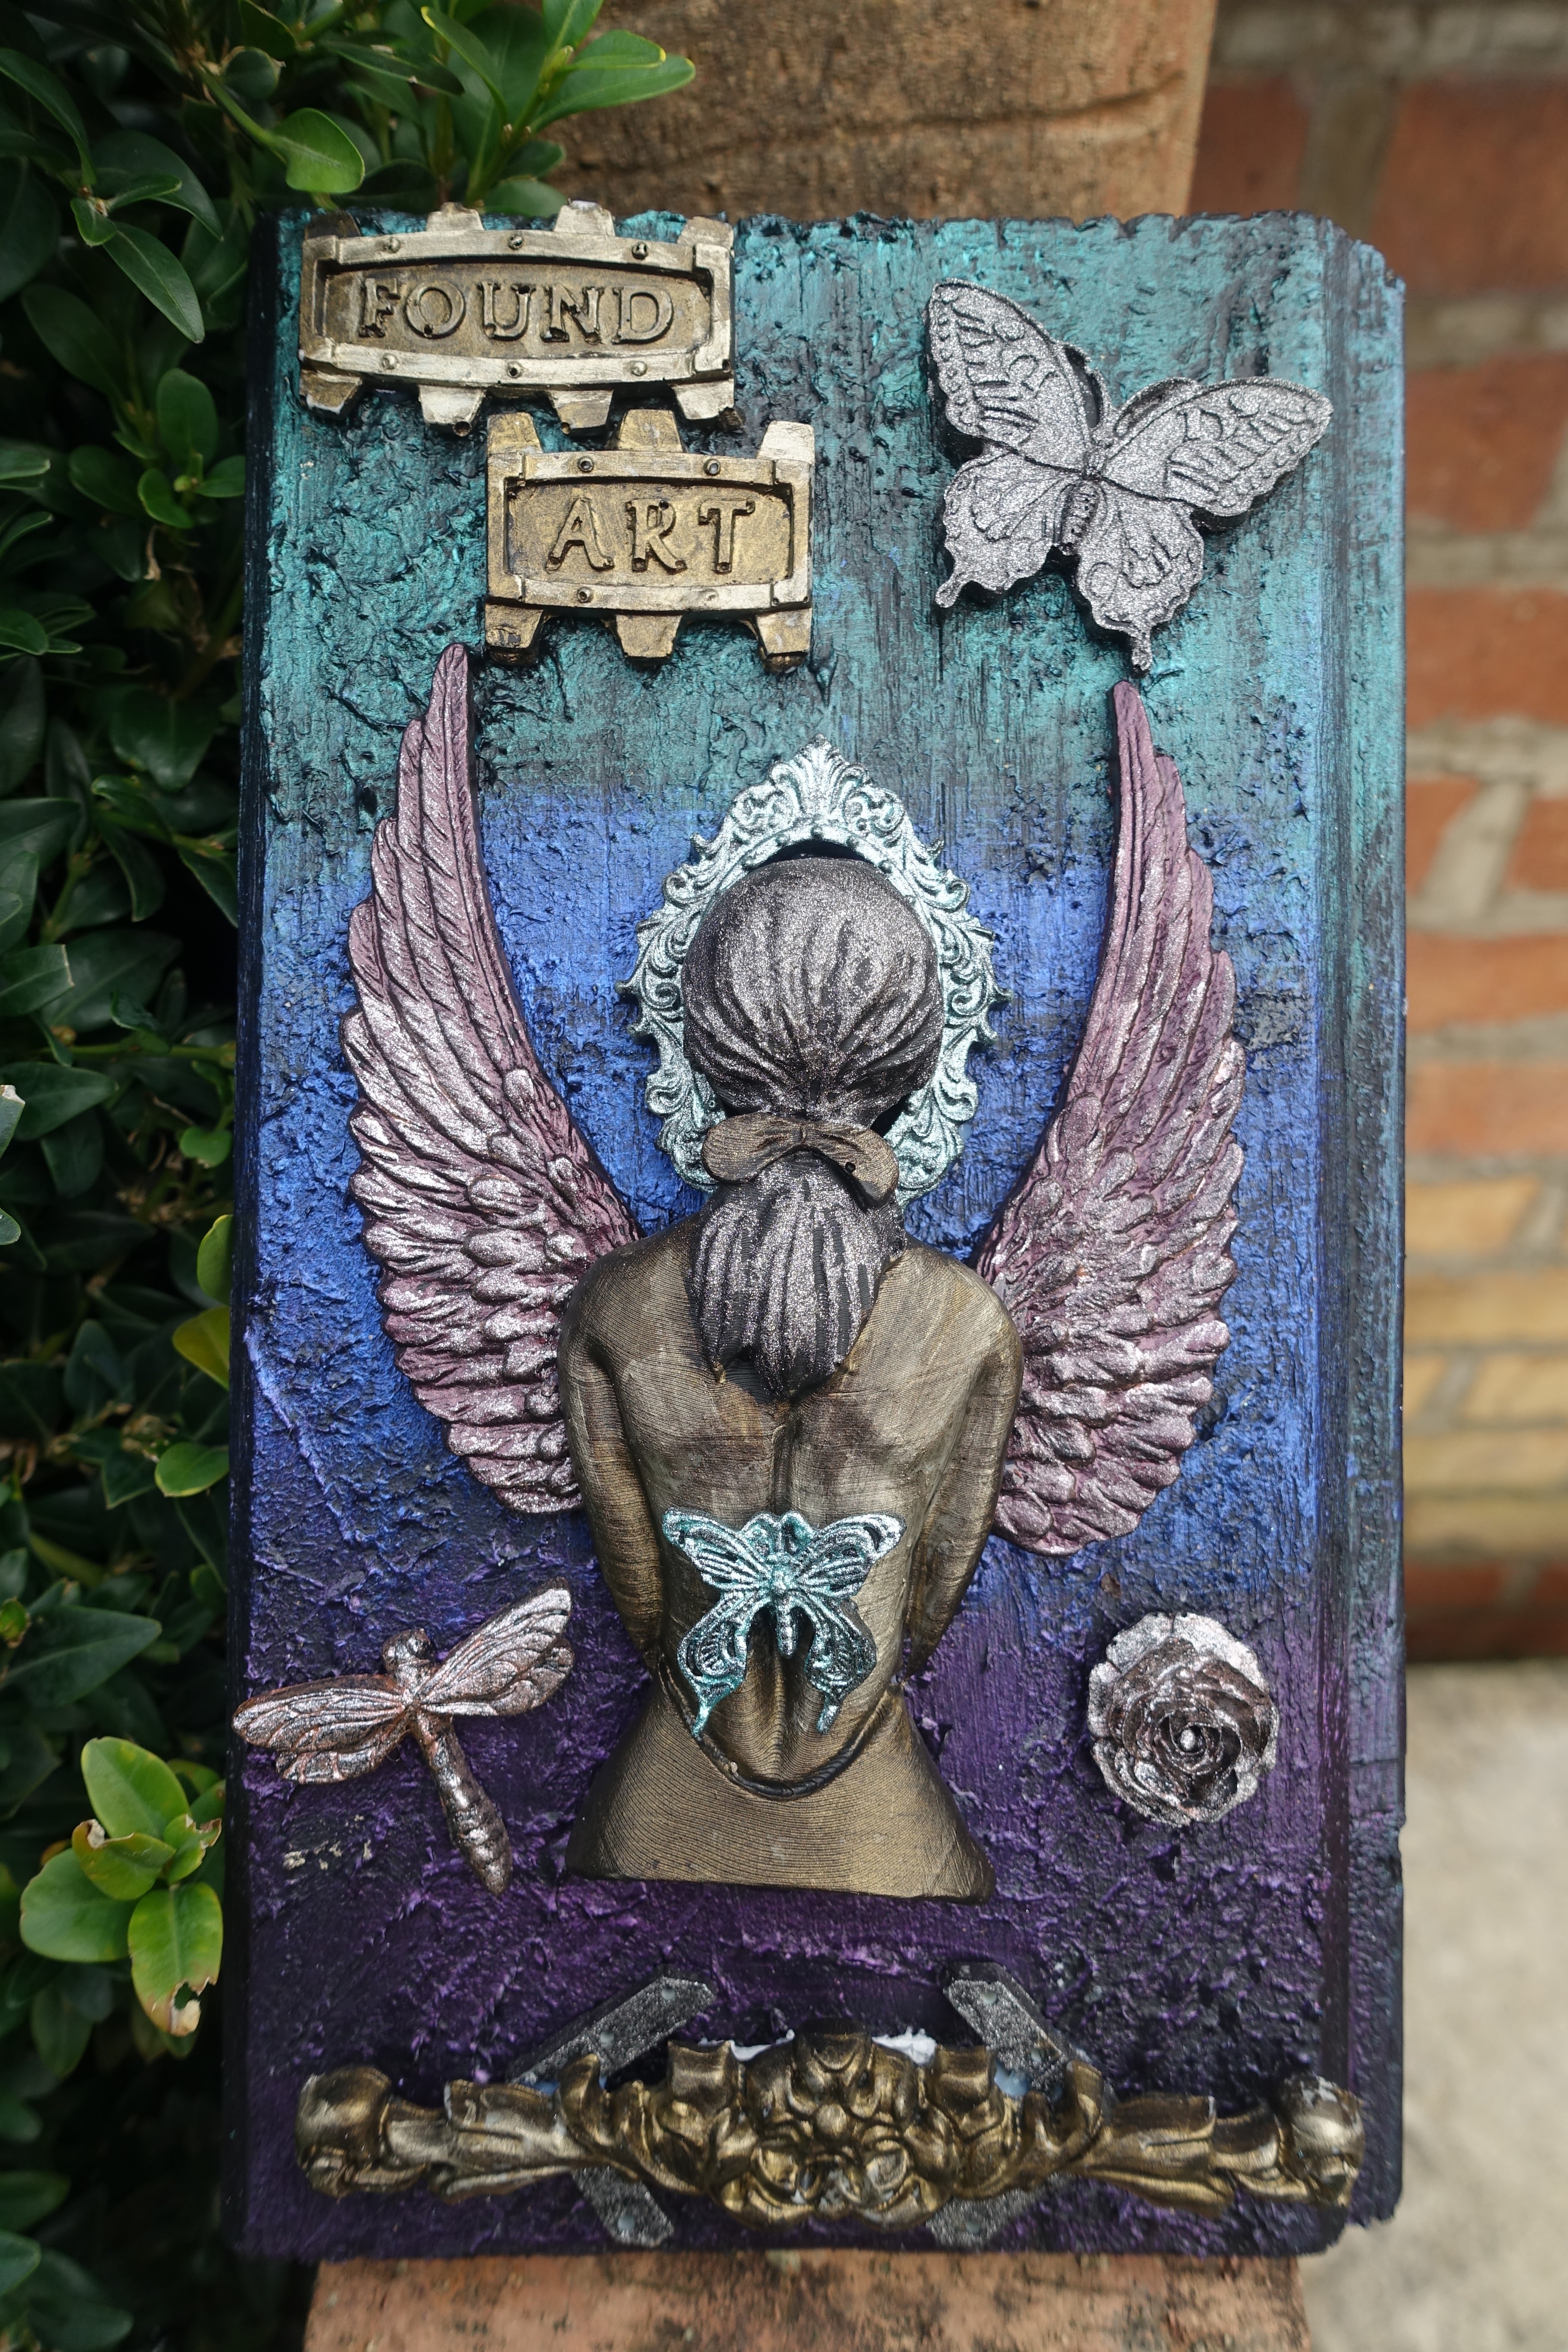
Lady in Shadows Plaque


I arranged some embellishments on a piece of wood covered in black powertex.


I decided that I needed to create some texture, so I used fibre paste.


Once dry, I used three different colours of iridescents and covered the whole of the background.


Then I coloured the embellishment pieces and changed my mind about the layout.


Close up of the bottom of the plaque.


Close up of the top of the plaque.


Close up of the main image and the middle of the plaque.

Wednesday, 29 September 2021

RIP Tombstone (2)


I painted a few resin pieces in black.


I added some fibre paste onto the board at the top, then some halloween fabric underneath and lower down.


Glued everything down and waited for it to dry, whilst I worked on the bottom shelf.


Then I put it all together.


I used mini light bulbs in the eye sockets.


The treasure gold has brought out the texture at the top from the fibre paste.

This is for sale on my website here.

Tuesday, 20 July 2021

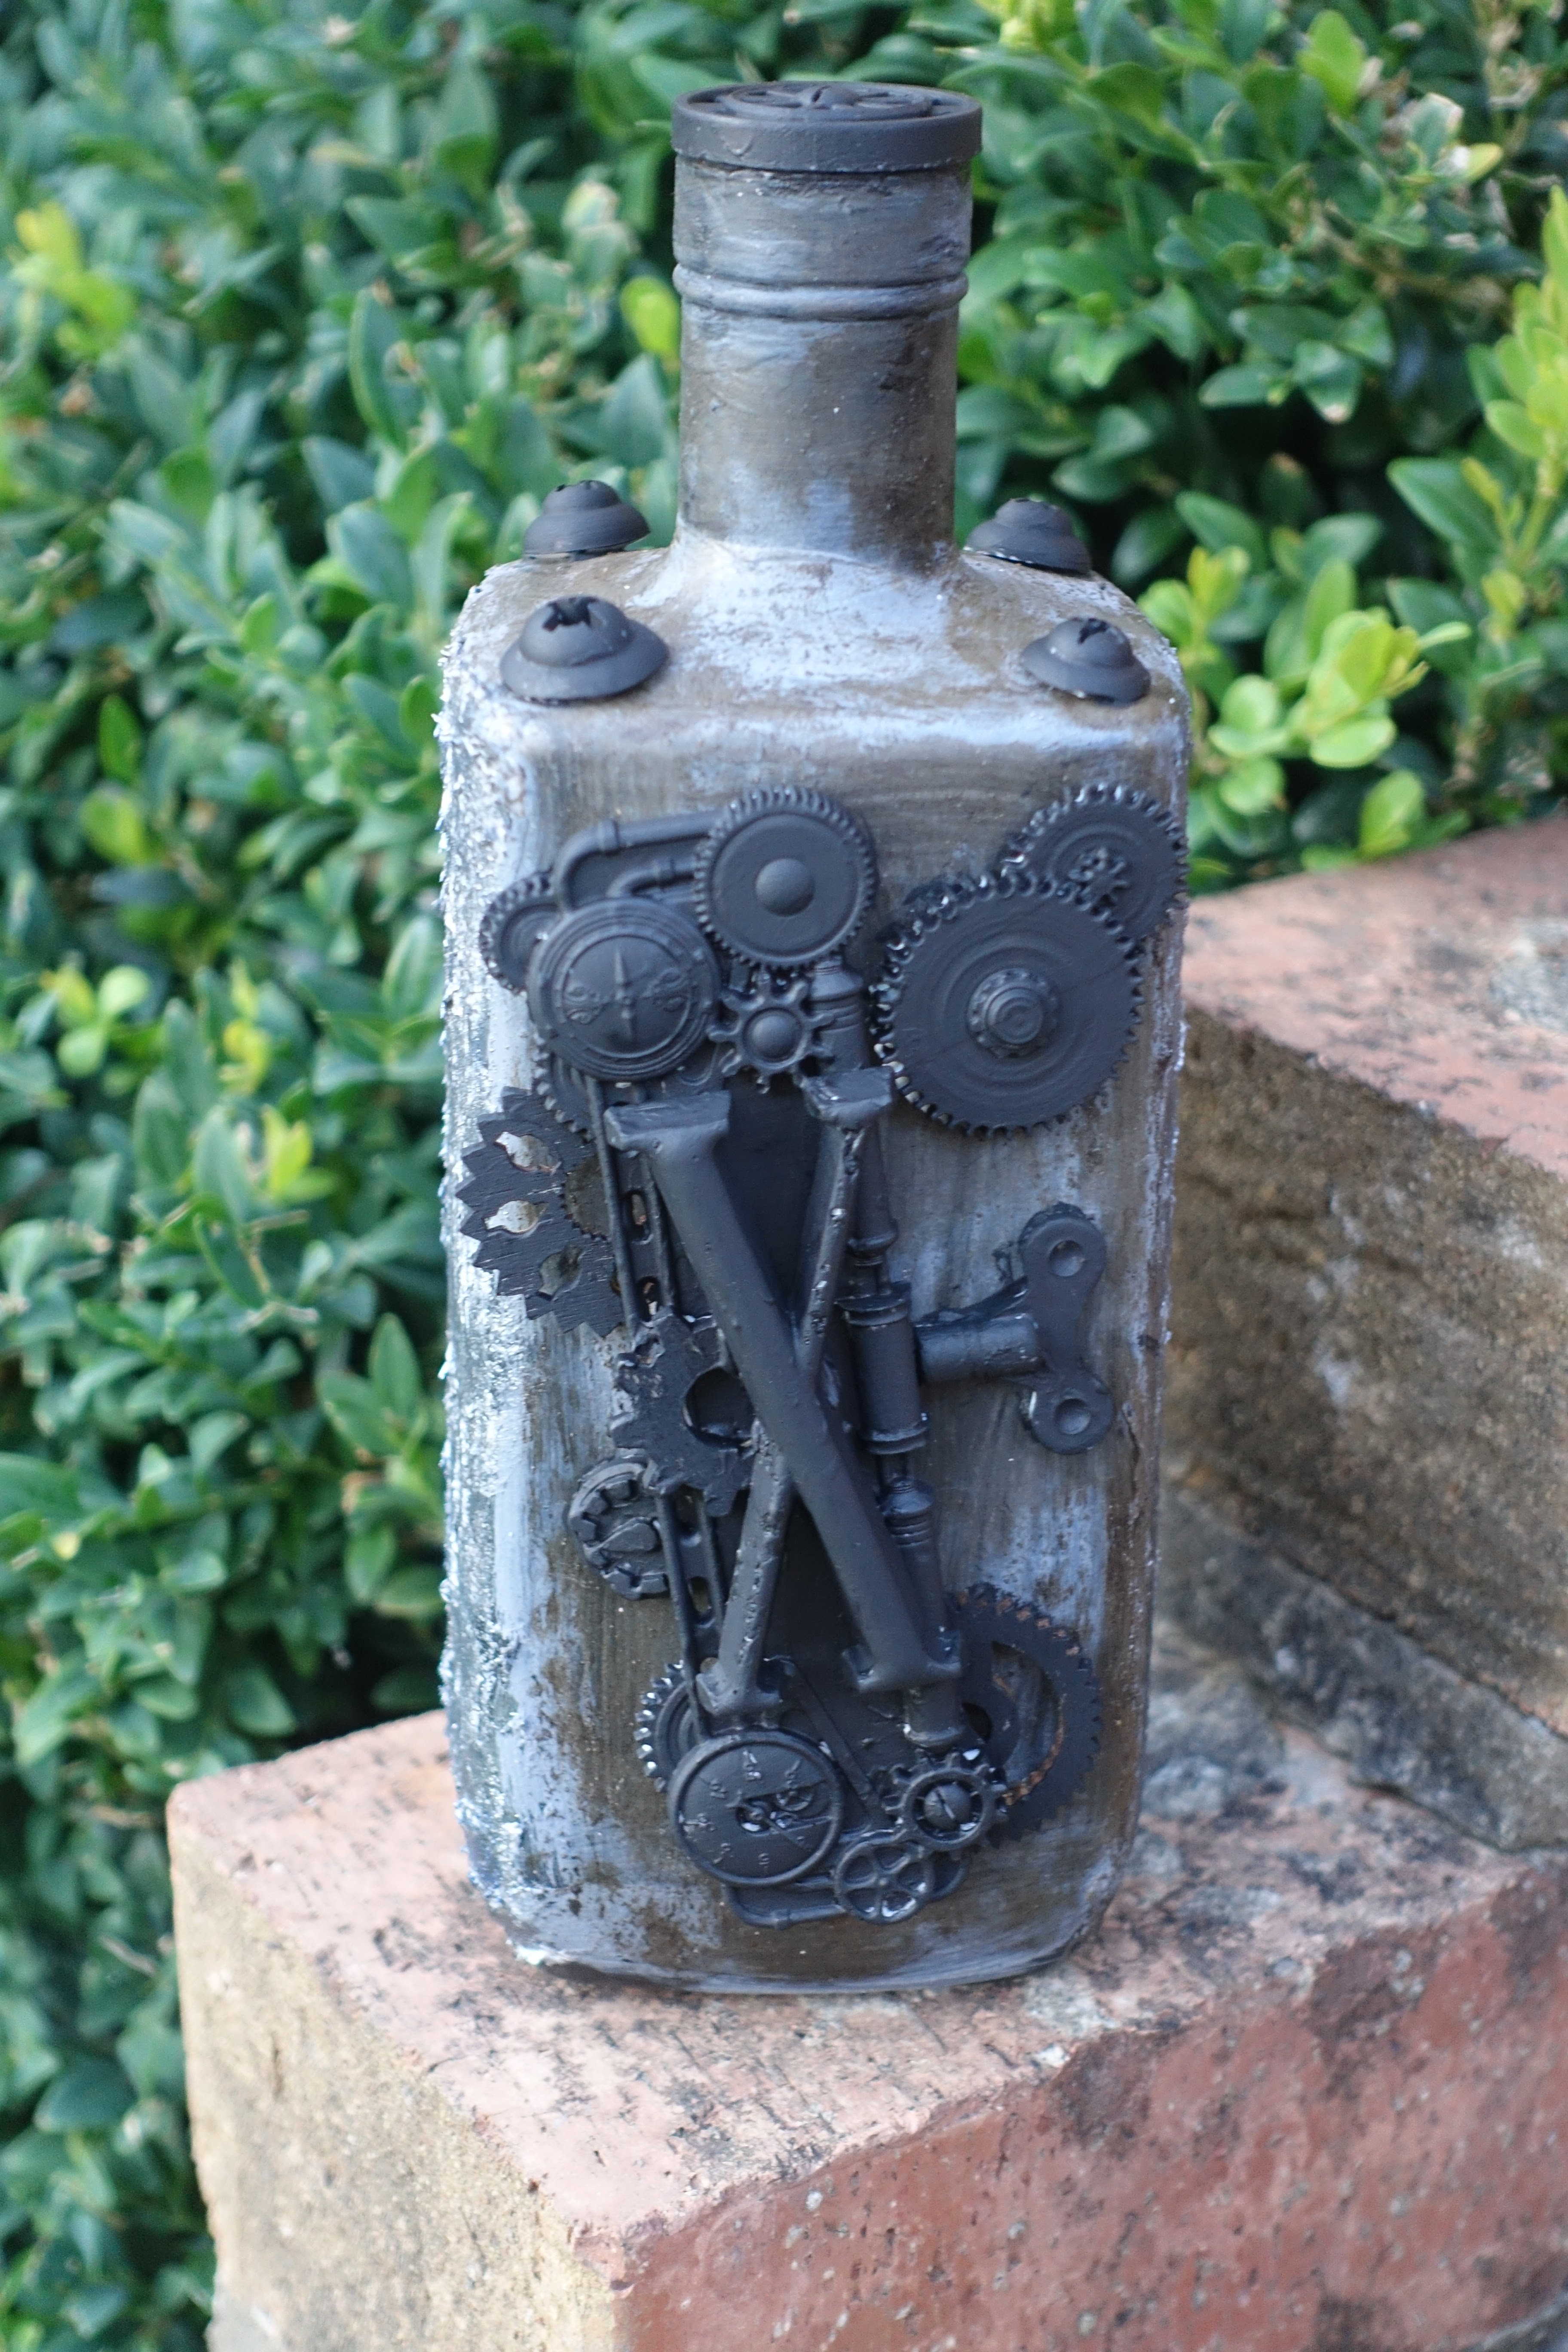
Altered Brandy Liqueur Bottle


This is a lovely square bottle with a heavy base.


De-labelled and painted with black powertex and then on two opposite sides a layer of fibre paste.


Added some resin and wooden embellishments, glued them on with the powertex.


And the opposite side.


I rubbed umbra antiquing paste over a layer of graphite - shabby velour and I think it looks fab.


I painted the other sides with metallic silver Lumiere paint and also added some peacock alchemy wax.


Then I painted the embellishments and tried to make them look rusty.


And this is the other side.


And finally the view from the top.

#powertex #rusteffects #upcyclingchallenge

Thursday, 25 March 2021

Altered Photo Frame


I decorated an old photo frame with fibre paste and tar gel, once dry I painted with black pearl acrylic paint.  For the inside I embossed a couple of pieces of silver foil tape, covered in black gesso and wiped back.


I used gilding paste and metalic flakes on the embellishments and I coloured the skull with liquid acrylics.  The words are T!m Holtz chipboard quotes.


Wednesday, 21 October 2020

Polystyrene Sculpture


Using up some more of the polystyrene, I cut the above piece in half.  Coated it in the remainder of the grey powertex from the skulls.  Once dry I added crackle paint and fibre paste to the left side piece and tar gel to the right piece.  I left it overnight to dry, then used my soldering tool to make the holes and finally I coloured it up until I was happy with the result.

Friday, 25 March 2016

Beer Mat Mini Book


I was in need of a messy play so I added all sorts of textures to these beer mats. Texture sand paste mixed with ultra matte medium (this just helps the sand paste stick better), fibre paste, modelling paste with micro beads mixed in and modelling paste using a pallet knife to make peaks.


I painted them with various DecoArt products from the media range until I achieved the look I wanted for each piece. I stamped in everlasting chalky paint to lighten them up a bit and give a bit of contrast, added a few die cut pieces and people images. Once finished I added the idea-olog words and then randomly added gold interference paint and wow, this stuff is fab, you can't see it until it dries.


Close up of the interference gold over the rust effect.


I mounted each mat onto a piece of white paper that I'd painted with a mix of espresso and black dazzling metallics and scrunched to make into a mini book.


Front cover and inside.


Front and back covers.


Close up of three of the pages.


Close up of the texture and gold interference.

All products are from the DecoArt range.


Blog Archive