Showing posts with label Napkin. Show all posts

Wednesday, 13 October 2021

Square Journal Skull Covers


I covered the front of the journal with a skull napkin.  I took some resin and metal embellishments and arranged them on the cover.


I then painted each element with acrylic paint.


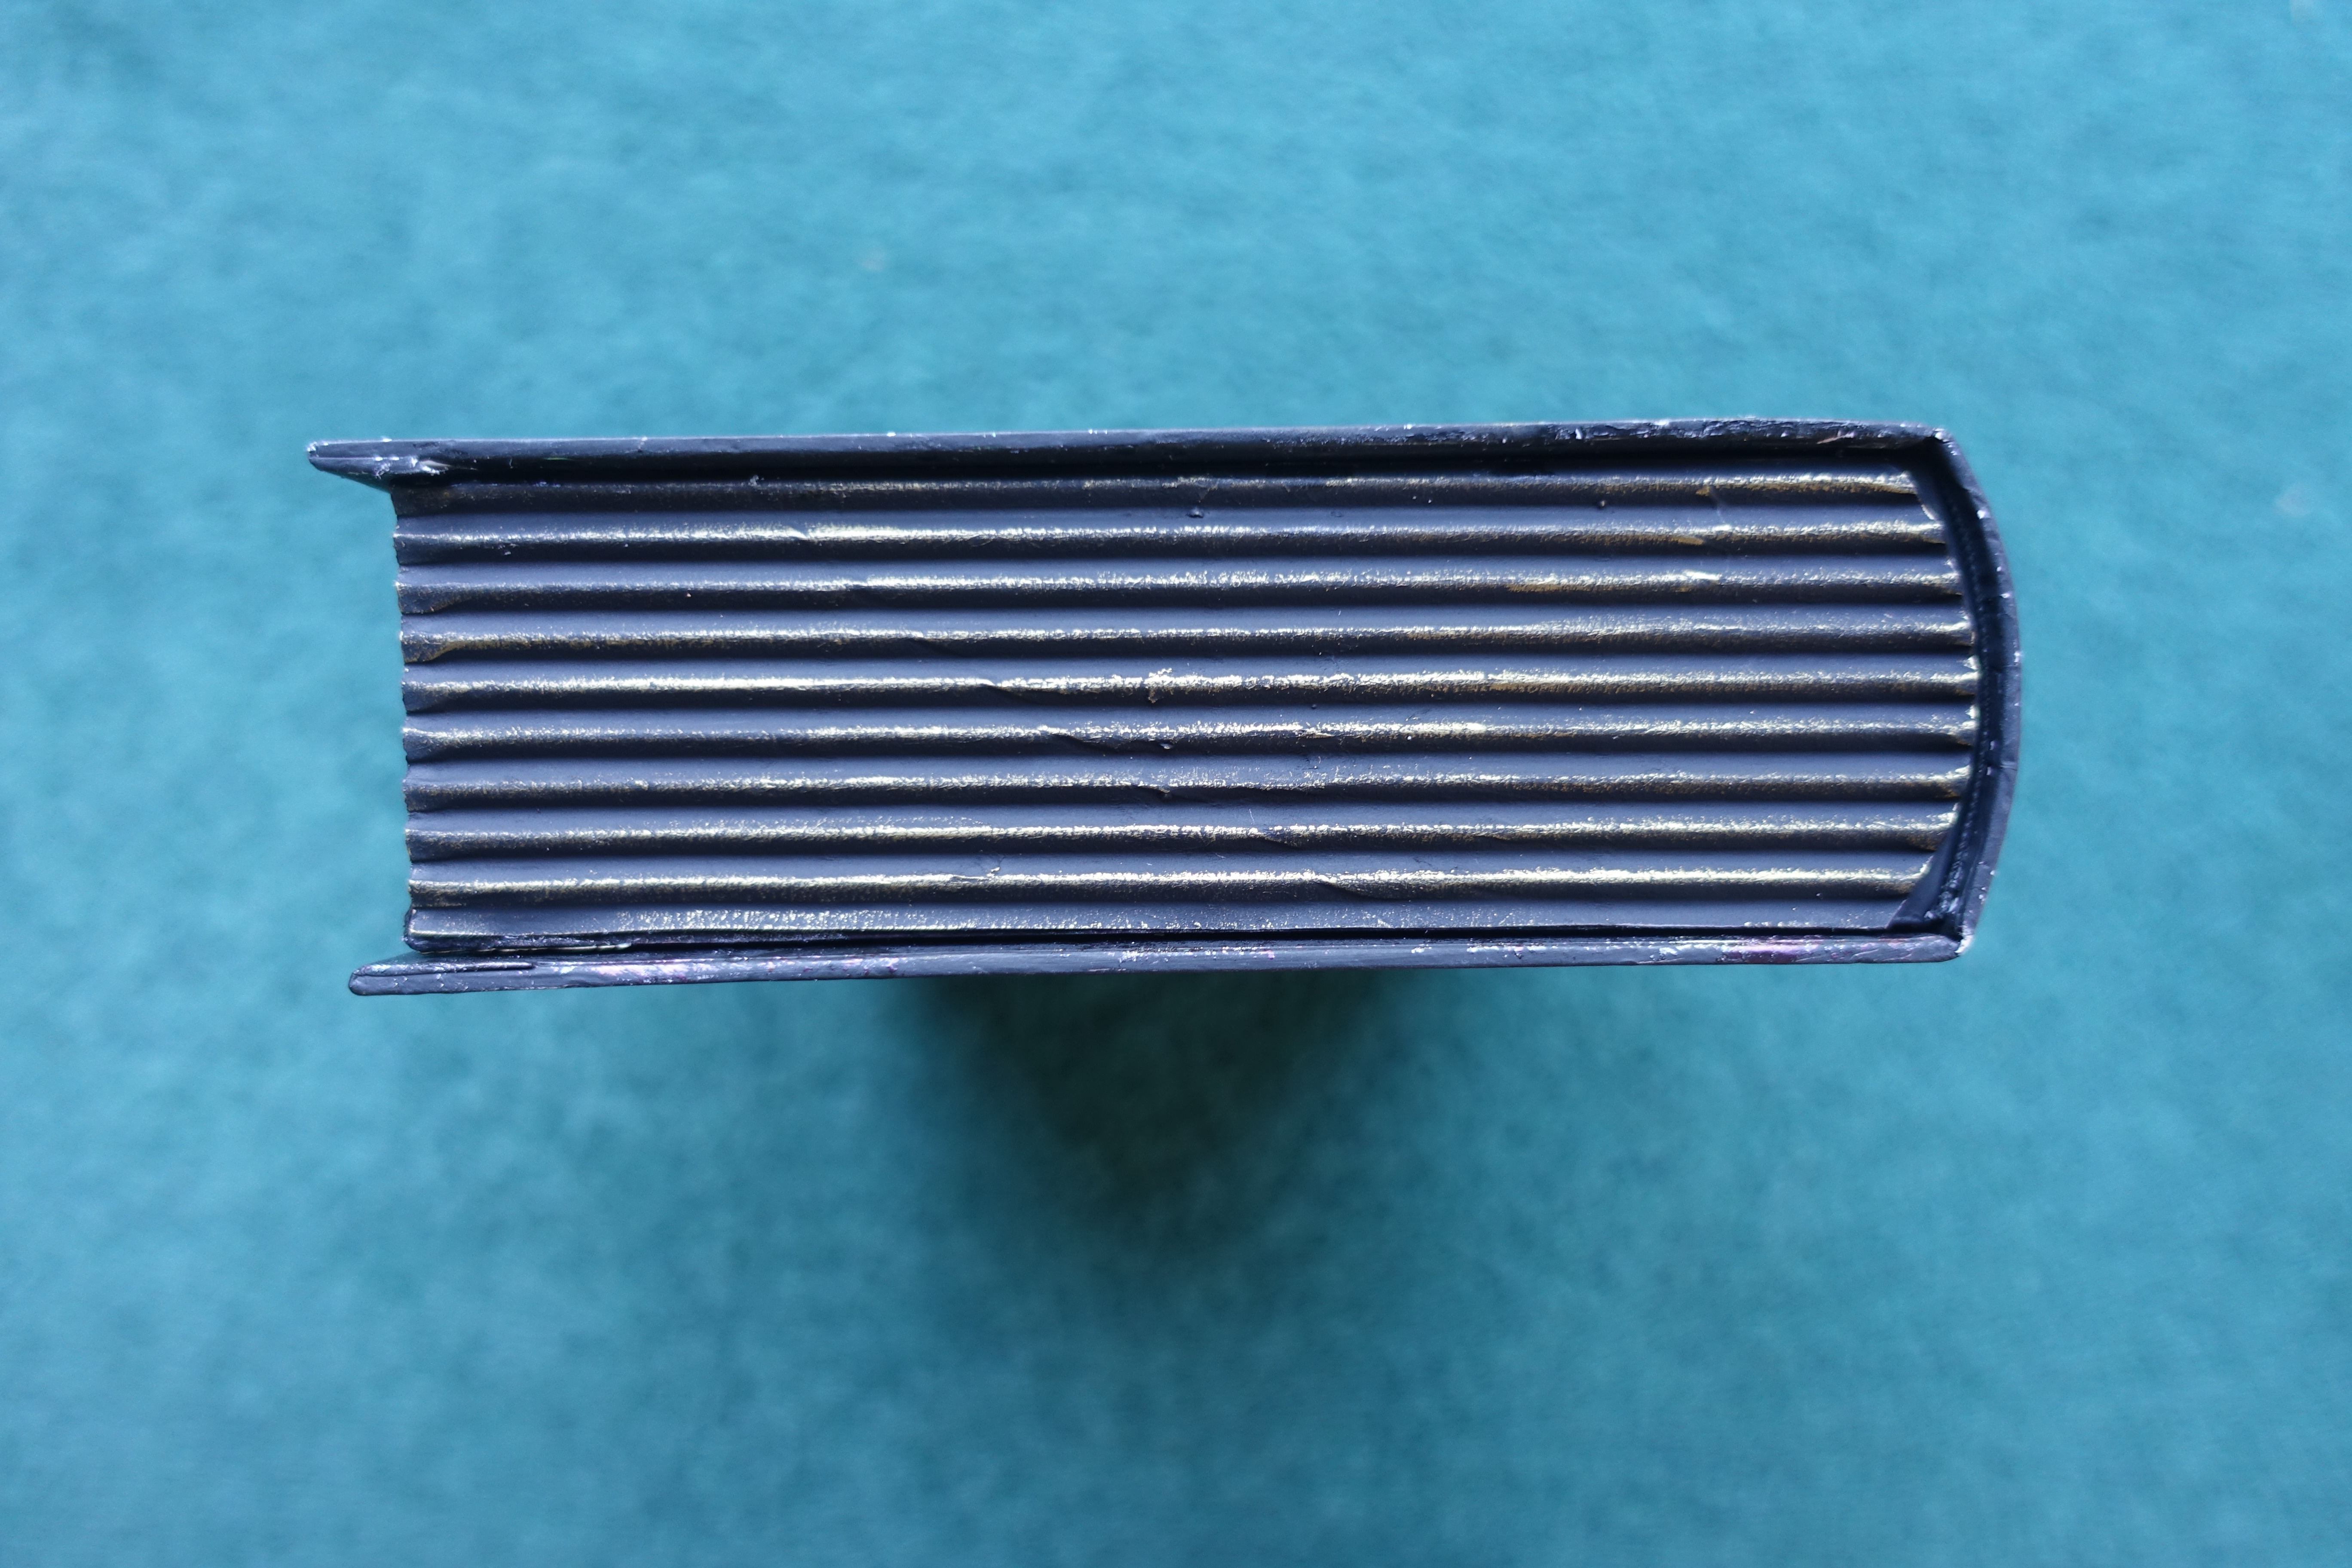
Close up of the bottom of the journal cover.


A close up of the upper par of the journal cover.


I painted the back cover of the journal with silver metallic paint.

This is for sale in my online shop.

Friday, 1 October 2021

Spooky Book Box


This is the smallest of the box books I picked up from the bootie.


I soaked some fabric in black and green powertex, as I wanted to create a grassy, muddy effect for a graveyard.

Along all the edges I cut pieces of thin corrugated card, to give the effect of book pages, I high-lighted the ridges with treasure gold.


I used patterned paper on the front.


This is the long edge of the book.


And I used the same type of patterned paper on the back too.


And this is the spine.


This is on the inside of the front cover.


And this is what I decided on for the inside of the box. It's approx 2" deep.


And this is what it looks like when it's open and stood up.

This is for sale in my online shop here.

Saturday, 18 September 2021

Skull Sketchbook


I decided to use mostly wooden shapes on the front of this sketchbook cover.


I used purple and pink metallics on the front cover.


Painted all the pieces black and then stuck them onto the cover.


I used metallic paints to paint the black wooden and resin shapes.


Close up of the right side.


Close up of the left side.


Close up of the centre piece.


This is the back which I have kept flat so it's easy to use.


This is the front and back when it's opened out.


And this is the inside. The paper is a bit rougher and it's cream, it's called a sketchbook and measures approx 8.2" x 5.5".

For sale on my website - https://aviarto.com/workshop/sam-b

Skull Journal Covers


I sponged shades of green metallic paint onto the cover of this journal.


I played around with some pieces until I was happy with the layout. I painted them in black powertex and stuck them together with it.


Then I used waxes and metallic acrylics to paint the black shapes.


Close up of the head, crown and wings.


And this skull is from a mould that I made myself.


And this is on the back. It's a napkin of skull faces.


And this is it opened so you can see that I left he back unbellished so that it would sit flat.


There is really nice, good quality, bright white paper inside.

Size approx 8.25" square.


Wednesday, 8 September 2021

The three skulls steampunk plaque


I painted the wood black then added 3 skull napkins.


The resin embellishments I painted with black gesso.


I decided to colour it with bright metallics.


Close up of the main feature.


Close up of the napkins in the background.


And finally the steampunk book plate.

Tuesday, 7 September 2021

Decorated Journal Covers


This is the second of the A5 journal books that I picked up from Hobby Craft. I added a napkin to the back cover using matte medium.


I used different colours of metallics to blend the napkin into the background and I've covered it in a couple of layers of soft varnish to protect it.


And here it is dried and in the sunlight. I didn't put anything else on the back so that it sits flat on the table.


I sponged on metallic paints to the front cover and then complied a layout that I was happy with, glued it on and painted it with black gesso.


I coloured the embellishments with metallic paints and waxes.

Monday, 23 August 2021

Decorated A5 Journal Covers


I went out on Thursday and met up with a FB friend that I've never met before. We had a lovely day and called into Hobby Craft and TKMaxx in Derby.  I picked up a couple of Seawhite hard backed journals along with a few other bits.


I picked up this pack of napkins in TKMaxx.


Then I set to and decorated the outside front and back covers.  


I used the napkin on the back as I wanted to keep it flat so it's easier to write in.


And there are resin pieces on the front. 

Sunday, 14 June 2020

Napkin Background Tags


Spritzed a layer of plain napkin with water and added droplets of distress re-inkers.


Once dry, I stuck it to a piece of card.


Used gesso to tone it down a bit.


Chopped it up into tag sized pieces.


Added various colours of gelatos and distress crayons.


Cut them into tag shapes and sewed around the edges.


Added some tissue papers to the top two smaller tags.


Next I added some script stamping in timber brown stazon.


Added various embellishments and a paper doll.


And the same with this one.


Finished tags side by side.

Inspired by Andrea at ARTYmaze - thank you.

Blog Archive