Sunday 27 December 2020

Inner Circles


For this project I used the remaining circles from this set I cut.


I wrapped each ring in t-shirt fabric and black powertex. Once dry, I coloured each ring, powertexed them all together and mounted them on a stand.


I could have done a lot more to it, but I wanted to keep it pretty simple and straightforward.


Close up of the rings where you can see they are actually different colours.


Close up of the wrapping and the stand.

Thursday 24 December 2020

Textured Circle


Cut this shape with my fabulous cutter.


Then pulled out a few bits and bobs for different textures.


Then got all set up.


Created some different lines of textures trying to keep the flow through the two halves.


Added some more powertex over the sand balls just to fully secure them.


Then added some colour and put the two halves together to make one piece using wooden sticks.


Close up of the textures and colours.


And a close up of the other side.

Wednesday 23 December 2020

Circles of Life


Using my polystyrene cutter I cut these circles out.


Set up the dining room table.


Added stone art to all the pieces, rubbed in, applied a second and third layer in various places, then sprayed with black bister.


Then I put all the layers together and secured them with wooden sticks. I made a little man to sit inside the smallest one.


Close up of the layers of stoneart and the bister.


And a close up of the middle ring and the bister.

Tuesday 15 December 2020

Egyptian Pharaoh Sculpture


Been making big circles again with my cutter.


I cut one of them into quarters.


Using my solder tool I made some marks in two of the pieces.


Used up the blue powertex I mixed for the bauble on two pieces and did the other two pieces in black powertex.


Then I toned them down a bit.


Next I secured the two lots of pieces together with wire and started to build up the bottom pieces and coloured it until I was happy with it.


And here it is finished and mounted.

Sunday 13 December 2020

Christmas Makes - 12 & 5 days of Christmas Challenge


This was created over a few days for the 5 day challenge.  I cut the shape using my new polystyrene cutter.


This started off as the inner of the wreath but I cut another piece out to create a horseshoe shape.  I used 3d flex on the outside.


Again playing with my cutter, practising cutting circles.


A sleight made from lolly sticks.


A santa on skis with polystyrene balls.


Tree from recycled bits and bobs.


Picked up a small dome from Boyes and added the contents and decorated.


Used easy structure through a stencil and made this bauble.


Table decorations, but they were made a couple of weeks ago.


Napkin holder as demonstrated by Natalie Parish.


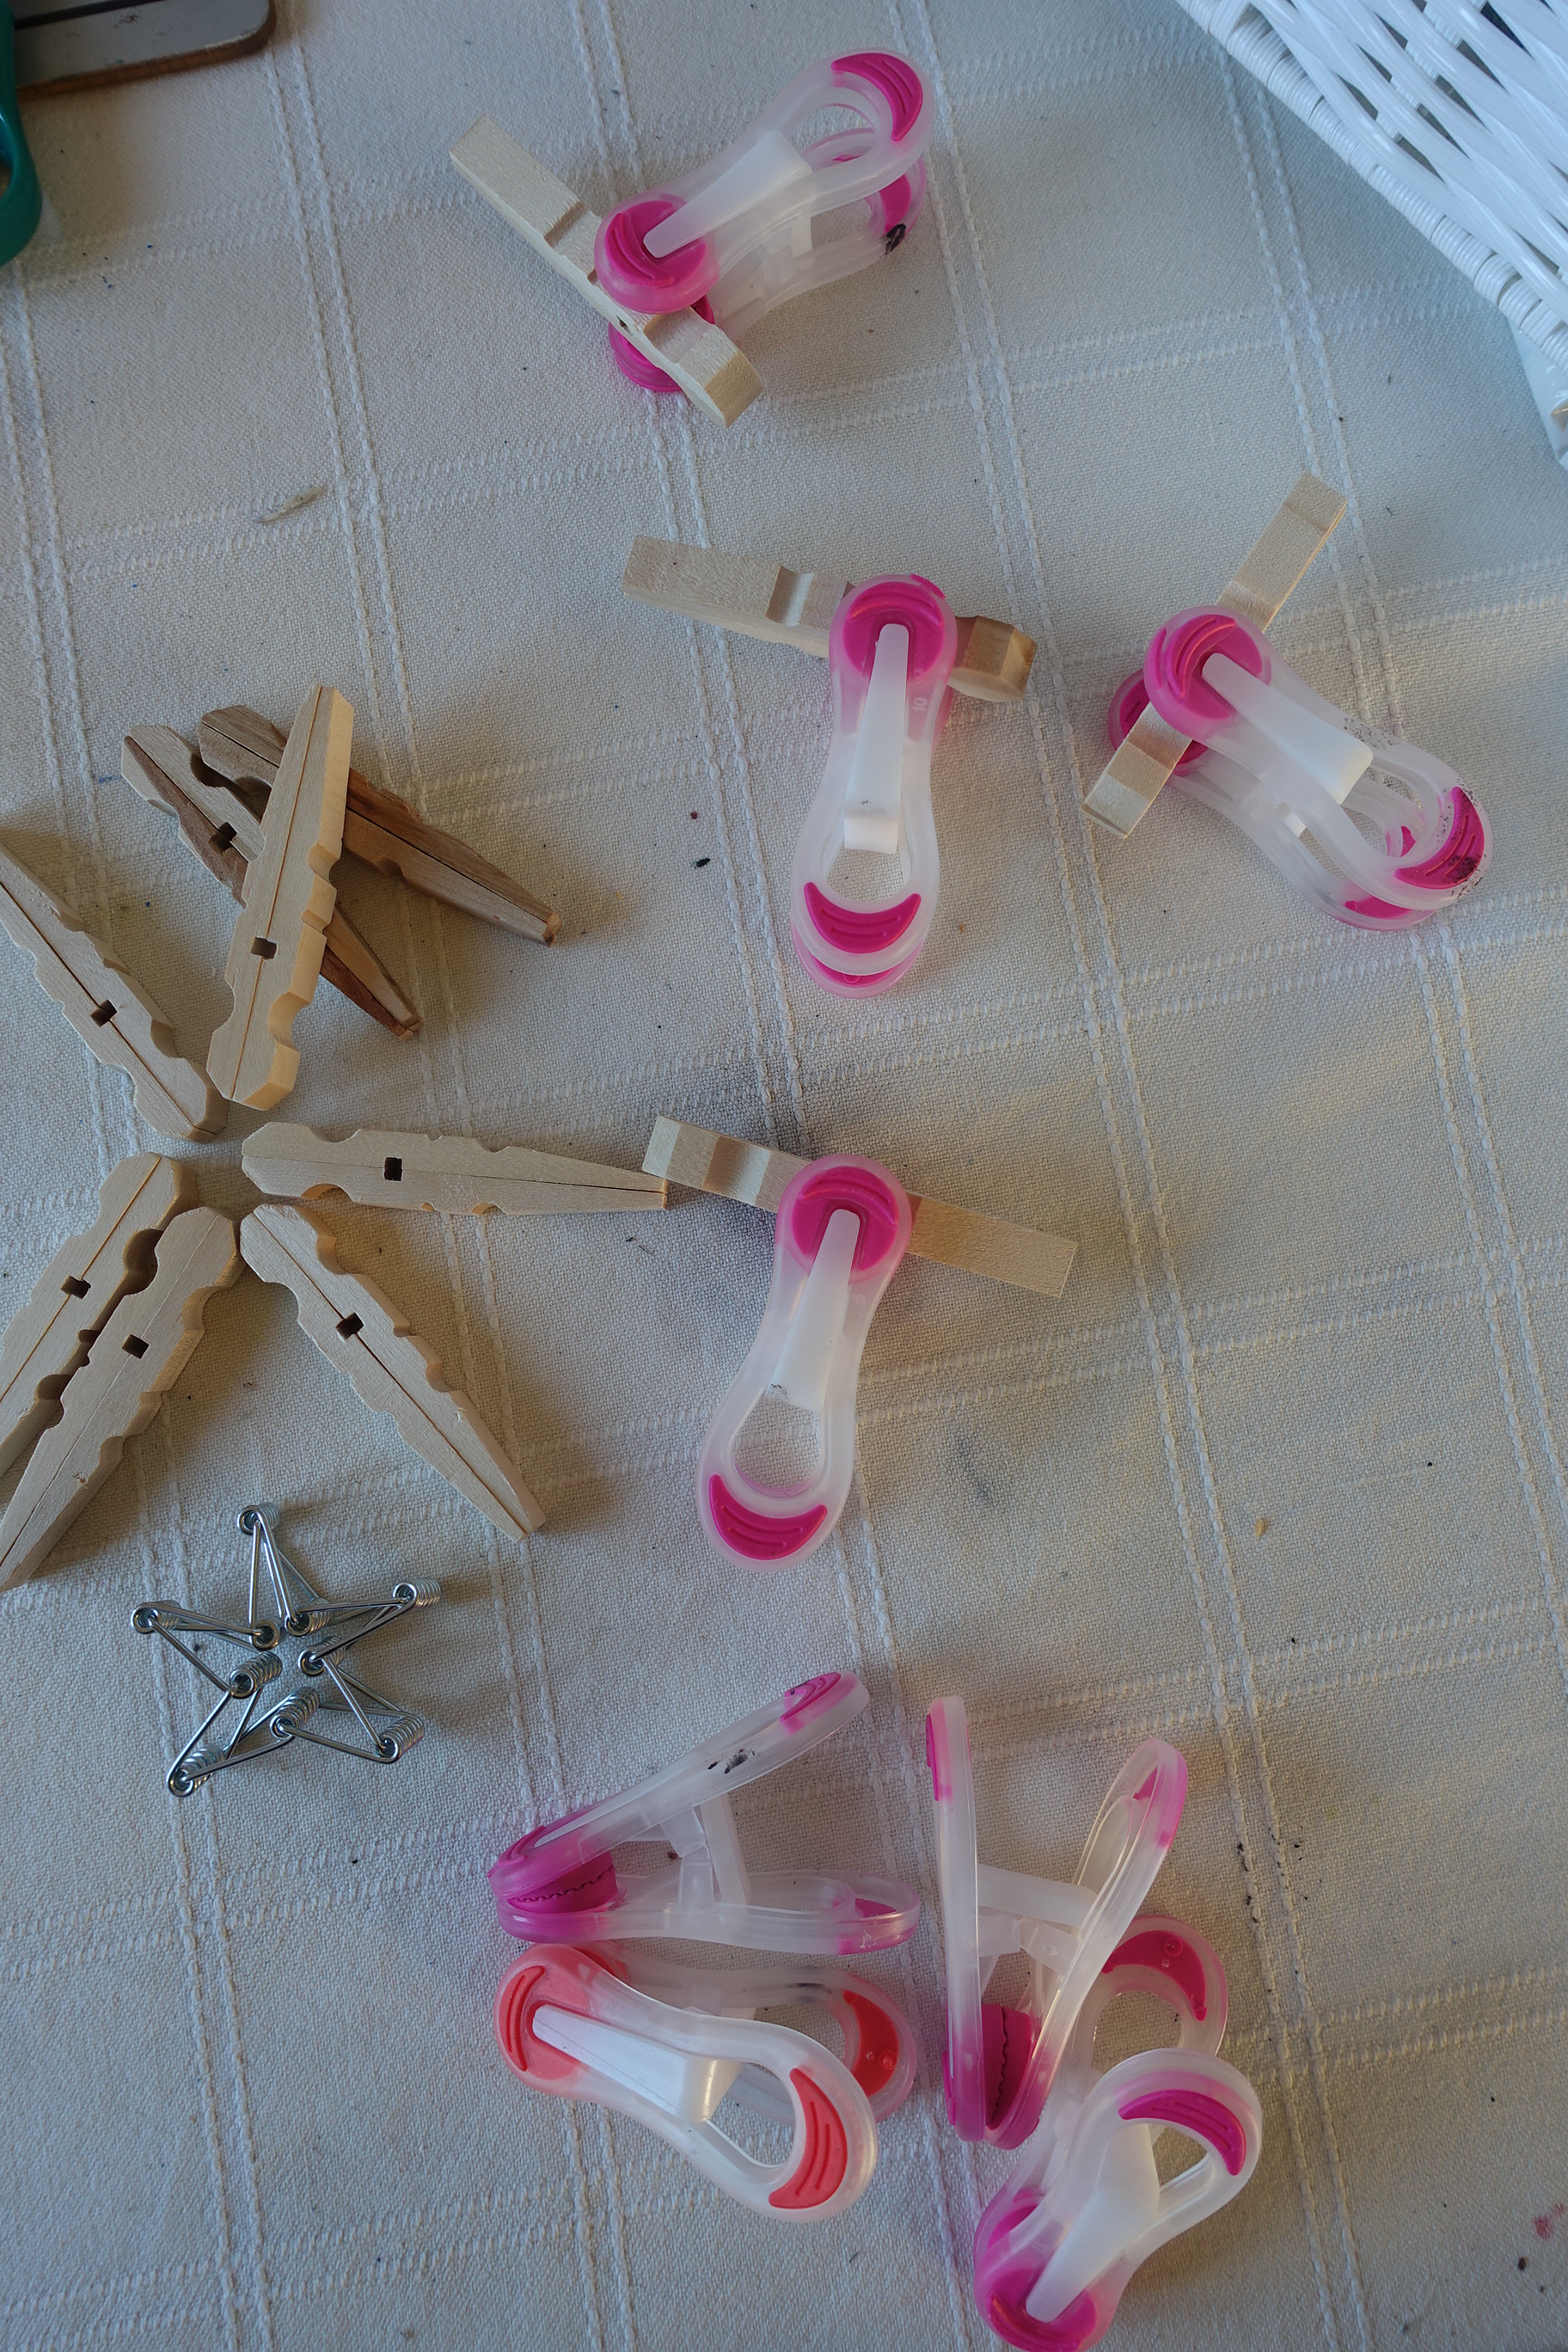
A couple of snowflakes made out of wooden clothes pegs.


And finally my tree which was a technique shown in day 5 of the creative christmas challenge.

Saturday 12 December 2020

StoneArt Tree


After watching day 5 of Ashley Hay's Creative Christmas Challenge videos I decided to have a go at making a tree but I didn't have a cone shape for the base, so instead I wrapped cardboard around a bottle.


Once dry, I took the bottle out of the cardboard and was left with a cone shape.  I mixed up stoneart and powertex to make a clay, rolled it out very very thinly and then tore it and powertexed it on the cone.


I did it in layers starting from the bottom upwards.


And here it is totally covered in the clay.


Once dry, I started to apply colour.


Once I was happy with the colour I gave it all a coat of varnish and then about 2 hours later a coat of transparent powertex.


Just love the ruffles of the torn clay mix.

Thursday 10 December 2020

Snowflake Pegs


I dismantled some wooden pegs and then glued the two halves together.


Once dry I gave them a couple of coats of white powertex.


Then I stuck them together in a star pattern.


Then I took two smaller wooden snowflake shapes, painted them in white powertex and stuck them on top of the peg formation.


Added some glitz and bling and here are the finished snowflakes.

Blog Archive