Showing posts with label steampunk. Show all posts

Sunday, 1 June 2025

Finnabair Workshop Day 2 - Steampunk Machine


Off we go again, our kit for day 2 - steampunk machine.


Anna, telling us what the first step for today is.


Our table painting their wooden panels.


And the other half of our table.


Burnt sienna, umber and black ink acrylic paints with lots and lots of water. Spray the canvas, spray water into the paints and have a wet brush. The more water you use, the more fluid the paint will be. Dry and repeat until you get the depth of colour you want.


Added some stencilling using 3d soft gel.


Table 2 back at work and table 1 getting their demo from Anna at the top table.


Then our turn again for the next stage, which is flakes!!!


I decided to use just the silver and gold flakes. They look really good over the stencilling.


Everyone adding their metallic flakes.


The next step was the composition.


This was mine. I did include quite a few of my own embellishments.


Anna just taking the lid off a new pot of white gesso, so guess what was coming next!


A thin coat of white gesso!!!


I coloured the majority of the elements with bronze age wax and added black gold in as a contrast. Loved both colours and together they look amazing.


I added some green and orange to try and replicate patina / rust effect.  I felt I need to bring out some of the textures, so I used old silver wax to rub across the top of some of the elements to bring the hi-lights out.


And the last instructions of the day from Anna were to add micro beads and also use the sparks to create splatters. But only if we wanted to.


I decided to add both the microbeads and the splatters. I'm not very good at splatters but these ones didn't turn out too bad.


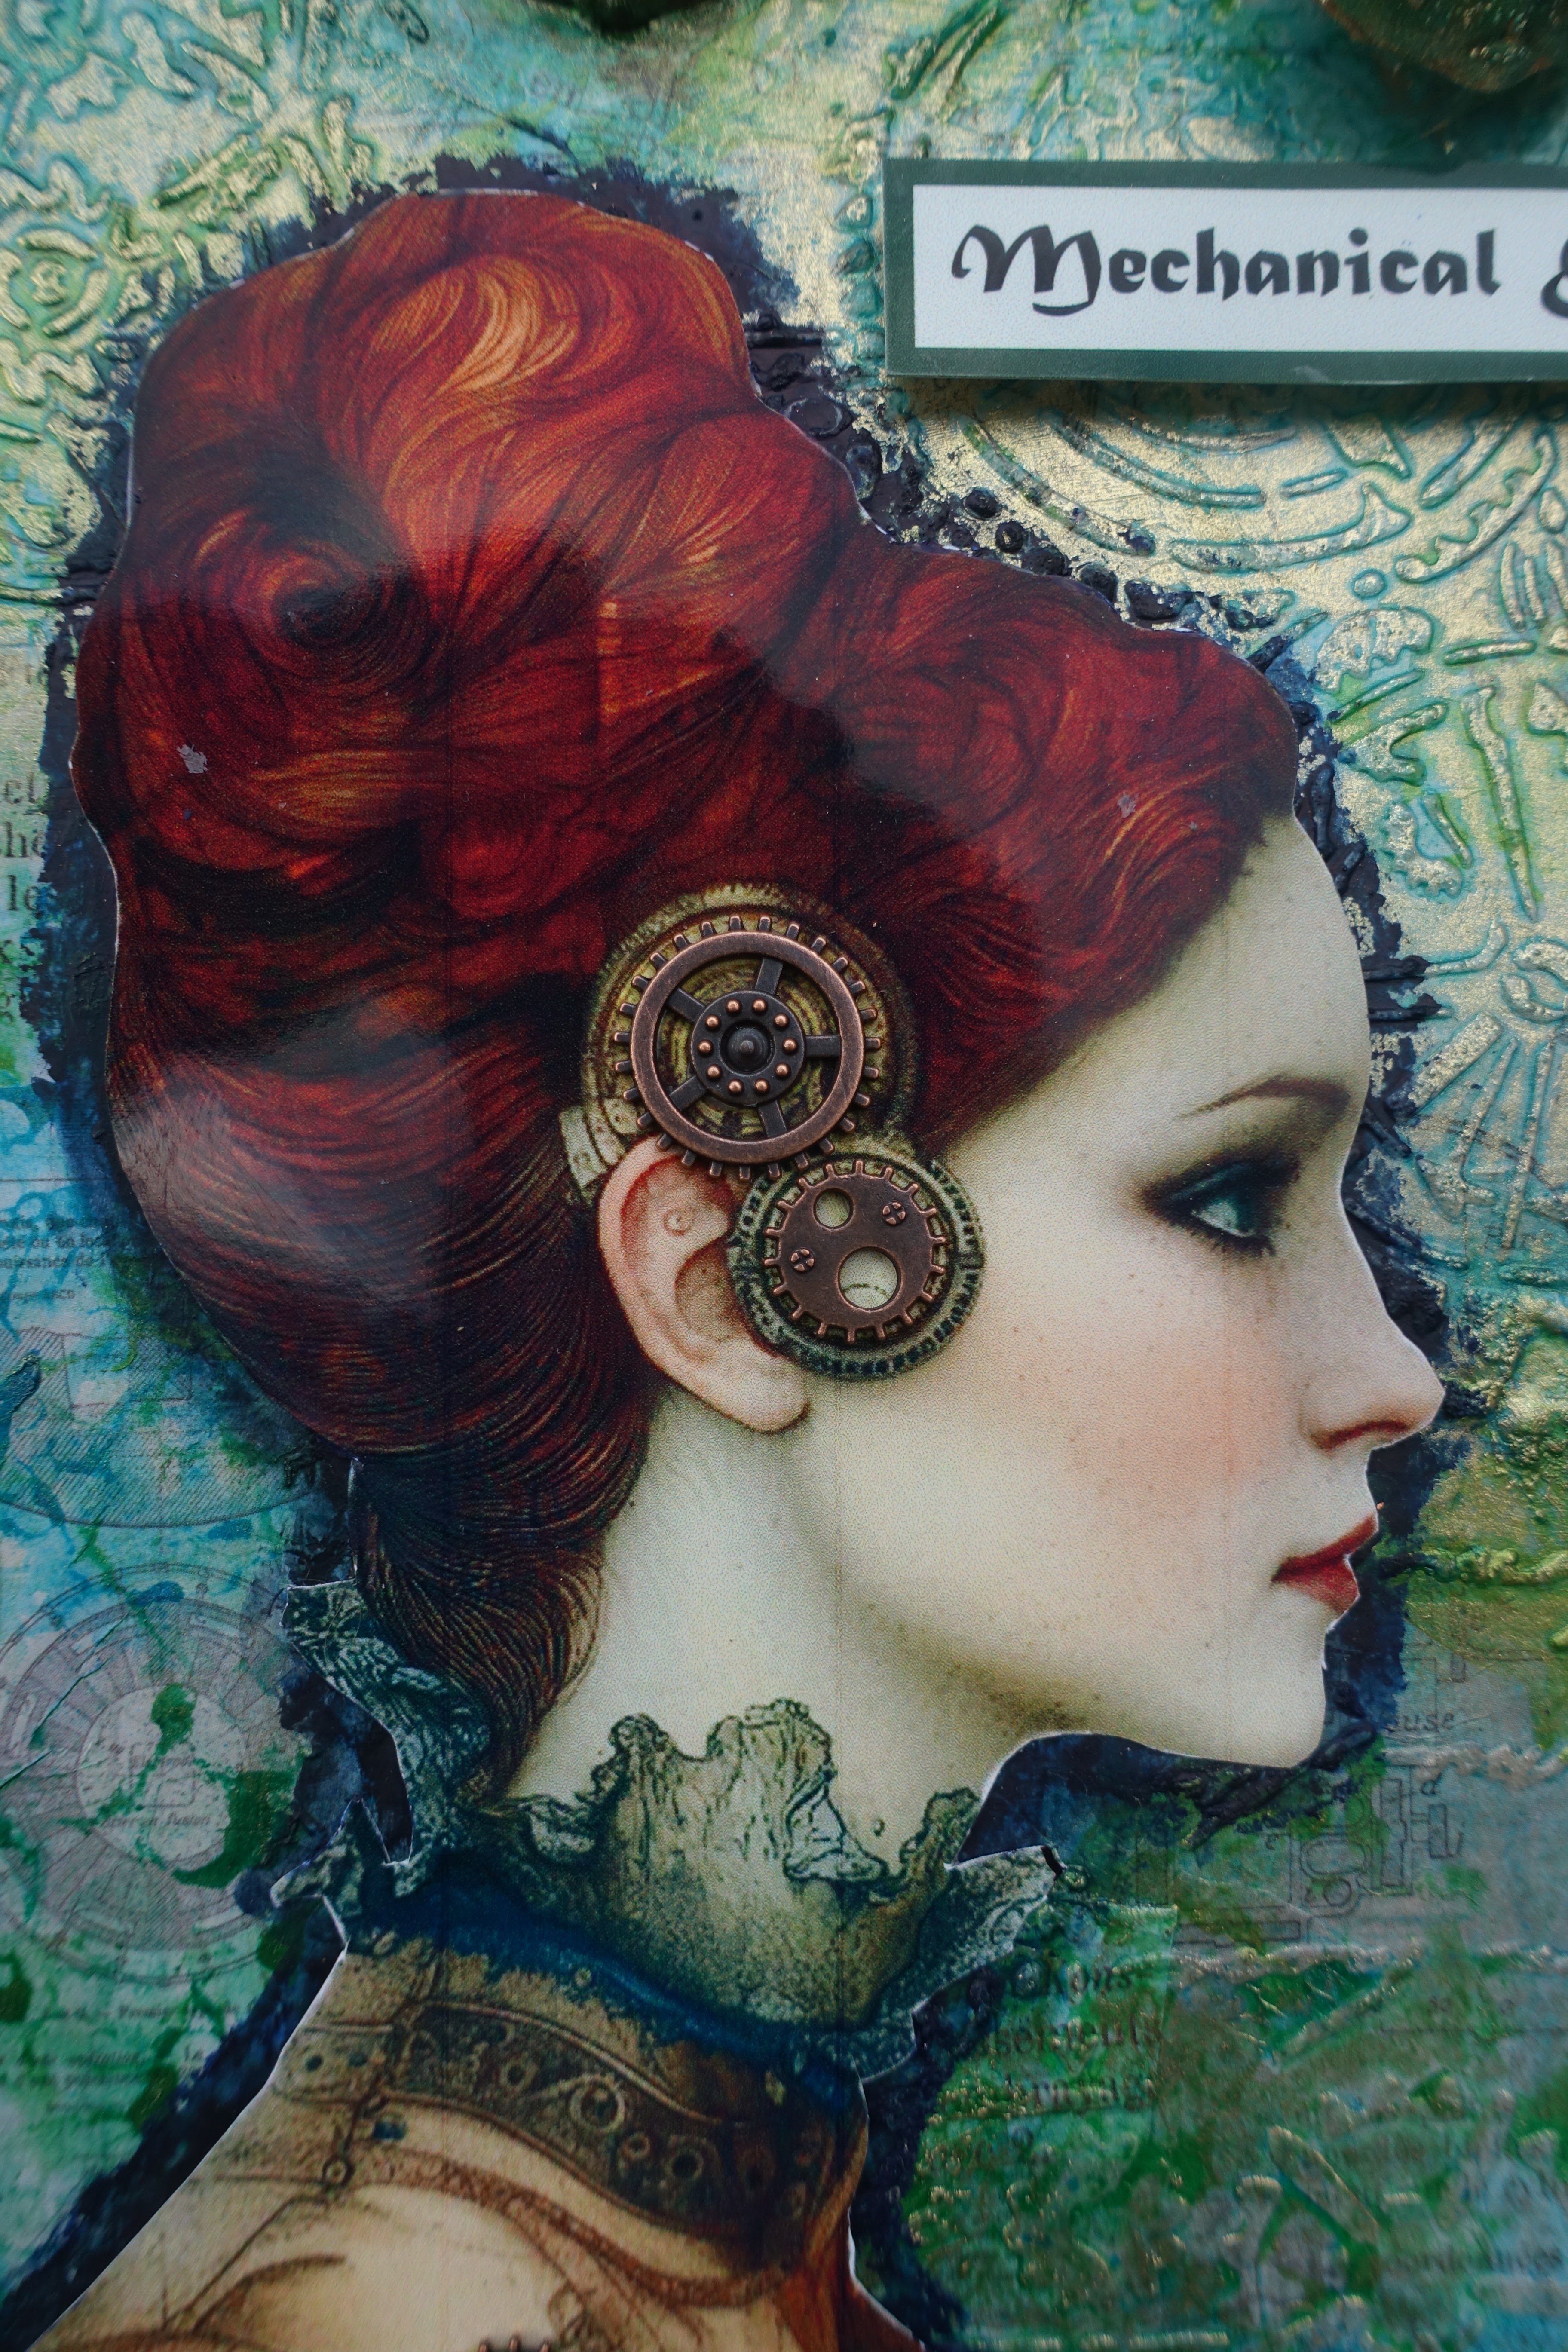
And finally, I added my image.

Sunday, 20 April 2025

Mechanical Elements


I arranged and stuck down an array of different resin elements with nothing in mind of what I was going to do with the rest of the project!!


I added a steampunk industrial paper to the bottom and then stencilled over the top of it with 3d gel so it would be clear when dry. I used various different types of paints on the resin pieces until I got what I liked.


I printed, cut out the added the AHW image. I printed it out quite large to fit in the bottom corner.


I added some metal cogs to the image.


I added some gold coloured wax to bring the background out as I'd used clear 3d gel.


Close up of the coloured resin and metal embellishments using acrylic paints, metallic paints and sparks.


Outlined the image with midnight blue Art bar and added a sentiment.

Monday, 24 March 2025

Steampunk Moths


With not much of an idea in mind, I started laying out some resin pieces on a wooden panel.


Gave the substrate a coat of white crackle and also added pieces of Prima Re-Design Poly Decor.


Stuck everything down and gave it a couple of coats of gesso.


I mixed some mica powders with acrylic extender and made a paste which I painted over the crackle.


I used a different colour or mica powder and painted the steampunk moths.


I painted the main elements with Finnabair metallique rustic brown paint.


Added some waxes until I liked what I'd go.  I decided only to use the large steampunk moth in the end.  Added some TH words from the sticker book. 


Close ups


Love how it came out.

Monday, 17 February 2025

Winter Steampunk Online Class


All set up ready for the class to start.


Painted the background, added silver flakes, stencilling and lace.


Started to build up a composition using found objects, resin pieces and wooden shapes.


And I kept going until I liked what I saw whilst trying to build up dimension.


Painted the edges to tone down the silver flakes.


Added the main focal point to check she would fit on her machine.


Painted everything with white gesso, two coats.


Put silver flake over the two light bulbs and painted the rest in chest of gold metallic paint.


Added black for some contrast and shadow.


Added white pearl wax with my finger over the top of the elements. Added some white splatters.


Added carmine to create a rust effect. Added pebbles.


Added crushed crystal effect paste and touched up with more wax, silver and pearl.  Watered down unicorn sparks and painted over the light bulbs and the wooden snowflakes.


Added the main image and the wing once everything else was dry.


Managed to get a couple of photos out in the garden.


Close up of the main image (from DigitalsbyJen on Etsy).

Blog Archive