Sunday, 16 June 2024

Ray Ray’s Creative Circus Class of 2024 Retreat - Part One - Nuneka Box


Although this looks like a wonderful place to stay, it really was dire from every aspect.


Not only were the rooms tiny, and I mean tiny, not just small, tiny.  They were filthy with crumbs and grit all over the carpet.  It was clear that they'd not seen a hoover for some time, and this is probably because there is no room to get a hoover in.


The lounge area was okay and my food was fine, but the same couldn't be said for Janets. Hers finally arrived about an hour after everyone else had eaten even though it was ordered the same time as mine.  She didn't even get what she asked for!!


So this was the function room, hardly any natural light at all and green and blue strobe lighting, not exactly ideal.  No plug sockets for heat guns either, so the gang got together to get that sorted out whilst we found ourselves a seat and dived into our goodie bag.


They were all the same but slightly different, if that makes sense. So they all had the same contents ie a stamp plate, but it was a different set of stamps.


So here we are, getting acquainted with our neighbours.


This is Nuneka and this is our first project.


Started off using 3d gel through a stencil.


Tore a piece of cardboard and glued it down.


Our table, Nanette, Helen, Dawn and ........


and ................ Janet!!


Added random string and lightbulb casts.


Popped all the cogs out and painted everything with black gesso including the resin pieces.


Started to arrange a composition using the biggest elements first.


Dry brushed with white gesso.


Then I used the light green sparks (fairy wings) randomly over the project and flooded it with water spritzing everywhere, dried it and ditched the water.  This gave me a gold shimmery base colour.  Using 3 more colours of sparks paints (two blues (night shadow) and a brown along with the green) placing them where I wanted them to stay and lastly added a bit of carmine for the rust and spritzed.  I only concentrated the rust in the top right hand side but let it drip.


And this is what I ended up with.  I still need to add the focal point when I decide what I want.  The original was layered with papers, but I didn't want to do that.


This was taken at about 7.30pm as we were ready to leave for home, most people were still working on the afternoon project.

Friday, 24 May 2024

Cabinet Frames and Cards

Mr T!m Holtz of Idea-ology has just brought out a fabulous release of new items.  However, some of them to me are 'convenience items' and can easily be made from what you already have.  Therefore, I decided to make my own.


So I made a masterboard from scraps, cut out rectangles and ovals using dies to create the frames.


And I was left with the middle parts, so win win.


I then made some tag shapes and covered them in various background papers.


I also decided to make some more clusters as I was going along as I wanted to try and incorporate them somehow in the tags and frames.


And this is what I ended up with.  The three tags on the right have three of the above clusters incorporated in them.

Thursday, 4 April 2024

Masterboard tickets and tags


I've seen quite a few people making masterboards recently so I thought I'd jump on the bandwagon and make one too, but I chose to use only lines.


I turned it over and made some tag shapes.


I was left with these two pieces so made them into tickets.


Then I started to stamp on them with black and red ink.


Added a red reinforcer.

Wednesday, 3 April 2024

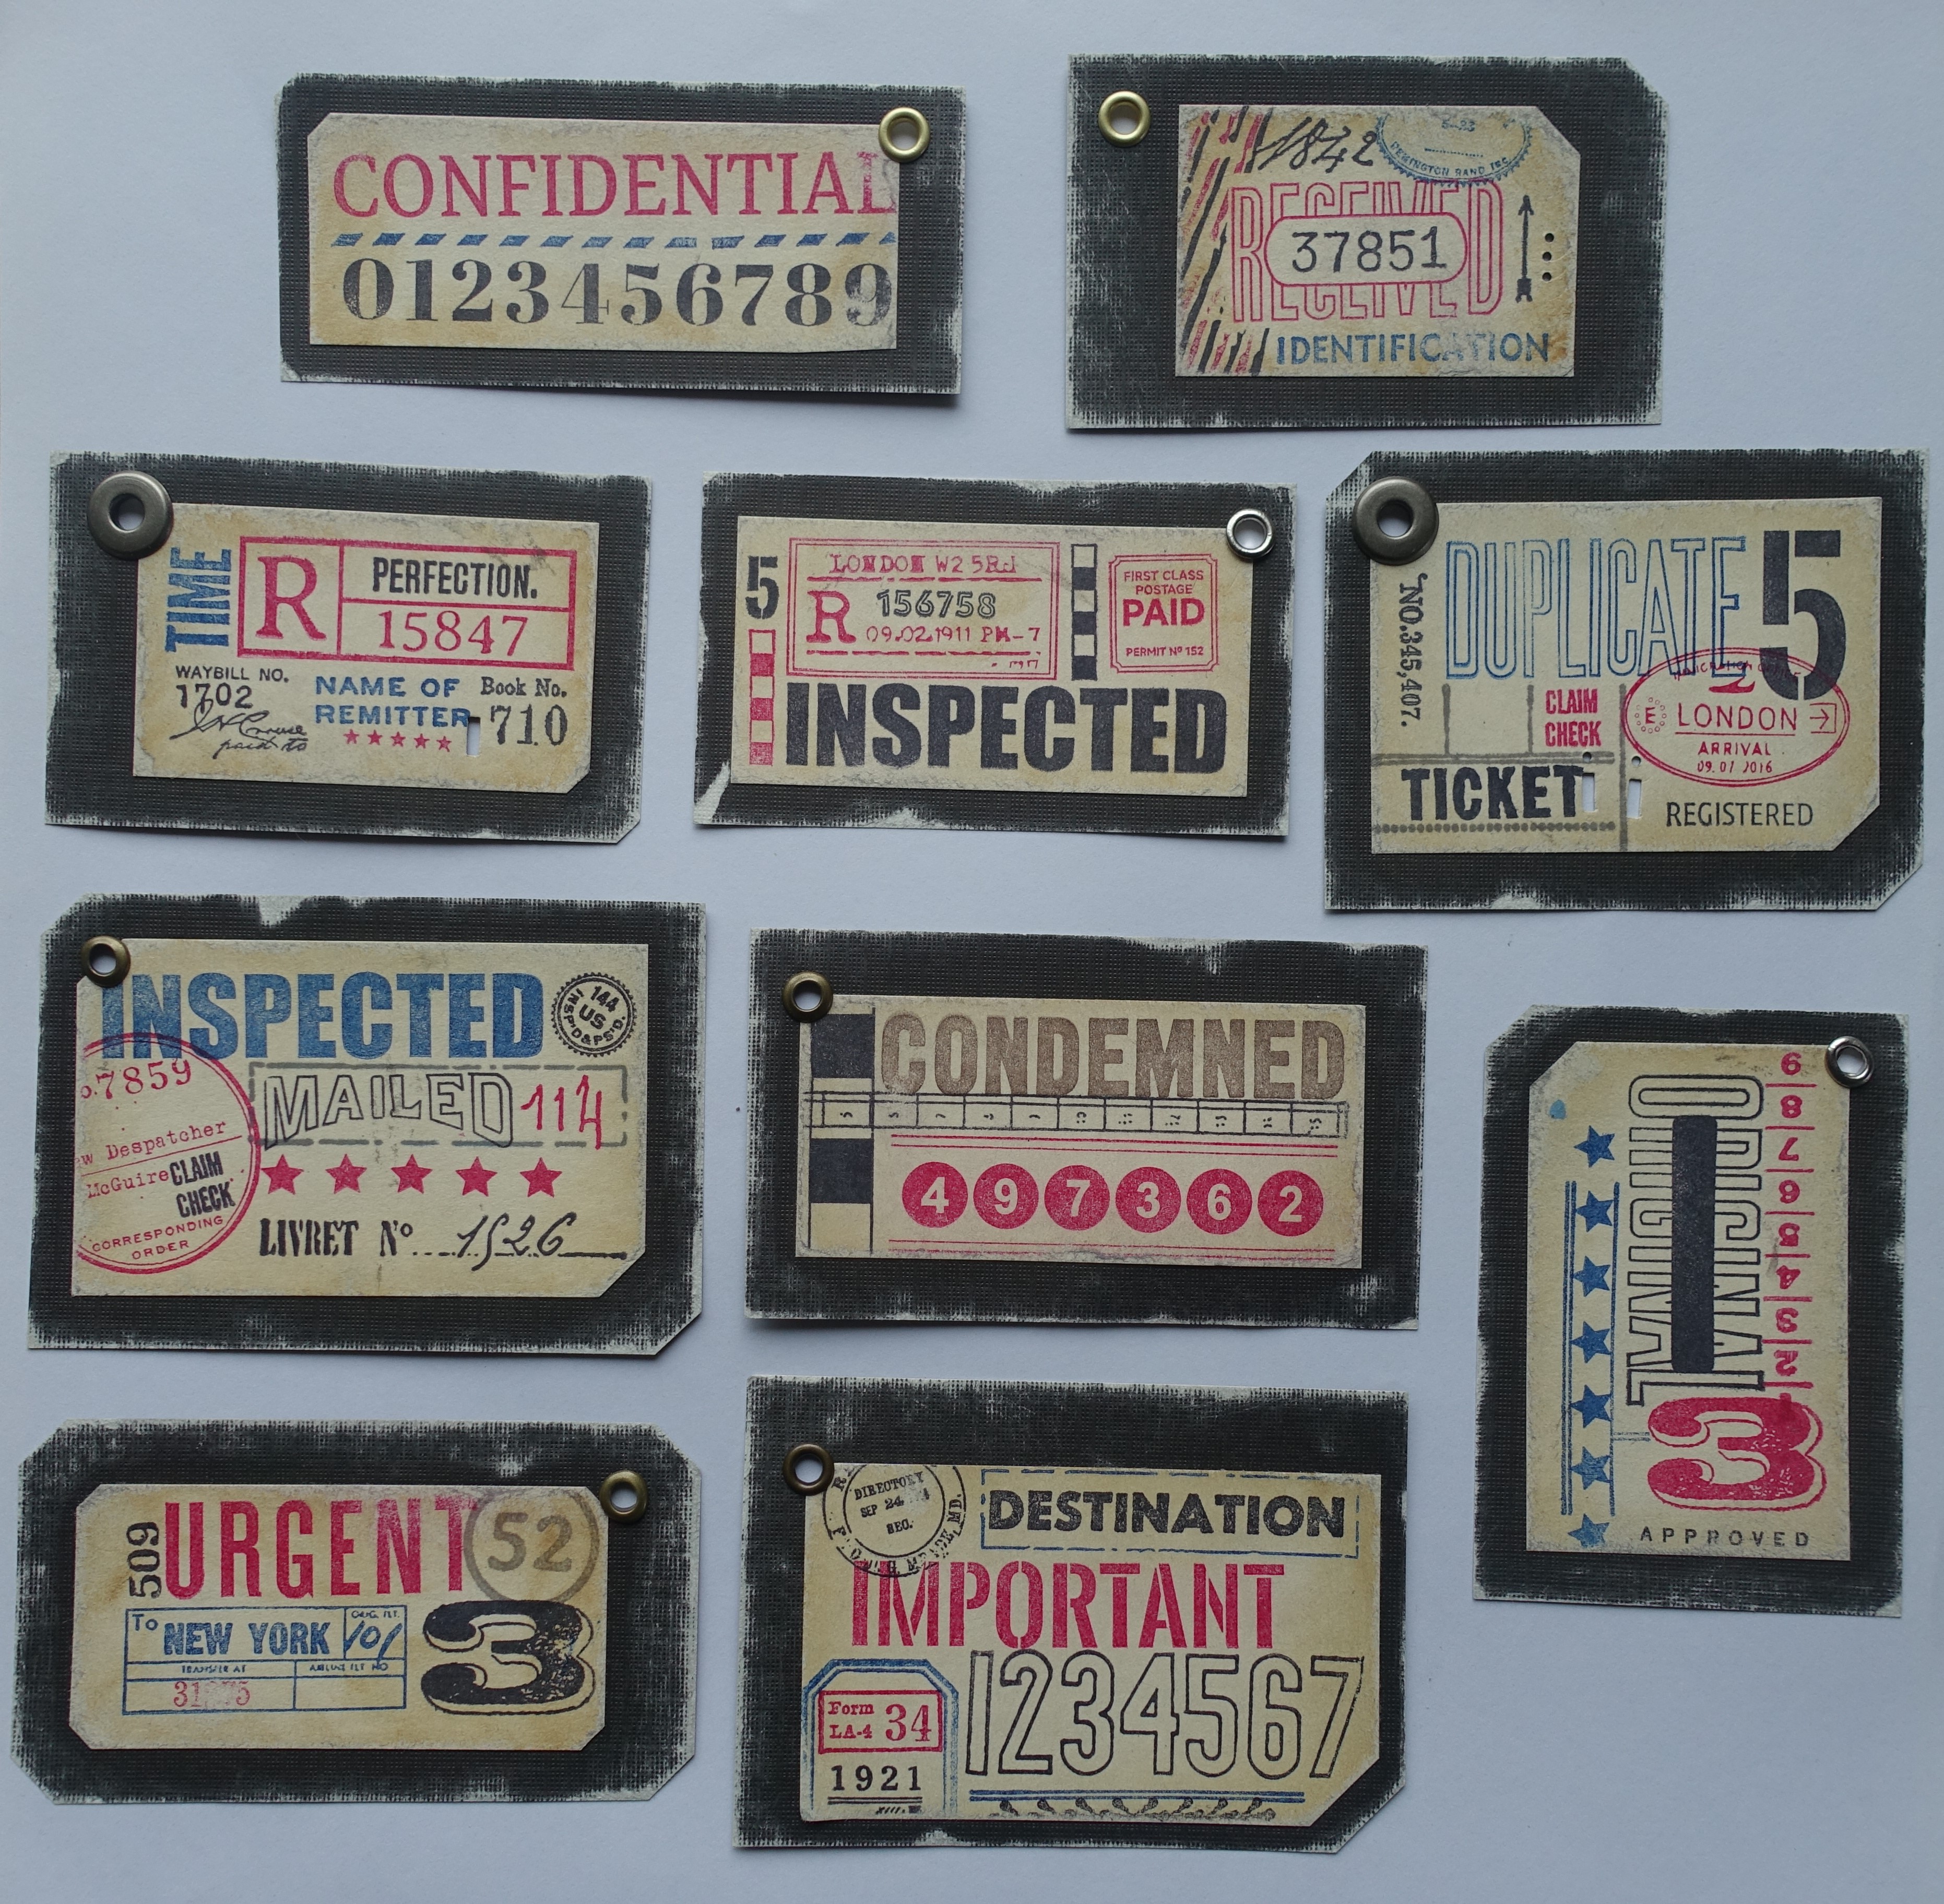
Vintage Tickets / Labels

Gosh, I haven't posted anything for a year so here are some photos of things I've been making recently.  Most have been done before, but been inspired by watching Toni Tinker on Youtube on Crafty by Toni channel - thank you for the reminders and the inspiration.


Thursday, 30 March 2023

Monday, 27 March 2023

Finn Class - Day 2 - Altered Journal Covers (PM)


This is what was in the kit for the last workshop of the weekend.


First step after getting the covers off was to add white crackle paste to both outside covers.


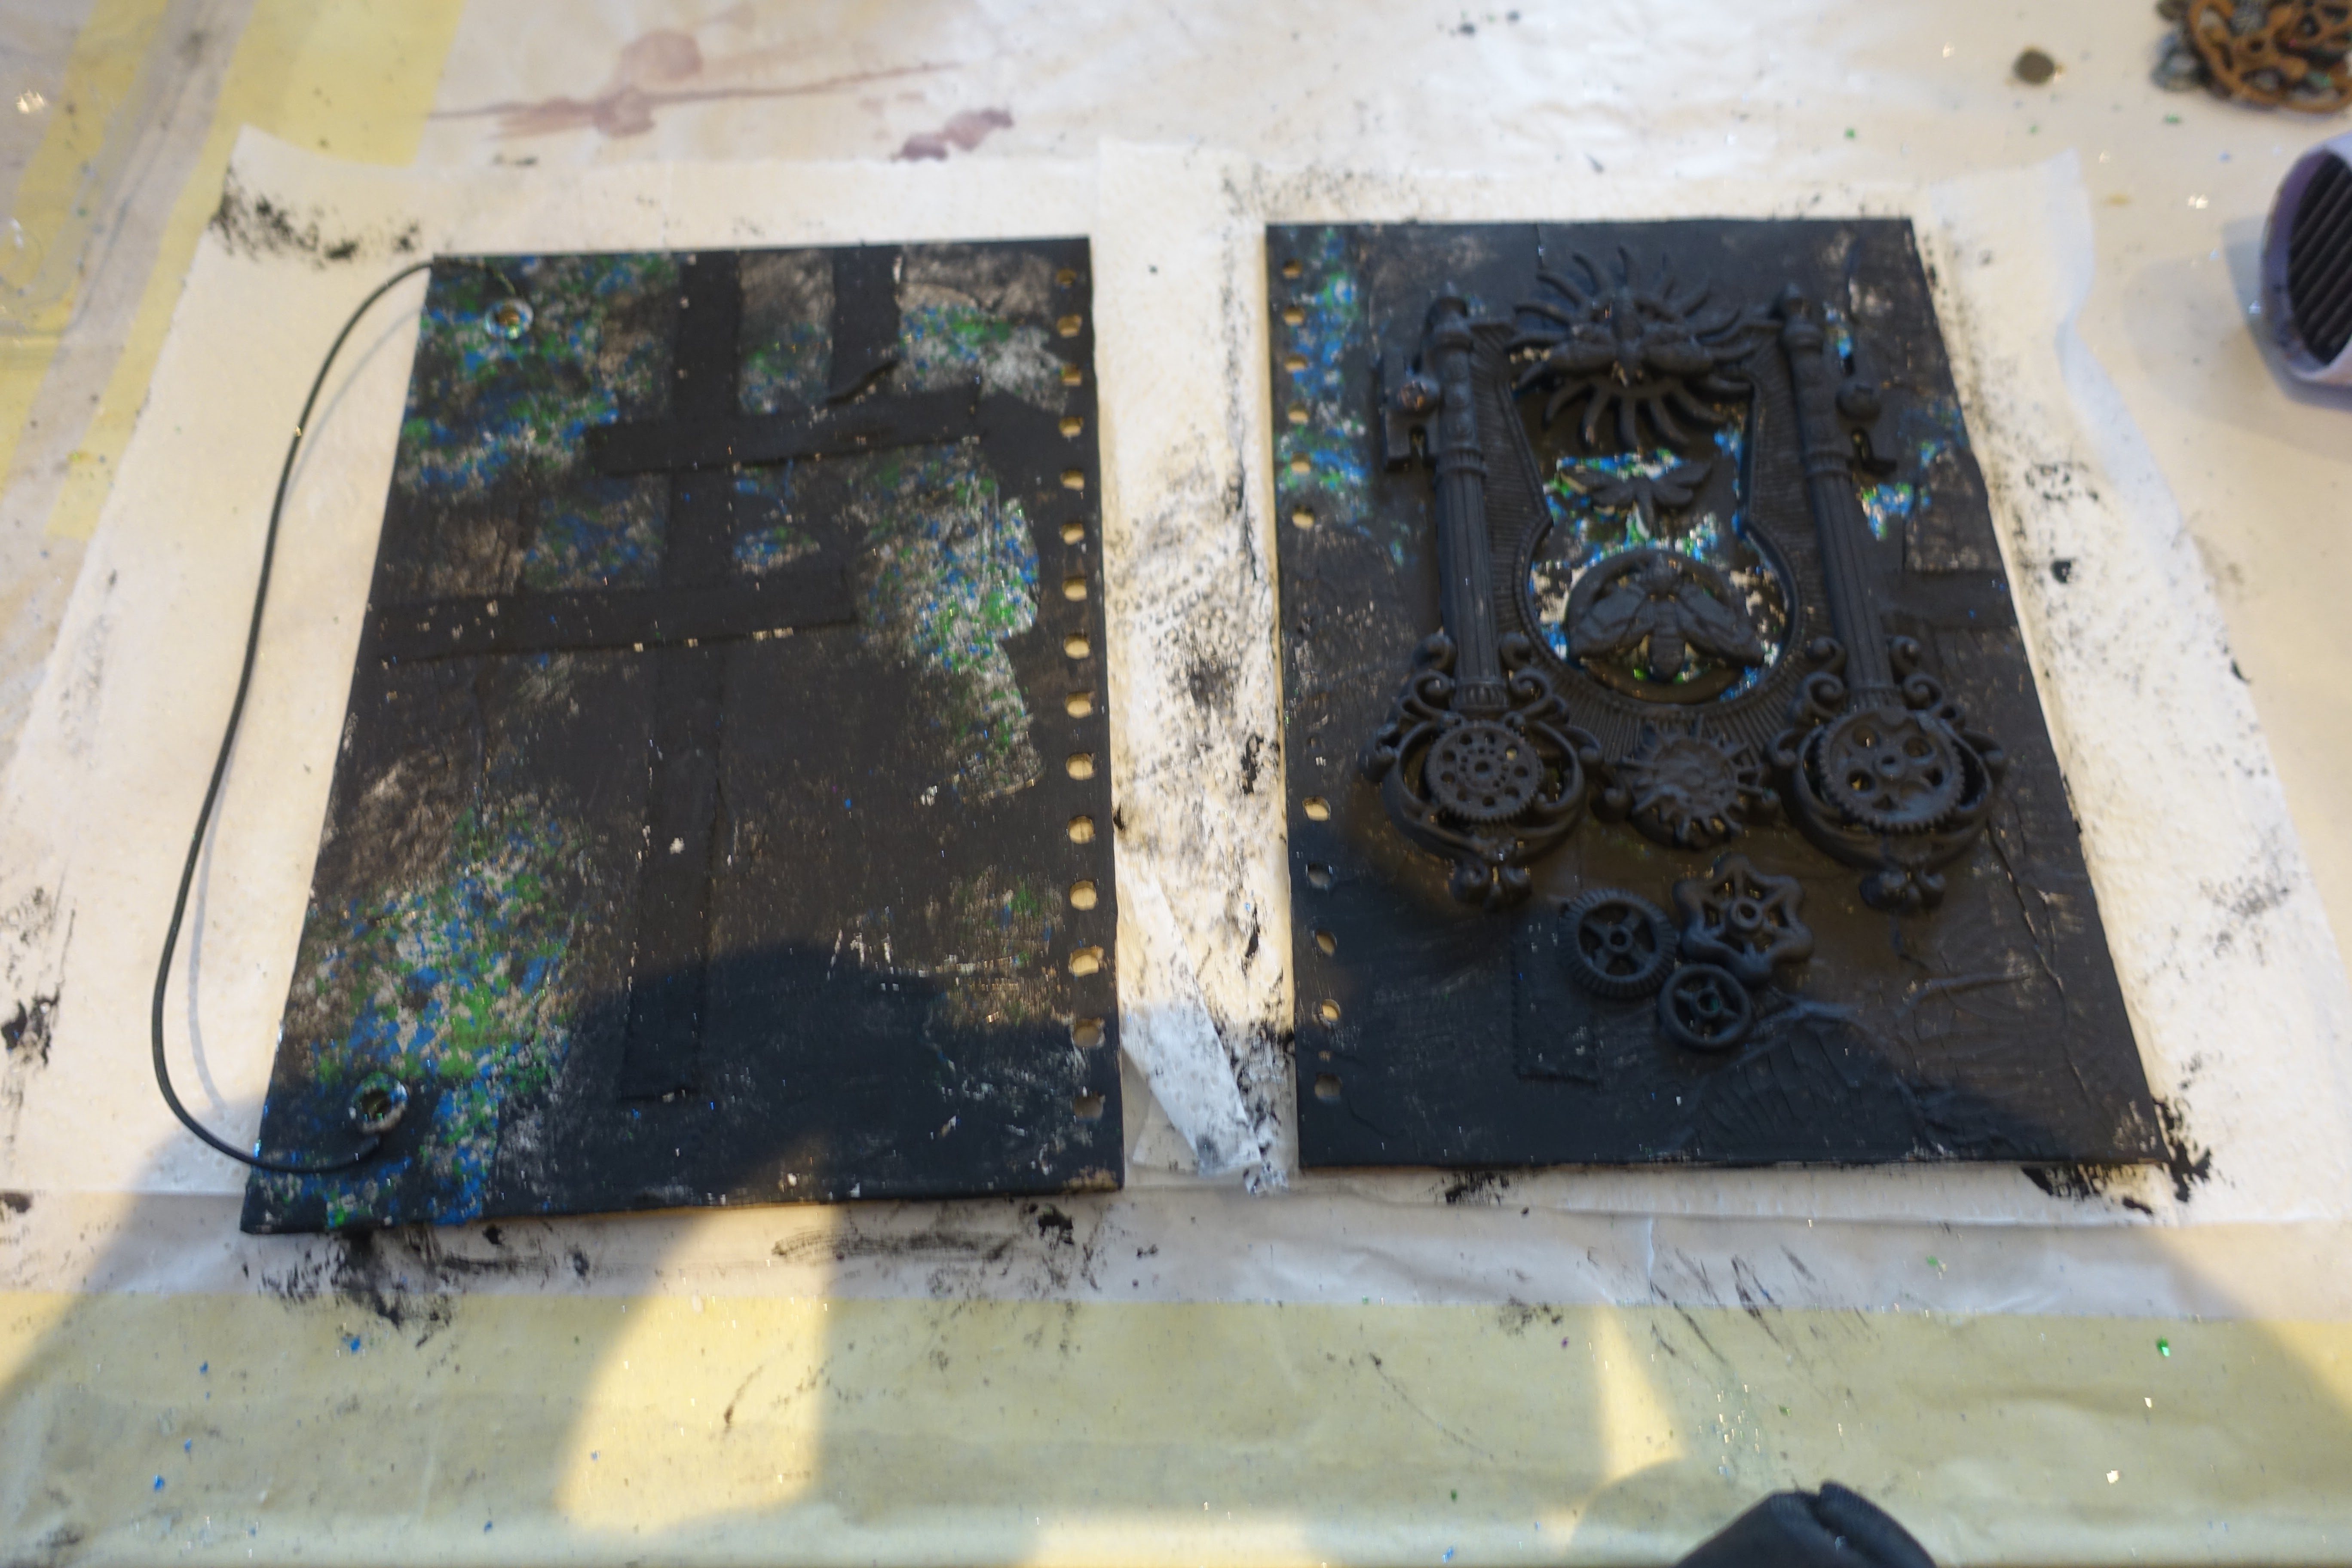
Next I used Dublin flakes to add metallic elements to the covers and the main feature, the steampunk moth.


Laid out the composition, stuck everything down with heavy body gel and dried thoroughly.  Coated with black gesso and wiped back.


And this is what I ended up with.  Metallic flakes still visible. We then used white gesso to dry brush both covers to allow the colours to come through.


I chose to decorate in shades of green, I used emerald and lime from Finns acrylic range.


The back cover has tape on for a bit of added texture.


This is the best photo I could get whilst still in the class!


We managed to finish around 5.30pm, so we went back to the pub, had something to eat and then I drove home. We dropped Jules off, then I dropped Janet off and I walked in the door at 12.30am.  Bailey was soooo pleased to see me and so was Martin x

Blog Archive