Wednesday, 23 September 2020

Sumo Geisha Figure


Martin made me a two pronged wooden base and I started to create my figure with a polystyrene ball for the body, tinfoil, bubble wrap and masking tape.


The head and hands are Powertex plaster pieces.  I then created the legs and roughly decided where I wanted the top and bottom colour to meet.


I mixed yellow powertex with 3d flex to make a clay and then covered the bottom part of the figure.  I didn't make enough to do the legs as well, so I left them for now.


I also stamped into the clay and left it outside in the sun to dry and crack.


I made up some more yellow and covered the legs, then made some red.  This time I made far too much red, so ended up giving her a red hat too.  But I cling filmed the neck to keep it clean.


Close up of the red crackle and the stamping.


Drying and cracking out in the sun again.  Martin came home and told me it looked like Ronald McDonald!!!


So using pigments and powerwax I changed the colours.


I also painted her nails.

And her face, and gave her some hair.


Close up of the back with the blue over the red.


And the bottom is more of a blend as I added orange to the yellow.

Wednesday, 16 September 2020

Nefertiti Figure


It's been ages and ages since I made a powertex figure, so I decided to have a go to see if I could still do it.  Something a little bit different though. 


I did this one slightly different, as I added pigment to the powertex just after I'd added the fabrics, so it was still very wet when I applied it. Used a very small brush to paint the details in rich gold pigment and varnish.


Slightly turned to the right.


Slightly turned to the left.


And finally from the front.

Tuesday, 15 September 2020

Powertex Hardware Skull


Prepping the skull with hardware.


Martin made me the base, I painted it in black gesso and covered the spiders web placemat in black powertex and stuck it to the base.


Next I painted the whole of the skull in black powertex and let it dry.


Then once totally dry, I coloured it in interference violet, green, gold, blue, indigo and turquoise. 


Unfortunately it's really hard to get a good photo of the colours. 


This is it with the tealight lit.


And from the side.

More Mini Mannequins


Martin made me some bases from the old wooden gate and unused chopsticks.  I painted them black and then used black powertex and paper decoration to create the above on the polystyrene mannequins.


And for this one I got my red pigments out.


And for this one I got the blue pigments out.


And here they are both together.  These are going to be family Christmas presents.

Sunday, 6 September 2020

Recycled Bases


Martin has built a new garden gate and today he was chopping the old one up.  He made these bases for me from a couple of pieces of the gate and chopsticks. I painted them over with black gesso.  Much cheaper than the £7.99 metal powertex ones!

Mini Mannequin Powertex Workshop


Yesterday I had a lovely afternoon at Purple Meadows Crafts taking part in a powertex workshop.  They have just moved and their new place has soooo much space, the shop layout is fabulous.  


These are three of the pieces that were made, no prizes for guessing which one is mine!


And here it is in daylight this morning.


And from the back.


And the left side.


And finally the right side.


Close up of the fabrics and dry brushing.


And I picked these up from the fabric shop just further on down the road.

It felt good to get my hands back into some powertex products.

Friday, 4 September 2020

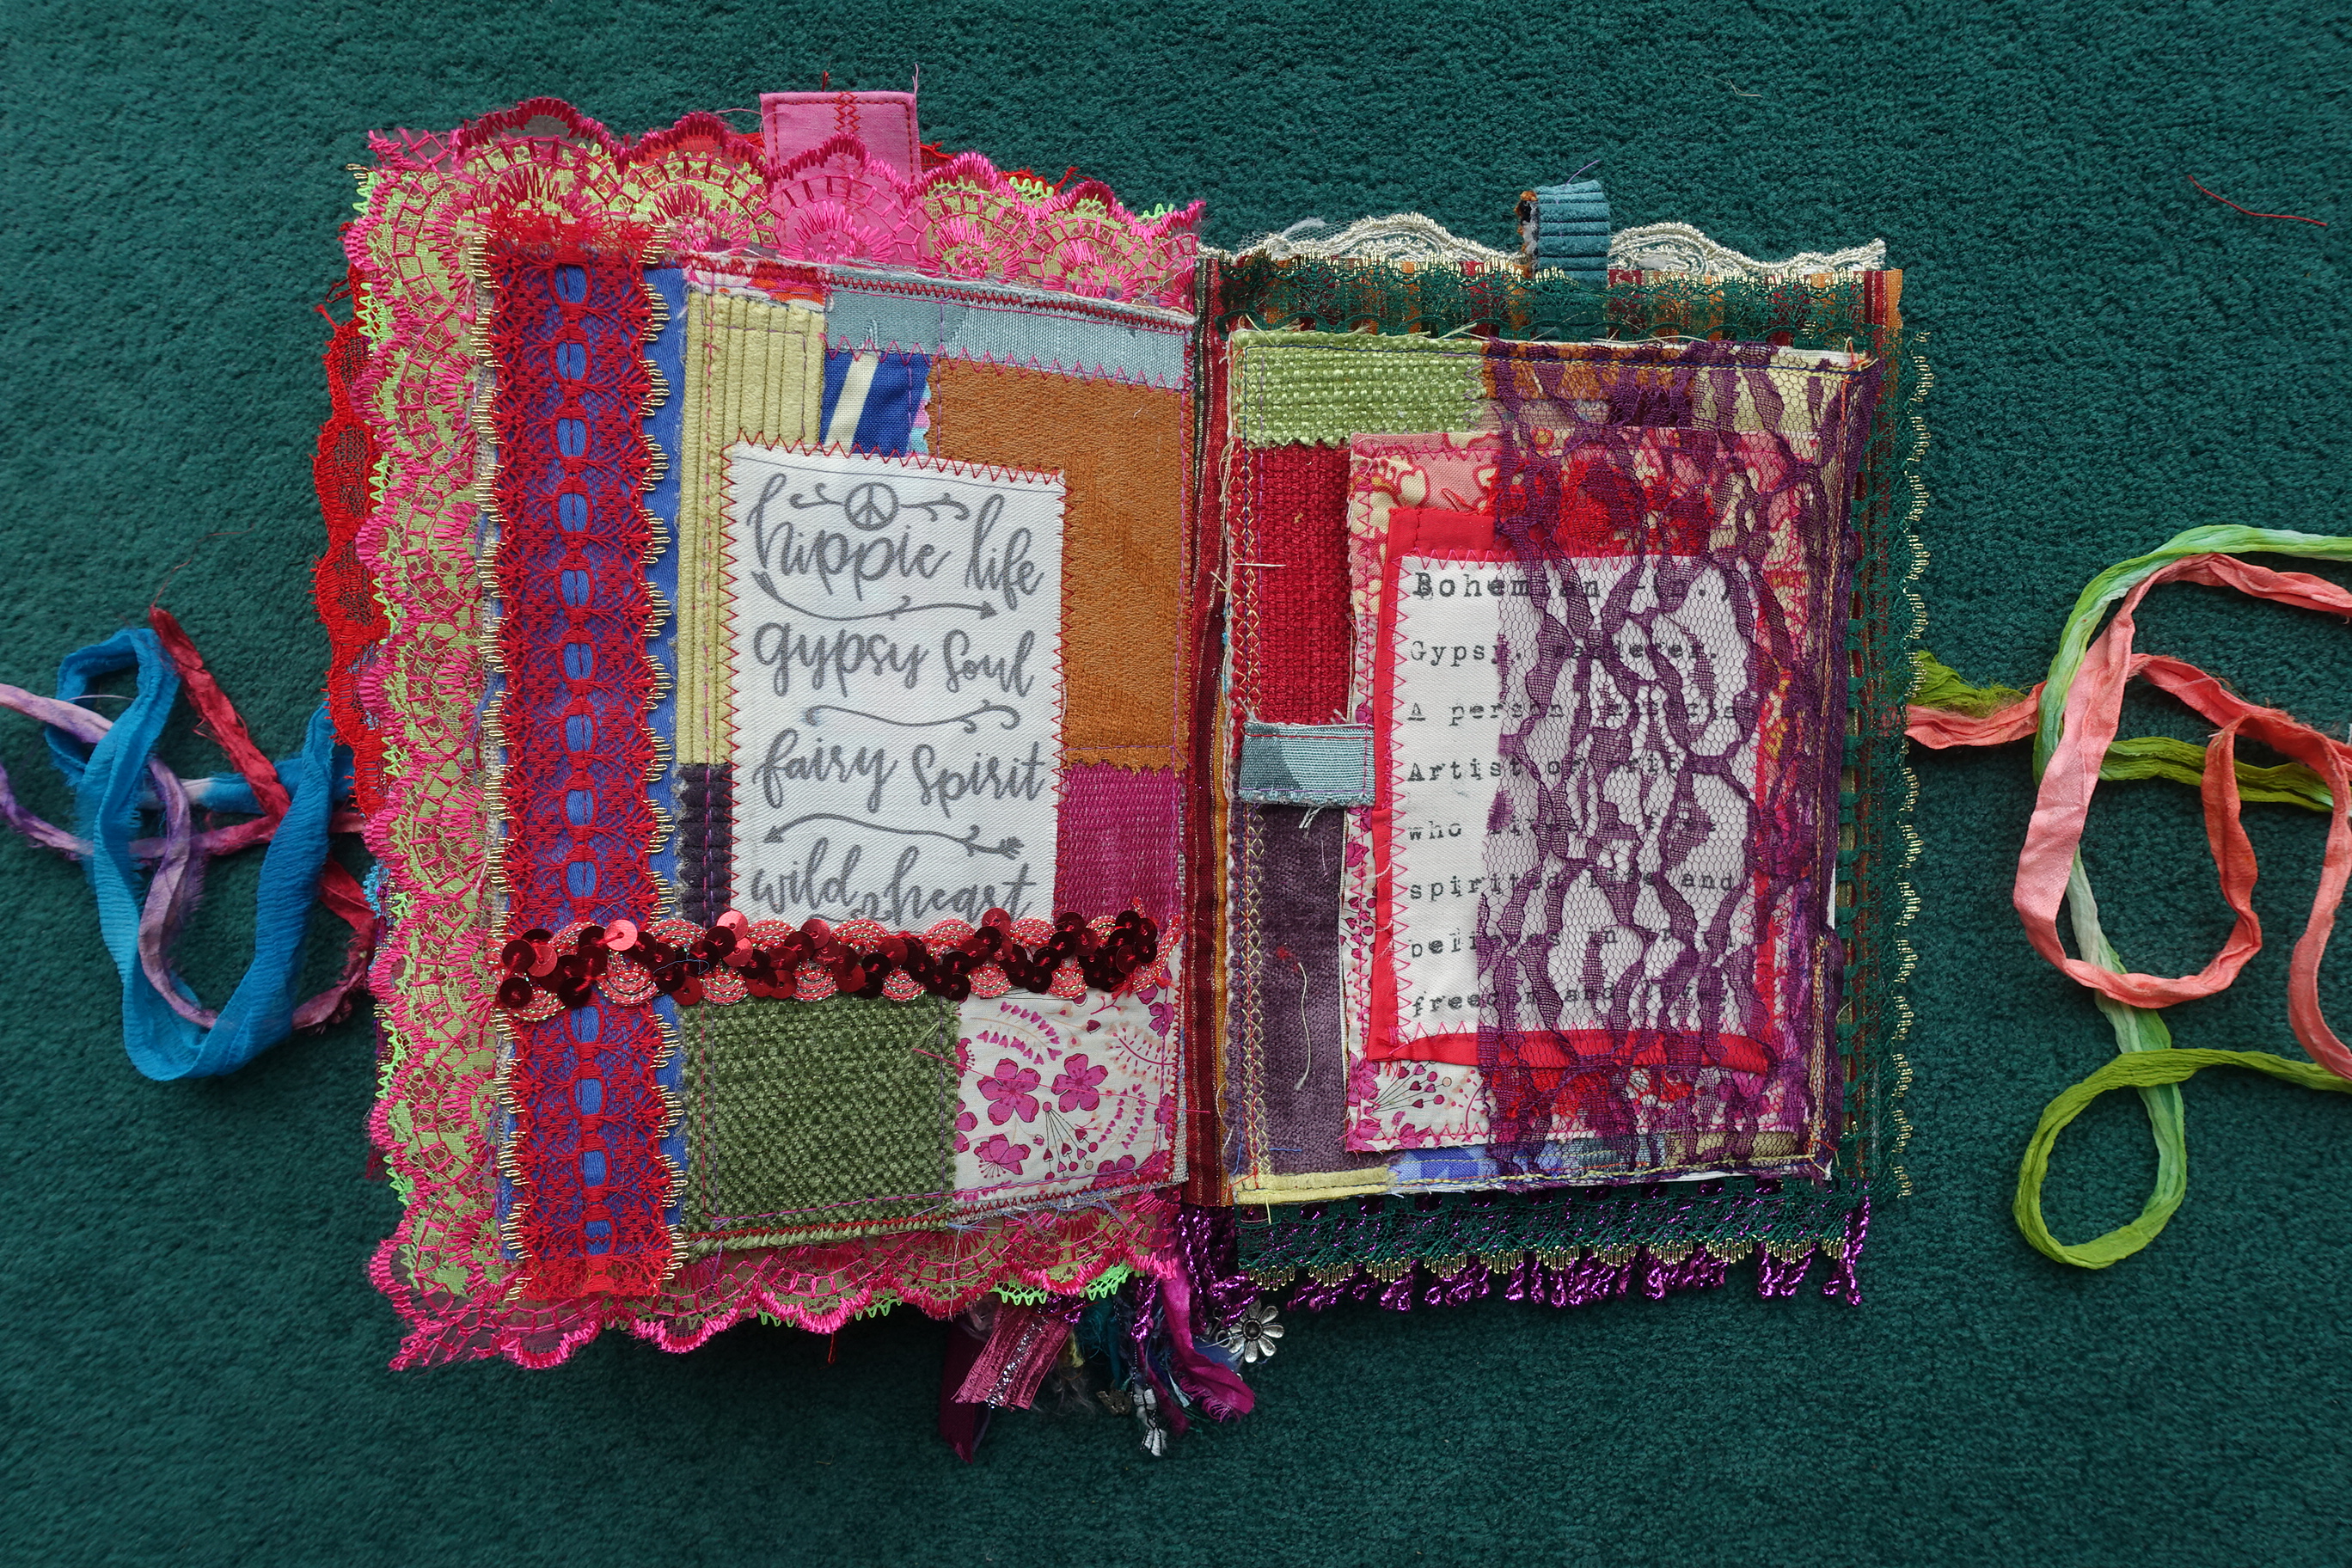
BOHO Themed Fabric Book


After watching an Andrea (Artymaze) youtube about creating a fabric book from scraps, I decided to have ago.  The first thing to do was cut 9 strips of fabric for a base.  Then using scraps of different types of fabrics, I completely covered them.


Next I made the cover using two of the strips from above as a background, then I added other fabrics, frills and ribbons.


This is the fabric which I used for the inside which you won't see eventually.


Once I'd sewn all the pages in I added more bling to the cover and also one of the boho tassels that I made ages ago.


This is the inside cover and the first page, with a pocket.


This is the tag that was in the pocket, with another tag inside it.


These are the next two pages.  I printed some images, quotes and words onto a cream coloured fabric by running it through the printer.


The next couple of pages both have scraps of Indian sari fabrics and the right page has a side pocket.


And this is the tag from this pocket.


The next set of pages and on the right a pocket made from another piece of Indian sari fabric.


And this is the tag that was in the pocket.


These are the centre pages and each one has a pocket and a tag.


And these are the tags.


The next set of pages and printed images.


Another piece of jewelled Indian fabric on the left page and a pocket on the right.


And the tag, a printed quote.


This is the last double page, the right hand side has a side pocket made from lace.


This is the tag, with a layer of sequin lace over the top of the quote.


Finally the back page, with a pocket using another piece of Indian sari fabric.


And the tag with lace and a printed word.


And this is the back of the cover. I haven't added anything else to it as I want it to sit flat.


It stands up well and this is from the back with the tassel.


And this is the view from the top.

I'm really please with how it's turned out and it's a lovely size. 

Blog Archive