Thursday, 12 March 2015

Utah, Wyoming, Idaho & Montana


I thought I'd just share a few of our holiday photos with you.  Powder Mountain - Utah


Powder Mountain - Utah


Powder Mountain - Utah - meeting with a tree!


Powder Mountain  Utah with an old car in the creek which we've never seen before


Tetons - Wyoming


Targhee - Wyoming


Targhee - Wyoming


Our lovely room at Bucks T-4, Montana


And the upstairs lounge area


This was quite a steep and long run


Right at the very top of the mountain out of the tram - Liberty Bowl, Big Sky, MT


And on the way back, unbeknown to us, we went through Yellowstone


Whilst in there we saw 4 wild wolves, luckily on the other side of the creek


This is one of the snow coaches they use in the park, it needed gas!!


Then driving back through Idaho we saw a field of bison.  I've always wanted to see a bison, but this isn't quite what I had in mind!!


We drove back to Utah and a storm started


This was us going up the canyon to the resort


And further up the canyon road


Sun tried to poke through


Then it snowed some more


And eventually the following day, the sun came out


Snowbird, Mineral Basin - Utah


Snowbird, Mineral Basin, Book Ends - Utah


Top of Snowbird / Alta - Utah


Snowbird tram - Utah


Moon rising from out balcony


Full moon from hotel balcony - Sandy, Utah


And the craft purchases from Michaels, JoAnns and Hobby Lobby


Picked these up from Walmart when I went back for Lins beads


And picked these up from Hobby Lobby when I went back to get Chris a set of alphabet stamps for journalling


And Lin asked me to look out for some of this so she could make and re-make molds
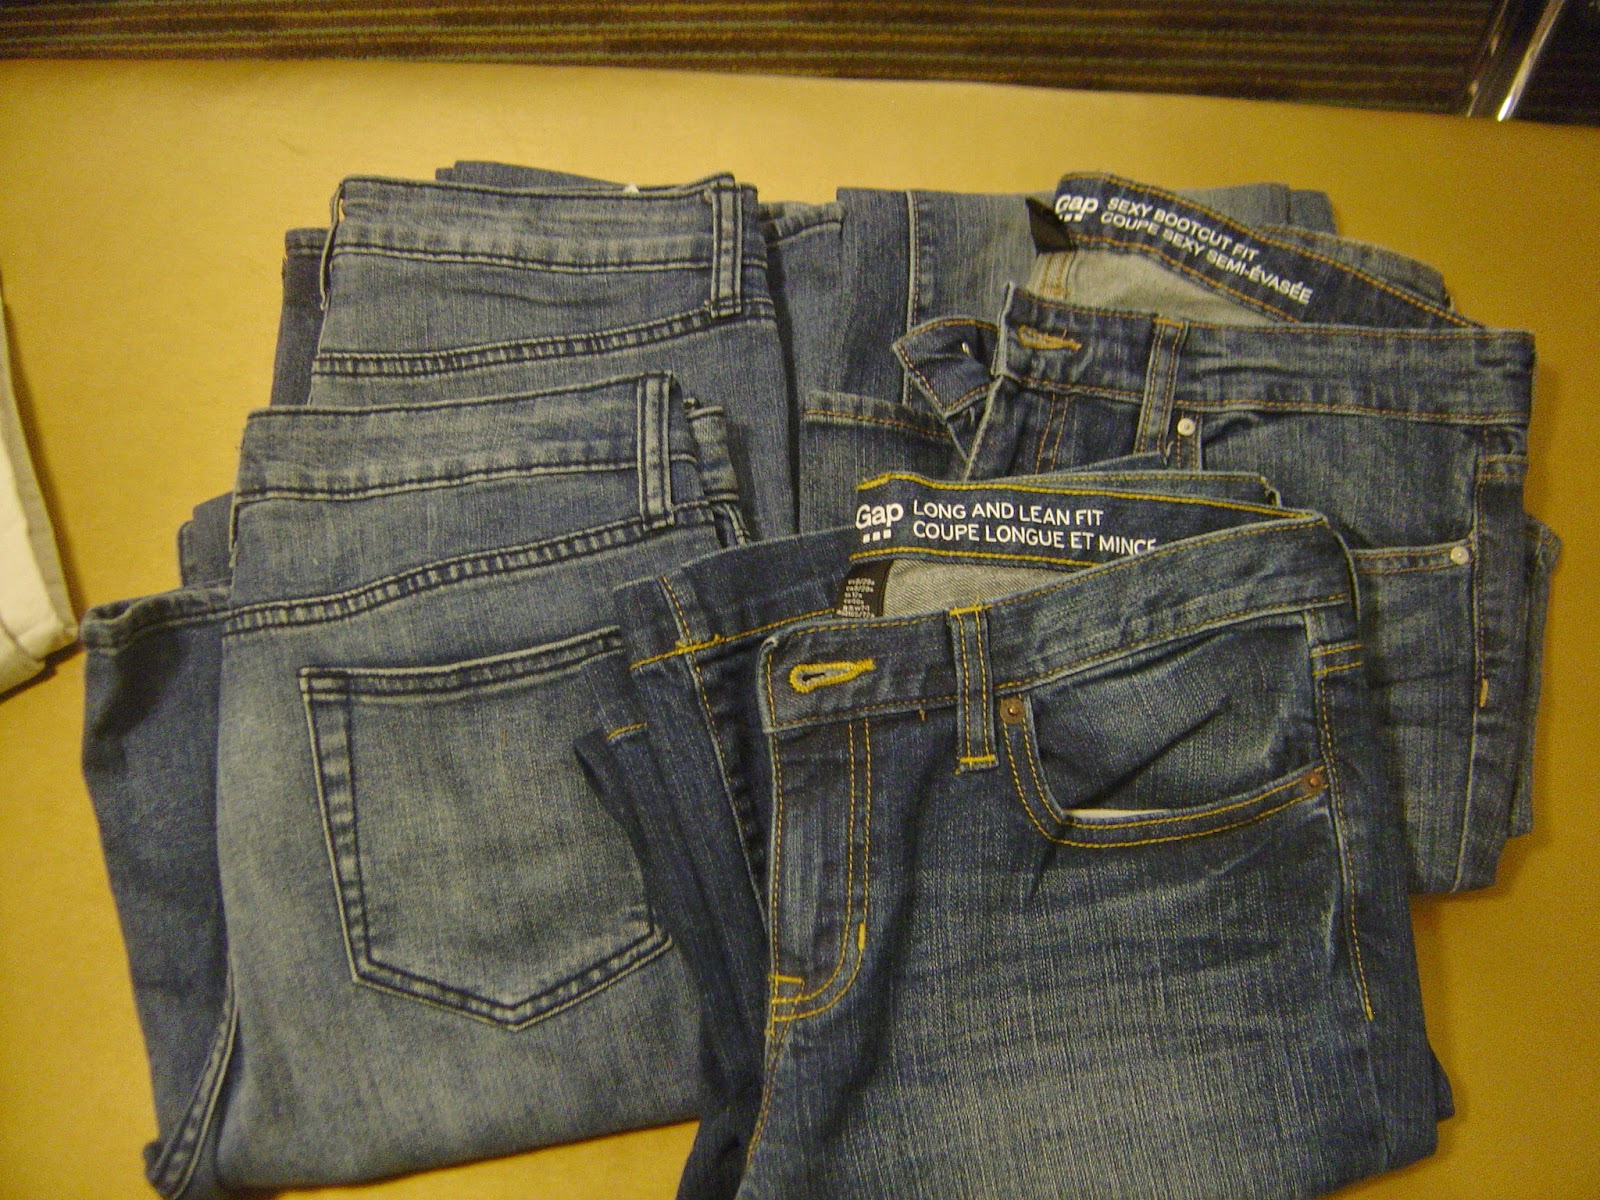

A little purchase from Gap as I needed some new jeans


And from the Fossil shop a canvas satchel bag, a three tone leather handbag and a green belt


And finally, I know I really shouldn't encourage her, but


It just had Emmas name on it.

Sorry it was a bit photo heavy, but hoped you liked some of the photos from my holiday.

Saturday, 14 February 2015

Luggage Labels


Over at the PA blog this weeks challenge is 'paint', yep that's it just paint. We go on holiday on Thursday and have just got all the ski gear out the loft and we needed some luggage labels. I randomly brayered various bright colours of fresco paints onto a piece of thickish white card, added marks in snowflake and little black dress. Once dry, cut them into tag shapes, put a hole in the top and added some string.

Wednesday, 11 February 2015

Have a Heart


I wanted to play with my new colours of chalky finish DecoArt paint. After a coat of gesso I painted the mdf wooden heart shape with a couple of layers of lace. Then patiently waited whilst a coat of weathered wood dried and applied a coat of romance on the top to create this fantastic crackle.


Once dried I used my finger to edge with carbon black chalky paint.


Close up of the fab crackle.


I also got some new to me stencils. I didn't realise how huge they were!!


I used black media DecoArt modelling paste through the French Script one. (Love this stuff, but you probably already know that!!)


I went back in with black to define the edges more and then when dry added a couple of coats of DecoArt media satin varnish.


And finally I added some hemp and some beads.


And the sun came out.

All products are from DecoArt.

PanPastel Uk have a theme of love is in the air.
Stampotique have a theme of it's all love and hearts.


Monday, 9 February 2015

Cogs n Clocks


Am loving playing with the DecoArts products to create rust effects, die cuts, skulls, hearts, cogs and the like. Coloured the clock in orange flicker and black shimmer metallic lustre. Corrugated background was spritzed with black media mister, chipboard a mix of gesso, textured sand paste, modelling paste black and white for contrast. Had great fun pulling it all together.

Sunday, 8 February 2015

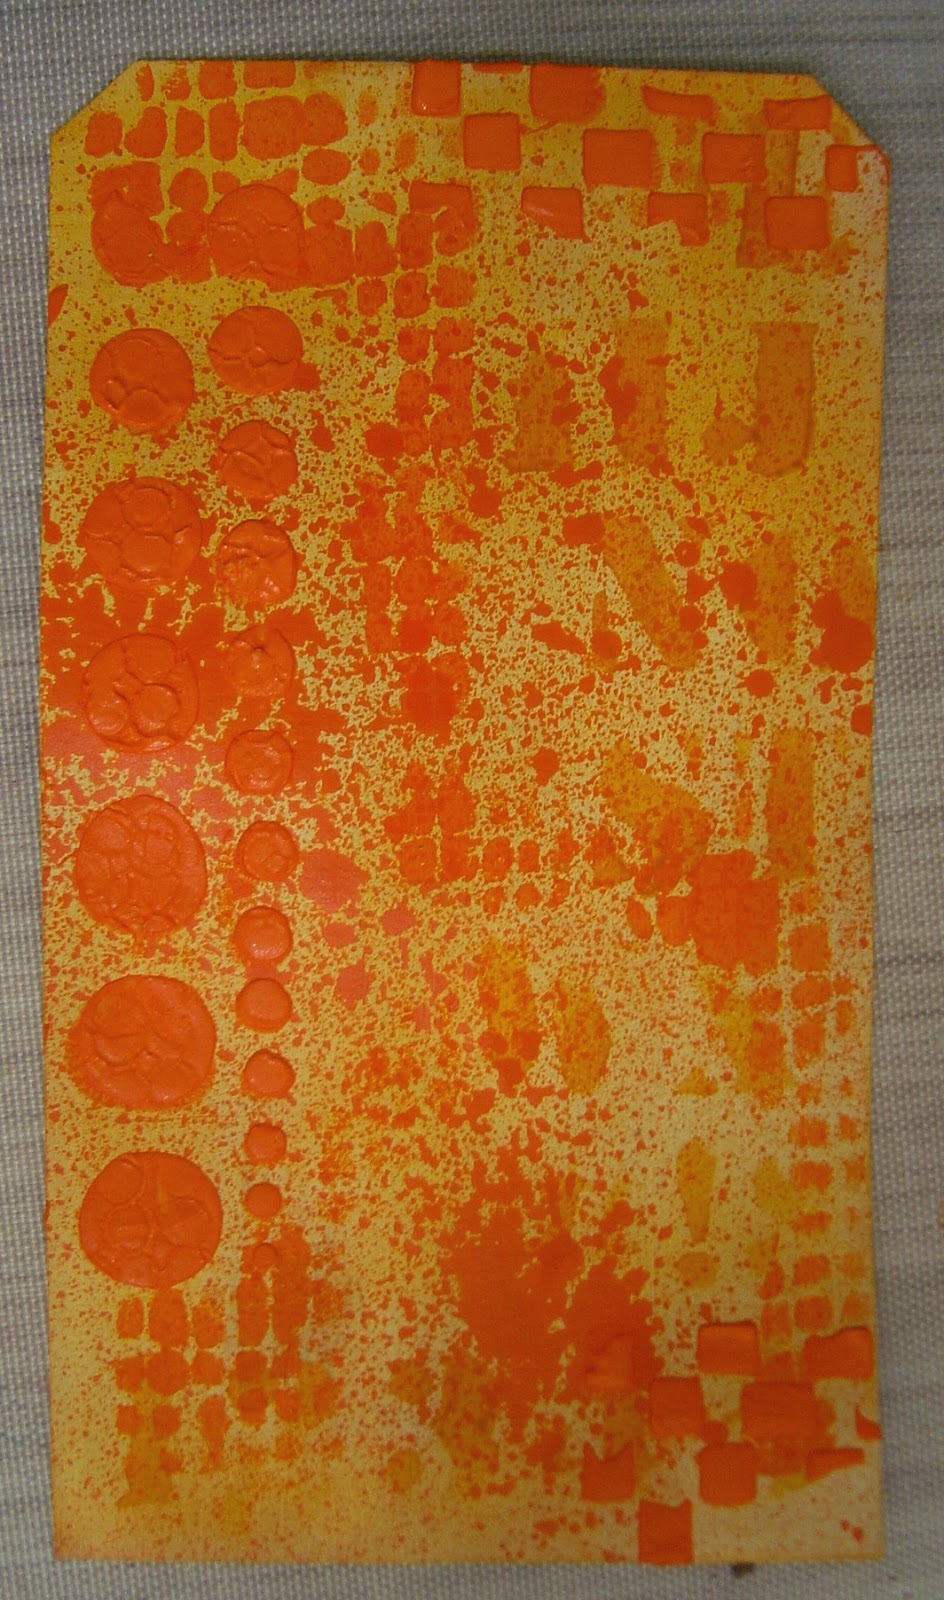
Orange Tag & D


The theme over at TIO - Dragons Dream is orange and a letter of choice, so I set to work with my background. After using the DecoArt white tint base, I covered the tag with orange pan pastel, sprayed on some orange media mister, sponged chalky heritage paint through an alphabet stencil and two shades of orange DecoArt media paint through a stencil.  I mixed one of the shades with white modelling paste and stamped into it.


Close up of the DecoArt coloured modelling paste with the stamping after it had been put through the circles stencil.


Stamped one of my favourite stamps on the tag and outlined her in white posca pen. I'd of loved to have used one of the new silhouette stamps from Dina's new range, but haven't got round to buying it yet!!  I added the D for diva myself, as Martin was taking my laptop apart and I couldn't get to my alphabet stamps.


I went round the textured circles with my black smudgy pencil and then smudged them to bring out the texture of the stamping into the modelling paste.


Close up of the white posca pen markings.

All paints and mediums are from the DecoArt range.

Saturday, 7 February 2015

Green Eyed Monster


Over at Stampotique this week, Sue has chosen a theme of oranges and lemons - citrus colours. I coloured the tag with heritage chalky finish DecoArt paint. I randomly applied hair wax to the tag and painted over all of it with new life chalky paint. Once completely dry, I wiped back to reveal the orange underneath, a bit like a peeled paint technique. I stamped the background with 3 Stampotique stamps. Stamped the monster onto a separate piece of paper, coloured it with hansa yellow media paint, cut it out and glued it on. Coloured the eyes green and the horn things orange. The quote is also Stampotique and was coloured with yellow gelato, cut up and outlined in black posca pen. Fibres added to finish.

All the paints are from the DecoArt range.

Crackin' Canvas


I took a canvas board and sprayed it with yellow shimmer mister, let it semi dry and then sprayed violet shimmer mister over the top and let it drip. Using a couple of stencilling and white modelling paste I created the images.


Once dry I spooned clear crackle paste over the top, as it's self levelling it doesn't matter where you put it or if you don't get it even.


And I did the same for the letters. This is what it came out like after leaving overnight to dry.


I was going to spray the letters with the purple mister, but instead of the product coming out of the hole in the side it leaked all out of the lid, which actually was a happy accident, as I unscrewed the top and used the pipe on the end to drip the product onto the letters. This way it didn't go everywhere but just on the letters. I let it soak into the cracks and then wiped away.


I did exactly the same with the heart but used the red mister spray. I also outlined it with the black smudgy pencil.


Close up of the purple after it'd seeped through the crackle paste. I outlined some parts of the letters in white pencil.


And finally I outlined these shapes in black posca pen and painted orange flicker metallic lustre directly over the modelling paste.

All media products are from DecoArt.

Thursday, 5 February 2015

Orange Blossom


Backing piece, corrugated cardboard sprayed with orange media mister and touched up with French Roast Fresco paint (as I don't have a brown in the media range). Cotton scrim coloued with watered down quinacridone burnt orange. MDF plaque from a previous post laced with various die cut and metal pieces given the rust treatment.


Close up of the rusted nails and fab cracks.

All paints, mediums and mister sprays from DecoArt except the PA fresco, French Roast.


Tuesday, 3 February 2015

Fly, Fly Away


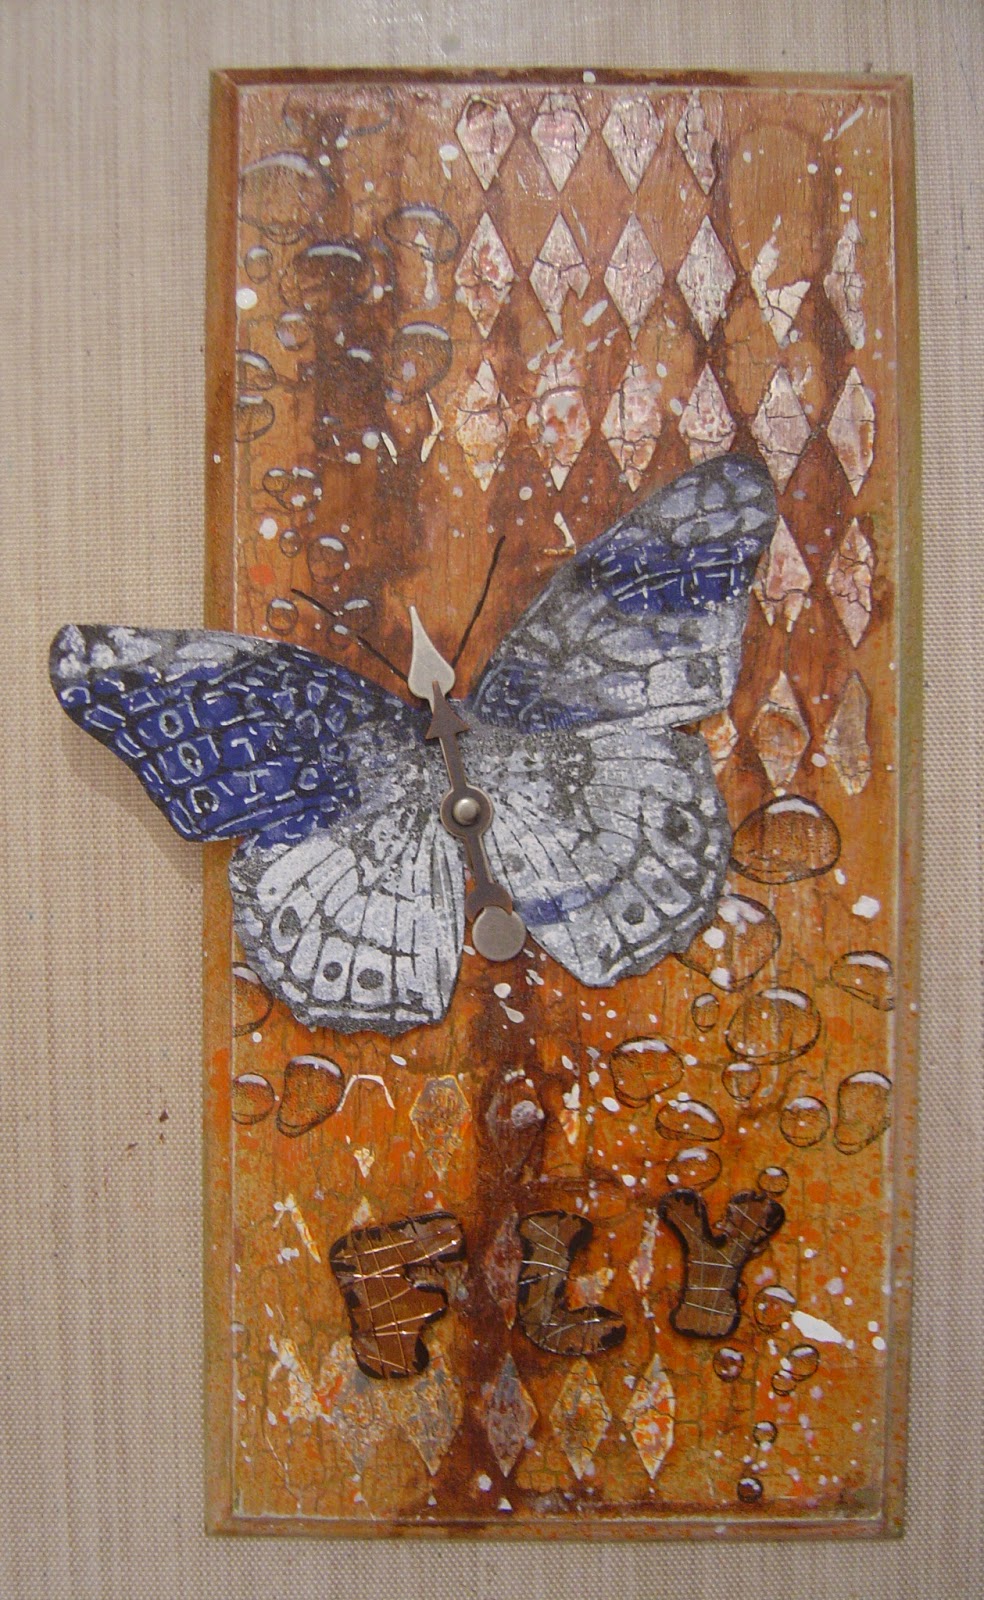
Using DecoArt heritage chalky paint and weathered wood I crackled the mdf plaque. Once dry I stencilled through the diamonds with white crackle paste. I mixed up chestnut brown primary elements, satin varnish and water to create some drips and as you can see it ran down the wood. I also gave it a spritz of orange media mister.


Close up of the dried white crackle paste with the primary elements running through them.


And the other end where I spritzed with the orange mister.


I rubbed some DecoArt metallic lustre in champagne ice over the textured areas.


And over the spritzed orange too.


I stamped some of the raindrops by Ryn designs in black stazon, flicked some white shimmer media spray onto the background and added pen marks with white posca pen at the top of the rain drops.


Close up of the stamping, the white pen marks and metallic lustre.


And here the white splatters of media spray paint. I need the iced espresso metallic lustre to make the diamonds darker!


I stamped a large butterfly in black stazon onto a piece of gelli print paper and cut it out. I added some white pen over the really dark blue.


I doubled up on the idea-ology spinners and a brad for the body.


I cracked open the burnt sienna and raw umber DecoArt media paints to paint the wooden letters after a coat of gesso. Gold and silver were added for a bit of contrast.


Wrapped copper and silver coloured wire around each letter.


Decided it needed more contrast so edged in carbon black media paint.


Finally I added the letters and the butterfly to the background and I've used some liquid glass to accentuate random rain drops and hi-lighted the top edges in champagne ice metallic lustre.

PaperArtsy have a theme of Shiny Stuff this week
Country View Crafts have a theme of drips and drops

All products are from DecoArt unless otherwise stated.

Blog Archive