Tuesday, 8 December 2020

Christmas Napkin Holder


Covered a loo roll in cling film, powertex'd the corrugated, tied string around everything to secure it.


Next I added some embellishments in the open space but making sure that they connected to something.


Once dry I sprayed a coat of natural bister.


Then I sprayed it again.


I didn't have a napkin so I rolled up a duster instead.


I used gold pigment to embellish it.


This is the back and I went over the string with gold pigment.


And here it is finished.  I think a set of these would look lovely.

Friday, 4 December 2020

Cherub in the Moonlight


This was the middle out of my wreath.  I used a sharpie to mark where I wanted to cut another shape out.


Cutter used, and I now have a 'C' shape.


I then gave it a coat of white powertex.


Next I made up a mix of 3d flex and powertex and splodged it on one side.


Next I found a cherub and some hearts and started arranging them.


I made some grooves in the three smaller hearts so they fitted on my piece of thickish wire.


Got a piece of cotton scrim for the figure to sit on and it's an easy way to attach it to the polystyrene.


I picked out some hearts and coloured them silver and also used silver treasure gold over the easy 3d flex texture.


Close up of the little cherub and hearts.


Close up of the treasure gold on the 3d flex.


Then I mounted it on a wooden stand.

Huge thanks to Ashley Hay and Natalie Parish for the inspiration over these last 5 days.

Christmas Wreath


I started off with cutting myself a polystyrene ring with my new cutter.  I wrapped it in t-shirt fabric and powertex and left it to dry.


Once completely dried I coloured it with gold pigment to bring out the textures all over.


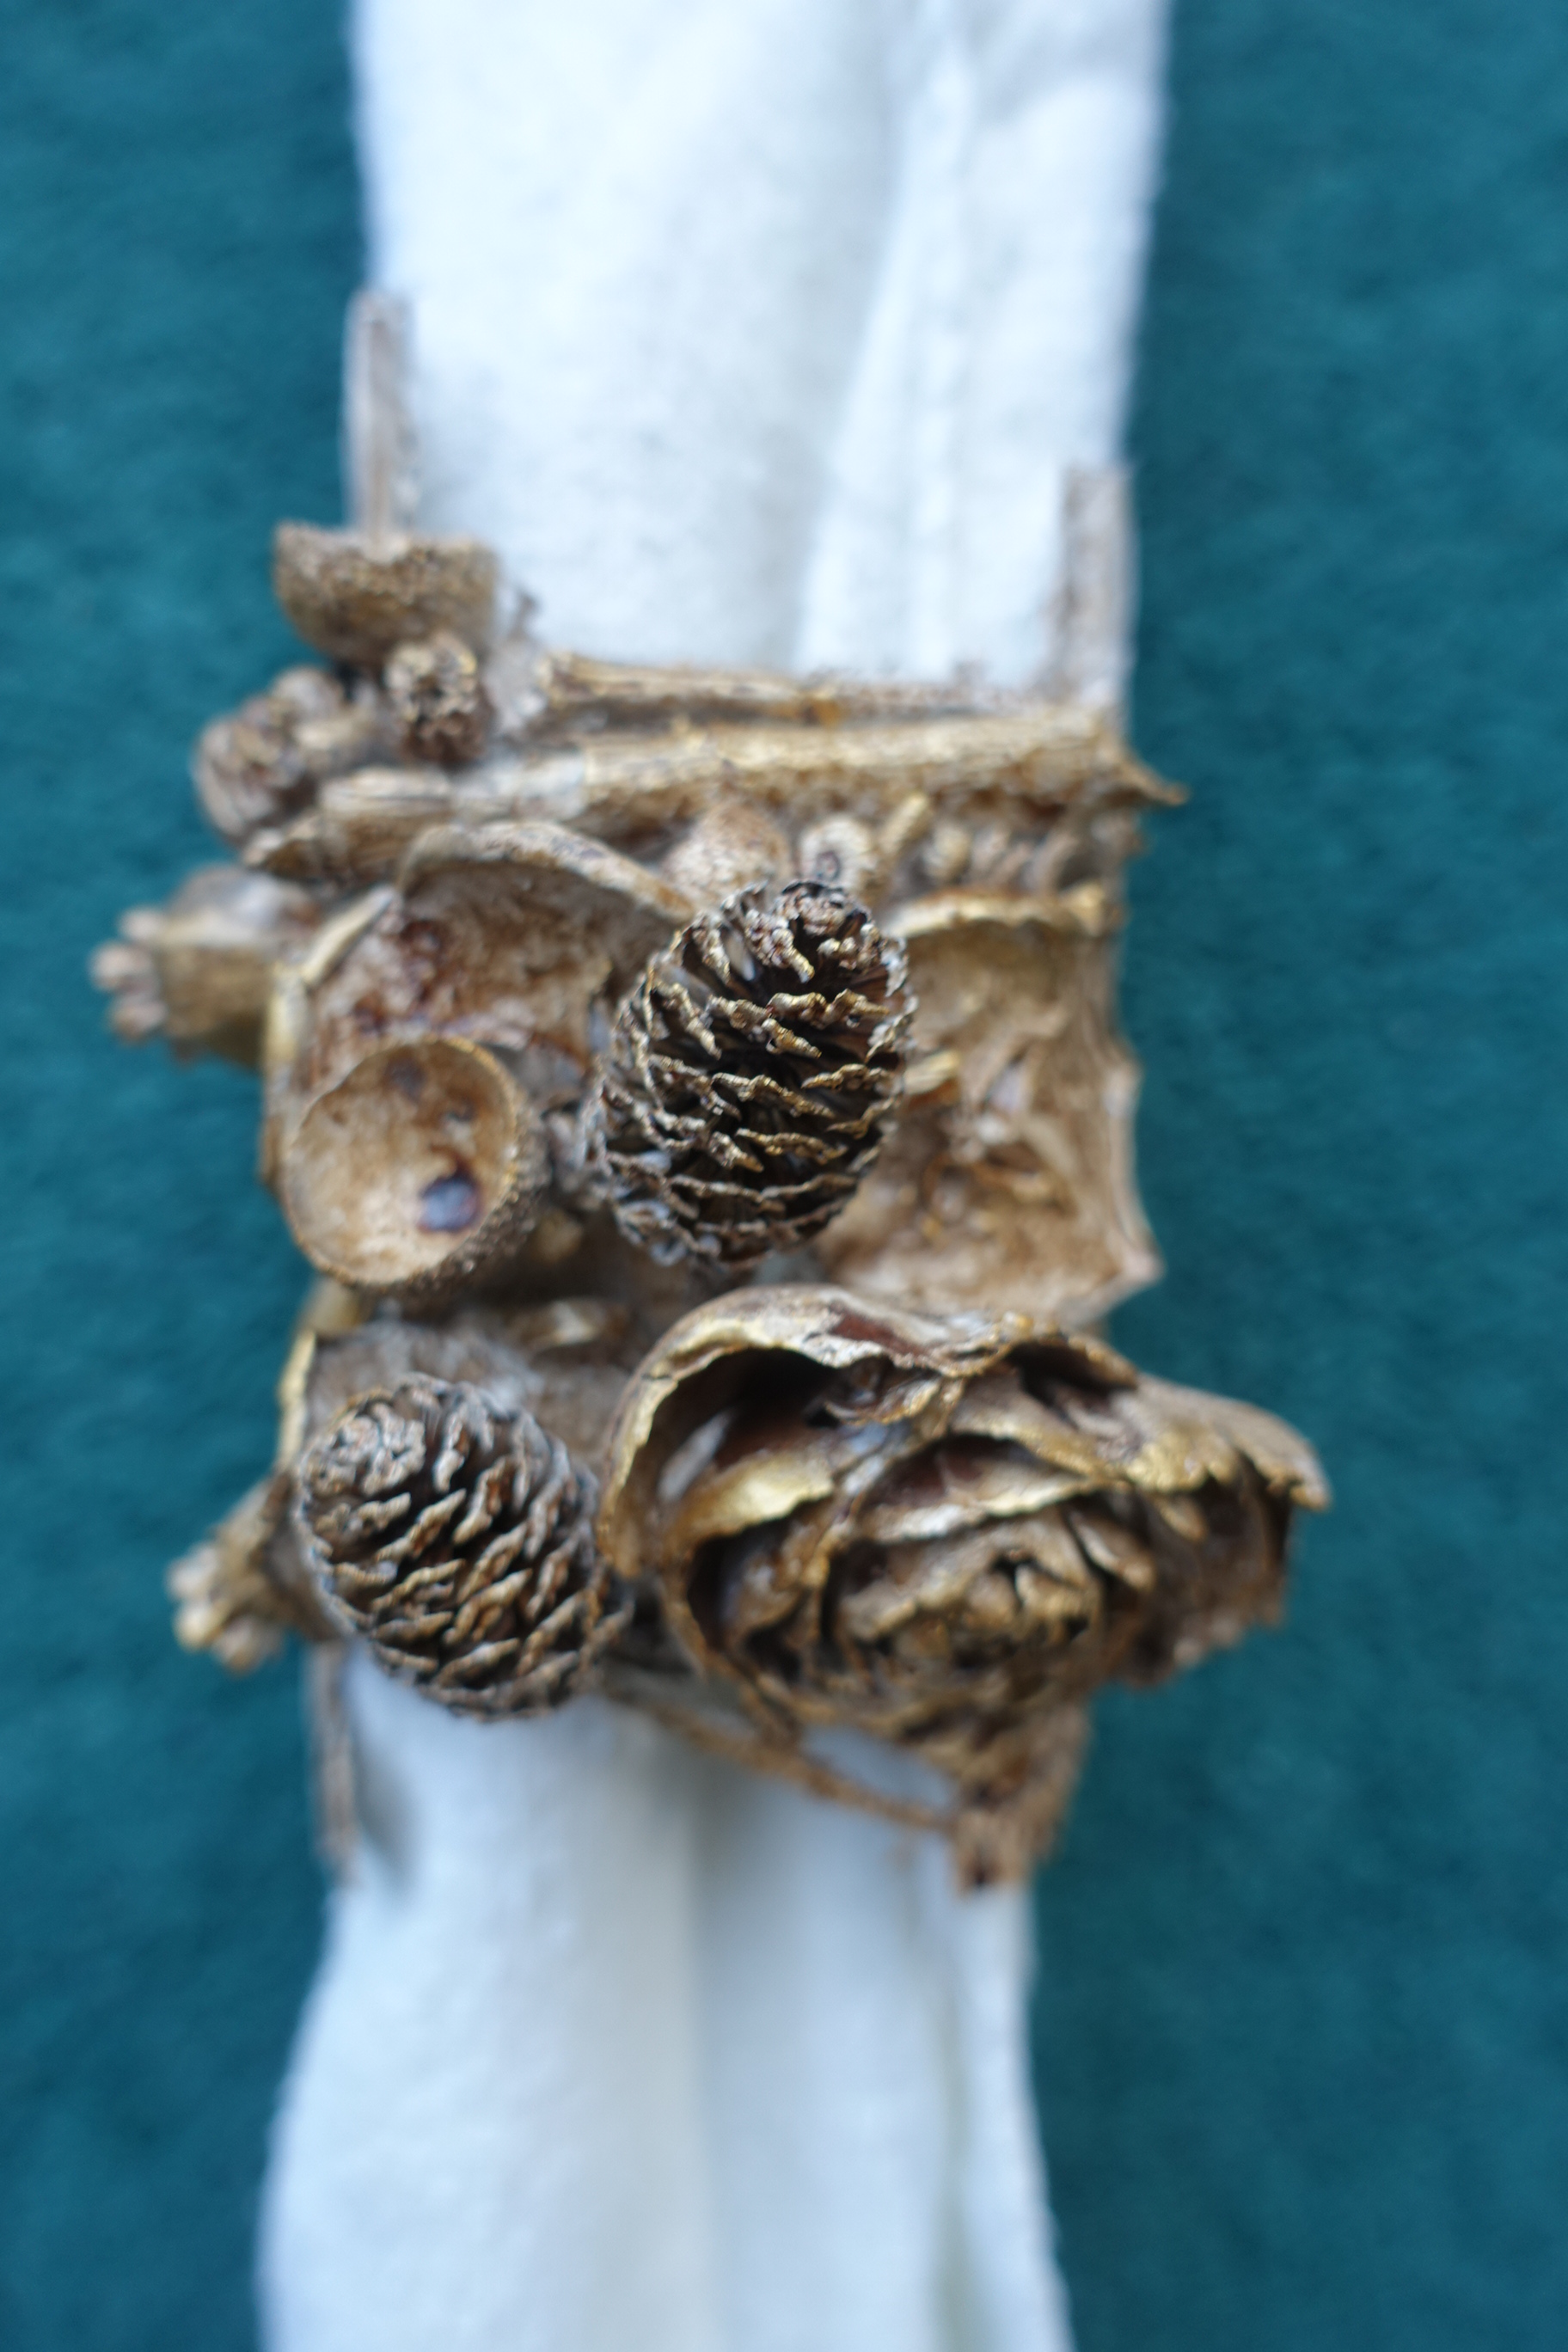
Then I started playing with some natural elements and arranging them on the wreath.


Close up of some of the natural elements.


I didn't have a merry christmas, so I made my own.


I started to powertex bits down and then stopped as I had an idea of how to attach the letters.


Once I'd figured out the letters, I continued to use the powertex to secure everything in place.


Once everything was totally secure, I went over everything again with another coat of powertex.  I also used lime stickles on the letters.


And here is my finished wreath, I decided to go down the green and gold route although I realise you can't see it very well in this photo as it's so dark and still raining!!


Close up of some of the dry brushing.


And some more.  I used the gold first and then the green on top.


The Merry ended up too far to the left so I made some more holly leaves to fill in the gap.


Close up of the first set of leaves and berries which hopefully represent holly!


And again, finally the finished wreath, which I am really really pleased with as I was meant to be going on a wreath workshop tomorrow, but unfortunately due to being in tier 3, it's had to be cancelled.

Sunday, 29 November 2020

Steampunk Torso


The 1kg bottle of powertex is just for scale to show the size of the torso which I covered in cling film.


I cut up small squares of denim from an old pair of jeans, covered it in black powertex and moulded it over the torso.


Once completely dry (after about 3 days as the denim was quite thick), I cut all the way up the back in the middle to get it off the torso.


I then attached a zip with powertex to the left and side, once dried I attached the other side to the right.


Once dried and put back together I decided to add some colour. I went for blue as I'd initially used pieces of denim.


I mounted it on a piece of wood and added metal embellishments.


And from the other side.


And finally from the front.  I added a couple of buckles onto pieces of leather and added some metal studs.

Wednesday, 25 November 2020

Polystyrene Cutter


Using some of my birthday money, I treat myself to a polystyrene cutter.


And I'm extremely impressed with it.


Managed to cut a perfect circle first time, well it would have been perfect if I'd used a square piece to start with, but I just tried it with an off-cut as I really didn't think it would work!


And what a fabulous shape I am left with from the off-cut.

Unfortunately I can't do any more today as it smells when burning through the polystyrene and I can't open a window as it's peeing it down.

Thursday, 12 November 2020

Powertex Figures


I just wanted to show how you can make a powertex figure on a shoestring.  This is a dolls head from Poundland, it was £1.  I cut off all the hair.  The base is a wooden meat hammer from Wilko - £1.50.  The body is crushed tinfoil to shape, covered in masking tape (both can be bought for £1 from Poundland).


Then some bits of cotton fabrics, a dishcloth, an old woolen scarf and some odd pieces of t-shirt wrap.  But you can use whatever you have. You might have an old shirt or t-shirt, anything will work as long as it's 80% ish or more cotton.  The most expensive thing you will need is the Powertex, but it does come in various sizes so you can get a small bottle if you aren't sure about it. 
(100g - £7, 250g - £10 or 1kg - £17)


I made another one, but this time instead of a meat hammer I used a cardboard tube and a piece of wood that used to be a panel in our old gate.  As the heads are plastic, I painted everything in a coat of black gesso.


And as I fancied something totally different, I used red powertex with the dishcloth and the t-shirt wrap and transparent with the pieces of scarf.


And here they are finished.

Blog Archive