Saturday, 18 September 2021

Skull Journal Covers


I sponged shades of green metallic paint onto the cover of this journal.


I played around with some pieces until I was happy with the layout. I painted them in black powertex and stuck them together with it.


Then I used waxes and metallic acrylics to paint the black shapes.


Close up of the head, crown and wings.


And this skull is from a mould that I made myself.


And this is on the back. It's a napkin of skull faces.


And this is it opened so you can see that I left he back unbellished so that it would sit flat.


There is really nice, good quality, bright white paper inside.

Size approx 8.25" square.


Thursday, 16 September 2021

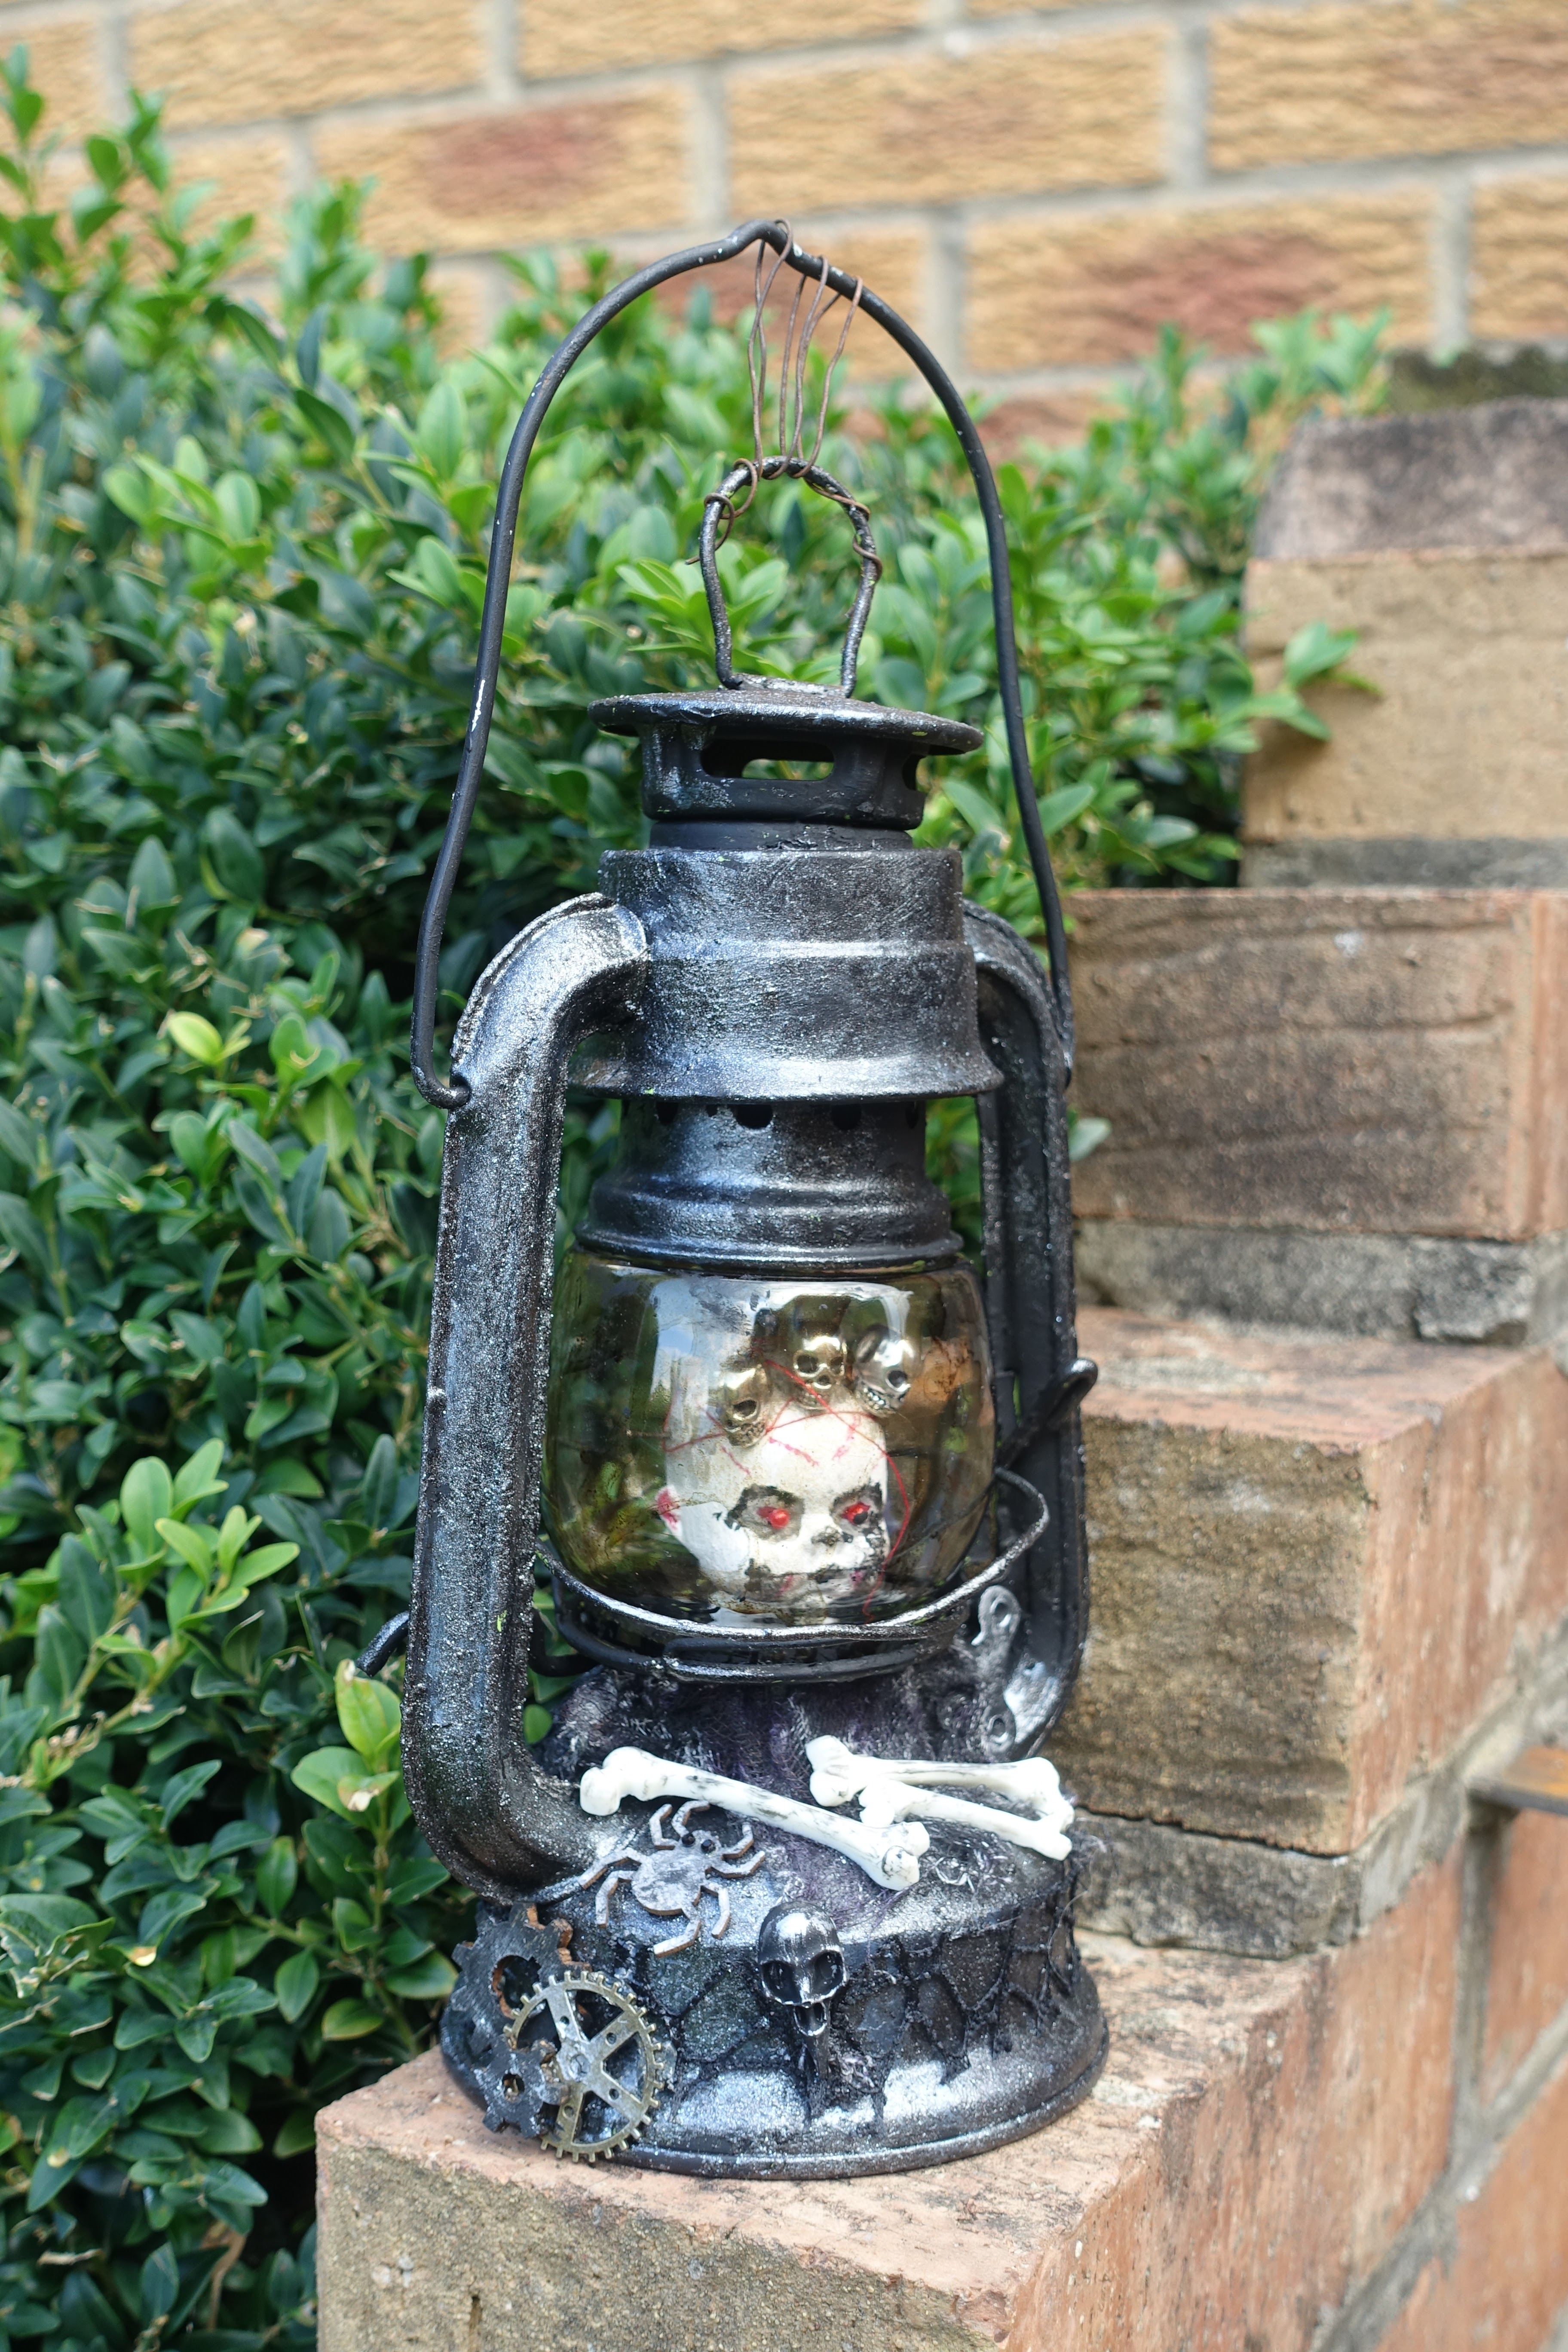
Creepy Doll Lantern


I picked up this lantern from the car boot.


I gave it a coat of black powertex.


I took a mini dolls head and painted it in white gesso.


Then I added some nails and painted the face on.


I added different colours of alcohol ink to the glass dome and swilled it around so its less shiny and clean.


I added cotton scrim which I sprayed with black and purple.  I also added some resin bones, a skull, a spider, three cogs and a key.  I also added metallic skulls to the dolls head.


This is the view from the back.


And a close up of the face.  It was really hard to get a good photo because of the glare on the glass and the bars that go across the bottom.

Skull Lantern


I picked up this small lantern at the car boot. It was red so I painted it with black powertex.


Thanks to Tracey Fox, I made these mini candles.


I filled the inside with 3 of the mini candles, 3 mini pumpkins, 3 small bones and a mini bottle with beads.


I added various metal pieces to the top and front edge.


I put the skull in as the centre piece.


One of the sides where I added webbed fabric to the window and two small bats to the top.


And the other side, where I added a large bat to the top and more webbing.


This will be going up for sale in my new website - https://aviarto.com/workshop/sam-b

Thursday, 9 September 2021

RIP Tombstone


I had an upright mdf plaque from That's Crafty. I painted the front of the plaque with black powertex and added in small sand balls to create some texture. Then added the resin pieces and the three die cut letters. I dry brushed with white and silver.


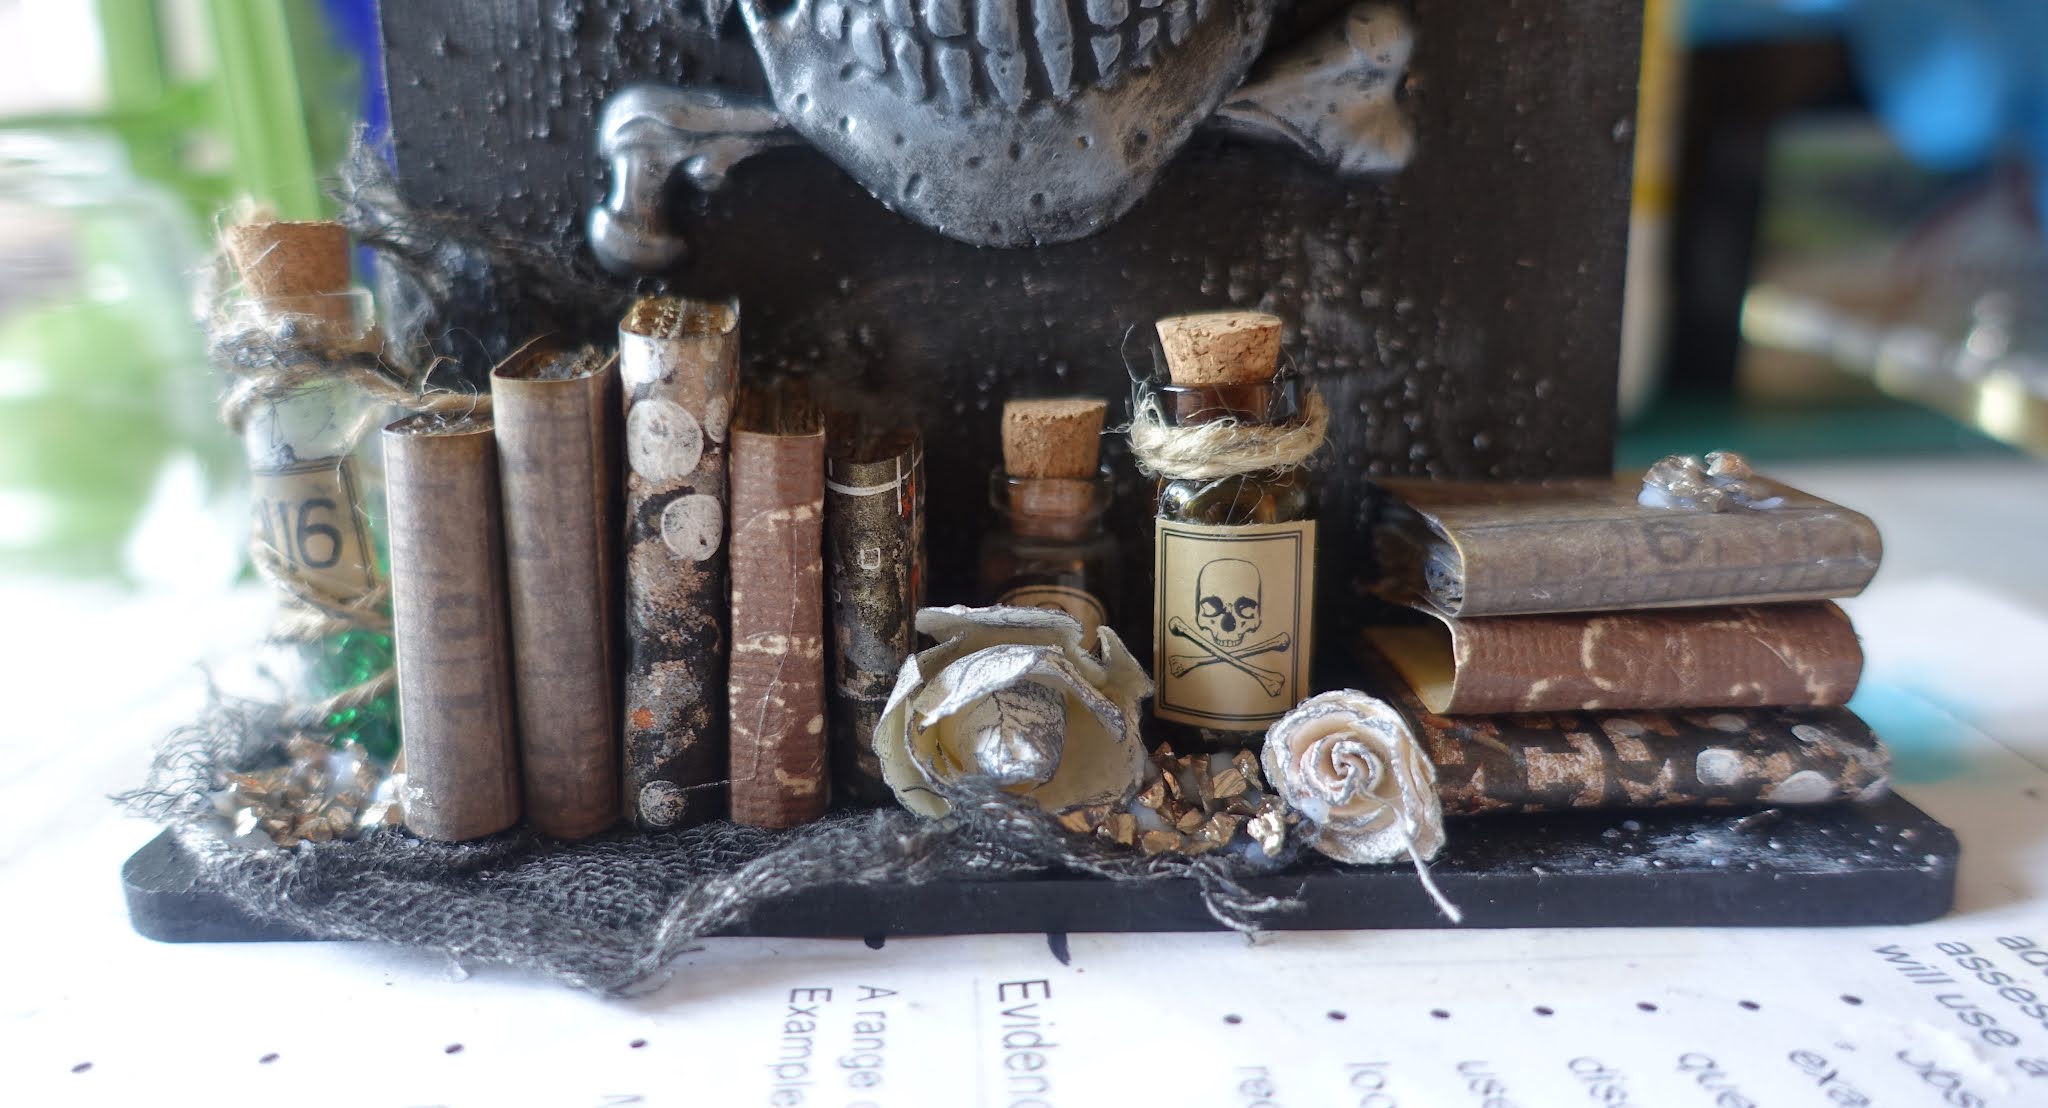
I made some mini books by putting a piece of card around a square of corrugated cardboard.


I filled some small bottles up with beads and added a sticker and some string to some of them. I added some black to them and the paper flowers.


This is the base of the upright, I coloured a piece of cotton scrim with black spray  paint and glued it on.


Once dry, I placed the upright back in the slots and arranged the embellishments along the bottom.  


When I was happy with the placement I glued them down.


Close up of the dry brushing.


And finally I added gems to the eye sockets.

Wednesday, 8 September 2021

The three skulls steampunk plaque


I painted the wood black then added 3 skull napkins.


The resin embellishments I painted with black gesso.


I decided to colour it with bright metallics.


Close up of the main feature.


Close up of the napkins in the background.


And finally the steampunk book plate.

Tuesday, 7 September 2021

Decorated Journal Covers


This is the second of the A5 journal books that I picked up from Hobby Craft. I added a napkin to the back cover using matte medium.


I used different colours of metallics to blend the napkin into the background and I've covered it in a couple of layers of soft varnish to protect it.


And here it is dried and in the sunlight. I didn't put anything else on the back so that it sits flat on the table.


I sponged on metallic paints to the front cover and then complied a layout that I was happy with, glued it on and painted it with black gesso.


I coloured the embellishments with metallic paints and waxes.

Wednesday, 1 September 2021

Mini Brayer Plaque


Using the basics of Anna's video I decided to have a try using the mini brayer as the focal point.


Then I added a bit of colour, sprayed it with water and kept going until I was happy with it.


I added waxes over the top.


And lightly coloured the paper flowers with silver paint.


Really happy with how this one came out.

Inspired by a video from Finnabair.

Date Stamp Plaque


After watching Anna's video and finding a not so old date stamp, I made a bit of an arrangement with some resin, lace, metal and wood pieces.


Once everything was stuck down I added some colour and sprayed with water until I was happy with what I had.


And once I'd photographed it outside, I decided it needed to be darker.


Close up of the main image.


So I grunged it up a lot more, decided to change the colour of the moon and the handle of the date stamp.


I like it much better now I've gone darker.


Close up of the main image.

Inspired by Finnabair and her latest video.

Blog Archive