Tuesday, 8 March 2016

Holiday Photos - Southern Utah


Canyon up to the ski resort of Brian Head in Southern Utah.


Canyon road up to Brian Head after a light dusting of snow.


The rock formation in the background is known as Cedar Breaks.


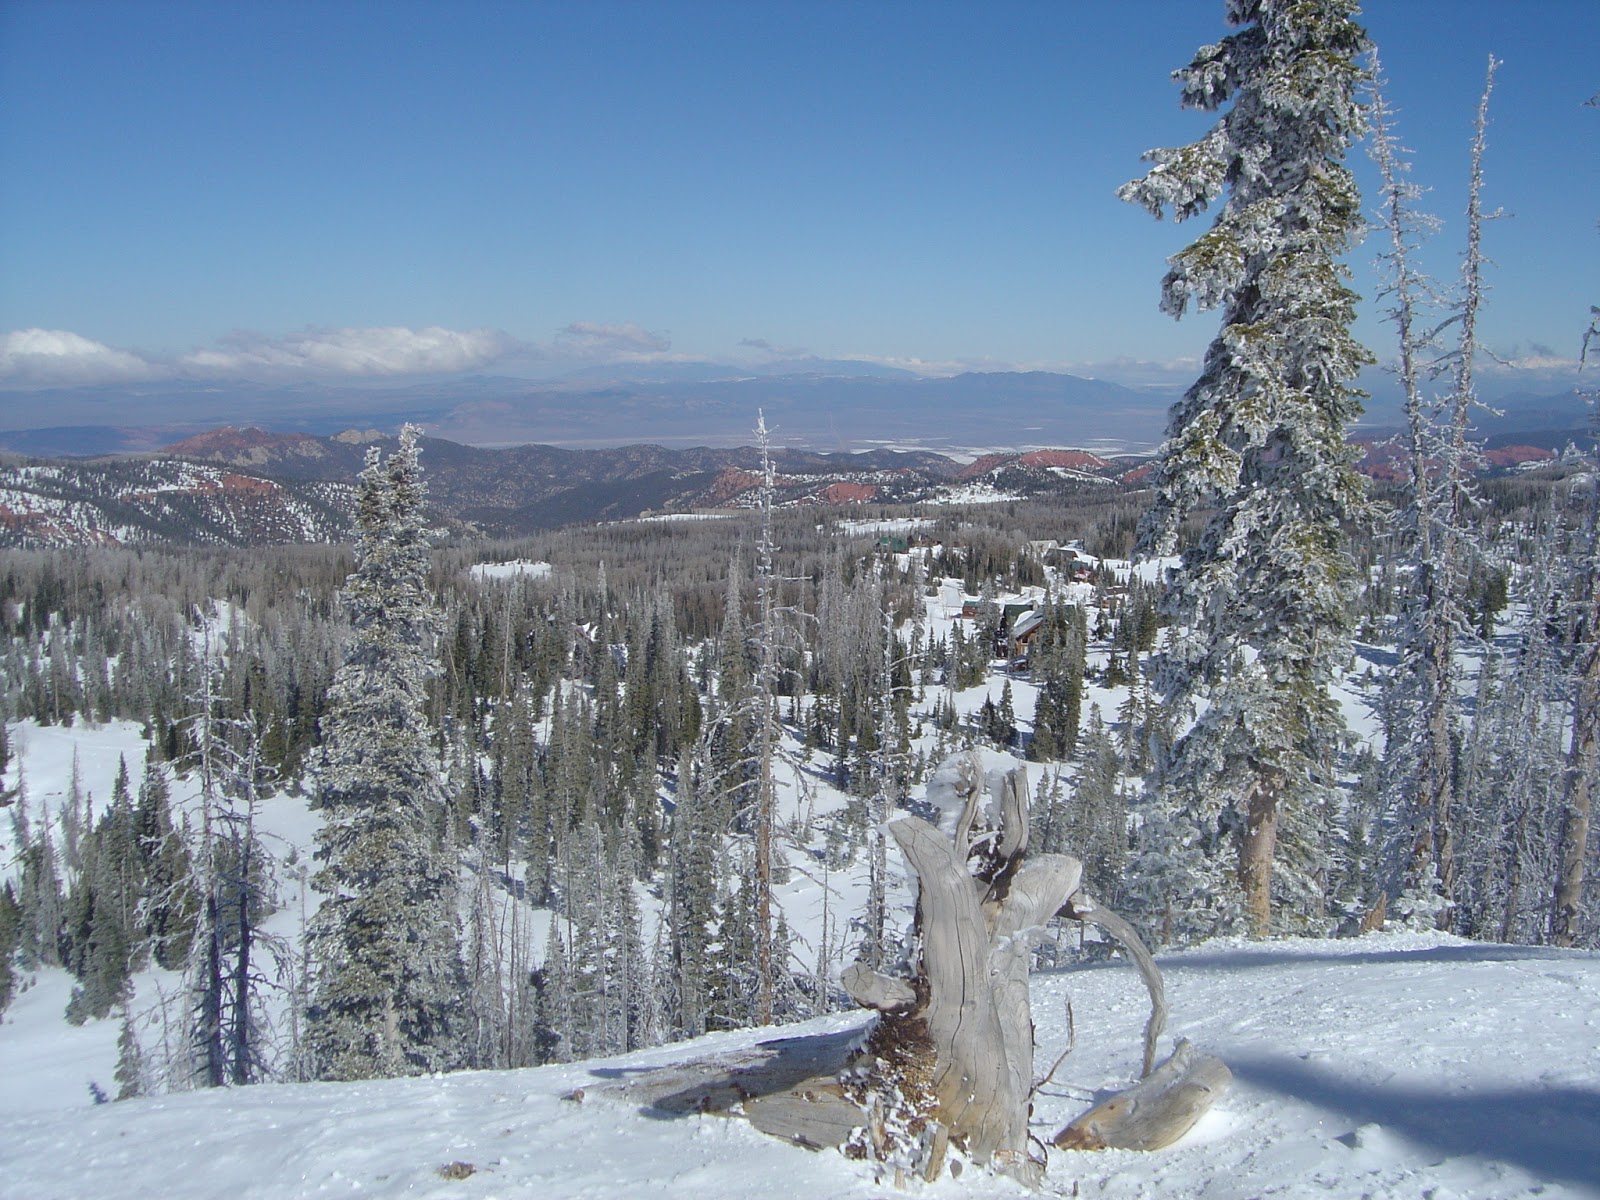
Slope and trees after a light dusting of snow.


This formation of rocks is off the canyon road.


Closer view of the rocks on left with the archway.


This is the view from the bottom of the road where the above picture was taken from. There's a stream running across the road.


We also visited Parowan Gap, a few miles from where we were staying.


Some of the petroglyphs that can be found engraved on the rocks there.


You are not allowed to climb up to them.


This set was close to the bottom, so easier to see.


Next we visited Kolob Canyons which was about 45 minutes drive from the Parowan Gap area. The views were stunning.


The rock is so red. When we got there it was sunny and snowing at the same time.


Another beautiful view.


Again snowing and sunny. It was only light flurries as the wind blew the cloud around.


This formation is known as the hanging valley.


And finally, this is a view from the top of the canyon.

Sunday, 28 February 2016

A Few Photos


Utah scenery - need more snow!


Bluebird day but still need some more snow!


Me at the bus - Powder Mountain.


Another sunny day, but still no new snow!


Picnic - another bluebird day!

If you wondered why I've been awol for a while, I am on holiday in Utah, skiing!

Tuesday, 16 February 2016

Bees Wax


Started off by putting spare modelling paste through a TH hexagon stencil, top and bottom right. Went over this with yellow portfolio pastels and coloured the 'space' with orange pastel before melting beeswax onto it and stamping into it with a hexagon stamp.


This is the full #8 tag.


Added brown portfolio pastel over the raised bees wax. Stamped the Stampotique bee onto separate card, cut out and stuck them on the tag. Edged with gathered twig distress ink.


Then I decided it needed something else, so added renaissance and ruby treasure gold to bring out the textures.

PaperArtsy have a theme of wax.

Monday, 15 February 2016

Garden Fairy


Remember my headless fairy from my workshop on Saturday......


Well I gave her some hair, lime green in fact!! But I did change it later.


Next I took and mdf pen pot holder and mixed texture stand, modelling paste and a touch of ultra matte varnish into a paste and spread it through a wall stencil. Painted with DecoArt dazzling metallics and finished off with a bit of quin gold.


I painted a metal charm butterfly, added moss and daisy heads to the bottom of a corner.


And here she is from the side view sat on the wall.


And the other side, but as you can see the sun was out and I was at the wrong angle.


I gave her a halo and added in some roses and gave her a book to hold.


The wings have iridescent pigment on them making them really glow. I also added dazzling metallics to the hair.


And finally a couple of views from the front.


Saturday, 13 February 2016

Fairy Powertex Workshop


Today a few of us, me, Lin & Lesley went over to Wisbech for a powertex workshop. The lady at the back left is Jo, who kindly gave Lin a lift from and to the train station, the lady front left is Marina who co-owns Pramoda Gifts with her lovely hubby Phil who kept us supplied with tea and coffee all day, and the person stood up is Lesley Gott from Enchanted Crafts who ran the workshop.


Lesley and Lin making their fairy frames.


This one is mine.


Next we made some wings and bound them on the back.


Gave everything a layer of bronze powertex.


This is mine complete with wings and all painted up.


We used various pieces of materials and fabrics to dress our fairies. Lesley and I finished drying ours with the hairdryers even though they had been in the heating box.


Next step was to dry brush some white pigment so that the colours were more vibrant against the bronze. 


This is Lesley showing us how to use the colours and put them on.


This is Jo's nearly finished fairy, she used lots of vibrant colours.


This is Lin's fairy which I know isn't finished yet as she is giving her some boots.


This is Marina's fairy and I think she is going back later to add more colours to it.


Lesley's finished fairy, yes I did say finished!!


Lesley, tutor's fairy which I think she said she hasn't finished yet.


And finally mine, which obviously isn't finished.  Not because I ran out of time but because I had a mare with the hair, so gave up, but was really pleased with how the pigments came out.


And this is just before we all departed. Thank you ladies for a lovely accommodating day and for the laughs, it was great fun.

Sunday, 7 February 2016

Crackle Inspired Tags


Leandra's been on periscope again and this time she showed a few techniques with the PA crackle glaze and the fresco paints. I tried a couple of them out as you can see above and this is probably the best crackle I've ever achieved with this product.


And this is what I did with them.


Close up of the multi-colours and stamping through the crackle.


I used a couple of stamped fabric pieces from a workshop I attended last year as I didn't want to cover too much up.


Might just need to add some fibres to this one.


Close up of the crackle with limelight, yellow submarine, tango and plum painted over the top, then sanded back especially around the edges as I wanted a very grungy, distressed look.


Close up of the die cut cogs.


Background cogs were stamped in timber brown stazon over the crackled tag.

A Vintage Journey have a theme of industrial, so I'd like to enter this tag.

Blog Archive