Tuesday, 10 May 2016

Inspired by Sue


When I saw Sues tags which you can go and see here, I just fell in love with them and knew I needed to have a play. So out came my gelli plate prints, cut to size and mounted onto a size #10 black tag.


Out came the sewing machine and I whizzed around the edges.


I simply used black media gesso to stipple through three different stencils from the Andy Skinner range and I quite liked the look of it so didn't do anything more to it.


Again I stippled through a couple of stencils with black gesso. The main is the cathedral of love from crafters workshop, which is actually an arch, but I saw two people stood together, so using more gelli print papers I made them into people.


Using a sharpie, I outlined everything in white.


And more Andy Skinner stencils, but this time I used pan pastels through them. I sealed them with Americana matte varnish spray.


Close up of the main image from the Strike the Pose stencil.


My trio of tags - thanks Sue.

There are a few challenges I can enter these into - 


Friday, 6 May 2016

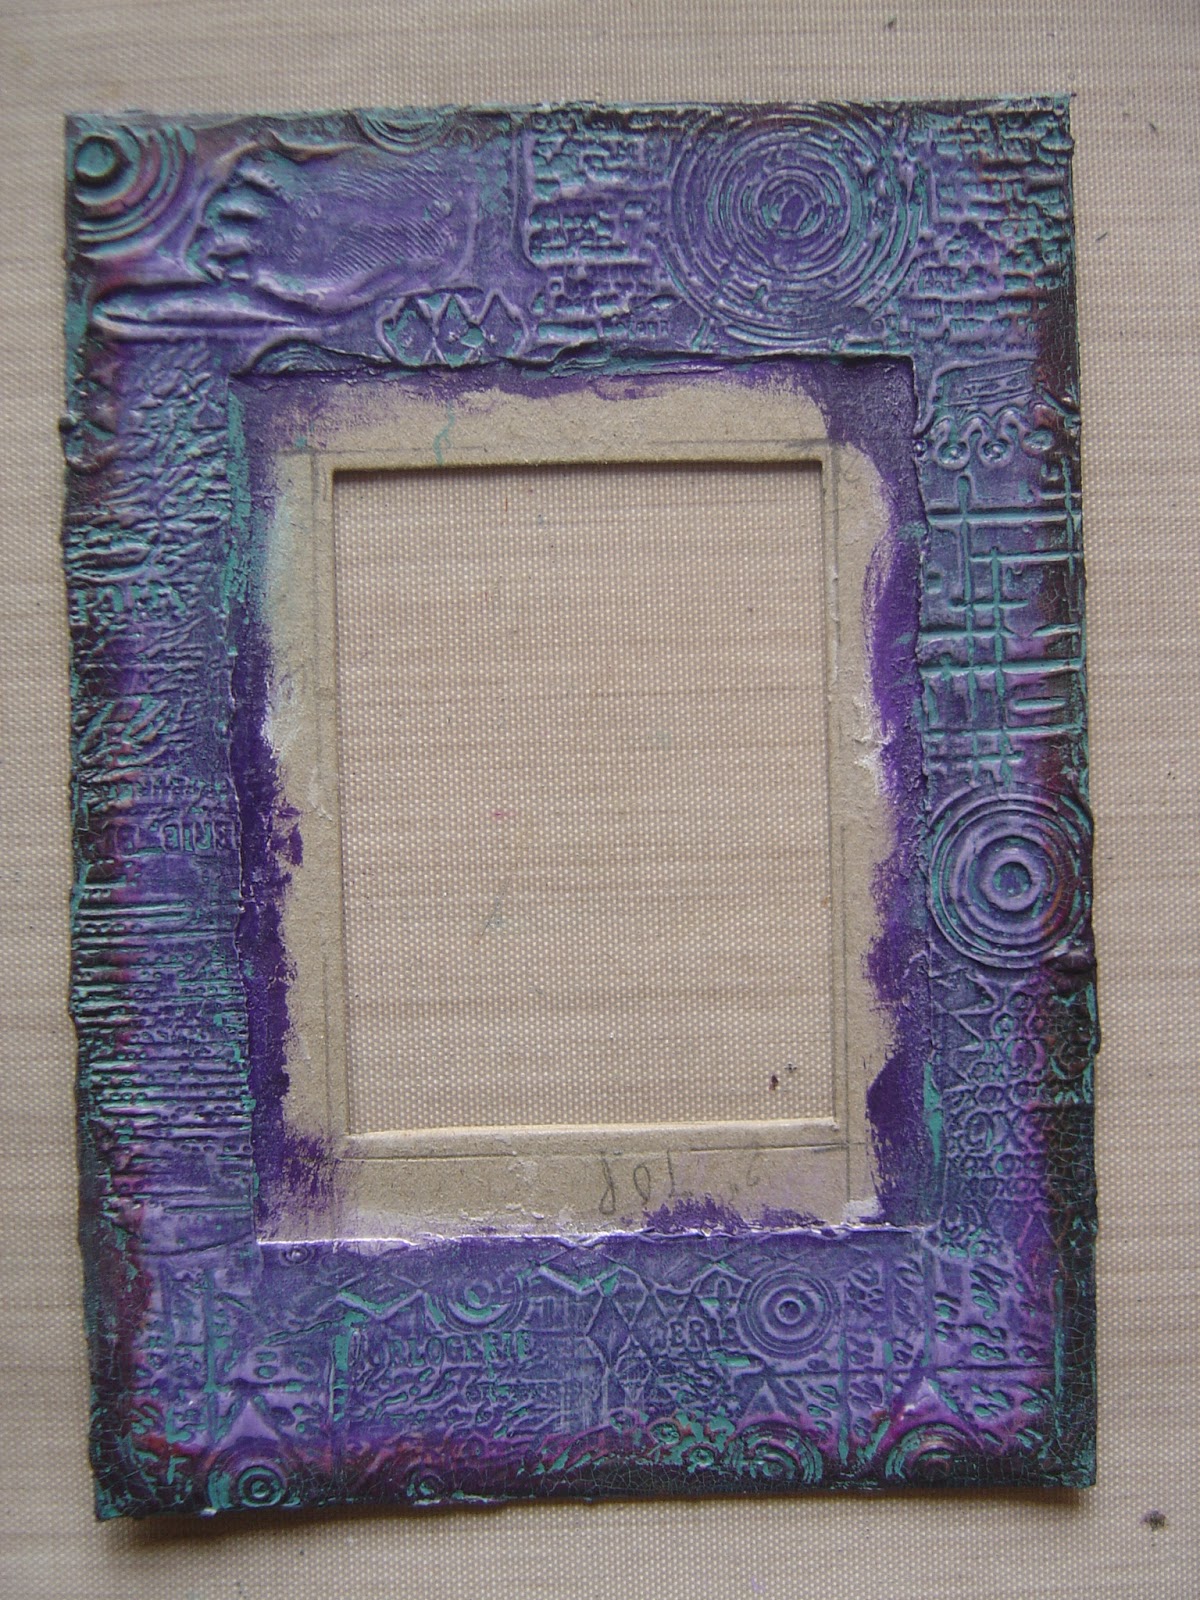
Another Andy Skinner Style Frame


This is a long post as I've done a step by step of each stage of the two part frame.


Again I cut my own frames from chipboard. This is the inner frame which I first coated with gesso then painted with phthalo turquoise.


I covered the outer frame with a thickish coat of white modelling paste, heat dried it very slowly and just before it totally set, spritzed a stamp and gently pressed it into the paste.


Gave the inner frame a thin coat of weathered wood.


Once the modelling paste was completely dry, I gesso'd over the frame, but I watered down the gesso as the media gesso is quite thick and I wanted to get it into all the grooves.


Applied crackle paint to the inner frame.


Chose a base colour for the frame, I went for dioxazine purple.


Once dry, added tinting paste to the purple to get a lighter colour ready for the dry brushing.


After one coat of dry brushing. This helps to bring the textures out in the stamped frame.


More tinting base added to make an even lighter colour and dry brushed. 


As you can see in the middle here, I had far too much paint on my brush for the dry brushing, so I wiped some off before I continued.


I darkened the outside of the frame using paynes grey.


On top of that I added a layer of transparent red iron oxide followed by quinacridone magenta.


Once the crackle paint had dried on the inner frame I sealed it with satin varnish.


I painted both frames with patina green antiquing cream.


Once dry, using a piece of kitchen roll slightly dampened I started to wipe away the cream, I kept going until I was happy with what I had.


Close up of the patina on the frame. 


Close up of the crackle which has been enhance with the antiquing cream.


Inner frame after applying the antiquing cream and wiping back. When I placed the frame on the outer frame I felt it was too white, so I added a watered down layer of prussian blue hue to help blend it in.


I chose three colours of interference paint, violet, green and magenta to add to the frame.


Close up of the interference paint when tilted into the light.


They change colour when tilted in different directions.


I mounted the inner frame on the outer frame and added a few rusted washers. 


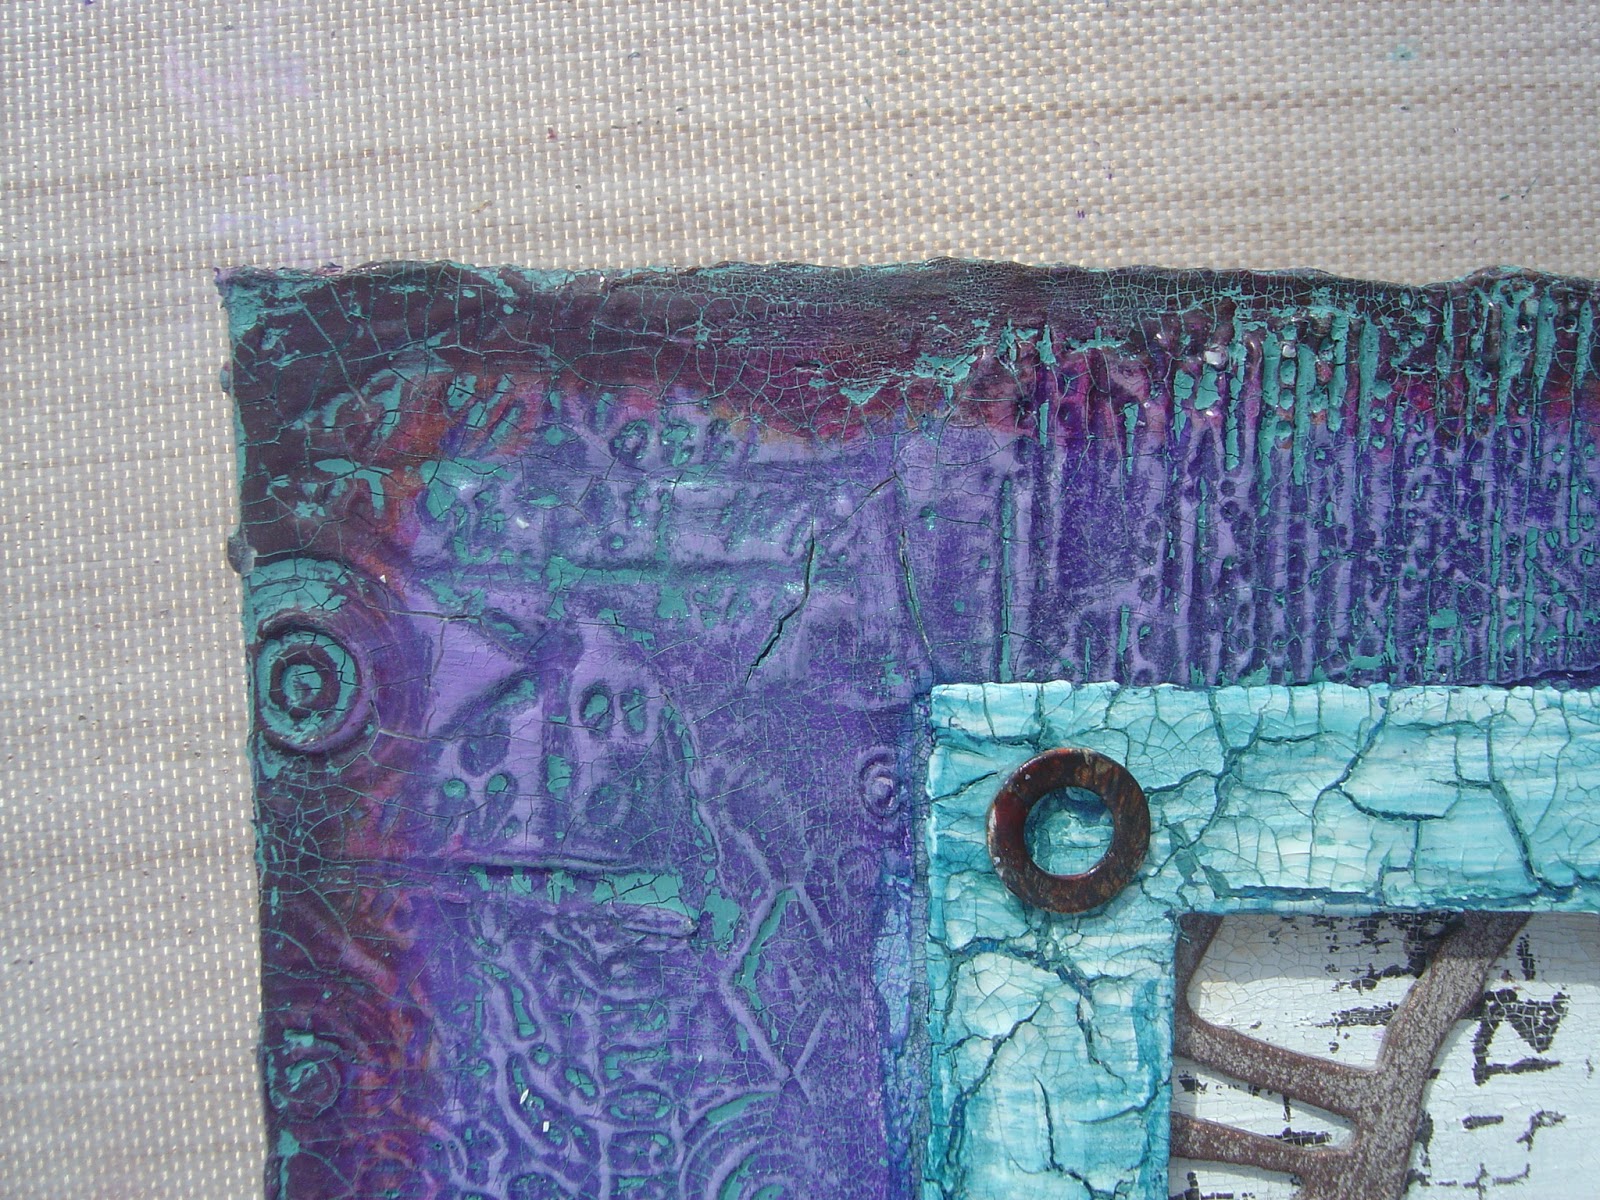
Close up of the crackle on both frames. 


Close up of the crackle and patina antiquing cream.


Again more crackle around the edge and the rusty washer.


And finally I chose some components to create the features for the inside of the frame.

I decided to do a step by step and show the products in the photos as I have become aware from some of the comments left, that some people who read my blog don't know what some of the products are, so I hope this helps.

All products used are from the DecoArt media range.

Thursday, 5 May 2016

Another Couple of Cards


It's my mums birthday on the same day as my BIL's, so I went with the same card template. I know it's not my normal thing, but she loves flowers! 


The background on this panel is a ghost print from a gelli plate print using a Prima stencil.


And I needed a quick and easy thank you card for my sister. Again I used part of a gelli print and used paint to add the marks.

Entering them into the PaperArtsy challenge again for this week.

Wednesday, 4 May 2016

Atc's


I was inspired by Lesley to make these. She had her first play with her gelli plate yesterday, pop over to see how she got on here. I used left overs for mine.


The background for this one was made using a Prima bubbles stencil. I added stamping in black stazon and edged with black soot distress ink.


The background of this one was created using a foam plate that I made, stamping into the gelli plate after the paint has been applied. Stamped the Dina lady and the Andy Skinner text in olive stazon. Edged in walnut stain distress ink.


The background on this one was created with stencils and a foam stamp. The Seth stamp from the Solar System set was stamped first in olive green. I masked off the Andy Skinner eye stamp and the word and stamped in back stazon. I used white sharpie pen on the eye. Edged with walnut stain distress ink.

PaperArtsy have a theme of mono printing this week.

50th Birthday Cards


I was asked by my netball captain if I could make a card, the brief was, Rainbows as in Brownies and Guides, chocolate, especially cake, and taxi. So this is what I came up with.


And this one is just to prove that it does stand up!


It's my BIL's 50th next week too, so I made him this card. He loves rambling / walking, weight lifting and my sister has organised a flight on a bi-plane for his birthday.


And this is what it looks like folded up.

Tuesday, 3 May 2016

Modelling Paste & Interference Paints


I've been playing with DecoArt media modelling paste and interference paints and this is my atc.


As you can see, I was a little hasty and the modelling paste hadn't properly dried before I put the next layer on, so the hand image under the word antiques, has lost it's shape together with the word open, underneath.


So I decided to rectify it and rusted up a chipboard skull die cut.


As you can see, the interference paint really makes it shimmer.


Not sure if you can see the crackle, but it's there.


Close up of the DecoArt media interference paints.

All products are from the DecoArt range.

Blog Archive