Sunday, 8 November 2015

Powertex Workshop with Steph


I've just come back from a fabulous three hour taster workshop with Steph using Powertex and other products. Here is Steph explaining the Powertex and what we are going to do today. I met Lesley there and another couple of lovely ladies, Sandra and Lorna were booked on too.


And down at the other end of the table, Steph explaining which bits of fabric work well and which are a bit more awkward, but do-able.
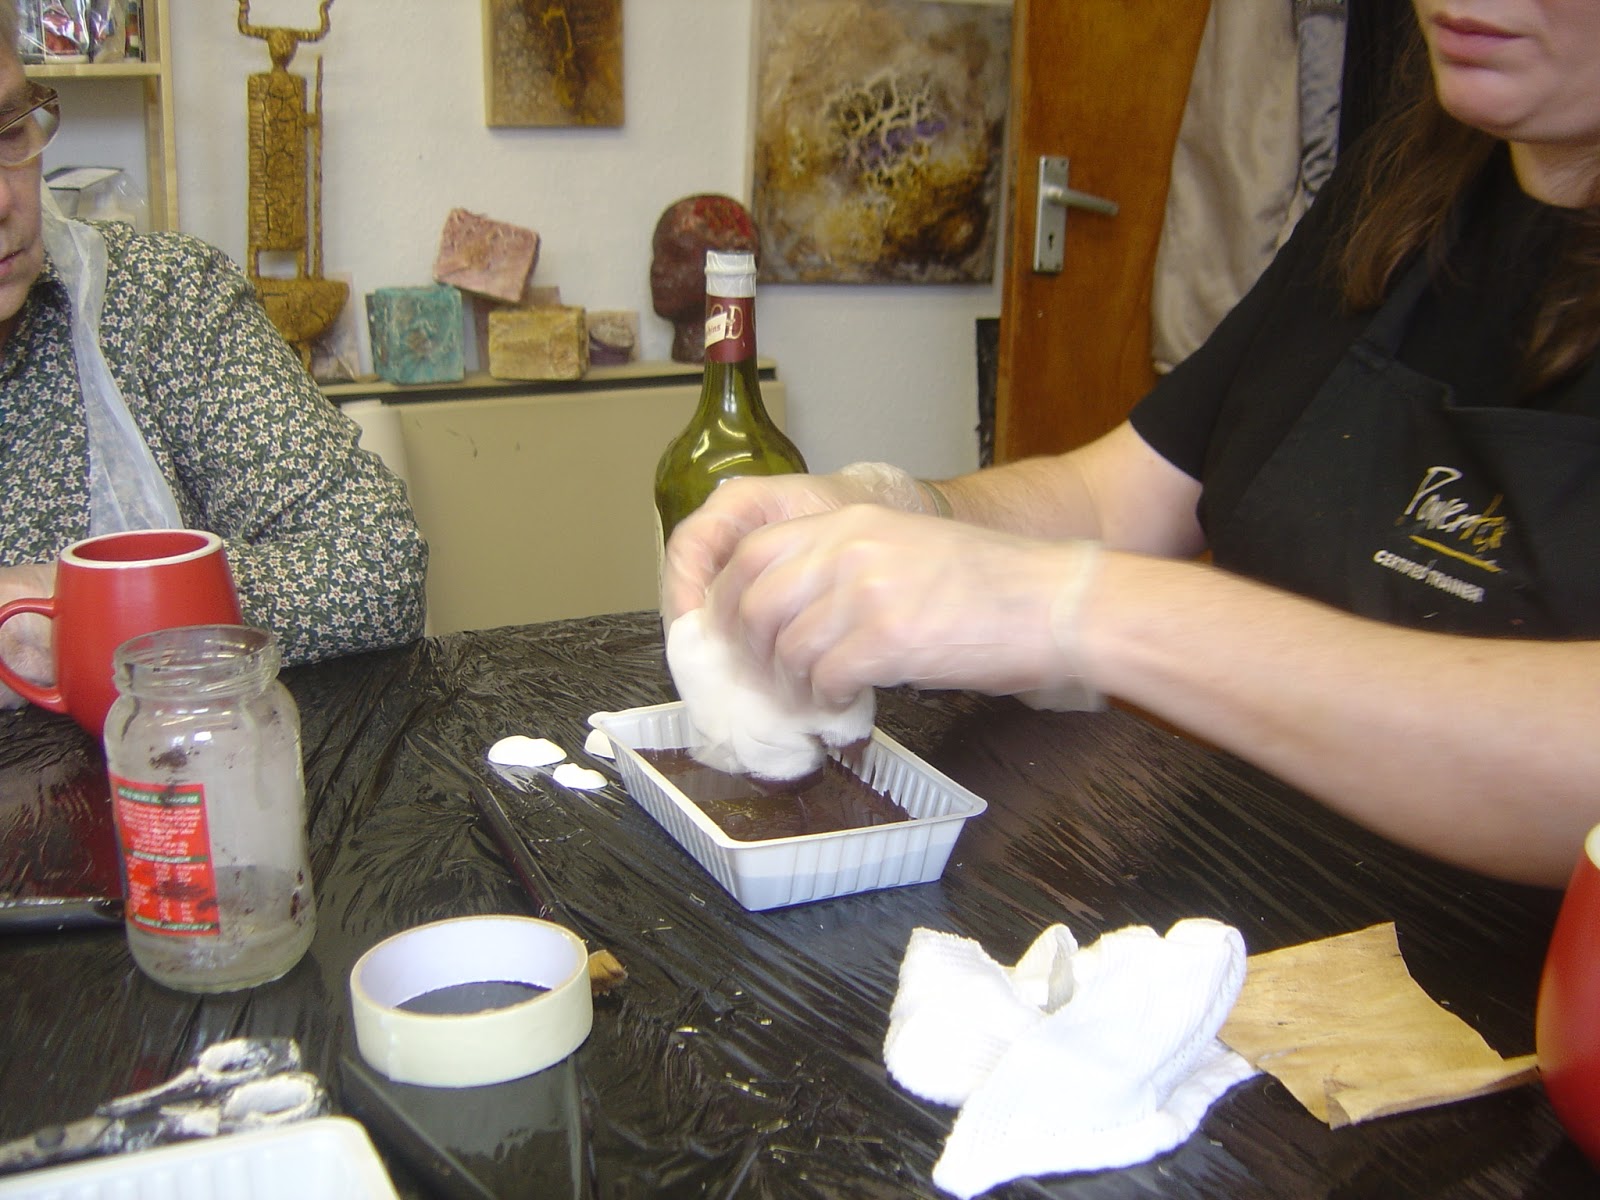

Steph showing us how to get the most out of the product.


And then checking that everything is covered, more dipping required!


Once she was happy with the coverage she started to mould it around the bottle and add creases etc to create texture and ruffles.


And further down the bottle adding creases and more moulding going on.


This is my workspace, I'd been at the end of the table and gathered my supplies. Now unfortunately there aren't any more photos of the next steps as I had to ditch the gloves as they were way too big, so I just went in directly with my hands!!


And here are the ladies touching up their bottles before they go into the make shift dryer to assist in drying the Powertex to harden the fabric.


Lesley just touching hers up.


Then she decided it needed some 3d balls.


Here is a close up of the mini 3d balls along the bottom of the bottle and the white ones on the table are ready to be painted and attached.


Once they'd been suitably dried Steph gave us a demo of using the pigments and the dry brushing to help bring out the textures.


This is my finished bottle, or I thought it was.....


I then went back in with an ultra marine blue and added more pigments.


This is the front of Lesleys, she used green and silver for her hi-lights.


And this is the back, she got some fab wrinkles and lovely texture.


And these are the other two ladies, Lorna's on the left and Sandra's on the left. They both got some fab texture and now I've seen them, I think on the bronze the goldly colours of metallics work better.


And Lesleys on the left and mine on the right.


Next Steph showed us how the Bisters and Ivory Powertex combined could be used to create a crackle.


Then she started to heat it with a hair dryer.


And then getting in a bit closer with the hair dryer and if you look carefully you can just see it starting to crack.


I love how you have total control over the amount of crackle you can get with these products.


These are some of the samples hanging on Stephs wall which she kindly let me take photos of to share on the blog with you all.


An altered bird house.


A fabulous sculpture, this is gorgeous in real life. The one you can see next to it is made using 3d flex and it has been stamped and stencilled, it looks fab too.


This piece was just stunning, with all sorts going on. 


This is a close up of some of the textures on the above piece.

Lesley, it was fab to see you again and I'm so pleased you enjoyed it. It was lovely to meet Sandra and Lorna and a huge thank you to Steph for explaining everything and answering all my questions.

If you are wondering about doing a class, I'd say 'do it'. It's fabulous, Steph is lovely and nothing is too much trouble. She is in the middle of moving to premises in Sheffield, so drop her an email if you fancy it - this is her contact email peanut-craft@hotmail.com


Saturday, 7 November 2015

Triptych Teesha Style


I had a bit of a brain wave last night and rushed off to gesso three square coasters, I didn't get any further as Fraz wasn't happy I'd moved, so I had to retreat back to the settee so he could sit on me through the rest of the fireworks!! So this morning I painted them in dylusions paints, but it wasn't thick enough and you could still see the writing on the beer mats, so I went over them with the Dina Wakley heavy bodied paints, that sorted them out. Made the border from odd bits and bobs and then created my main image.


Stuck the middle section on first and then cut the top and bottom off the main image and lined them up on the respective mats. Outlined the image with a black fude ball pen as it works great over Dina's paints, added a few lines and doodles and filled in the backgrounds with a white sharpie pen.


Once I'd taken the previous photo above, I decided it needed more doing to it, so I added some colour to the cheeks and some freckles. Spruced up the hair a bit more, gave the shoes a colour lift and added a few dots to the borders.

Over at PaperArtsy they have a theme of triptych and Stampotique have a theme of bright colours.

Friday, 6 November 2015

Mini Book with Sleeve


I cut some chipboard pieces, scrunched up some tin foil and covered each piece. I made a little niche for the front.


I mixed some ultra matte varnish with black gesso, just to help the gesso stick to the tinfoil.


I dry brushed white gesso over the top once dry and then used some copper metallic lustres over the pieces to hi-light the texture.


I made a mini book to actually fit inside another tray for another swap, but because I covered the chipboard pieces with denim, it was too thick to fit!! Inside are three signatures of two double pages of different handmade papers and I stamped an image on each page in timber brown stazon.


I decorated the mini book with some lace and a few gems.


So here is the book and the sleeve to house it.


Then I decided that the front needed something, so I found this image in my stash, cut it down to size and added a couple of idea-ology word stickers.


Here they are together.


And the book fits nicely inside the sleeve. The sleeve measures approx 9cm x 6cm just to give you an idea of size.

Products are from the DecoArt range.

Thursday, 5 November 2015

Mini Marvels Matchbox Swap #2


I'd already made the tray but it didn't fit in my sleeve and the book I'd made didn't fit in the box due to the thickness of the denim I'd used, so I had to make a new sleeve to fit the tray. I painted each piece of chipboard with the AS rust mix. Added some resist here and there and painted with a layer of white crackle paint.


I rubbed back the pieces once it was dry to reveal where he resist had been. I decided to cut the middle panel out of the top and added a piece of mesh instead.


So the white wasn't so stark I brushed it over with a watered down rust colour. 


I added stickers and rub ons. This was all done before the sleeve was glued together.


This is the tray and what I've put inside. The clay skull was dry brushed with a mix of perfect pearls and Decoart ultra matte varnish and clear crystals added for the eyes.


This is just to prove that this time the tray fits into the sleeve!!


And I love how when it's closed you can still see all the contents.

I hope my swap partner likes it.

All products were used from the DecoArt range and you can find the techniques used on this box on their media range of videos.

Tuesday, 3 November 2015

Mini Marvel Matchbox Swap


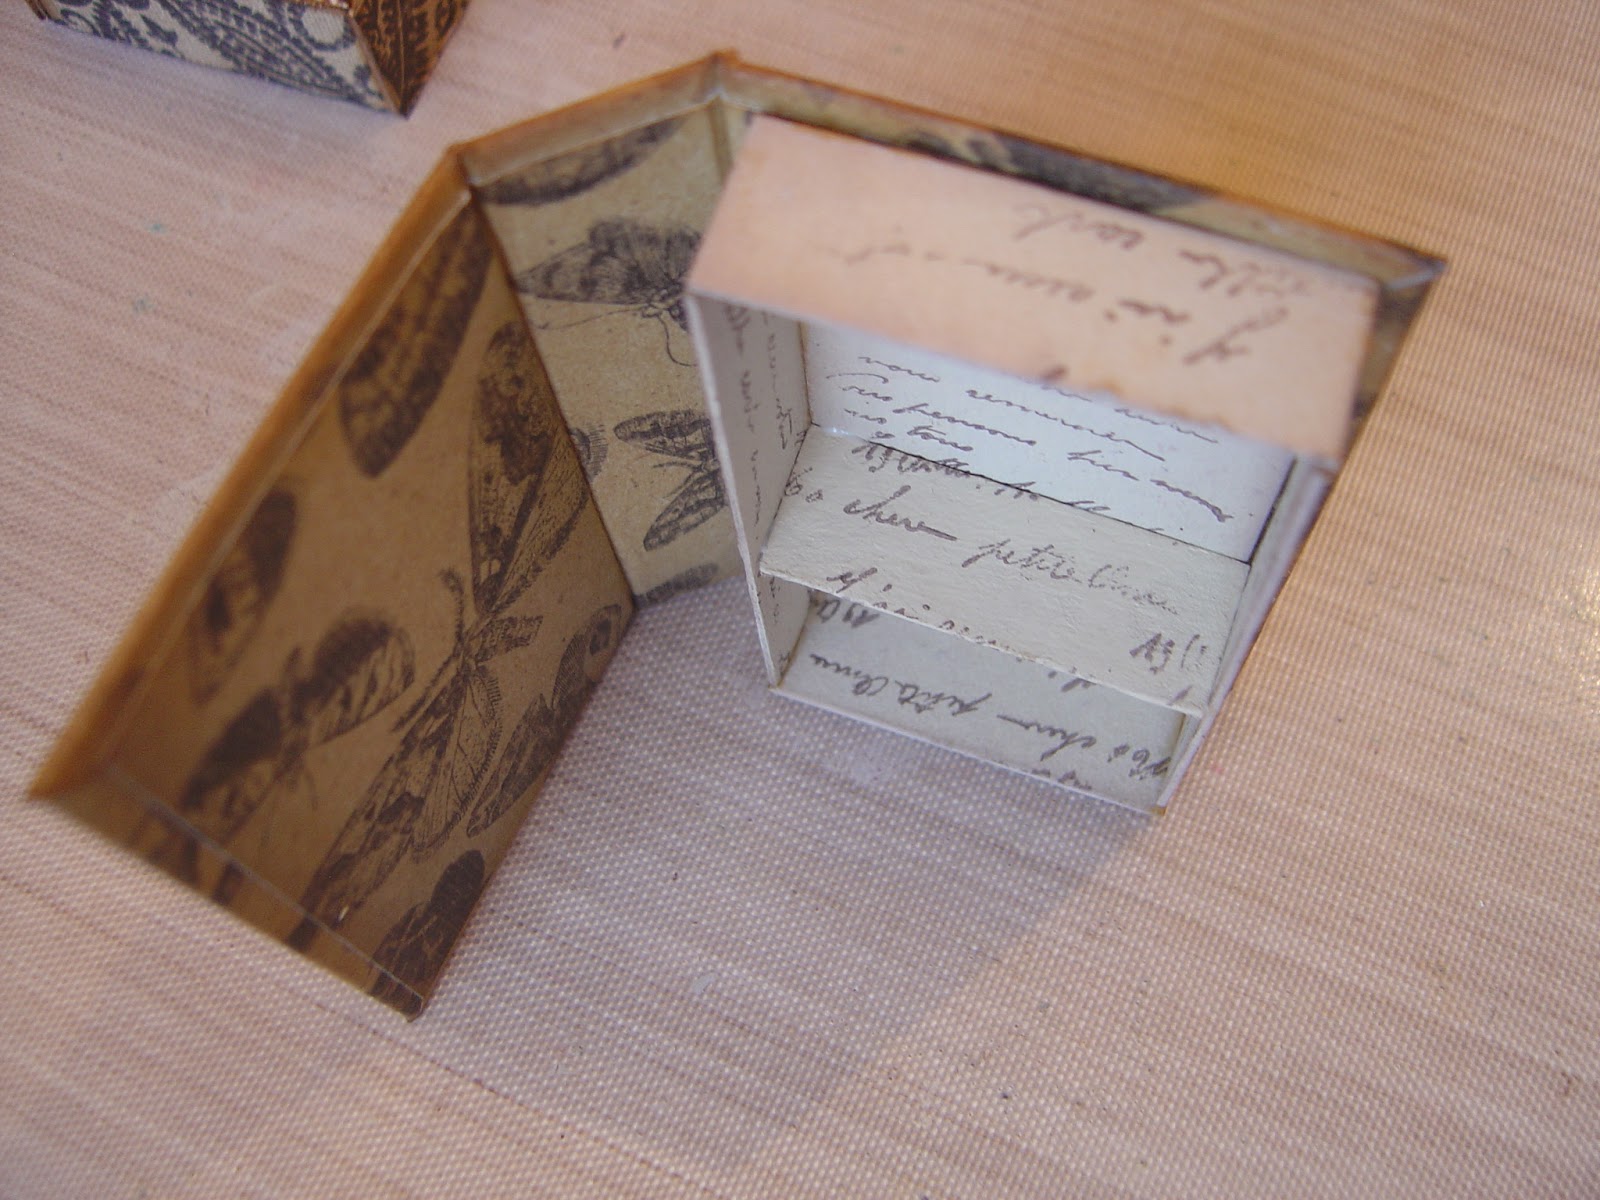
Over on a FB group I was invited to named mini marvels there is a matchbox swap going on so I decided to join in. I've constructed everything from scratch using chipboard and patterned papers. Above is the inside of the matchbox.


Then I made a mini book to go inside, but I'm not showing the contents yet as I want it to be a surprise for my swap partner.


Tied a piece of ribbon around the finished book to keep it together.


Made the outside sleeve and obviously made sure the contents fitted inside - lol.


And finally this is the matchbox and contents all closed up and ready to be swapped.

Paula has just started a new monthly challenge, purposely with about 3 rules, no DT, no prizes, no top 3 etc, but there is a theme, and it just happens to be take flight.

Sunday, 1 November 2015

Triptych Clocks


Over at PaperArtsy this week they have a theme of triptych, which basically means three-fold. Emma very kindly bought me the PA clock set of stamps for my birthday, so I decided to give them a try out.


The tag backgrounds are coloured with iced spruce and gathered twig distress inks and water splashed over them. The images are stamped in timber brown stazon. String was added and they were mounted onto black card.


I added a layer of decoart clear crackle to the clock faces and not only did I crack but it lightened the ink on the clock faces too.

Blog Archive