Monday, 13 July 2015

James Sharp Workshop - Day 1


This is us, from left to right, Chris, Linda, Helen, James, Emma, Lin and I was sat on the end. We are alfesco at James's workshop in the Peak District.


Then we got going. We had to choose one image and stamp it at least 50 times on lots of different backgrounds, along with a whole range of other stamps.


The shop and stamps that were for sale.


This is a view from the garden side.


And more of the shop, this side were the journals and aprons.


The tables soon got into a mess!!


This is what we'd done so far. We were simply sampling on different background papers and making a sampler page in our journal books.


My work space, look at all those wooden stamps!!!


My sampler page. We used different backgrounds mostly on shiny papers.


Then we had a bit of a clear up to start on the fabric printing.


Linda and Helen.


Emma and Lin.
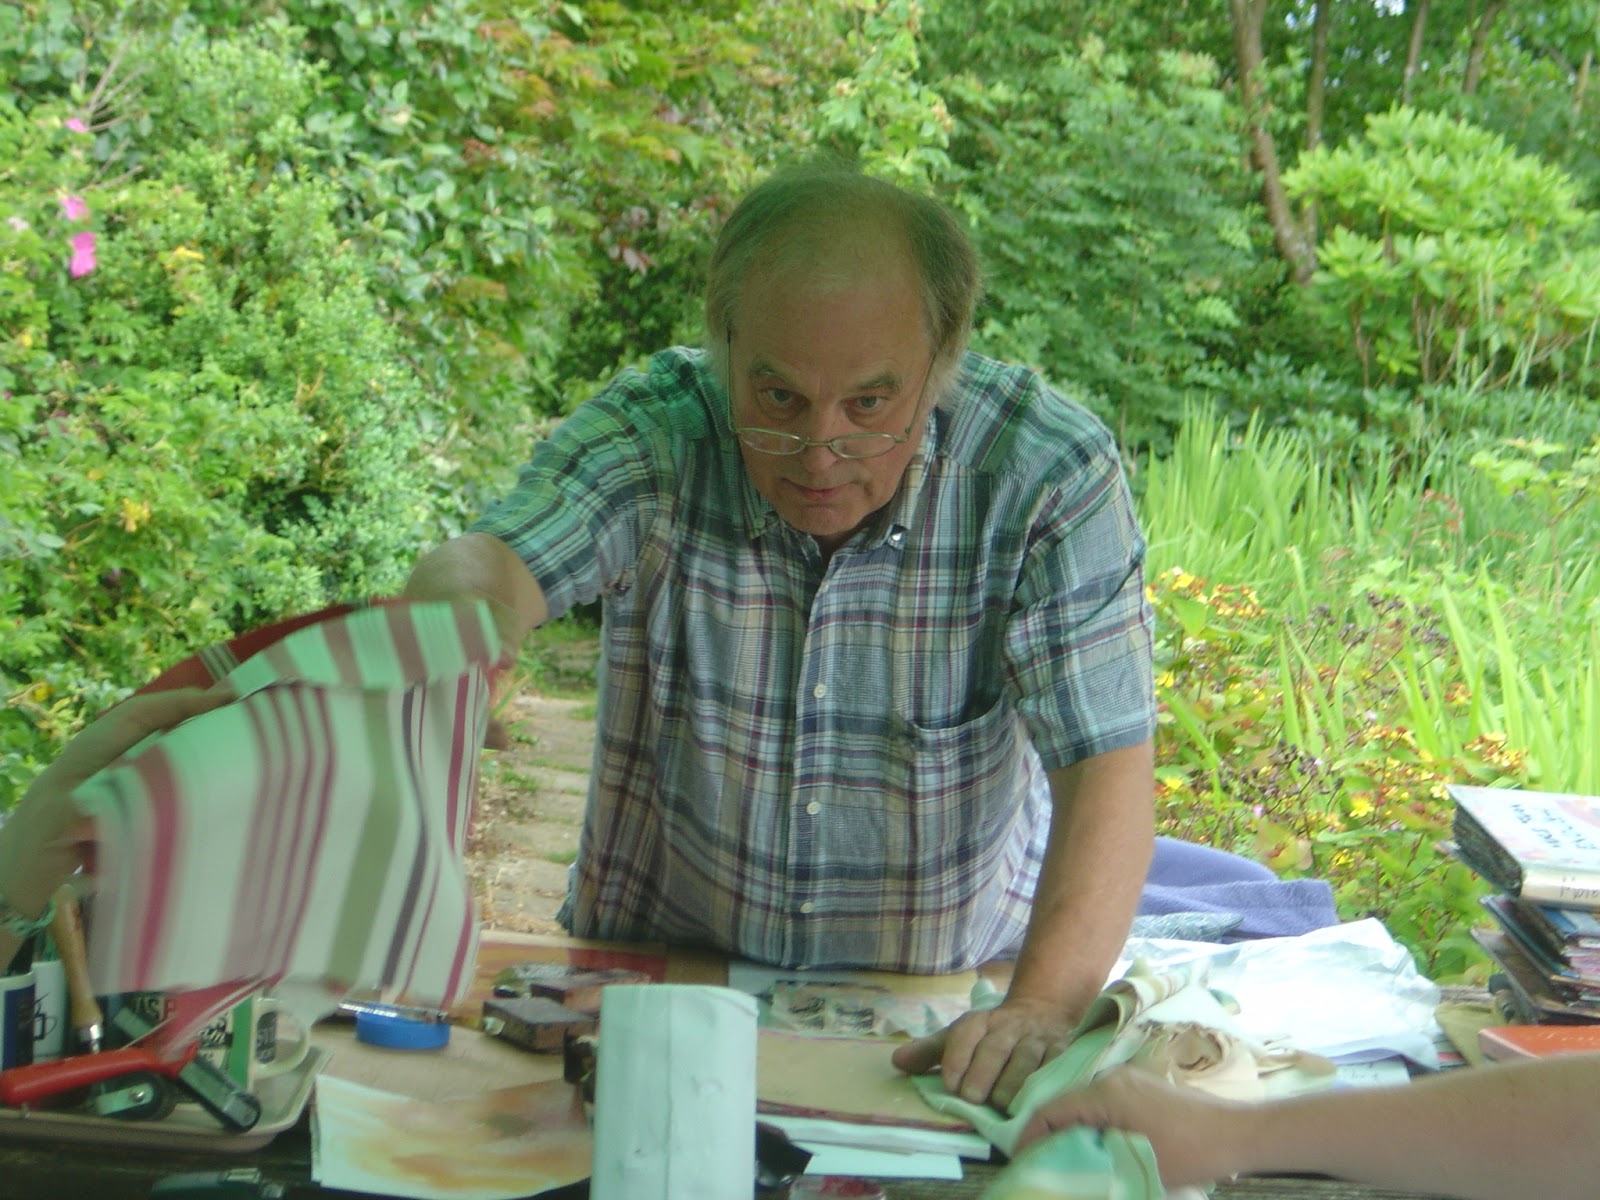

James passing down more pieces of fabric.


Helen had been round the gardens taking some photos and Linda, Chris and Lin were shopping.


More shopping, Helen has her basket which is overflowing - hehehehe!!!


So this was the reason for the 50 images, to create an Andy Warhol style double spread.


The girls and James finishing off their Andy pages.


Chris assembling her Andy page.


Lin and her pages.


Linda and her pages, although she was a few short - lol.


Helen and her finished pages.


Em and her nearly finished her pages.


Adding the final touches.
 

And James and his double pages.


Then we moved on to creating borders with our stamped images.


This was the irregular border and then a row of images in the middle.


And the regular border with a collage of images, I just chose 3 to work with.


Everyone creating their borders.


Hard at work, but we were having great fun.


Em deciding what to do next.


Linda placing her border images.


Then I was dared to write in the spaces so I did. It still needs titivating, but in the main, it's done.


And more writing on this page. This page is full of where everyone was up to.


I think this is Em's page but I'm not entirely sure.


Sorry, can't remember who this one belongs to. Let me know so I can update please.

Let me know who's this is please!!


This one is Helen's as she started to do some writing.


This could also be Helen's irregular border pages.

And that was it for day 1. Day 2 to follow.


Tuesday, 7 July 2015

Oriental Surprise!!


I really wanted to try out my two new oriental stamps. The background text image was bought for me by my mate, Emma, and Lin kindly bought me the one of the figure. I painted the tag in the red Dylusions paint as I wanted it to be really bright. Stamped the background with versamark and heat embossed with black embossing powder. Stamped the image onto a separate piece of card and mounted it on black card. Added washi tape and fibres to finish it off.


Monday, 29 June 2015

New Beginnings


Lesley kindly sourced me some mdf chunky atcs. I gave them both a coat of everlasting chalky paint followed by a coat of vintage. Once dry I sprayed them with media misters in turquoise shimmer, purple, black, blue and violet shimmer.


Once dry, using a template I used white modelling paste to create the heart shapes and used the pallet knife on the left one to create some texture.


I painted both of the heart shapes in dioxazine purple acrylic paint from the media range. Because I added the texture to the larger heart I was able to add metallic lustre in champagne ice and silver to enhance the texture. I stamped some script in everlasting chalky paint and on the left one black stazon using one of the stamps from Andy Skinner's industrial set.


Then I decided to do the backs too. Painted them both with amethyst dazzling metallics and added a spritz of turquoise shimmer media mister. Added stamping in black stazon from Finns sets and then using everlasting again over stamped some script using a PA mini.


Close up of the back, hopefully you can see the shimmer here.


Added some words and then decided to join them together so they would stand up on their own.


A view from the back with the hinge on.


And finally the finished project from the front withe the hinge. 

All products from DecoArt unless specified.

Friday, 26 June 2015

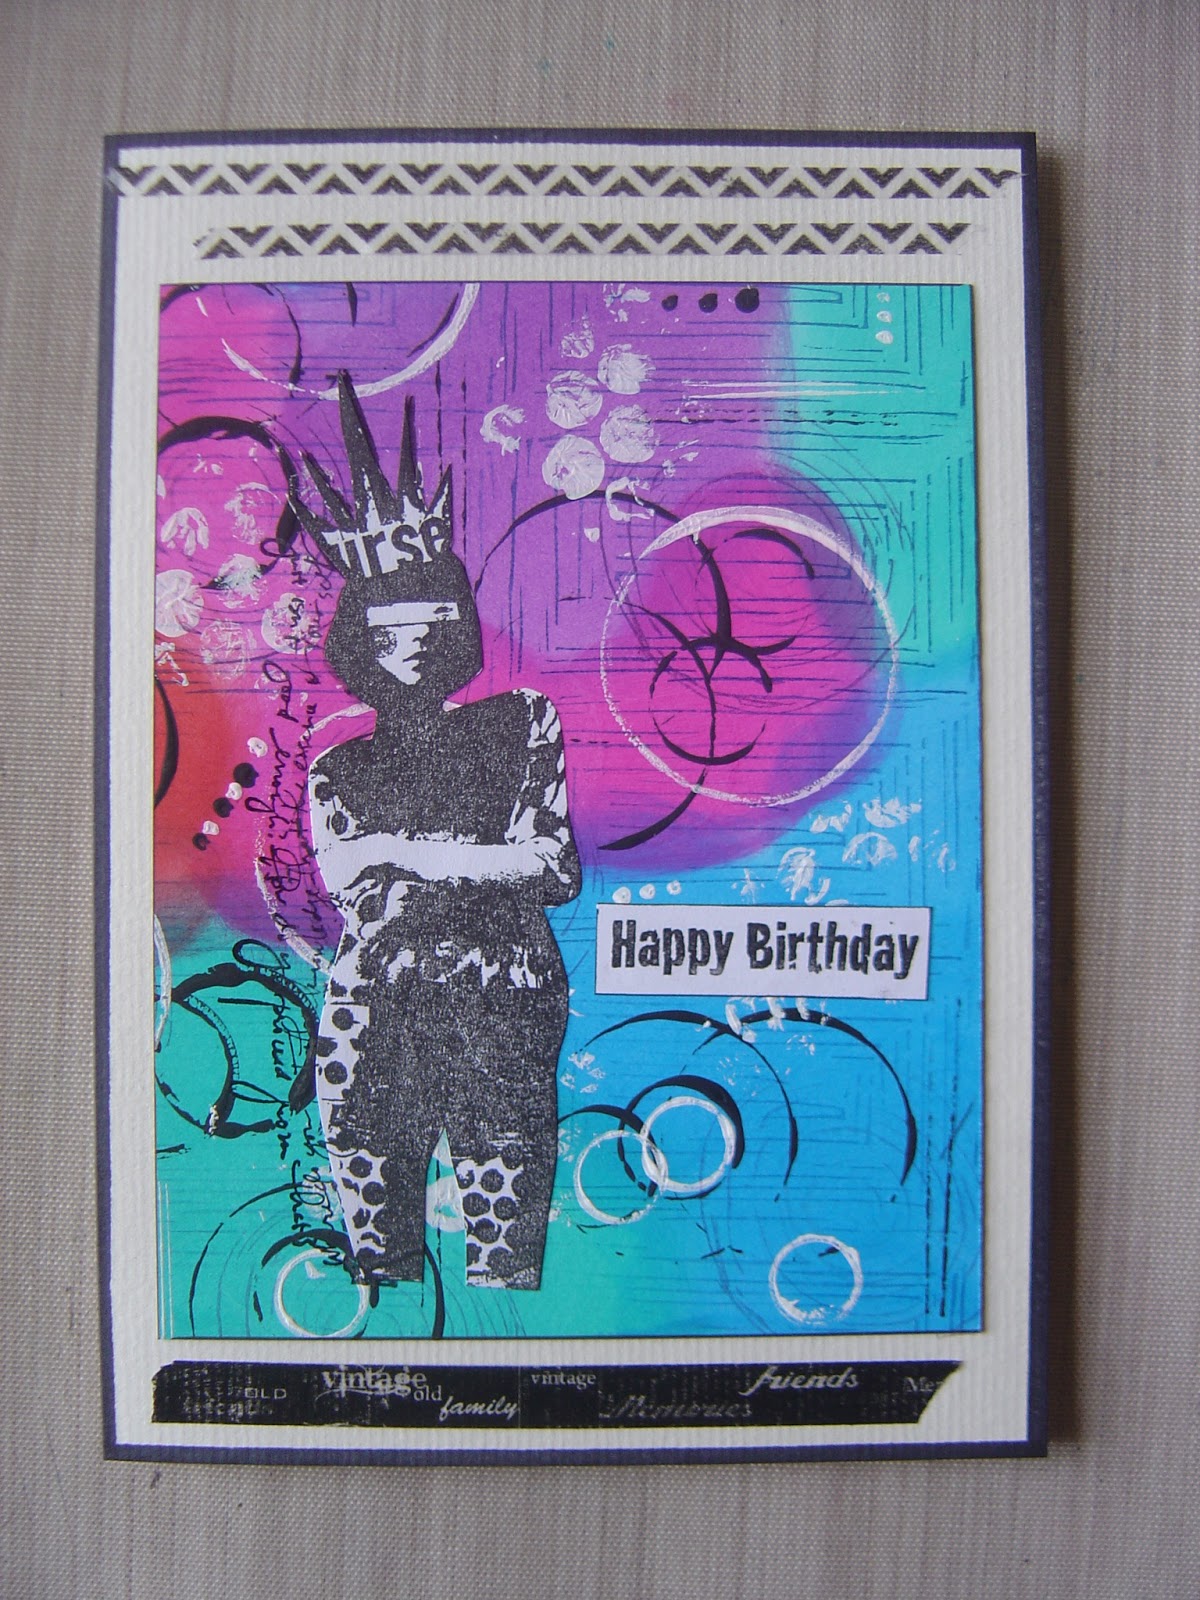
Birthday Card


This is the card I made for Helen as it's her birthday today.

Thursday, 25 June 2015

Dare to Dream


This is my day 2 finished project from our recent metal workshop with Lin Brown, and Emma, Lesley, Lin & Helen. They all made something completely different - they stuck to the brief!! 


Close up of the Wendy Vecchi art parts pieces covered in sticky metalic foil, covered in black paint and wiped off and the key was painted black and coloured with pewter treasure gold.


More art parts and a tap top.


Close up of some of the metal work.


The canvas was given a wash of black paint to tone it down.


The letters were die cut from a cardboard dog biscuit box using T!m's wordplay die and left their natural colour.

Metal Time Arch


We were all meant to be making a canvas incorporating different metal techniques that Lin Brown was going to show us over the weekend, but Lesley had managed to source us some mdf arches, so I decided I wanted to do an arch instead. This is the said arch.


I don't have any close ups of the arch in it's primary stages, but here it is, perched on the edge of the table as I was working on the individual pieces. After I'd used molds and tools to create the shapes and patterns I cut them out and stuck them to the mdf with red liner tape being careful not to squash the individual pieces.


You can see how shiny the metal was in the photo above, once I'd placed all the pieces I covered the whole arch in black paint and wiped back to create the above effect.


I hand wrote the word and used metal tools to create the embossed effect and refine the letters. It's quite tricky as you have to write the word backwards on the back of the metal.


Close up of the embossed lettering using the mold.


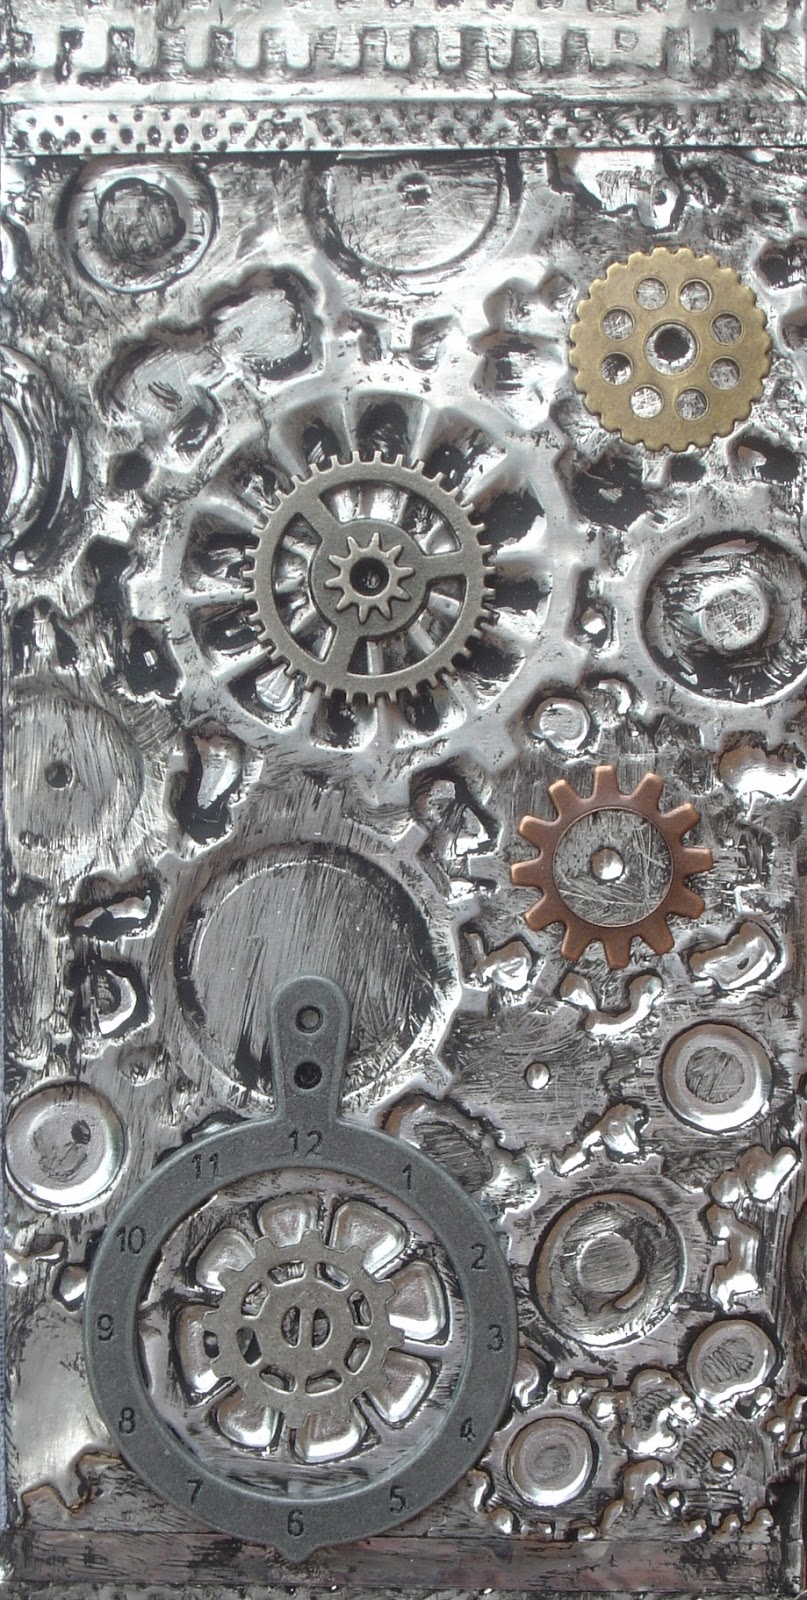
A close up of the cogs mold.


And the fancy pattern, again a mold.


And the final section, the grid of squares.


Using a piece of previously printed fabric from a gelli plate I stamped a collage of images using black stazon and various stamps.


I put the fabric in the aperture and placed some metal embellishments.


I know this doesn't look much different from the one above, but it now has the fabric secure in the aperture, the wadding and the back on the arch. So the fabric is now padded.


And the arch is clamped with clips to help the front and back pieces to stick together being careful not to squish any of the metal embossed sections. I left it clipped up over night to ensure it had stuck properly.


I painted the edges and added some metal embellishments.


I was still pondering whether to add the clock face and the corner pieces but then had a little brain wave. I rubbed them over with silver metallic lustre to really dull them down.


Close up of the metal clock face.


The left corner piece.


The right corner piece.


I don't know if you can actually see the padded fabric from this photo, but it's there.


The finished piece in the garden with the daisies!!

Sunday, 21 June 2015

Workshop with Lin Day 2


First thing to do was have morning cuddles with Meg.


And then a kiss.


Today I was making a patchwork piece of metals. Once all the pieces were created I assembled them in no particular order.


Em and her finished canvas, yes, I did say finished!!


Once I'd finished my patchwork sample I wondered how it would look on my canvas, so I painted the canvas with a black wash, mounted the patchwork piece onto a piece of black card and covered some art parts with sticky silver coloured thin metal, scuffed it with the brass brush tool and painted them black and took most of it off.  Once I was happy with the layout, I took on the task of gluing it down. I will show you a close up of the finished piece on another post.


Group photo and Meg managed to get in too!! Lin is holding my finished piece.

Thanks to one and all for making it a fabulous weekend.

Blog Archive