

This is a long post as I've done a step by step of each stage of the two part frame.

Again I cut my own frames from chipboard. This is the inner frame which I first coated with gesso then painted with phthalo turquoise.

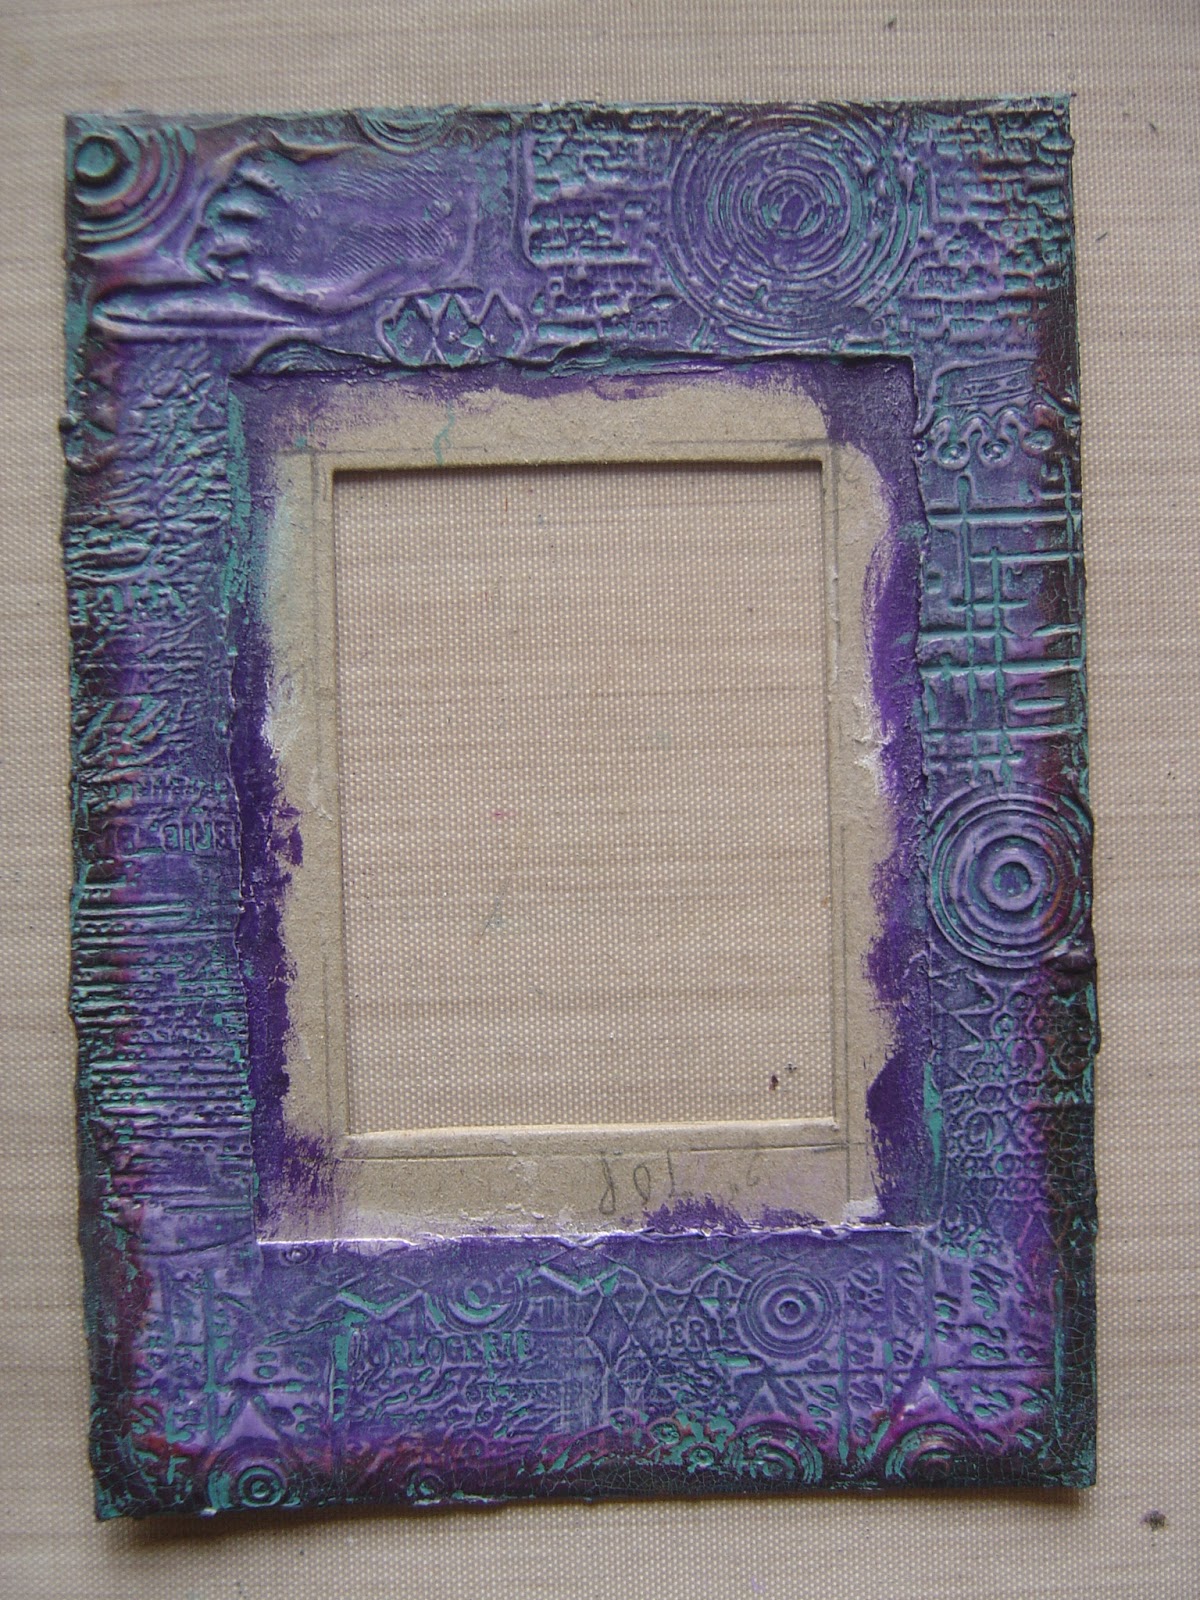
I covered the outer frame with a thickish coat of white modelling paste, heat dried it very slowly and just before it totally set, spritzed a stamp and gently pressed it into the paste.

Gave the inner frame a thin coat of weathered wood.

Once the modelling paste was completely dry, I gesso'd over the frame, but I watered down the gesso as the media gesso is quite thick and I wanted to get it into all the grooves.

Applied crackle paint to the inner frame.

Chose a base colour for the frame, I went for dioxazine purple.

Once dry, added tinting paste to the purple to get a lighter colour ready for the dry brushing.

After one coat of dry brushing. This helps to bring the textures out in the stamped frame.

More tinting base added to make an even lighter colour and dry brushed.

As you can see in the middle here, I had far too much paint on my brush for the dry brushing, so I wiped some off before I continued.

I darkened the outside of the frame using paynes grey.

On top of that I added a layer of transparent red iron oxide followed by quinacridone magenta.

Once the crackle paint had dried on the inner frame I sealed it with satin varnish.

I painted both frames with patina green antiquing cream.
Once dry, using a piece of kitchen roll slightly dampened I started to wipe away the cream, I kept going until I was happy with what I had.

Close up of the patina on the frame.

Close up of the crackle which has been enhance with the antiquing cream.

Inner frame after applying the antiquing cream and wiping back. When I placed the frame on the outer frame I felt it was too white, so I added a watered down layer of prussian blue hue to help blend it in.

I chose three colours of interference paint, violet, green and magenta to add to the frame.

Close up of the interference paint when tilted into the light.

They change colour when tilted in different directions.

I mounted the inner frame on the outer frame and added a few rusted washers.
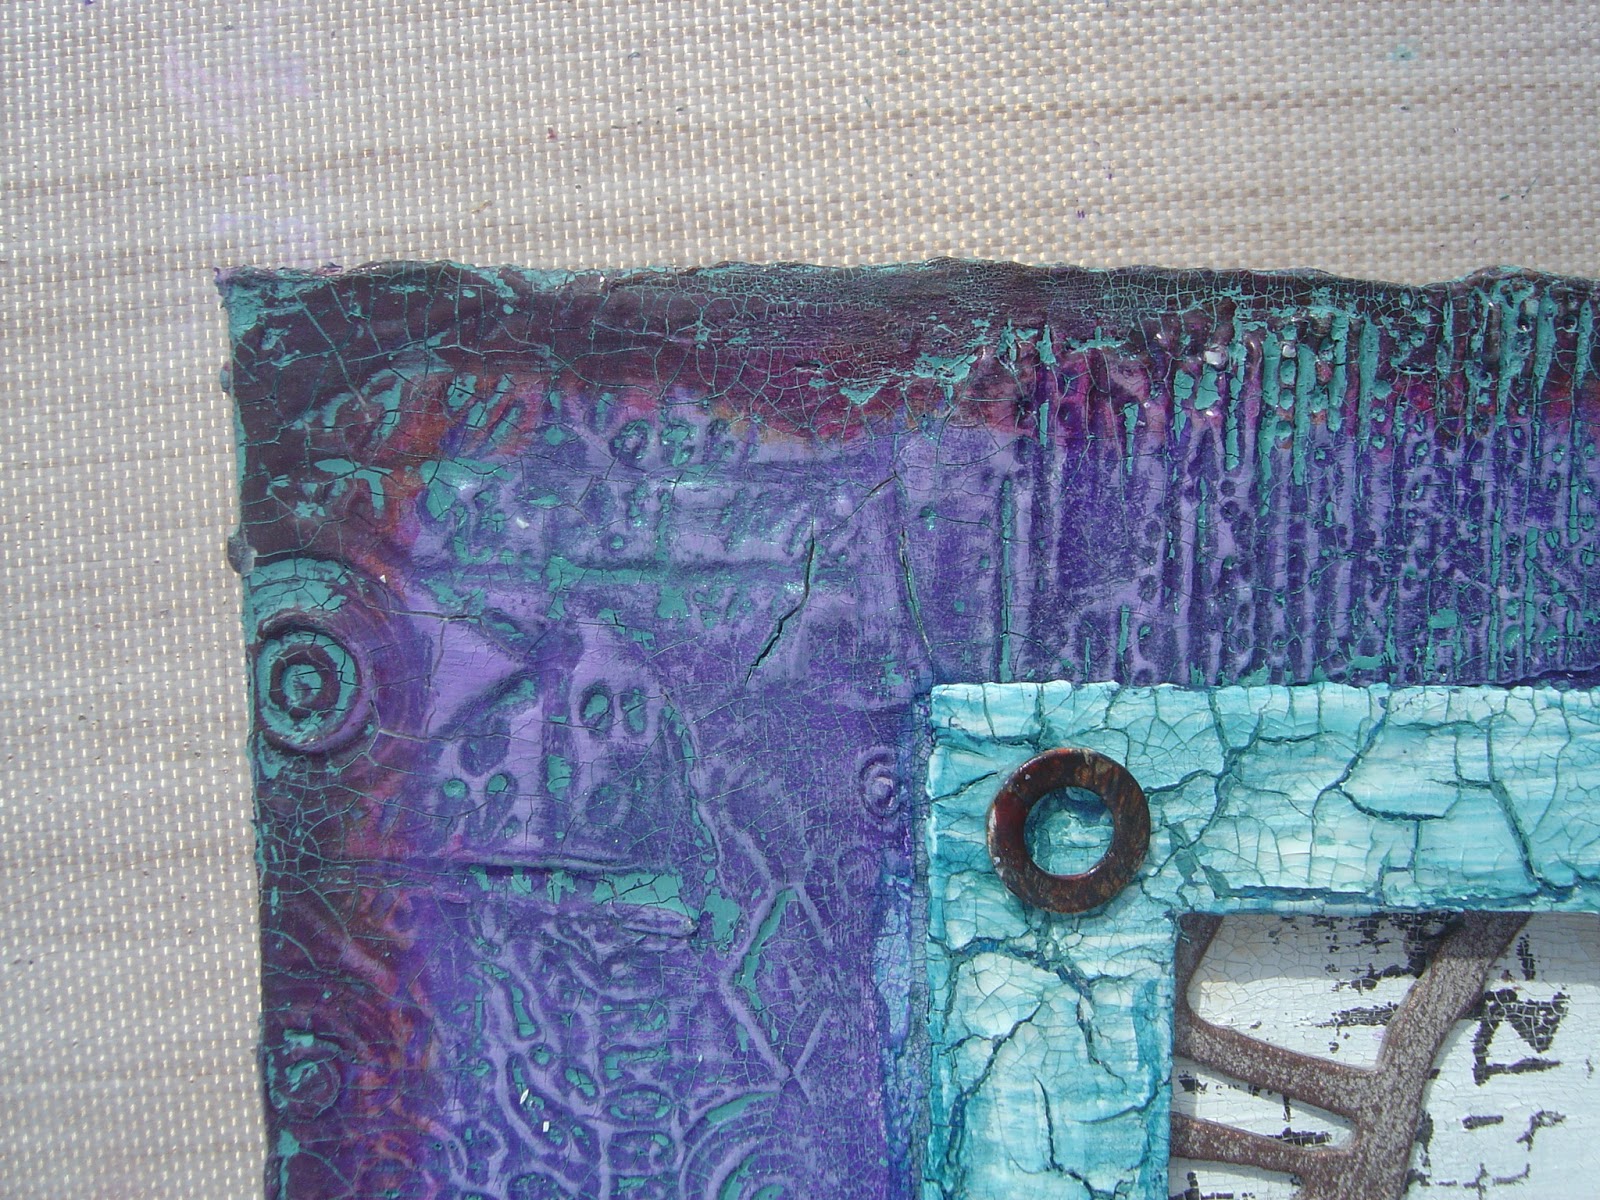
Close up of the crackle on both frames.

Close up of the crackle and patina antiquing cream.

Again more crackle around the edge and the rusty washer.

And finally I chose some components to create the features for the inside of the frame.
I decided to do a step by step and show the products in the photos as I have become aware from some of the comments left, that some people who read my blog don't know what some of the products are, so I hope this helps.
All products used are from the DecoArt media range.

7 comments:
bad news about the job but what a great time you had instead!
Love this Sam - well except for the skull - but a great piece of artwork. Thanks for all the instructions & info. Chris x
Wonderful frame yet again Sam and I love the colours you have chosen
Chrissie xx
This is fab Sam, a great choice of colours xx
This is amazing Sam - great colours.
xxx Hazel.
Loving the techniques and colours here - very Andy, but with a good dollop of Sam thrown in!
Alison x
Wonderful!!!! Bravo and I am definitely gonna have to give this a try.
sandy xx
Post a Comment