Showing posts with label Sequins. Show all posts

Friday, 4 September 2020

BOHO Themed Fabric Book


After watching an Andrea (Artymaze) youtube about creating a fabric book from scraps, I decided to have ago.  The first thing to do was cut 9 strips of fabric for a base.  Then using scraps of different types of fabrics, I completely covered them.


Next I made the cover using two of the strips from above as a background, then I added other fabrics, frills and ribbons.


This is the fabric which I used for the inside which you won't see eventually.


Once I'd sewn all the pages in I added more bling to the cover and also one of the boho tassels that I made ages ago.


This is the inside cover and the first page, with a pocket.


This is the tag that was in the pocket, with another tag inside it.


These are the next two pages.  I printed some images, quotes and words onto a cream coloured fabric by running it through the printer.


The next couple of pages both have scraps of Indian sari fabrics and the right page has a side pocket.


And this is the tag from this pocket.


The next set of pages and on the right a pocket made from another piece of Indian sari fabric.


And this is the tag that was in the pocket.


These are the centre pages and each one has a pocket and a tag.


And these are the tags.


The next set of pages and printed images.


Another piece of jewelled Indian fabric on the left page and a pocket on the right.


And the tag, a printed quote.
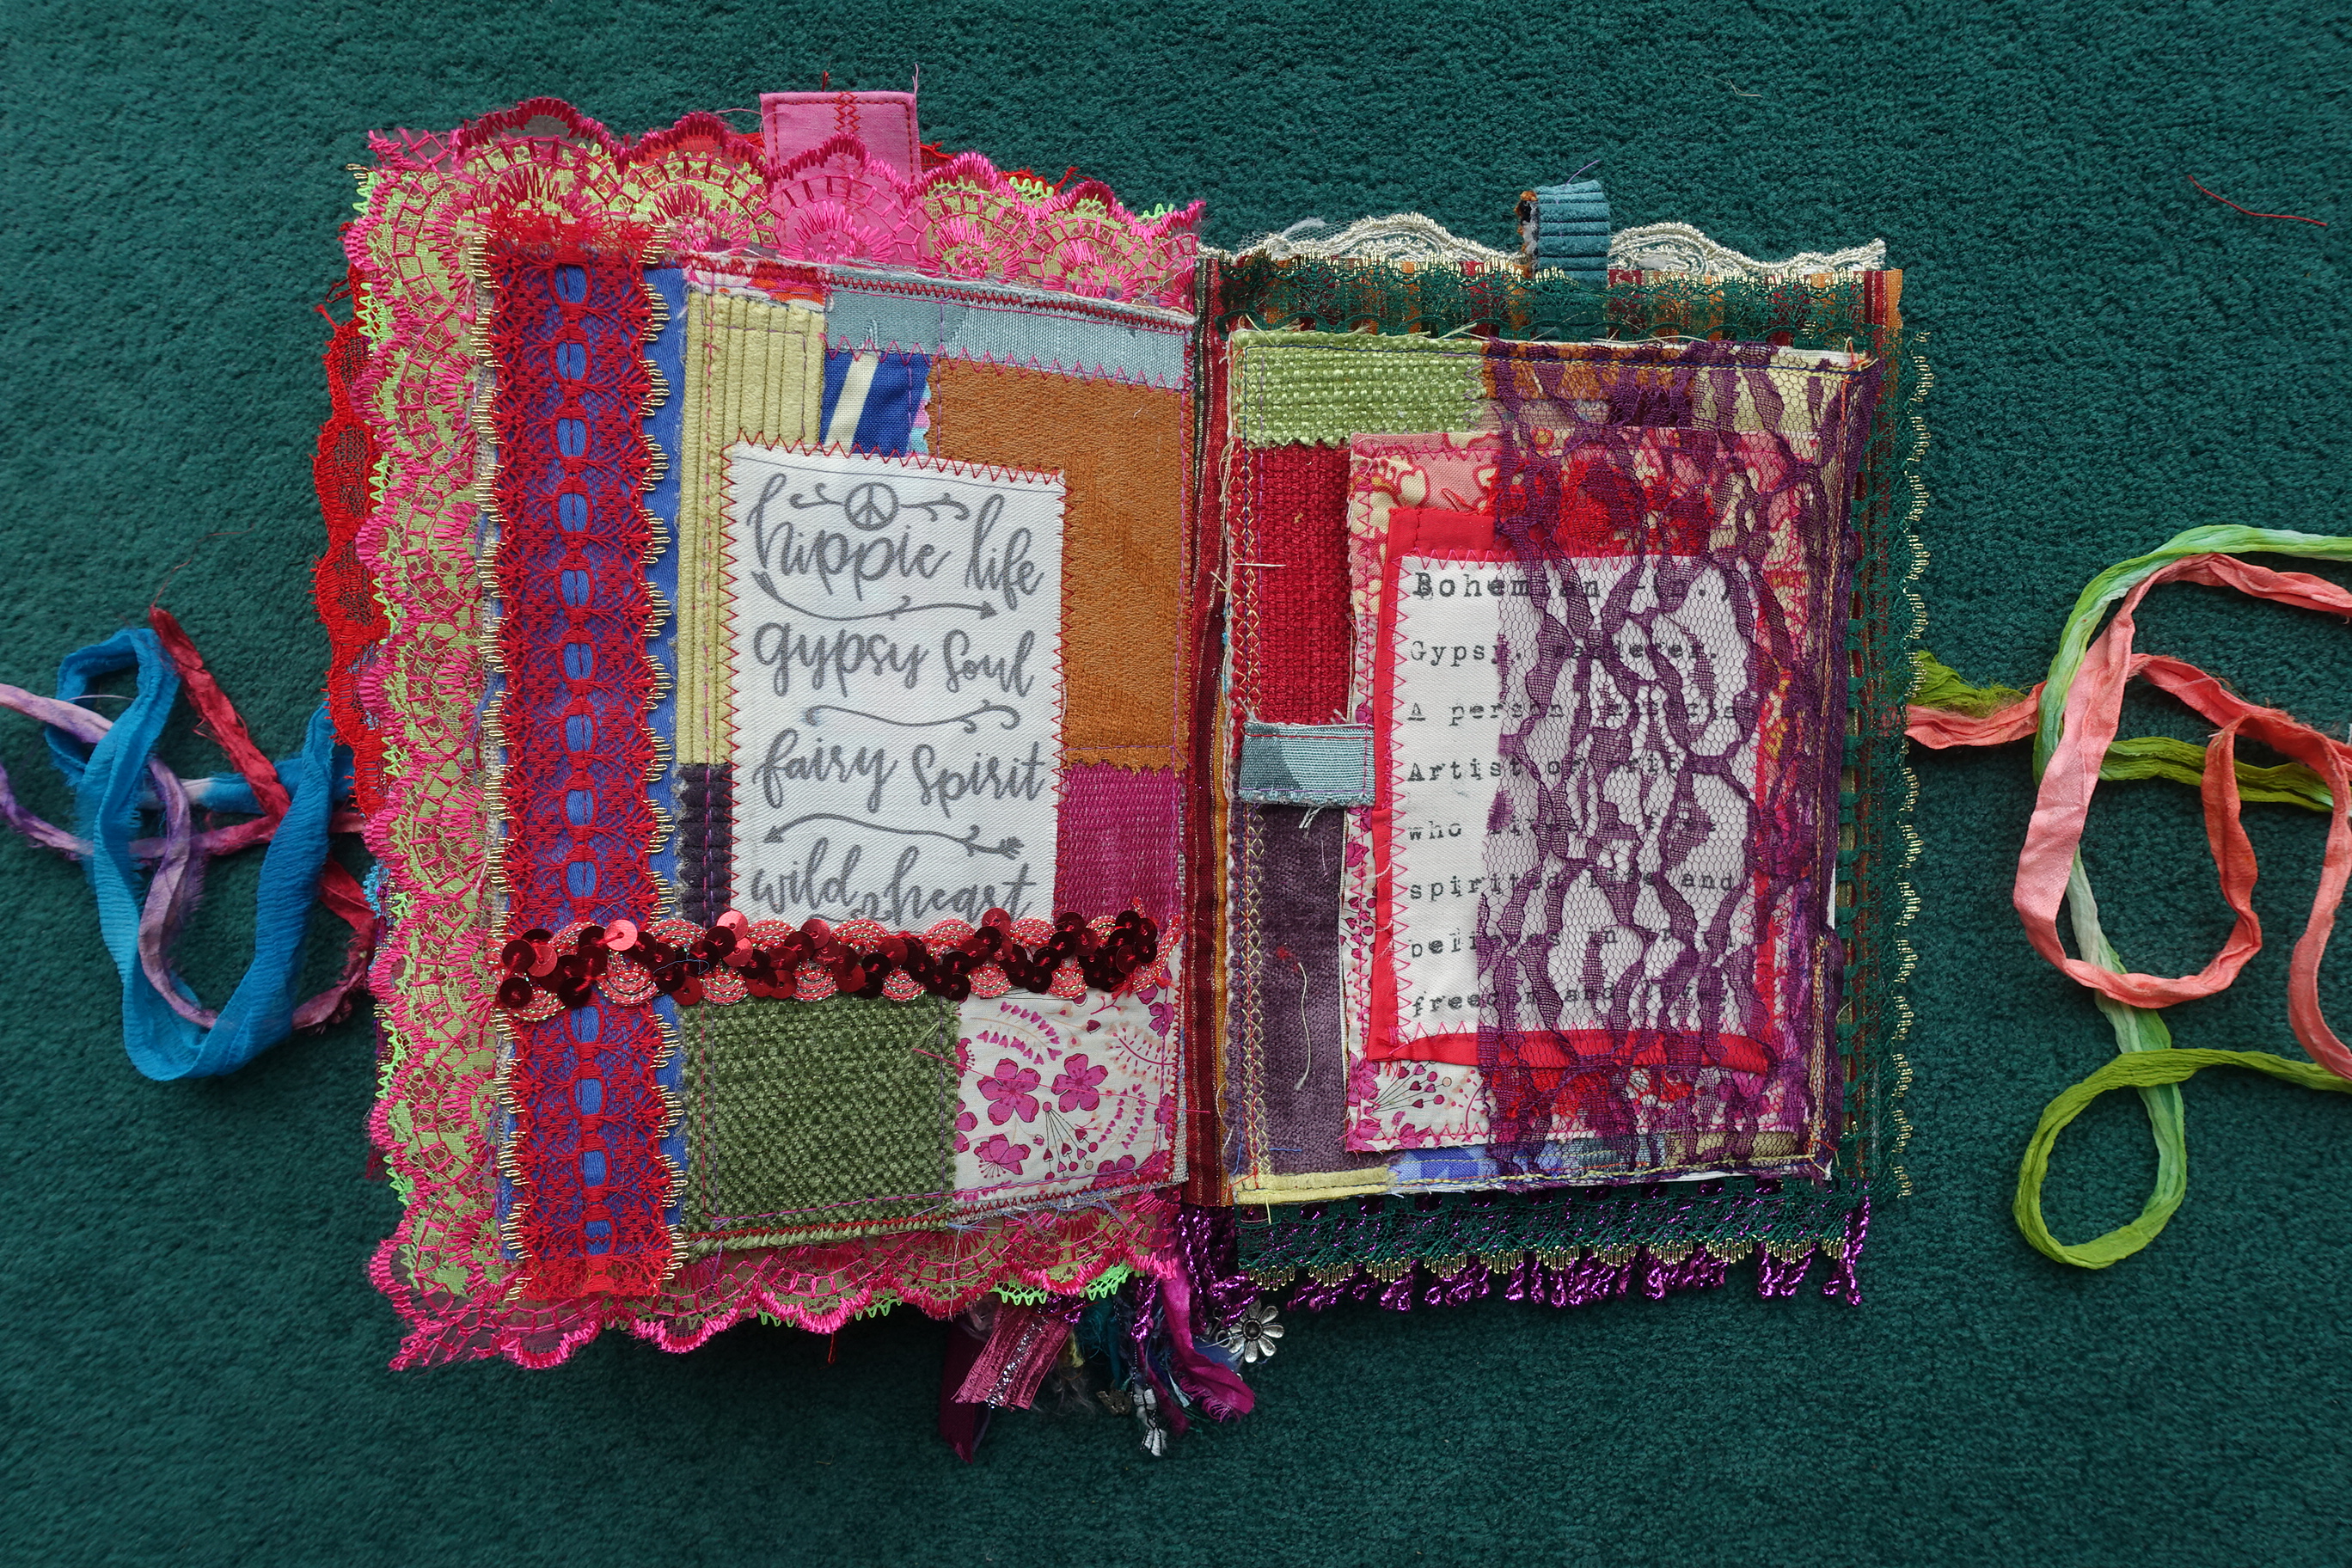

This is the last double page, the right hand side has a side pocket made from lace.


This is the tag, with a layer of sequin lace over the top of the quote.


Finally the back page, with a pocket using another piece of Indian sari fabric.


And the tag with lace and a printed word.


And this is the back of the cover. I haven't added anything else to it as I want it to sit flat.


It stands up well and this is from the back with the tassel.


And this is the view from the top.

I'm really please with how it's turned out and it's a lovely size. 

Sunday, 26 April 2020

Boho Style Beads


These were taken inside.


These were taken outside in the sun.

Friday, 17 April 2020

Bohemian Style Tags


Another couple of tags painted first with black modelling paste through a stencil.  Fabric, trims, fibres, beads, ribbons and sequins added afterwards.

Wednesday, 3 January 2018

Felted Geode


I started by scrunching up a ball of bubble wrap to act as a resist.


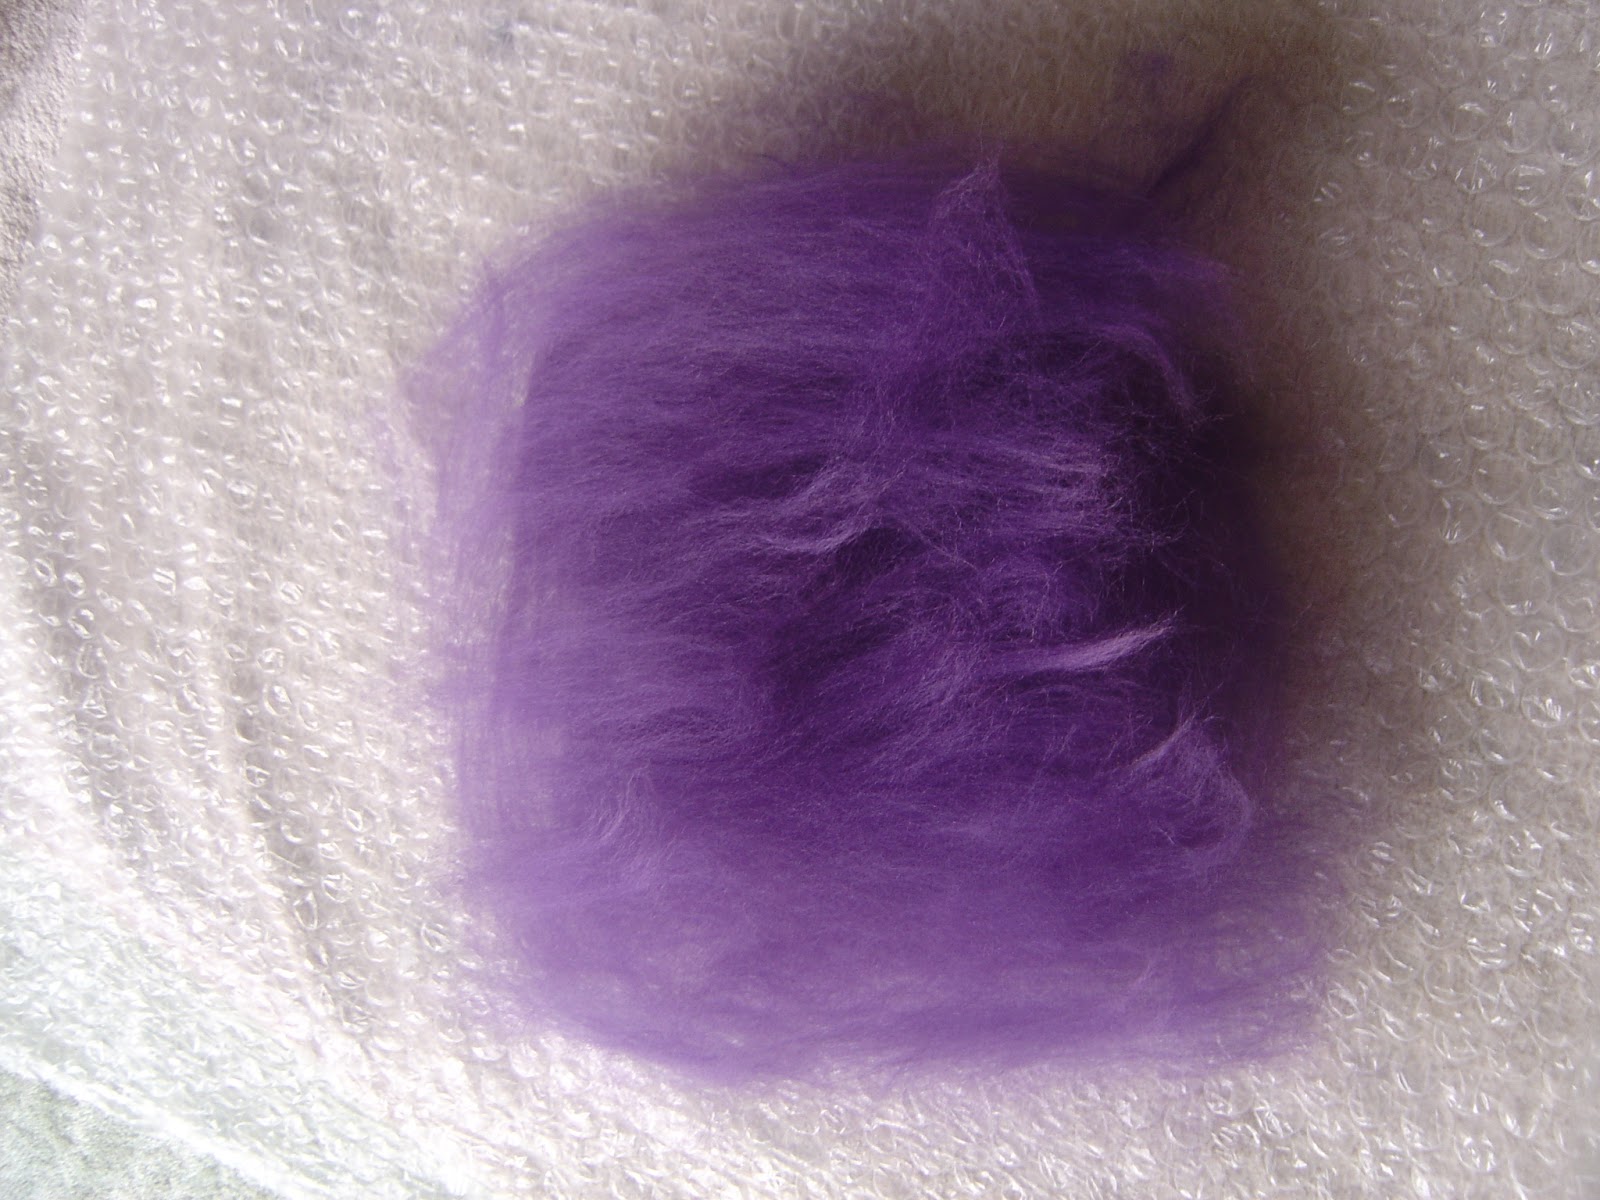
Laid out three layers of my inner colour.


Laid the netting over and wet it out.


Added soap and felted the wool.


And wrapped it around the bubble wrap as tight as I could.


I took a deeper purple and laid out three layers and did the same process as above.


Then rolled it around the resist and the first layer, again, as tight as I could.


Next the white layer, exactly the same process.


Wrapped around to make the third layer.


And finally the fourth / outside layer. I used two layers of solid brown and then a layer of a brown and cream mix.


Again I tried to get the last layer as tight as possible.


I put it inside material from a pair of tights, tied the ends and put it in the washing machine for half an hour with a towel.


Once it was done, I took it out the tights, but the last layer had moved around quite a bit, so I soaped it again before I cut it in half and took the resist out.


I rinsed each side out in the sink and did the hot and cold shrink thing and they are now drying in the airing cupboard.


Once they were properly dry, I tided up the edges with a bit of needle felting.
 

Then I added a few beads.


And to give it some extra sparkle I added in some sequins and seed beads and some different colours to the one on the right.

I have no idea if this is the 'correct' way to do this, but it worked for me and I'm pretty happy with the results, so just thought I'd share.

Monday, 6 November 2017

Small Fabric Steampunk / Gothic Book


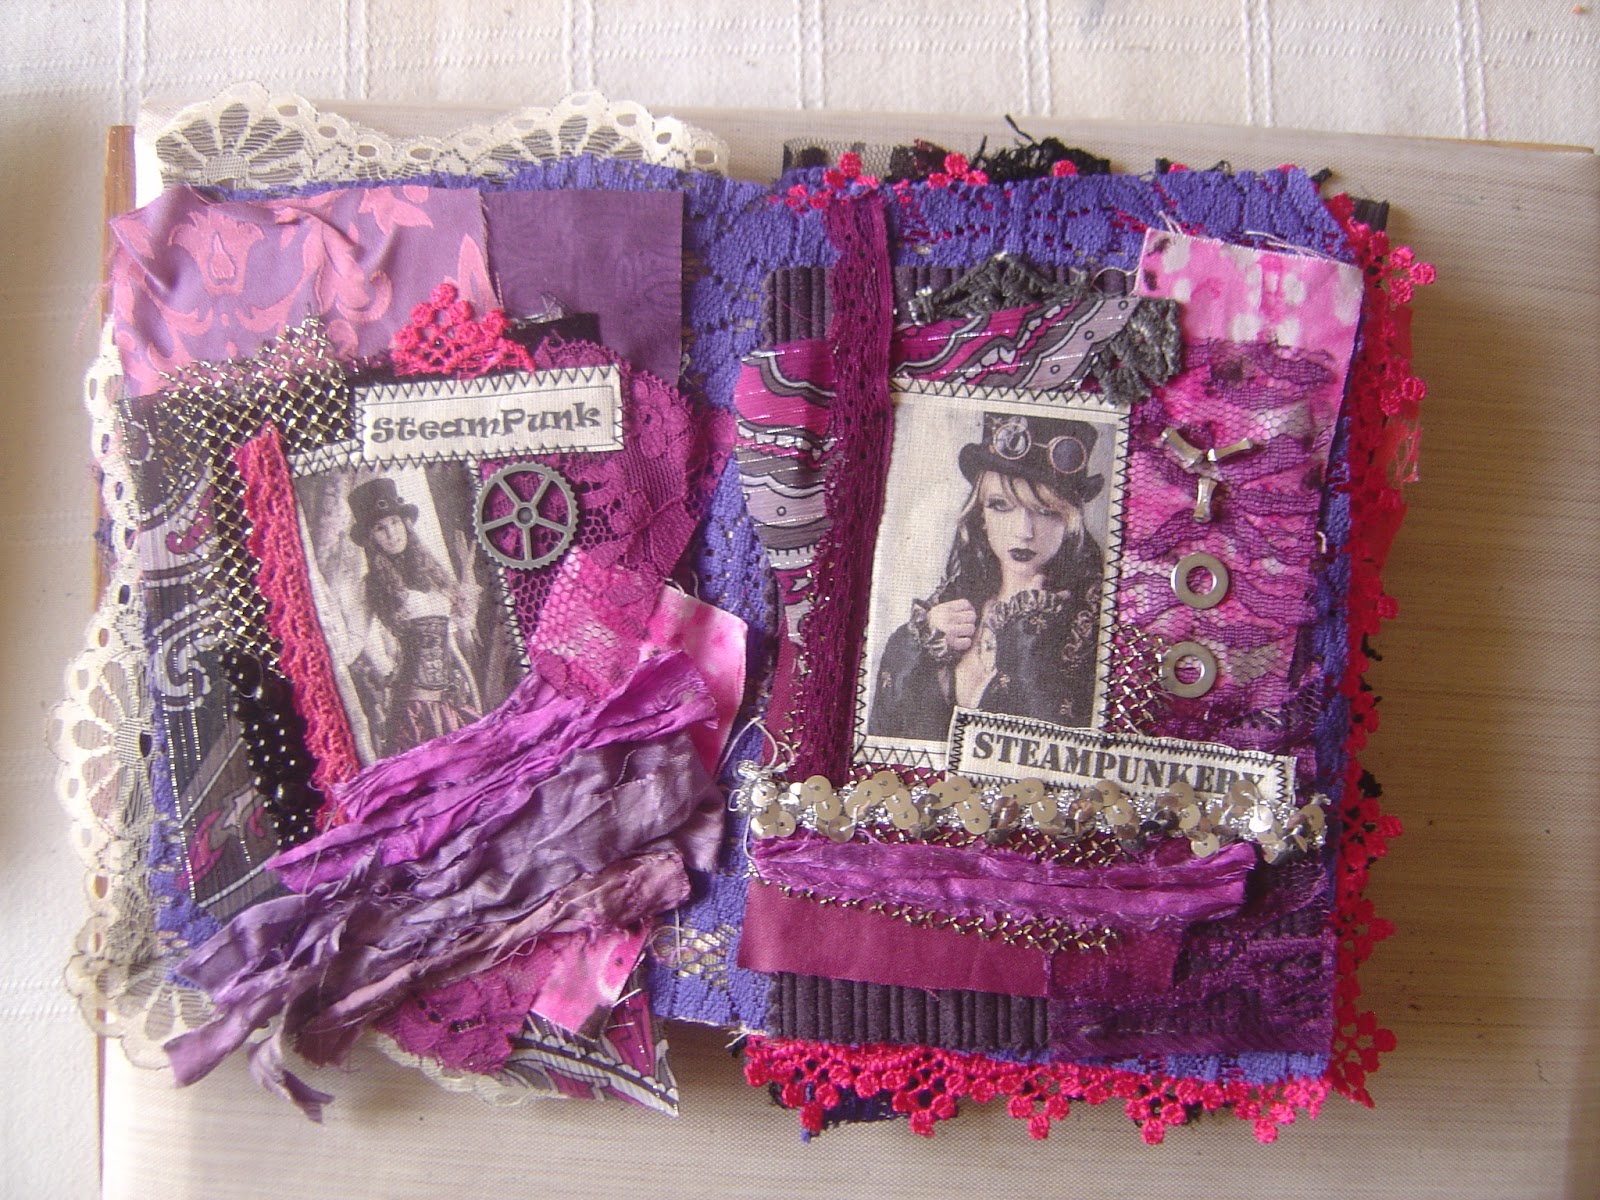
After I'd printed some images onto fabric and cut them up, I started to lay fabric and trims around them to start to build up a page.


I did the same for all of them and added a few emblishments.


Nothing is stuck down yet as I was still playing around with placement etc.


Ribbons, lace and ric-rak.


Once everything was glued down on the pages I played around with the placement of them and paired them up.


Then the pinkish set of pages.


And the next two pages, these are five and six.


And the last two pages.


I put the pages together in the same way I'd made the other two books sandwiching lace inbetween the layers. I laid out the pieces for the front and back covers. At this point, nothing is stuck down.


This is the front cover stitched and glued down with all embellishments attached.


And the back cover which I've left pretty plain as it needs to be flat when laid down.


And this is the spine which has been re-inforced with cardboard to give it extra strength.


And finally a view from the top with the book closed.


And this is the bottom.

This was a thank you gift for Sheilagh who very generously posted me a huge stash of fabric. I made her this because she showed an interest in the first one I'd made, but I couldn't give that one away.
This one is a little smaller and measures approx 6.5" x 9". I just hope she likes this one as much as the first one.

Blog Archive