Showing posts with label Sewing machine. Show all posts

Thursday, 1 July 2021

'Sewing Bee' Course


Week 1 - Getting to know the sewing machine (Bernina 1008)


 Week 2 - Seams and zips


Week 3 - Creating the pattern on dot and cross print sewing paper with a 1cm seam allowance. Cut it out, found some fabric in the store cupboard for a trial run.


On my week off I went fabric hunting and came back with this washed linen in chartreuse.


Week 4 - Cutting out and sewing.  I weighted them down and chalked around the pattern.


Cut them out with sharp fabric scissors.


Hannah (the tutor) inserted box pleats to the front of both pieces of fabric.


Then pin from the top to the crutch and sew this part only (not the leg) and the same on the other two pieces of fabric (this will make the back of the trousers).


Lay the back piece on the table with the front piece on top of it. Pin from the top down, the outsides of each leg.


Next pin the insides of the legs starting from the crotch and working down.


Next I took the waistband, sewed the ends together, folded it in half width wise and then pressed it.  Check to make sure it fits inside the trouser top, mine didn't and I had to add some more on to it.


Week 5 - Pin the waistband into the trousers with the open edge to the top and sewed nearly all the way around. Put the elastic in, anchored it on one seam and sewed it down, then sewed the other end down and finally the rest of the waistband once the elastic was in situ.  Pinned the bottoms to fit my leg length, cut the extra fabric off, did a 2cm turn up and sewed them.  And there we have it, a finished garment. Sewing Bee, eat your heart out - lol.


Week 6 - working on the actual fabric (yikes!!!!)

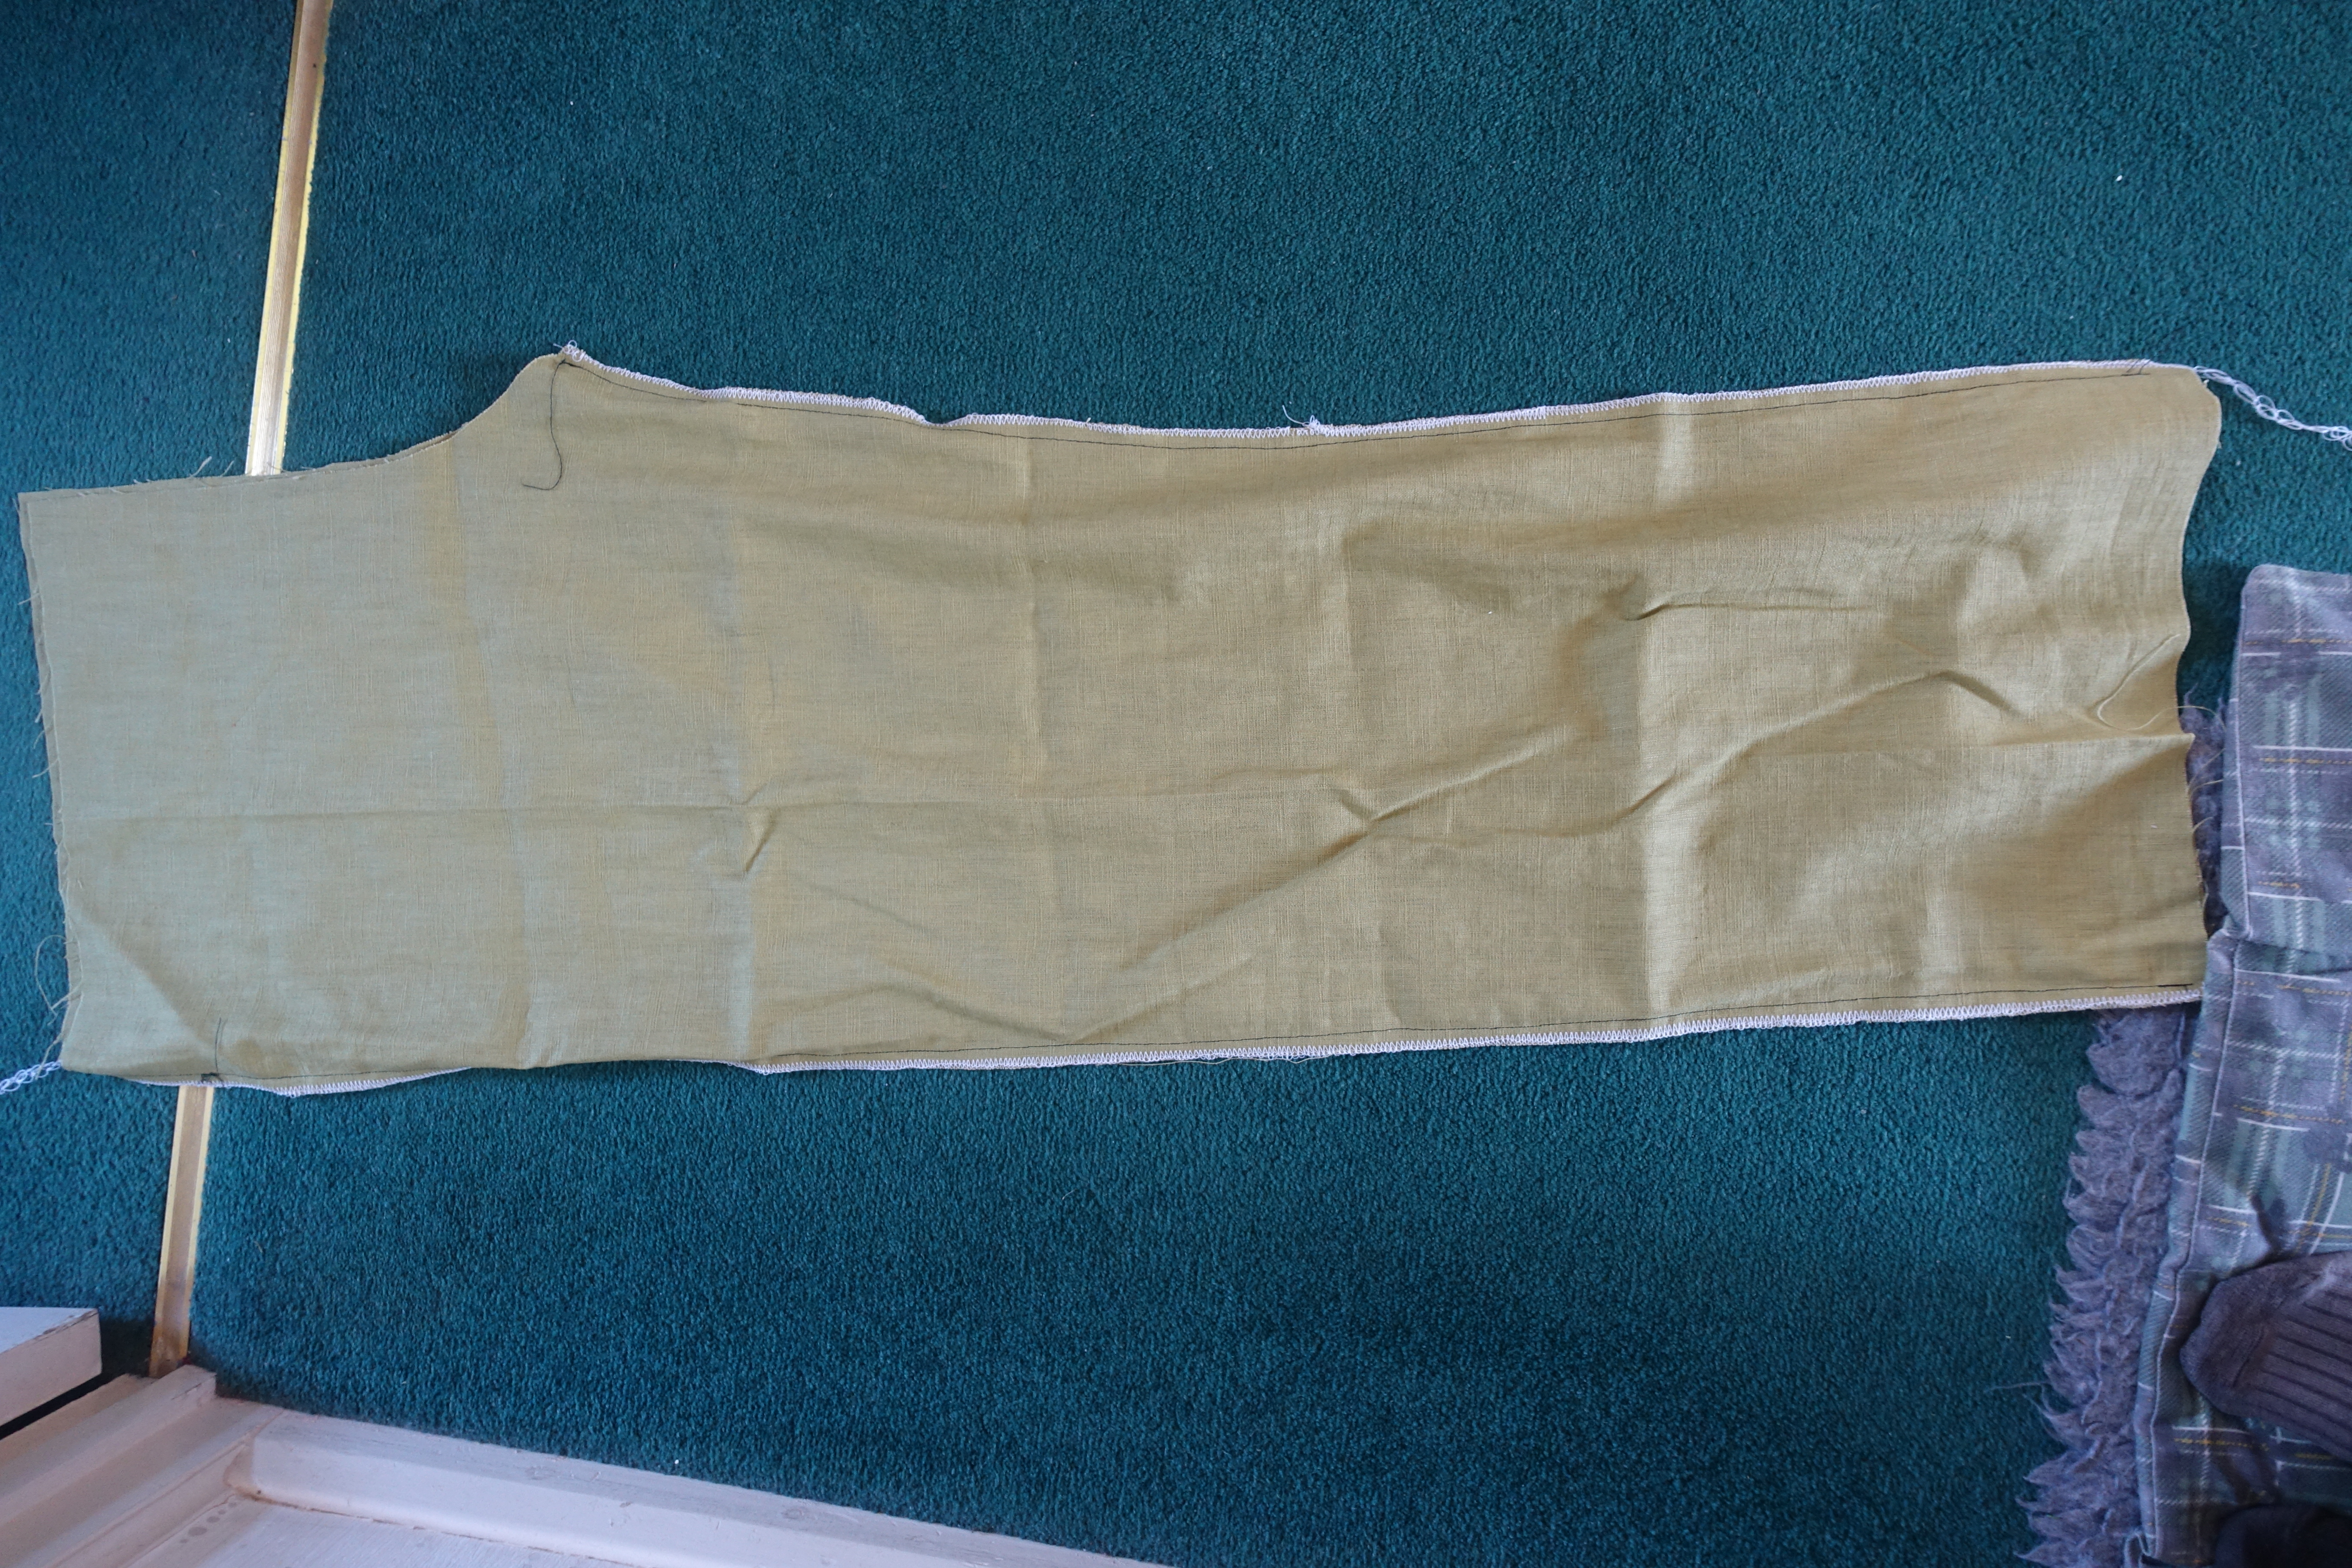
Did these different to the first pair as the first pair I didn't use the overlocker.


They are fab little machines, but a bugger to thread up.  They smarten up any ragged edges.


Did exactly the same with the other leg and then joined them up at the crutch.


And the last thing to do for this week was to pin the pleats in and iron them.


Week 7 - Waistband is on and over-locked. However, when I went to try them on to sort the leg length out it was evidence that they were miles too big.  So, rather than rush them as there as only 10 minutes left of the course, I said I'd sort them when I return in September as Hannah said we could do something with the leg seams to take them in.

Tuesday, 1 June 2021

Up-cycled Tags


Our hoover gave up the ghost at the weekend so Martin went to Currys for another one.  I cut the packaging up and kept the three pieces above.


Coated them in black powertex.


Next I mixed some powertex sand into some soft gel medium and spread it onto the tags.


Once dry, I painted over them with powertex and then used metallic waxes to colour the edges and bring out the texture.


I cut up some squares from an old scarf.


Took them out in the garden and sprayed them with bisters.


Next I cut some squares from this ice-cream box.


I machine sewed the pieces of scarf to the cardboard for stability.


I powertexed some resin pieces.


Steampunk balloon tag.


Gothic style tag.


Skull and wings tag.

Tags created from up-cycled materials for the challenge.

#rusteffects #powertex #upcyclingchallenge

Friday, 4 September 2020

BOHO Themed Fabric Book


After watching an Andrea (Artymaze) youtube about creating a fabric book from scraps, I decided to have ago.  The first thing to do was cut 9 strips of fabric for a base.  Then using scraps of different types of fabrics, I completely covered them.


Next I made the cover using two of the strips from above as a background, then I added other fabrics, frills and ribbons.


This is the fabric which I used for the inside which you won't see eventually.


Once I'd sewn all the pages in I added more bling to the cover and also one of the boho tassels that I made ages ago.


This is the inside cover and the first page, with a pocket.


This is the tag that was in the pocket, with another tag inside it.


These are the next two pages.  I printed some images, quotes and words onto a cream coloured fabric by running it through the printer.


The next couple of pages both have scraps of Indian sari fabrics and the right page has a side pocket.


And this is the tag from this pocket.


The next set of pages and on the right a pocket made from another piece of Indian sari fabric.


And this is the tag that was in the pocket.


These are the centre pages and each one has a pocket and a tag.


And these are the tags.


The next set of pages and printed images.


Another piece of jewelled Indian fabric on the left page and a pocket on the right.


And the tag, a printed quote.


This is the last double page, the right hand side has a side pocket made from lace.


This is the tag, with a layer of sequin lace over the top of the quote.


Finally the back page, with a pocket using another piece of Indian sari fabric.


And the tag with lace and a printed word.


And this is the back of the cover. I haven't added anything else to it as I want it to sit flat.


It stands up well and this is from the back with the tassel.


And this is the view from the top.

I'm really please with how it's turned out and it's a lovely size. 

Blog Archive