Showing posts with label Cardboard Tube. Show all posts

Monday, 2 August 2021

Geisha Figure #2


All set up to make another geisha, this time I used cotton fabric.


I decided to add a tube to the bottom to pad it out a bit.


Covered the cotton fabric in transparent powertex and formed it on the figure how I wanted it.


Then left her overnight to dry and this what she looked like this morning.


So today I gave her a face and some hair.


And the view from the back.


And a close up of the face.  I did contemplate adding some arms but she looked better without them.


I really like how she came out and how vibrant the red has stayed.

#rusteffects #powertex #upcyclingchallenge

Friday, 30 July 2021

Geisha Figure


I started off with a wooden meat hammer, a toilet roll tube and some masking tape.


Next I attached one of the Geisha Powertex heads onto the end of the handle.


I coated a piece of t-shirt fabric in white powertex and draped it over the structure.


Next I coated a piece of green silk in transparent powertex.  It didn't quite turn out how I expected, but it was still salvageable. Once dry I added the lighter green around the middle and neck.  I also wanted bigger hair so I made some stoneart clay and added some beads on cocktails sticks.


Then I painted the hair with black powertex and I also gave her a face.


And this is how she looks from the back.


And a bit of a close up of the front.


And a closer close up of the face and hair.

#rusteffects #powertex #upcyclingchallenge

Friday, 9 July 2021

T-Light Holders


Kitchen roll tube.


I then cut it in two, I won't say half, as you can see, one is bigger than the other!!


I cut 4 cardboard circles one for the bottom of each one and one for about an inch from the top.


Then I wrapped them both in t-shirt fabric and covered a t-light in cling film and sat it in the top of each one.


Added the embellishments.


Dry brushed with white pigment and varnish.


I decided the skulls needed to be more dramatic, so I added some gems in the eye sockets.


And a view of the other sides.

#rusteffects #powertex #upcyclingchallenge

Sunday, 6 June 2021

Up-cycled Angels


Apart from the head, these are totally up-cycled.  Piece of wood from the old gate, tubes from catering rolls of tinfoil, used tin foil, old wire coat hanger for the wings, old dishcloth, old t-shirt and scarf.

Covered the body with off cuts of an old t-shirt and painted the wings, all in bronze powertex.


Next I draped off cut of fabrics, lace and old scarves over each of the figures just to see how they would lay.


I then covered all the pieces in powertex and arranged them on the figures.

Coloured with silver and blue pigments.


And the back.


And on this one I just used the silver.


And again from the back.  

I just need to get a couple of pieces of slate now to mount them on.

#rusteffects #powertex #upcyclingchallenge

Thursday, 4 February 2021

Mohican Duck


Amazing what you can do with a cardboard tube and a couple of polystyrene balls!


And a wooden spoon handle and some stone art clay.


And some masking tape.


And here he is, all finished, a blue duck!!


I used Ashley's clay ripping technique to cover him, I thought they might look like feathers.


I left the front of the belly feather free.


The head was a bit bare, so I added more clay.


I used spray ink to colour him, lots of different shades of purples and blues and a metallic for a bit of sheen.


From another angle.


And his Mohican hairdo from the back.

Tuesday, 8 December 2020

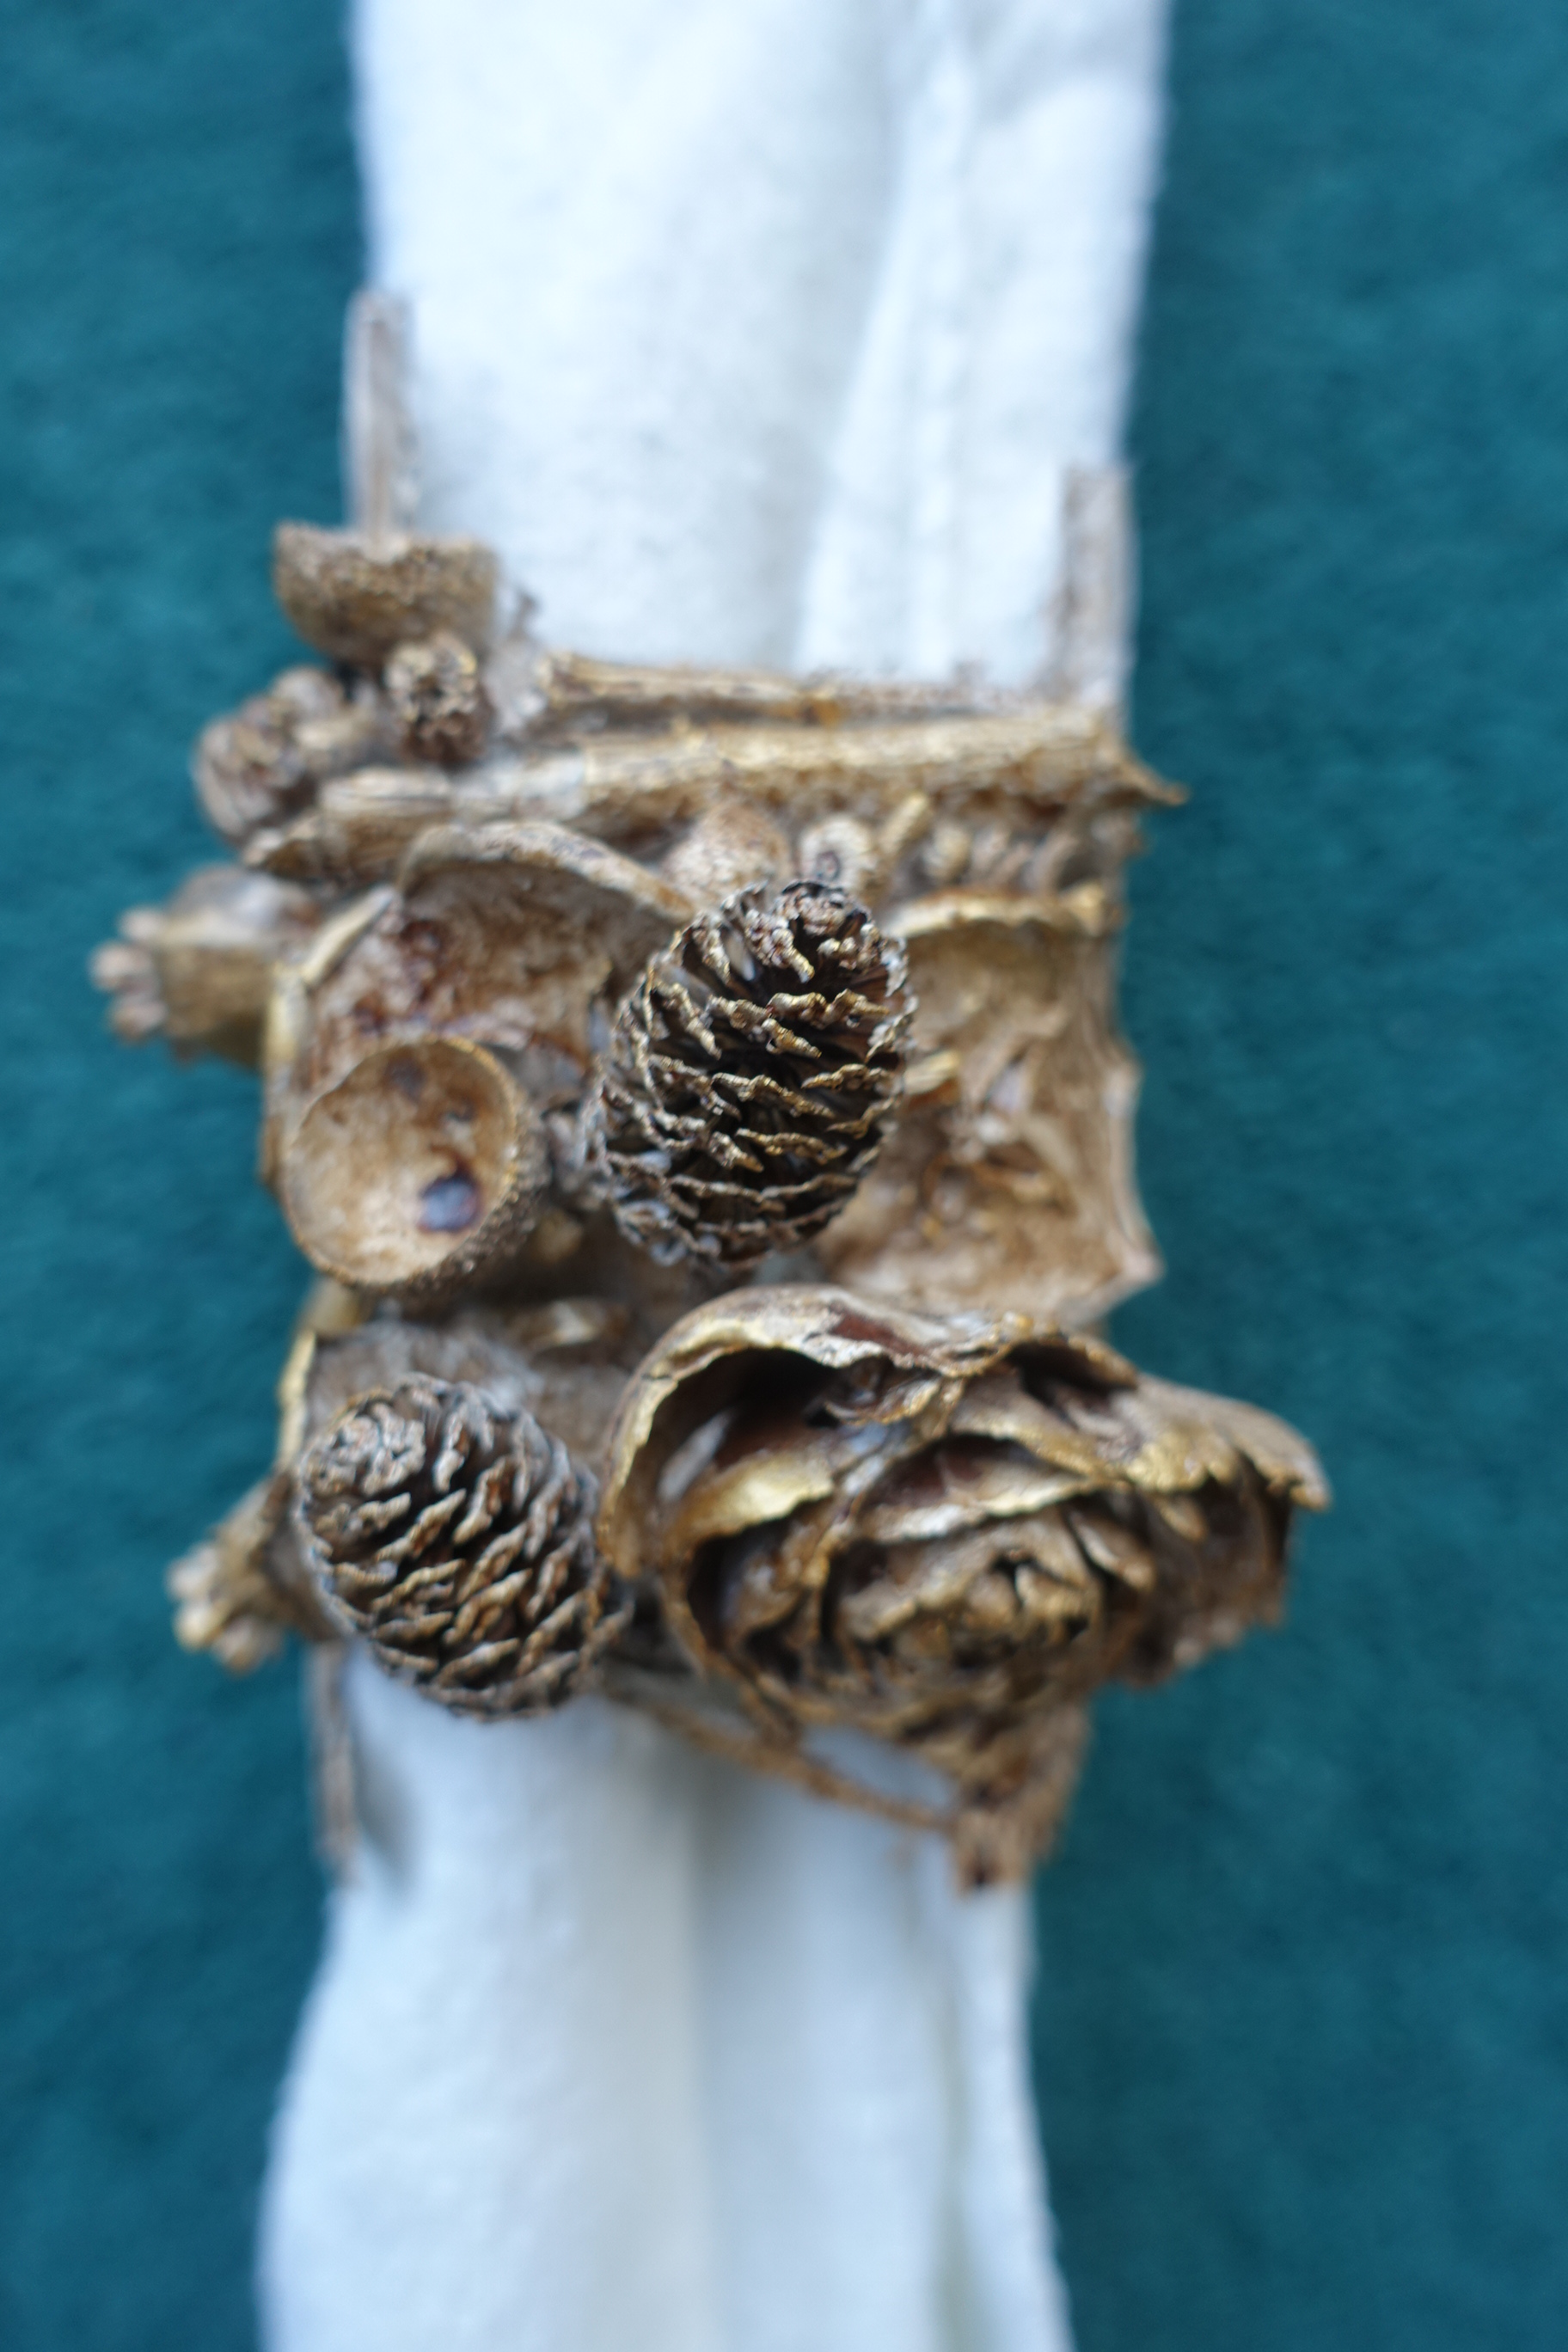
Christmas Napkin Holder


Covered a loo roll in cling film, powertex'd the corrugated, tied string around everything to secure it.


Next I added some embellishments in the open space but making sure that they connected to something.


Once dry I sprayed a coat of natural bister.


Then I sprayed it again.


I didn't have a napkin so I rolled up a duster instead.


I used gold pigment to embellish it.


This is the back and I went over the string with gold pigment.


And here it is finished.  I think a set of these would look lovely.

Blog Archive