Showing posts with label Media varnish. Show all posts

Wednesday, 21 November 2018

Pen Pot


I picked a kiddies pair of footy boots up for 50p from the car boot a few weeks ago.


With a view to making my sister something for Christmas.


I cut the tube with the intention of using the taller one, but in the end I used the shorter one.


Then I gathered everything I thought I might need.


I covered the boot in plain t-shirt fabric to start with just to get a base on to cover everything, including the inside. Next I placed the tube in the hole and covered it too.


I covered the polystyrene ball with a couple of coats of white powertex and cut some black pentagon shapes from black t-shirt fabric.


I covered the pentagons with transparent powertex and placed them on the ball to try and replicate a football. It looks cloudy as the transparent doesn't go on clear, but dries clear.


Once the first layer of the boot fabric was dry I added more fabrics and paper decoration and also some clay pieces. 


Once everything was dry I made sure the ball would sit on the boot. 


I started to add the colouring, I was going for a very red, red. So I started with a very light layer and just kept layering and layering a bit at a time until I got the depth I wanted. I also added a layer of the red metallic lustre which really brought it to life.


Just love how the colours bring out the fabulous textures.


I used festive red dazzling metallics on the flowers which has given them a hint of gold too.


And a view from the front.


I haven't actually glued the ball onto the front yet, but I'll use transparent powertex for that.


And a view of the other side of the boot.


And a view from the top. I kept checking that the ball sits okay on the boot.


And here it is finally with pens in it.

I've made this for my sister for Christmas. She loves football and is a teacher so is always using pens when marking her classes work, and it's totally unique and different. I know she will love it as she has already pinched on of my angels and another statue!

Saturday, 10 November 2018

A Little Cherub


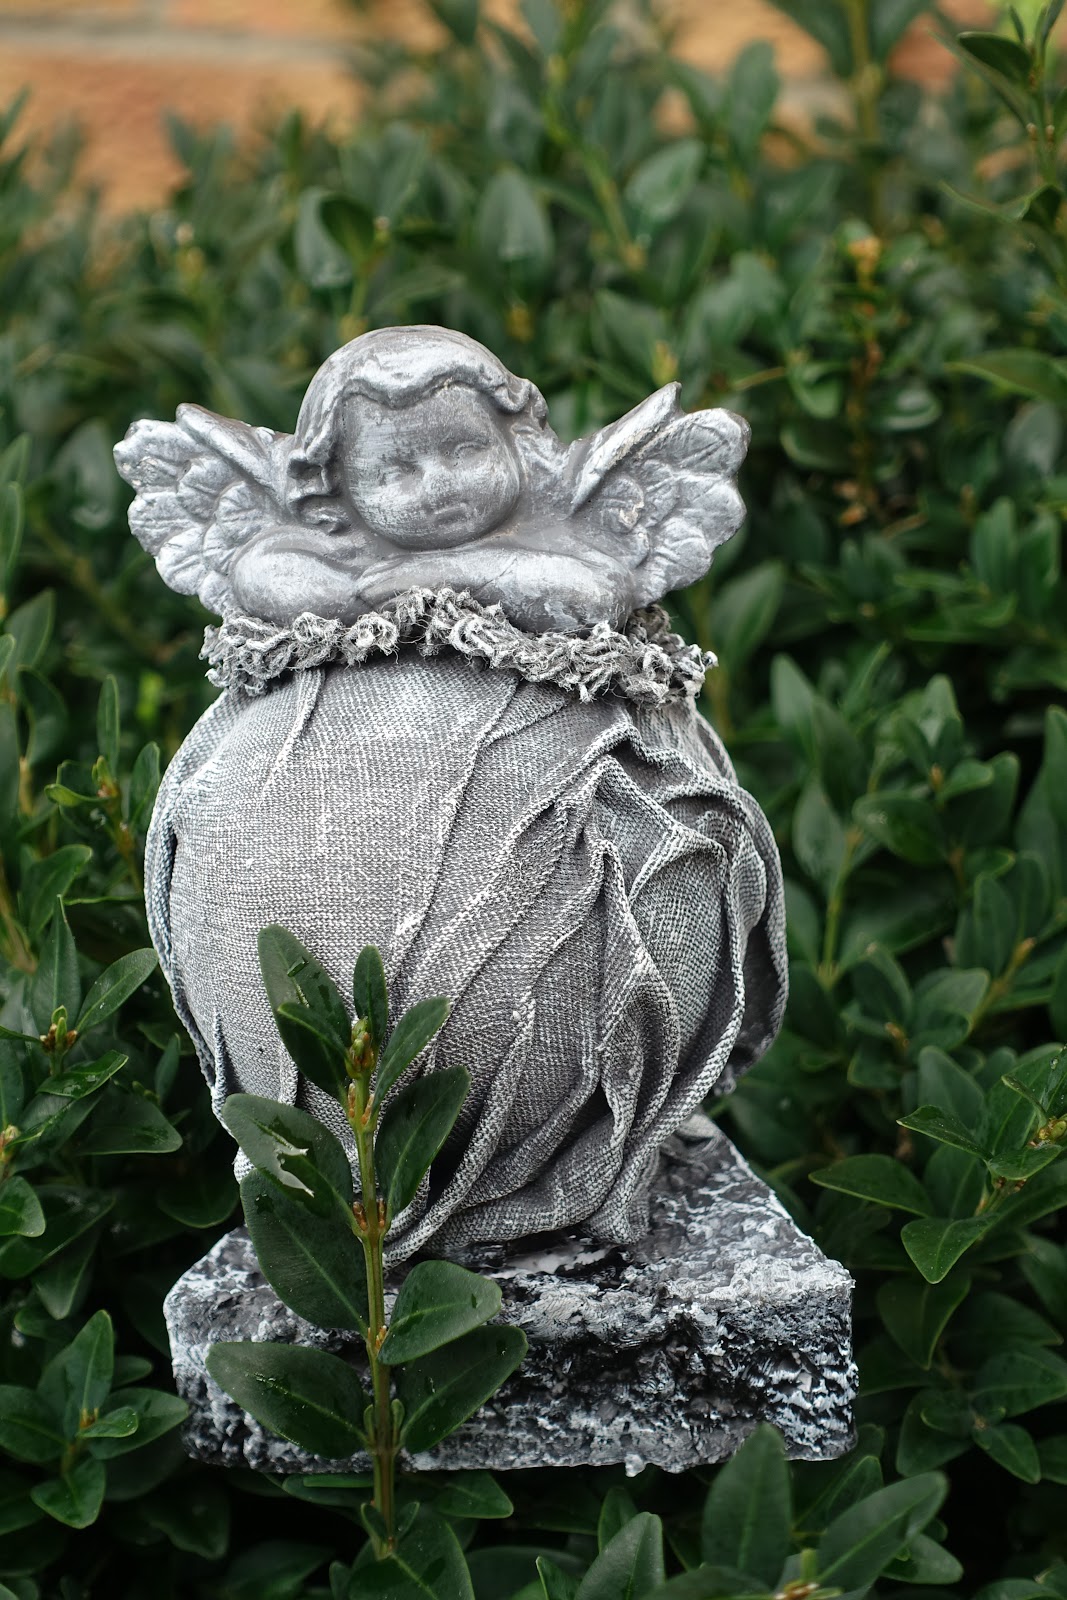
I covered a polystyrene ball with t-shirt fabric which had been laced with a mix of black and white Powertex to make a grey. Once I'd created some texture I added the clay cherub on the top and put a piece of cotton yarn around it and painted them with the Powertex mix. I mounted everything on a polystyrene base.


Now completely dried and ready to be aged.


I added white pigment to create a stone effect.


And finally some silver to the wings and the hair.


It looks much more stone like than I can capture in a photo.

Friday, 2 November 2018

Couple of Cats


I cut a couple of pieces of wire, bent them into a flat U shape and taped the top. The right one I covered with a layer of bubble before I added tinfoil and the one on the left I covered just in tinfoil.


Once I'd built them up into the shape I wanted using tinfoil, I covered them in masking tape. I left the top exposed so I could use the wire to hold a polystyrene ball.


Next I mixed up some clay. I used black Powertex and kept feeding StoneArt powder into it. 


Until I got something like this, a clay.


I painted an area of the masking tape with Powertex.


I rolled out the clay using my hands and pushed it onto the masking tape. Putting the Powertex on beforehand helps it to stick.


I covered everything but the ball with clay and left it to dry.


I'd made extra clay to cover the head the following day. As long as you seal it tight, you can keep it up to a couple of weeks before you use it.


This is how it looked the next day after it had dried. All the way through the process I made sure it stood on its own.


The one on the right was the frame with the bubble wrap and tinfoil and the one on the left was just the tinfoil. I wanted to experiment to see if there was much difference in how the clay worked on each one.


They have both been in the airing cupboard for a few days and are now rock solid. The one on the right fell over and the ear bent and is set solid, happy accident. The white that you can see is where I didn't totally mix the Stoneart in 100%, but it doesn't bother me as it just adds to the look and I'm going to paint it anyway.


So here I have painted the one on the left in pewter and the one on the right is still the raw clay.


Right one is now painted too, I used bronze.


And from the side so you can see their tails and the right one I also angled the head.


And here they are from a slightly different angle. It's amazing how much texture you get from your hands when applying the clay and how this comes out in the dry brushing.


Close up of the textures.


The base of the pewter one.


And the base of the bronze one.

Hope you found this useful and if you want to, don't be shy, leave me a quick comment.

Saturday, 27 October 2018

Mask-erade


I picked up a mask from The Works reduced to £1 from £2.99.


To make it a bit more interesting, I cut some of the left side away.


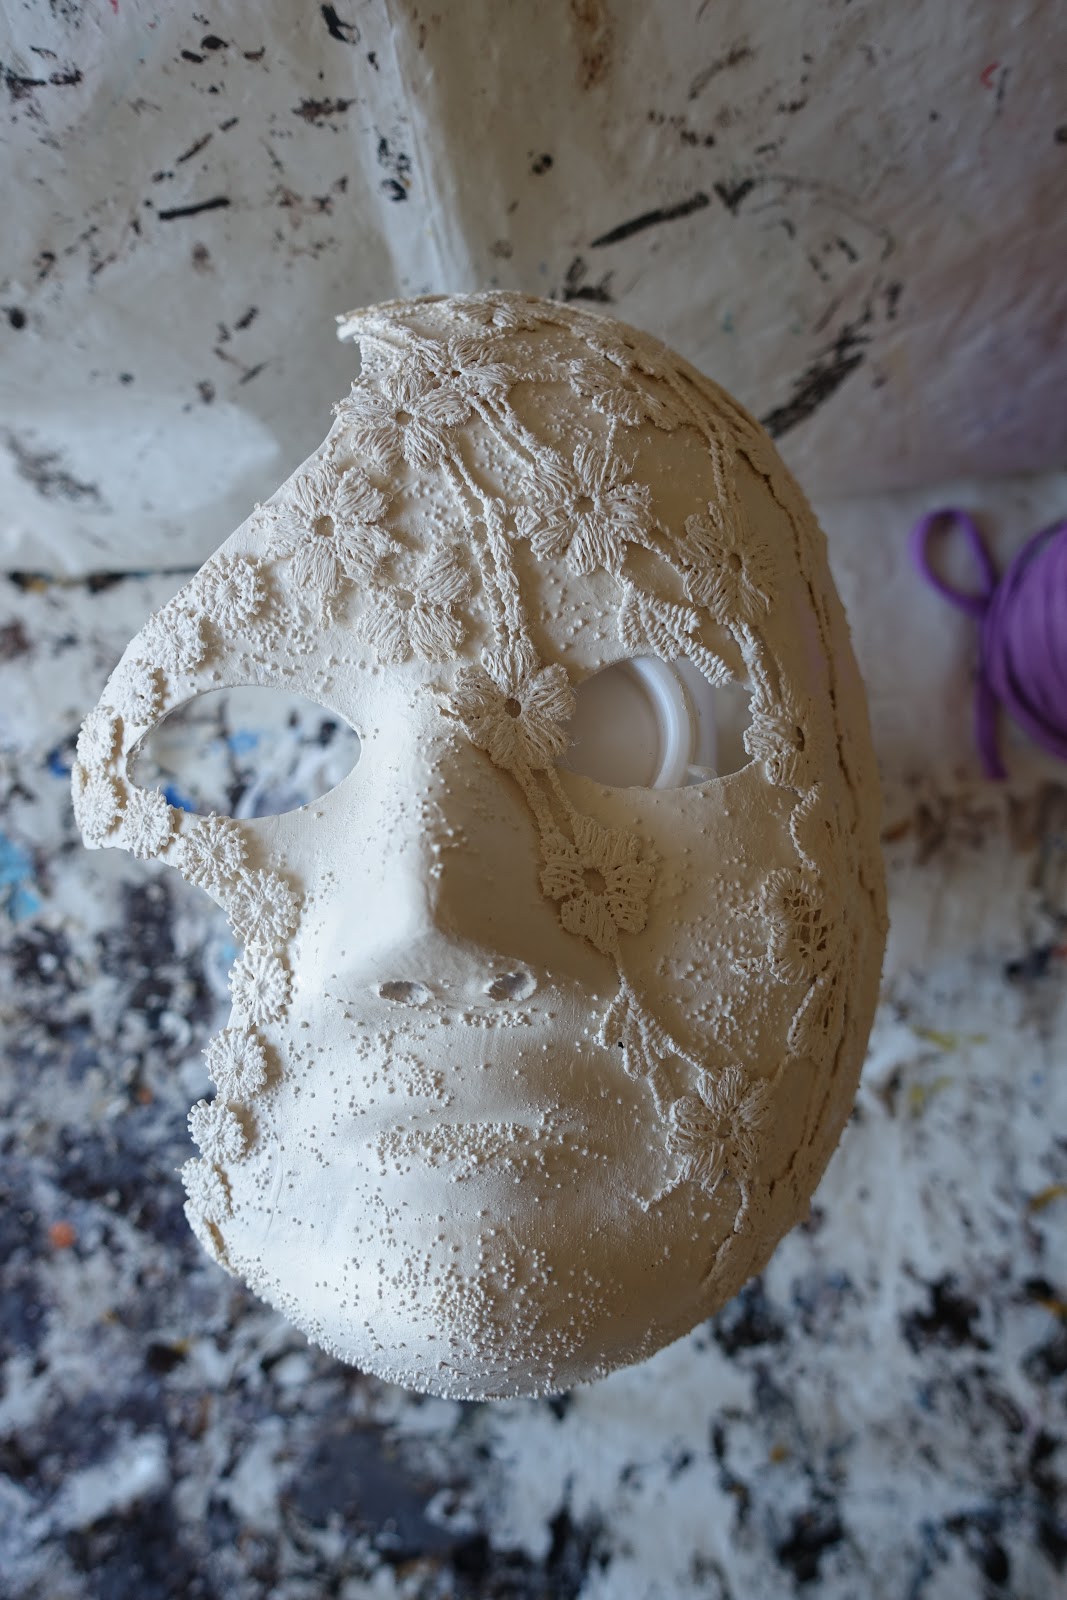
Next I played around placing pieces of lace.


I also wanted to create some texture on the mask.


I added some sand to ivory Powertex and painted the mask. I then sprinkled on some of the tiny balls. I did it over a tray to catch the ones that rolled off and put them back in the tub.


Next I covered the pieces of lace in ivory Powertex and stuck them on the mask.


Close up of the sand and balls once it had dried.


And the lace.


It's now totally hardened and ready for the next step.


Next step wasn't the next step, as I decided I now wanted it green and not ivory, so I used my green Powertex and painted over it.


As the green really seemed to soak in, I gave it another coat or two.


Once totally dry, I dry brushed with gold pigment.

Not a bad transformation for a pound.

***Edited - it stopped raining!!***


Blog Archive