Showing posts with label Stencils. Show all posts

Monday, 4 July 2022

Up-cycled Skeleton Plaque


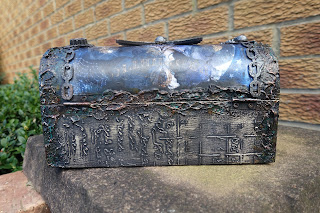
This is the front of a kitchen drawer that was being thrown out.


Painted it with black gesso then used grunge paste through a couple of stencils.


Once dried, I painted over it in black gesso.


I made a mould from a skeleton that I was given by a friend. Then I cast it in fast cast resin.


Got a few more bits and bobs out and started to build a composition.


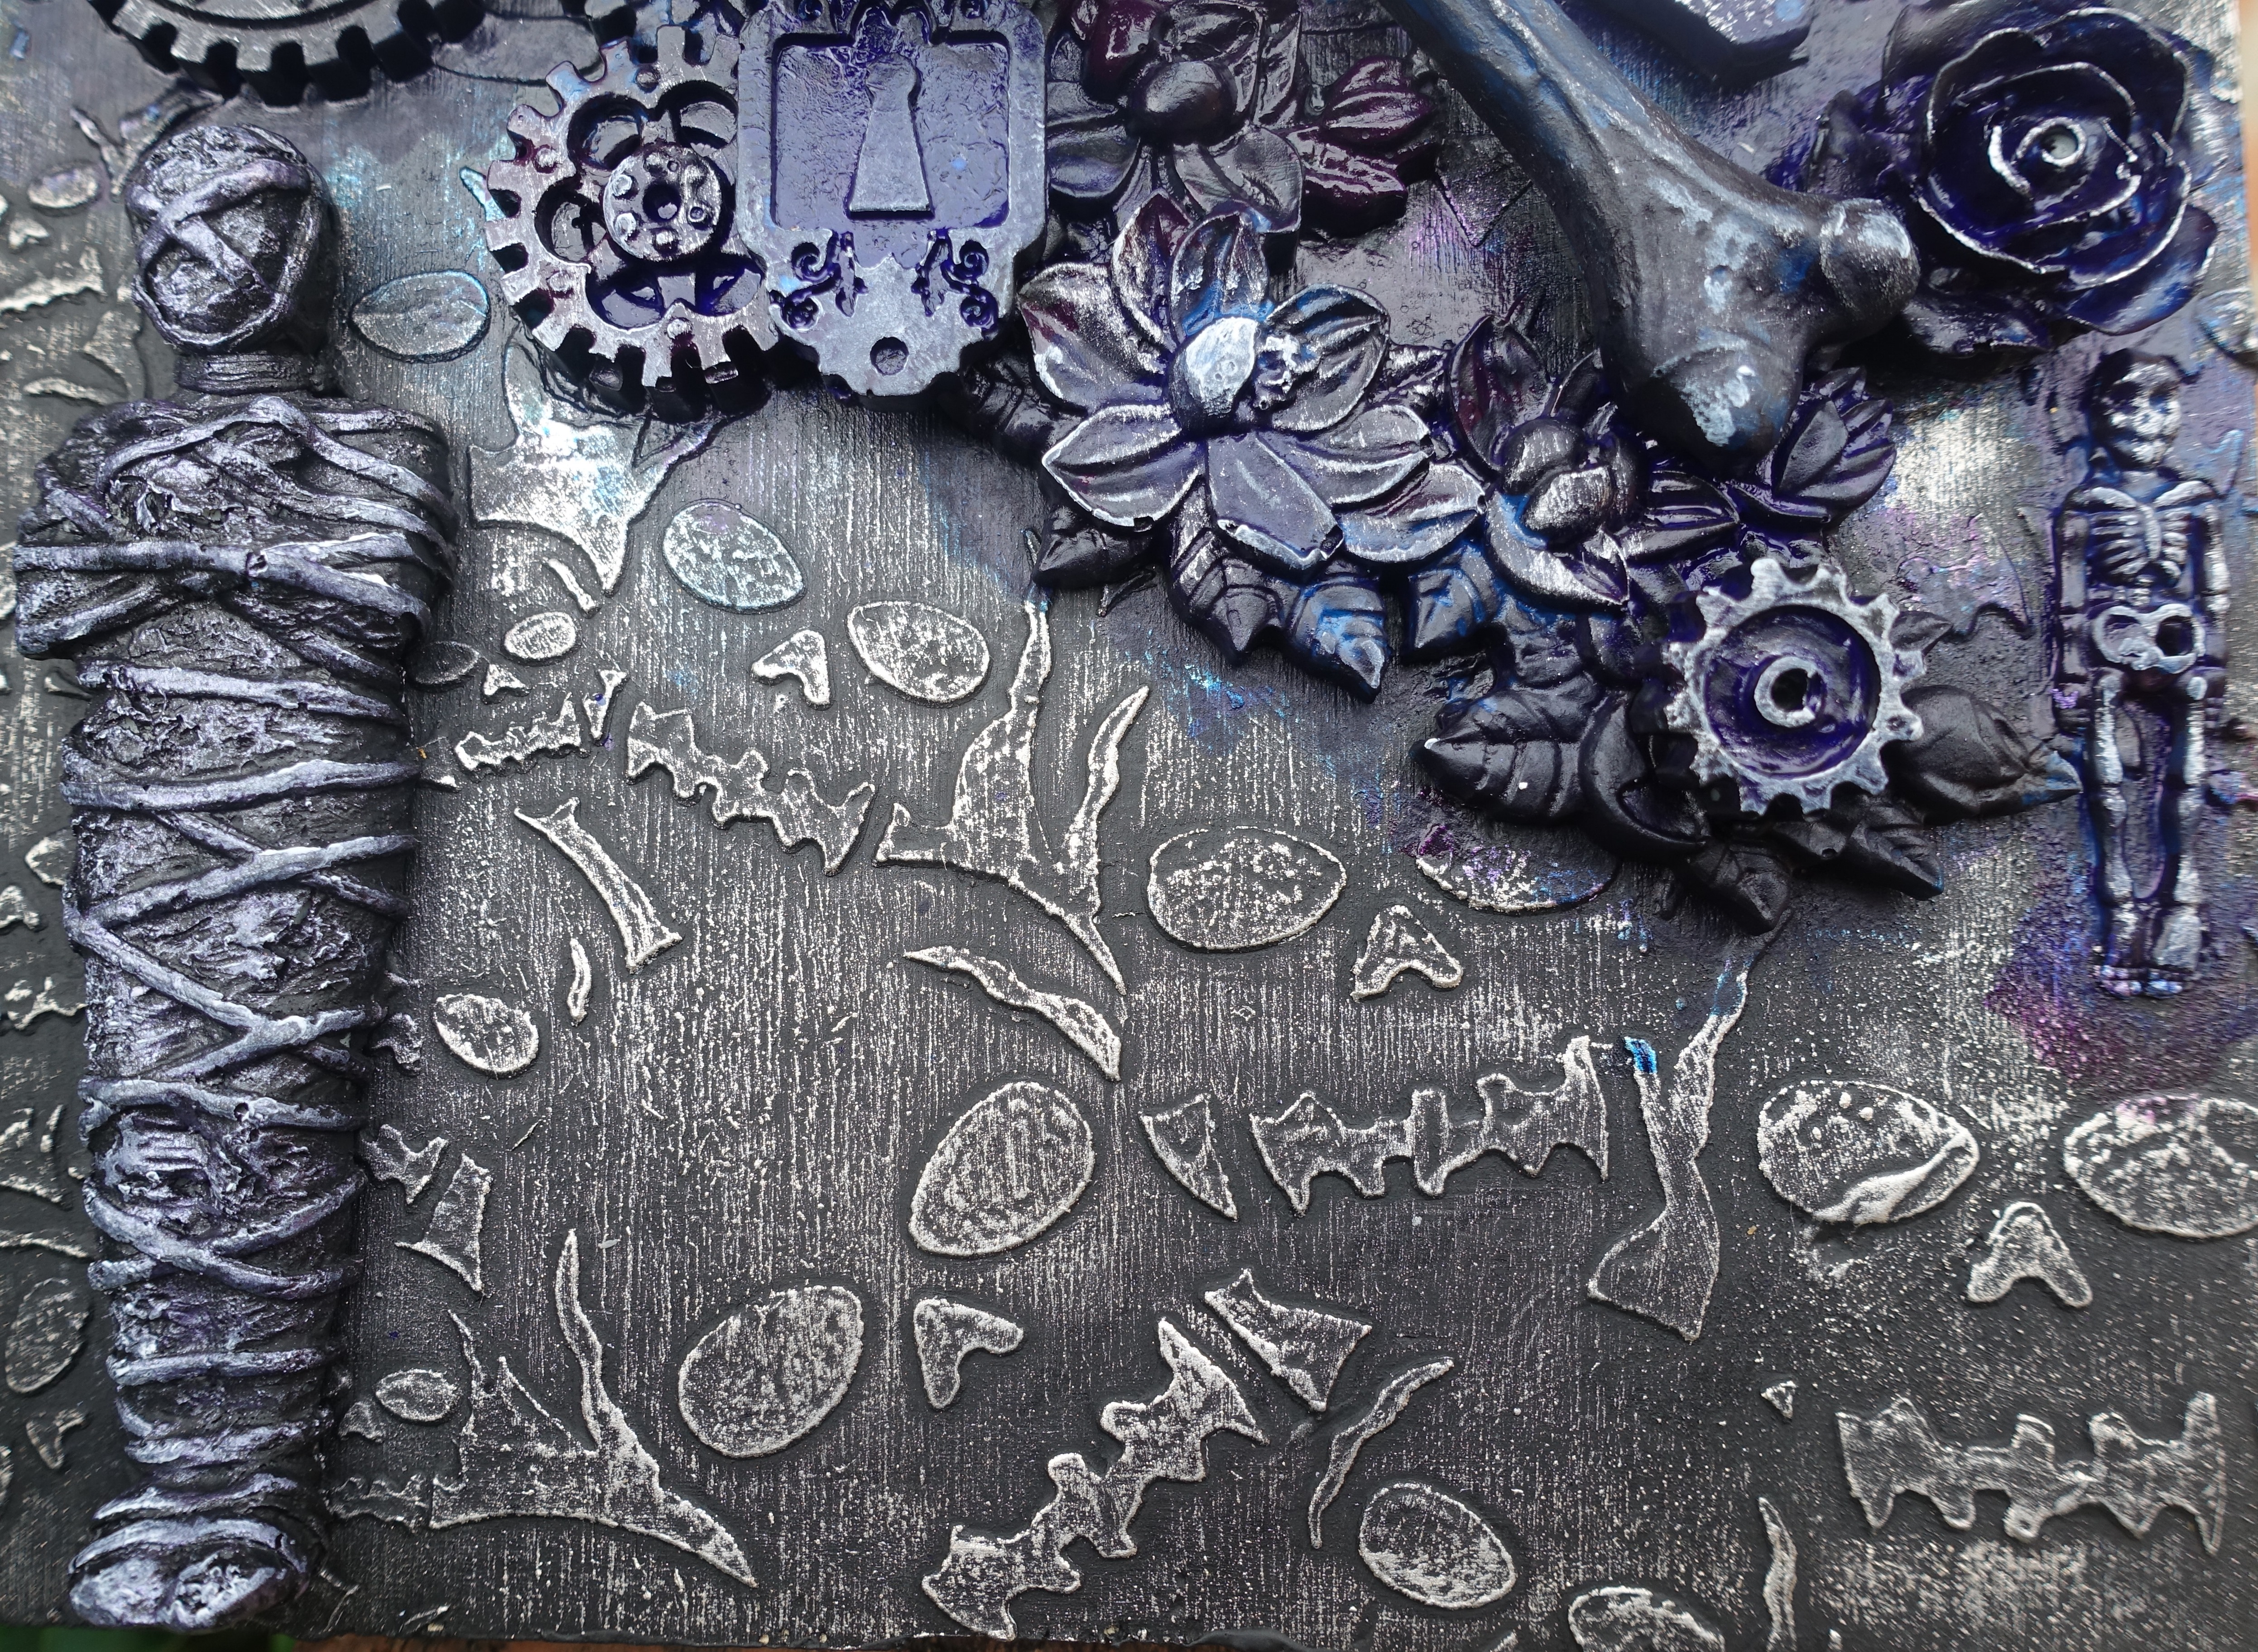
Dry brushed the background with silver to bring out the texture from the stencils.


I used various purples and blues to paint the background pieces.


Close up of the top of the composition.


The skeleton clothing is coloured with pewter treasure gold and the bones of the skelly are coloured with old white matte wax by Finn.


I painted the cross gold as I wanted it to stand out.


Another close up of the various elements.


And finally, the finished piece.

I usually paint all the different embellishments / elements before I stick them down, but this time I glued them down, painted everything black and then added colour.

Tuesday, 8 February 2022

Steampunk / Gothic Chest / Coffin / Tomb


Painted a mini chest with black gesso, added some stenciling with black modeling paste. Add a section of a decoupage queens and kings 12 x 12 paper and some steampunk pieces.


This is the top of the lid.


I put a skull face on each of the smaller sides.


Stenciling on the back.


I put some of the papers inside and then a skeleton for good measure.


Added a couple of spiders and a chain as the lid was too heavy.


Next I added some fibre paste to the edges and corners.


Then it was just a case of colouring it up to how I wanted it to look.


It opens and closes perfectly.
It's available to buy in my online shop.

Tuesday, 7 December 2021

RIP Bottle


A quick bottle make from me today.  Was too cold to spend too much time in the dining room.


And this is the back.

Saturday, 7 August 2021

Altered Vodka Bottle


Took the labels off and painted in black powertex, then added easy structure through a stencil and painted again with black powertex.


Then I pulled some resin mould shapes out and played around until I was happy with the design.


I painted all the pieces in black powertex, let them dry and then I used my new paints on them.


Now I know why they are called 'sparks', not too sure about the pink one though - lol


I used the purple metallic one on the bottle.


These are all the colours used in the other three pots of paint called 'sparks'.


In the sun it really is very pinky - lol


And I highlighted the stencilling on the back in silver.

Thursday, 8 April 2021

More mould creations on pieces of wood


I wanted to try out my new colours of waxes.  The substrate is just wood from our old green gate - it works great.

I picked up the clear crackle instead of the clear modelling paste, but it was okay.

Sunday, 4 April 2021

Canvas


I stencilled black modelling paste onto a canvas board.


Whilst it was drying, I laid out a few of the resin mould pieces.


I coloured the canvas board with metallic paints.


I gave all the pieces a coat of black powertex.


I'm not sure if you can see any difference on this photo, but I went over the raised areas with oxynite treasure gold, which is like a metallic brown colour.


Next I added waxes to the powertexed mould pieces.


I felt I needed something to tie everything in, so I used some gold coloured gilding flakes on the cogs.


This photo was taken out of the sun.


Close up of the chain, cog frame and skull.


Close up of flower on frame.

Sunday, 28 March 2021

Finnabair On-line Workshop


As I didn't have any appropriate tissue papers, I made my own in prep for the class.


Saturday afternoon, all set up and ready to go.


And here we are, live with Anna.


I've just added crackle paste to the edges here.


And moving on to the next step. Keeping up with Anna.


Once everything was dry it was the building up of the elements.


Once I was happy I stuck everything down and then that's where I stopped for the evening as I wanted to wait until it was all properly dry.  So this morning I gave everything a coat of white gesso.


Then I painted both pieces using shades of blue, grey and black, trying to add shadows, but I never have been any good at that!


Once the paint was dry I moved onto the waxes.


And lastly, added a bit of bling.


Close up of the front cover.


And close up of the back cover.

Really good on-line class, well paced and easy to keep up.

Blog Archive