Showing posts with label Tonic Die Cut. Show all posts

Monday, 13 January 2014

It's Springtime at Arty Inklings


Over at Arty Inklings, Anita has set the challenge of 'springtime' but also wants to see some texture, the colour green and some stamping. So I set to work. I knew I wanted to use some tags and I'd also just got my new T!m foliage die and I wanted to incorporate some corrugated for the texture element and came up with the rough design above.


Then I painted and inked and found a bird, a flower and a button.


Then I created a background using paint, ink, stencils and stamps.


I knew I wanted it in a frame, so painted some thin chipboard pieces in black, but it just didn't work, the background was way too busy.


Then Helen Chilton appeared on the PA blog with this technique here.


But again, it was way to bright for the tags. For me they got lost in it.


So then I went to patterned paper from TH retro pad but it was too plain. Gone from one extreme to the other.


So then I tried to combine the two, again not doing anything for me.


I turned the patterned retro paper over and settled for this.


Close up of the LP image in the arch.


The tag with the flower.


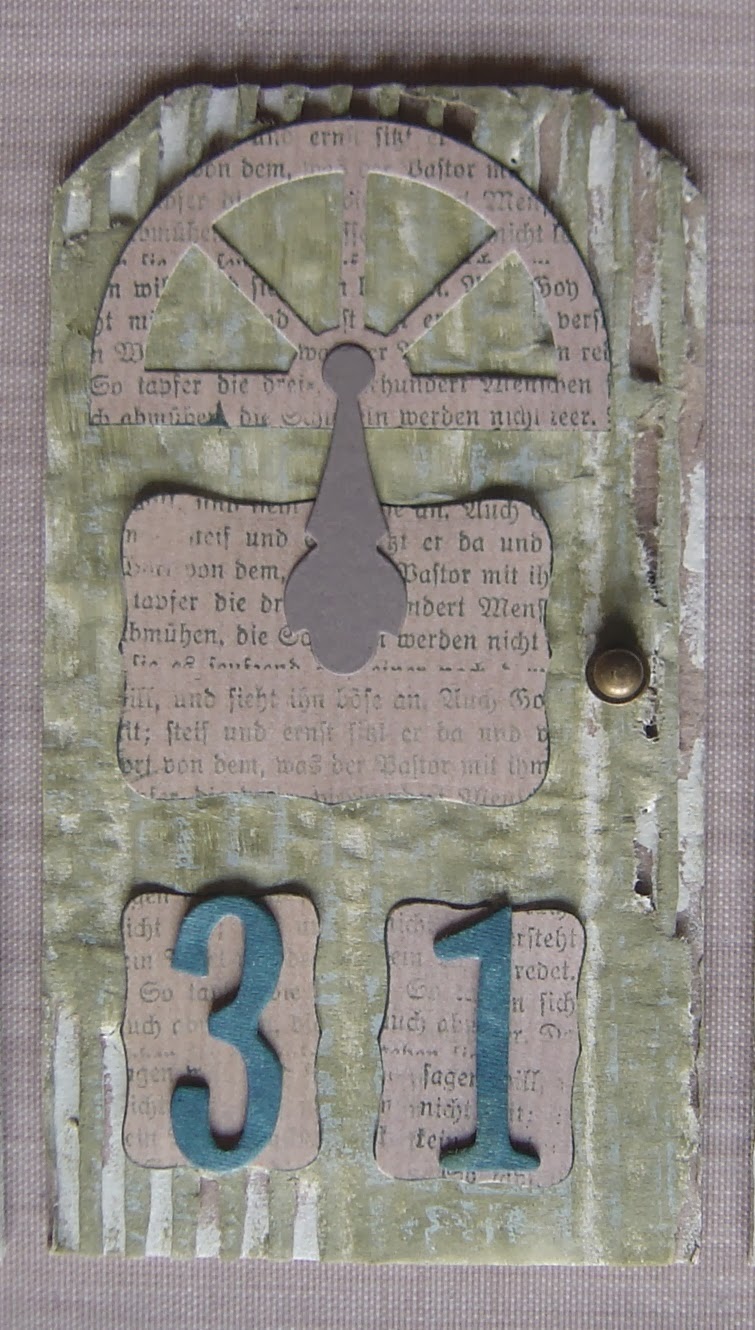
The door which you've seen before in a previous post.


And the birdie tag.


And finally the foliage using my new TH bigz die.

I got there eventually!!!


Thursday, 9 January 2014

Home Sweet Home


Over at Tag Along challenge this week they have a theme of home sweet home. As you can see I have a front door tag. It is eventually going to make part of a larger piece, so I will tell you more about it then.

Monday, 30 December 2013

PA Christmas Crackers 1 & 2


I've been playing along with PA Christmas Cracker videos. I used the foundations of the first one and added in elements of the second one. You can see them here and here. I painted a piece of chipboard in mocca mousse and pencilled in roughly where I wanted things to go.


Put some little piles of GP on craft mat and added fresco paints, starting with the greens.


Thoroughly mixing the paint into the GP.


And proceeded to cover the stencil with the grunge paste.


I carried out exactly the same process for the bricks using stone, chocolate pudding and French roast. I love how the colours have mingled.


It was here that I used some of the techniques from Christmas Cracker project 2 and stamped images into the wet GP.
 

Once completely dry, I sanded back the whole piece.


I added my window frame, fence and trees. I haven't decided what to put behind the window yet.


And finally I added aquamarine treasure gold to the green areas to hi-lite the texture in the GP and


Onyxite treasure gold on the bricks.

To Give


I randomly applied grunge paste to the background, painted it in various colours of fresco paints. Coloured the arch with the bronze metallic pan pastel and then decided to rub over the grunge paste with it too!! The LP image was stamped onto crackly tissue paper in black stazon and glued with mod podge. 

The reason I chose the words 'to give' is because Susan at Stamp Diva sent me the hand stamp (left) by mistake, but had missed out one I did order, Goddess Cartouche (right). So I contacted her and she not only told me to keep the one she'd sent by mistake but sent the one I did order free of charge ie no further postage costs.


So I used parts of the new stamp to randomly stamp in the blank spaces on the background.

Tuesday, 3 December 2013

Do you Believe?


I covered this piece of chipboard in grunge paste creating a wall effect with a stencil. I die cut an arched window and added white puff paint to it and heated it up to create the effect of snow. I stamped the santa in red stazon and put him in the window. Die cut the trees and embossed them with script and painted them in various colours of fresco.

I'm entering again into the Arty Inklings crimble challenge.

Country View Crafts have a theme of Bah humbug and want to see an element of Christmas.

Anything but a Card have a theme of anything goes....with a holiday twist.

Wednesday, 23 October 2013

Lace or Fabric - Stampotique


This is my last week of being on the Stampotique guest designers team and the theme set by France is Lace or Fabric.

Using an mdf man tag I coloured the background with vanilla, beach hut and south pacific fresco paints.   Background is stamped in various Stampotique images, hanging hearts, splatters and journey collage with black stazon.  The window frame is coloured with willow, lemonade and citrus alcohol inks, along with the flower head.  The background was stamped with Daniel's hearts and coloured with adirondack pens and pan pastels.  The flower stem is coloured with south pacific and stamped randomly with Carol's small flower.  Linda's head has been stamped onto the flower head.

Lace has been cut in the butterfly movers and shapers die and attached to a piece of chipboard cut in the same shape.  I trimmed the window sill and the flower head with lace too!!

Wednesday, 28 August 2013

Another Emma Challenge


Emma chose this colour pallet for us to work with for this challenge, but I set the criteria, which was to incorporate a bird, a flower, an arch and some lace.


So I chose the largest of my mdf plaques and used the back so I didn't have the bevelled edges to contend with.  I used a mix of fresco paints, elephant, sky, ice blue, French roast, eggplant and pansy. Distress inks, stains and paints in seedless preserve, weathered wood and iced spruce.  I used a number of die cut shapes, a diamond stencil and some TH tissue tape.  All images are PA.

Tuesday, 6 August 2013

Looking Back


I managed to make this using limited PaperArtsy products, and instead for the majority I used T!m Holtz products!!

Crafty Boots have a theme of die cuts this week.

Wednesday, 24 July 2013

Lady of the North


I used the same ingredients to make the frame but coloured them with distress paint, picked raspberry, broken china and salty ocean.


Tuesday, 23 July 2013

Faces of a Lady


This shape was created using my Tonic window and TH pediments dies with patterned paper.  The green strips are my home made washi tape, and finished off with gems.

Images are from the LP006 plate and stamped onto white card with black archival ink.

Thursday, 18 July 2013

Oriental Window


Background shape is the cabinet die, cut in red card and chipboard.  The LP oriental image was stamped in versamark and covered in black embossing powder.  The window frame was cut from white card using my new tonic die.  The black die cut piece is from the Sizzix antique handles set and is hi-lighted with ruby treasure gold.  Fibres and a metal handle were added.  The black dots at the top are made using the ranger enamel accents.

Over at The Three Muses they have a challenge theme of red, black and white, but I'm not sure if they are just a digital challenge blog although in the blurp it does say that they welcome any art style, so I'm entering and will see what happens!!!


Tuesday, 16 July 2013

Window Box


I picked up a pen pot from the MDF Man on Saturday, along with a set of feet and some handles, with the intention of turning it upside down and using the bottom as a lid.


I painted each side in a colour of fresco paint, ice blue, guacamole, haystack and pansy.


I die cut 4 windows from white card using the tonic window die I also picked up on Saturday and painted them in the same colours as above, but forgot to paint the white one green!!!

And then I forgot to take any further photos until the finished piece!!!

I stencilled on each panel in a darker colour.  Then stamped various LP images in black archival onto each side.  I did have to do a bit of faffing beforehand to see where the cross on the window would fall.


Pansy, with squid ink through the mini burst stencil and LP005 image.  Hi-lighted with white posca pen.


Ice blue, with Baltic blue through the mini Roman letters stencil and LP008 image. Hi-lighted cheeks!


Guacamole, with Hyde park through the mini cubist stencil and LP006 image. Hi-lighted cheeks.


Haystack, with brown shed through mini ledger stencil and LP001 image.  Hi-lighted cheeks.


Side view, purple and yellow panels


Side view green and blue panels.  I also painted the top in squid ink fresco paint and added a mini handle.


Blog Archive