Showing posts with label Perfect Pearls Mist. Show all posts

Tuesday, 11 April 2017

Oxides and Perfect Pearls


Had another quick oxides play today but this time instead of spritzing with water, I spritzed with mint perfect pearls. I'm hoping you can see the glimmer in the photo. I used peeled paint, faded jeans and broken china oxides on water colour paper.


And I did the same for this one using the pink, red and orange oxides, but this time I used the bisque perfect pearls which is like a gold.

Tuesday, 7 February 2017

Rustic Hearts


I had a play with rust powder, ivory powertex and bister. The balls weren't meant to be there, but I had a little accident and knocked the pot over and that's where some of them landed!


This one has Decoart modeling paste through a stencil directly onto the mdf. Rust powder was mixed into the ivory powertex and spread over the mdf. Again the sand balls weren't meant to feature! I spritzed them both with a 50 / 50 of lemon juice and water. I again forgot to pick up some white vinegar.


Once they had been left for 24 hours and completely dry I sprayed them with yellow and then brown bister, drying in between colours.


This one has had the same treatment.


Close up after a third colour of bister has been added and dried.


Again a third colour of bister and you may also be able to see some cracks developing.


For the next layer I sprayed on some perfect pearls mist in green, it sort of gave it a patina look as it has a shimmer.


And on this one I sprayed with perfect pearls mist in bisque, which is like a champagne gold colour.


And finally I went over the sand balls with treasure gold.


I went over both the stenciling and sand balls with treasure gold on this one.


Close up of the sand balls after being treasure golded and you can still see the rust on the left.


Hopefully you can see how this catches in the light and you can still pick up the rust.

Sunday, 29 January 2017

Triptych Powertex Workshop


The table ready and set up for us to go. As you can see there are three pieces of lovely ragged raw wood for each of us.


Alli giving us a run down on what we were doing and dishing out 'pink' gloves!!! Yikes!!!


First step, paint the panels with gesso and dry with a heat tool.


Lesley gessoing her panels, don't forget the edges!


Next we added some stenciling using the Powertex Easy Structure product, which is basically like a texture paste, modeling paste or grunge paste.


The girls adding their stenciling to the panels whilst wearing their pink gloves!!


We dried the Easy Structure with a heat tool.


This is about 3 steps later. Next we mixed a 50 / 50 of 3d flex and ivory powertex to make an icing like consistency to literally drop and slop across our three panels. We used a pallet knife to create texture and stringy bits, some of us added the sand balls in. Next we sprayed the powertex and 3d flex mix with bister and left it to dry on it's own for now!


Next we decided what embellishments we wanted to use and roughly placed them where we wanted them to be.


Using powertex we stuck them down on the panels, dried them with a heat tool and gave them a coat of gesso and then dried that with a heat tool too.


This one is Lesley's, she is just deciding where to place her embellishments.


And then all the additions got a final coat of ivory powertex, this is to ensure that everything dries hard, ie the corrugated cardboard. Everything on all three panels was then zapped with a heat tool and I'm not sure if you can see or not, but the bister over the powertex and 3d flex mix has started to crack.


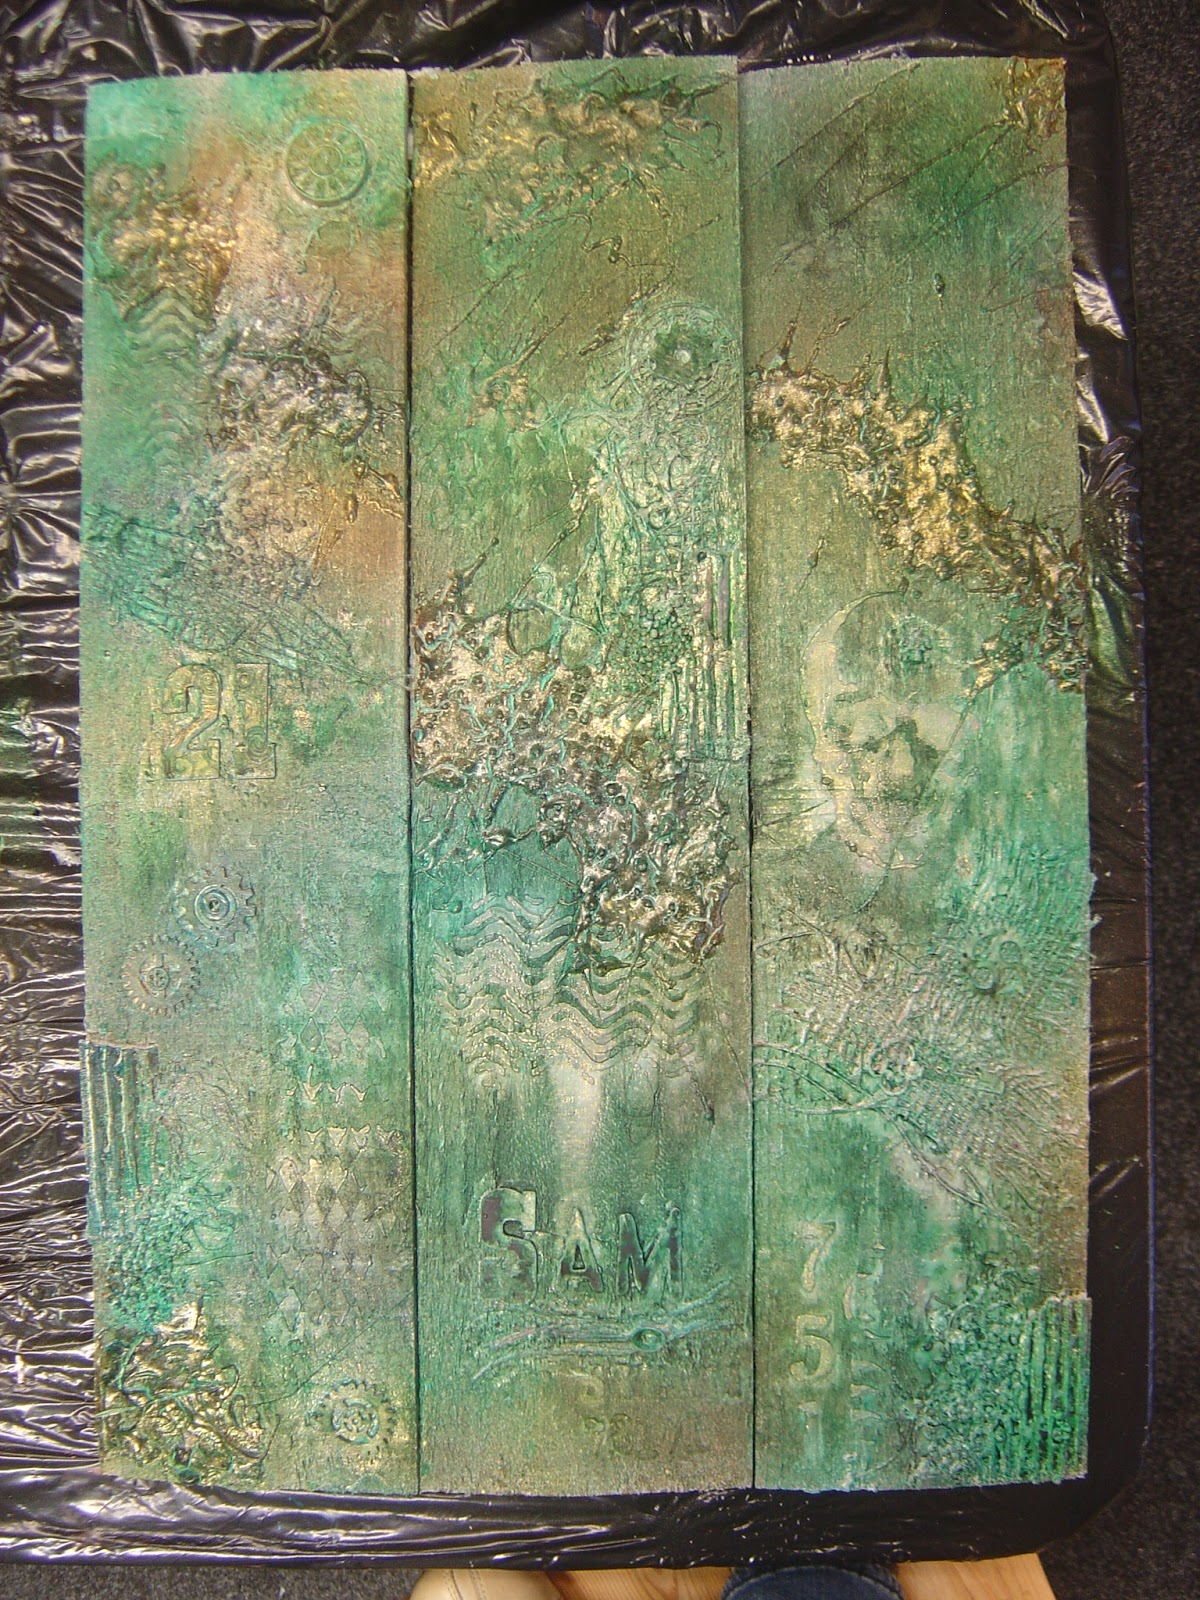
Then the fun started. You would not believe how many layers of different colours of bistre and spray paint this has had on it, but basically I just kept going until I was happy with what I had. And if any of you eagle eyed people out there can spot some pink, well you'd be right, I used a bright pink with a mica in it!!

I left mine there for the day as I wanted to go back to it to do some dry brushing when I got home after it had 100% totally dried.


Chris admiring what she'd done and the rest of the girls in the background drying their panels.


This is Chris's once she'd dried it.


Helen is still drying hers as her 3d flex / Powertex mix was quite thick so took a while to dry.


Lin's, again she also had a thick layer of the mix, sorry the photo is a bit blurred but I was taking it over her shoulder whilst she was still drying it.

We finished up at the workshop and all decided to do the dry brushing when we got home after the panels had had time to properly dry.


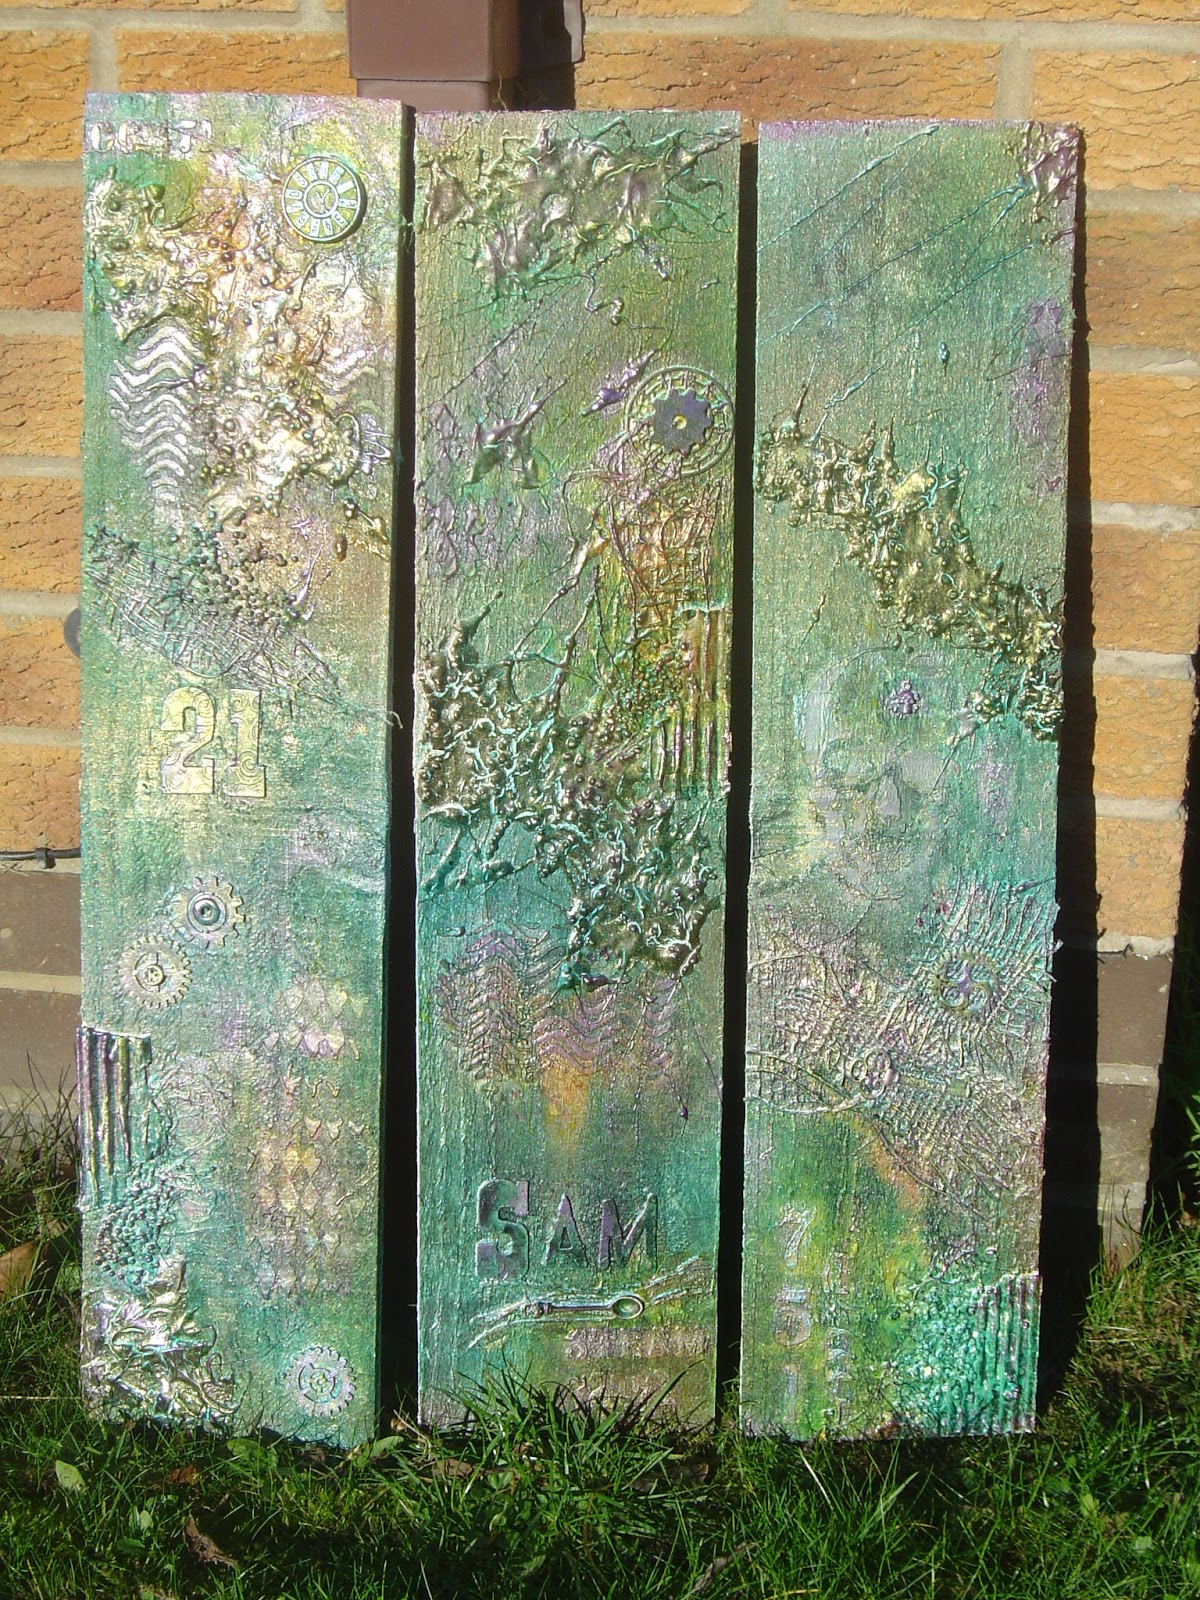
So this morning, I added violet shimmer and yellow shimmer Decoart media sparys, dazzling metallics in berry and teal, metallic lustres in black shimmer, majestic purple, elegant emerald, brilliant turquoise and champagne ice until I was happy with what I had.


As the sun was out, I took them outside in the garden and took some photos.


Close up of the stenciled skull hi-lighted in black shimmer and the mix of powertex, 3d flex and sand balls.


Close up of the grungeboard numbers and wooden cogs.


Another close up of the stenciling and paste mix.


Close up of the stringiness we managed to achieve with paste mix and power cotton.


Love how the mix on this one crackled once heated.


Close up of the burlap and metal embellishments.


And one more close up, stenciling, wooden cog and paste mix in bottom corner.


Then I came back inside and took another photo. Obviously they look duller and you can't see the metallic as well.


Another close up of the middle of the middle panel.


Another close up of the key and cog sat on the burlap.


And finally a close up of the bottom of the right panel. Right in the bottom corner you can see the corrugated cardboard and sand balls.

I love how they've finished up really grungy even though I've used a lot of metallics to hi-light the textures.

We took this workshop with Alli Turner of Allison Turner Designs, please contact her through her website to arrange classes.

Monday, 14 September 2015

Techniques with Brushos


Having been asked by PA to play with Brushos, how could I refuse. As they are so versatile, I've decided to show you some techniques rather than the end product, so here goes.


So the first technique involves cling film and a mica based spray product, I'm using Perfect Pearls Mist. Sprinkle a few colours of brusho onto your card.


Spritz with the Perfect Pearls.


And cover with the cling film.


After about 10 minutes, carefully peel the cling film off and you will be left with something like this. The mica has settled and dried in the creases of the cling film.


For the next technique you need to in effect make an ink pad but instead of using ink, we are going to use bleach to lift off the colour. You need a container larger than your stamp, put a bit of bleach in the bottom and use a bit of water to dilute it, place kitchen roll in to make your pad, you do not want this saturated, you just want the kitchen roll to be slightly wet.


So when you lift your stamp out you'll be able to see how wet it is, you don't want it sopping wet.


Then just use it like you would an inked stamp and watch the colour disappear.


I stamped some images from the Hot Picks 1503 plate and used a white sharpie pen. The background script stamp is from the ESN03 plate.


Close up of the bleached stamping and white pen work.


This tag was spritzed with water and turquoise and light brown Brushos were sprinkled on, once dried I added the images in timber brown stazon ink. 


I have a pot and a brush dedicated to the bleach which I slightly watered down.


Picked some areas to remove the colour and used the paint brush to bleach it out.


Close up of the original.


And the bleached out version.


The next technique is stamping with the Brushos. Sprinkle a couple of colours onto your craft sheet and spritz with water.


Lightly dip your stamp into the wet Brushos and simply stamp.


I have found that the bolder stamps work better.


Close up of the bolder style stamp images.


And finally I added the images from Hot Picks 1503 with purple stazon.


And the last technique includes using stencils.


Sprinkle some colours of Brusho onto your stencil.


Spritz with water.


Carefully pull the stencil off.


You can buy Brusho thickener which enables you to use Brusho as a paste, so I decided to see what happened when I mixed it with Goldens regular medium. I pulled some out the tub, sprinkled some Brusho on and mixed it together, it mixed really well.


Scraped it through the stencil.


And peeled it off. It dried really quickly too.


And again using the same Hot Picks plate I added some images and used gathered twig distress ink to add more colour.

So there you have it, a few techniques of using Brushos. I hope you'll have a go and join in with this weeks PaperArtsy challenge which is pigment powders.

Blog Archive