Showing posts with label Perfect Pearls. Show all posts

Thursday, 22 September 2016

Rainbow Goblin House Experiment


I made another house, this time from a jam jar.


I used up the remainder of my black Powertex so had to add some green to it.


I added some air dry clay and fimo clay faces.


Some lace and cotton scrim.


Flowers and powertex cotton threads.
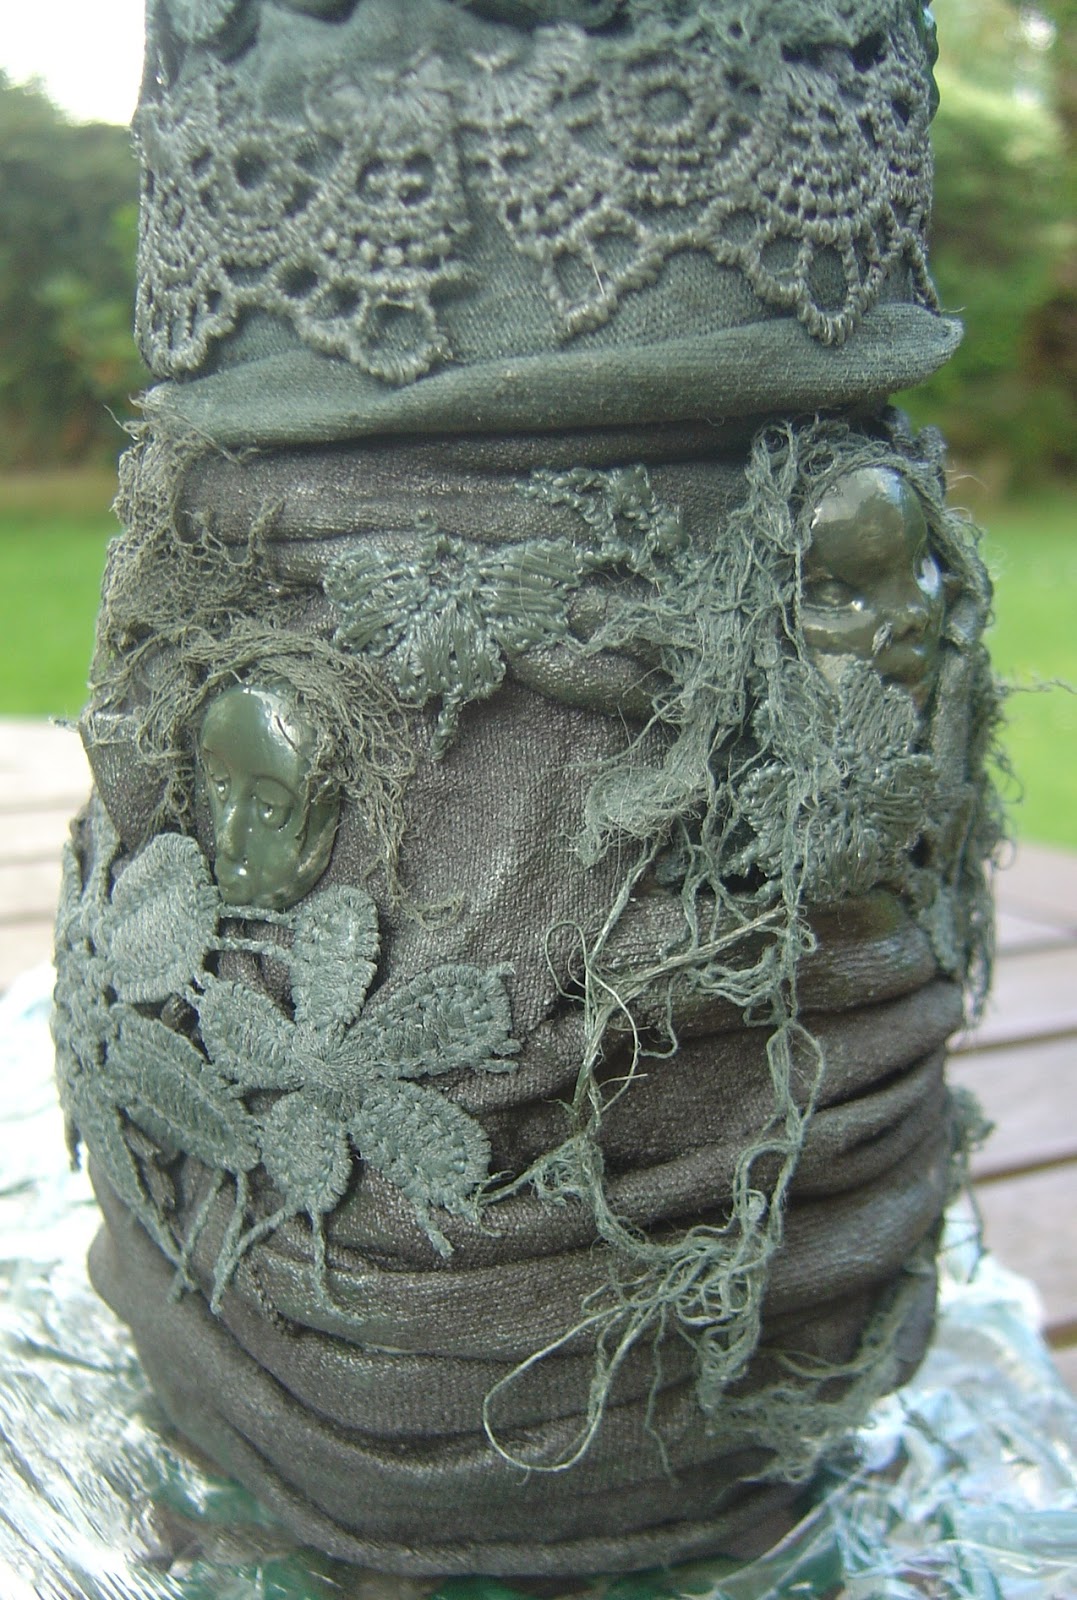

T-shirt fabric used to cover the base of the jar.


Close up of the base of the jar.


And the same for the lid.


Now for the experiment. I want to put this piece outside for a few months to see what varnishes are totally weather proof. The soft and reg gel are by Golden and the soft touch, satin, gloss, ultra matte and matte med are by DecoArt, the rest you can see. I paired them up with either a primary element or a perfect pearl pigment.


So here we go, I've placed the lid on with the head towards where I started the cycle. I started with Golden soft gel with wild plum primary elements, the second was Golden matte medium with autumn skies primary elements.


Then I moved onto the Golden regular gel and deep coral primary elements. followed by Americana Decoupage matte with ginger peach primary elements.


Followed by Americana Decoupage matte with ginger peach primary elements.
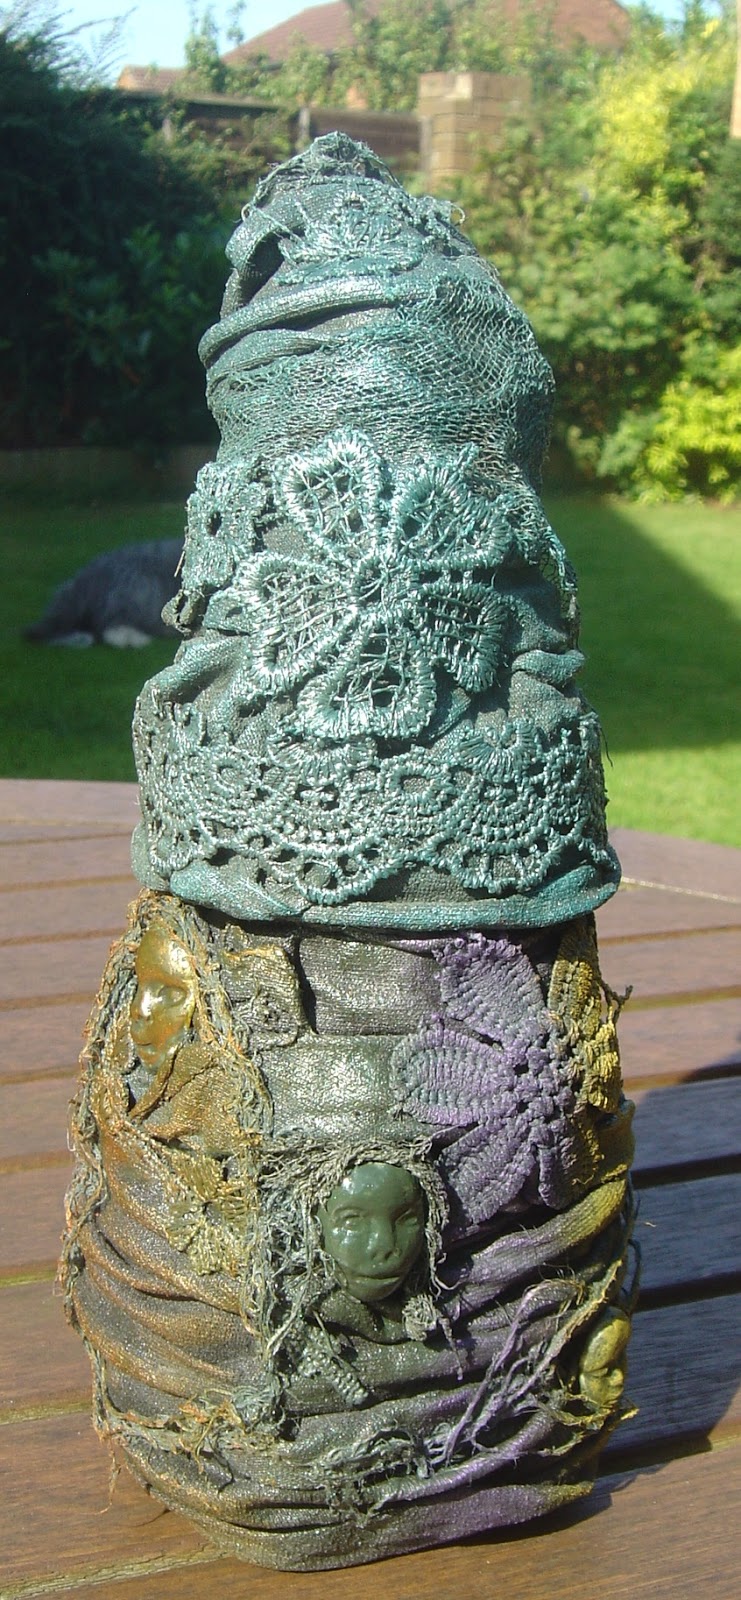

The next one didn't work too well and when mixed became watery and frothy - Mod Podge Dimensional Magic mixed with kiwi perfect pearls. It didn't cover over the face either.


The next combination is DecoArt media soft touch varnish and royal orchid primary elements, followed by DecoArt media matte medium and yellow ochre Powertex pigment.


DecoArt media ultra matte varnish and true blue primary elements.


And the final strip, DecoArt media gloss varnish with spiced pumpkin primary elements.


And I completed the set by using the remaining two varnishes for the roof. On the left side we have Americana Triple Thick Gloss Glaze with green patina perfect pearls and on the right DecoArt Media Satin varnish with moss agate primary elements.


A close up of the base of the pigments over the fabric.


And another close up of the pigments over the flower embellishments.

I now have to wait 3 weeks before it can be placed outside and start the experiment. This is because the Powertex only becomes waterproof after 3 weeks of drying time.

Watch this space!!!

***Edited***


Three weeks have now passed since I blinged up my goblin house and so today I put it outside the garden in the boarder and my intention is to leave it out there for at least 3 months to get really weathered, then bring it back in, inspect it and report on which pigments and varnishes survived and which, if any, didn't!!

Friday, 26 August 2016

Hochanda Ghoul


Having watched Tracey Evans on Hochanda I made a ghoul using a Wilkos meat basher, a clay skull from a mold, tinfoil and masking tape to get to the above stage.


This was him having been given the black Powertex treatment using lots of different fabrics including t-shirt material, lace, ric-rac and power cotton. 


Here he is outside after being in the airing cupboard all night. Now at this point I was going to wait before I coloured him.


I'm visiting a shop in a couple of weeks that carries the whole Powertex range, so was going to get some more of the pigments, but............


I couldn't wait that long so out came the Ranger Perfect Pearls, the Primary Elements and the DecoArt satin varnish. 


I really can't believe how dull the colours look even though the sun is out, but IRL they are really vibrant, I love him.


Front view, I used about three different colours of blue to give him a bit of colour.


I did the hat in heirloom gold perfect pearls and also gave his face a light brushing with it too.

Thursday, 5 November 2015

Mini Marvels Matchbox Swap #2


I'd already made the tray but it didn't fit in my sleeve and the book I'd made didn't fit in the box due to the thickness of the denim I'd used, so I had to make a new sleeve to fit the tray. I painted each piece of chipboard with the AS rust mix. Added some resist here and there and painted with a layer of white crackle paint.


I rubbed back the pieces once it was dry to reveal where he resist had been. I decided to cut the middle panel out of the top and added a piece of mesh instead.


So the white wasn't so stark I brushed it over with a watered down rust colour. 


I added stickers and rub ons. This was all done before the sleeve was glued together.


This is the tray and what I've put inside. The clay skull was dry brushed with a mix of perfect pearls and Decoart ultra matte varnish and clear crystals added for the eyes.


This is just to prove that this time the tray fits into the sleeve!!


And I love how when it's closed you can still see all the contents.

I hope my swap partner likes it.

All products were used from the DecoArt range and you can find the techniques used on this box on their media range of videos.

Thursday, 30 January 2014

Happy Birthday Emma


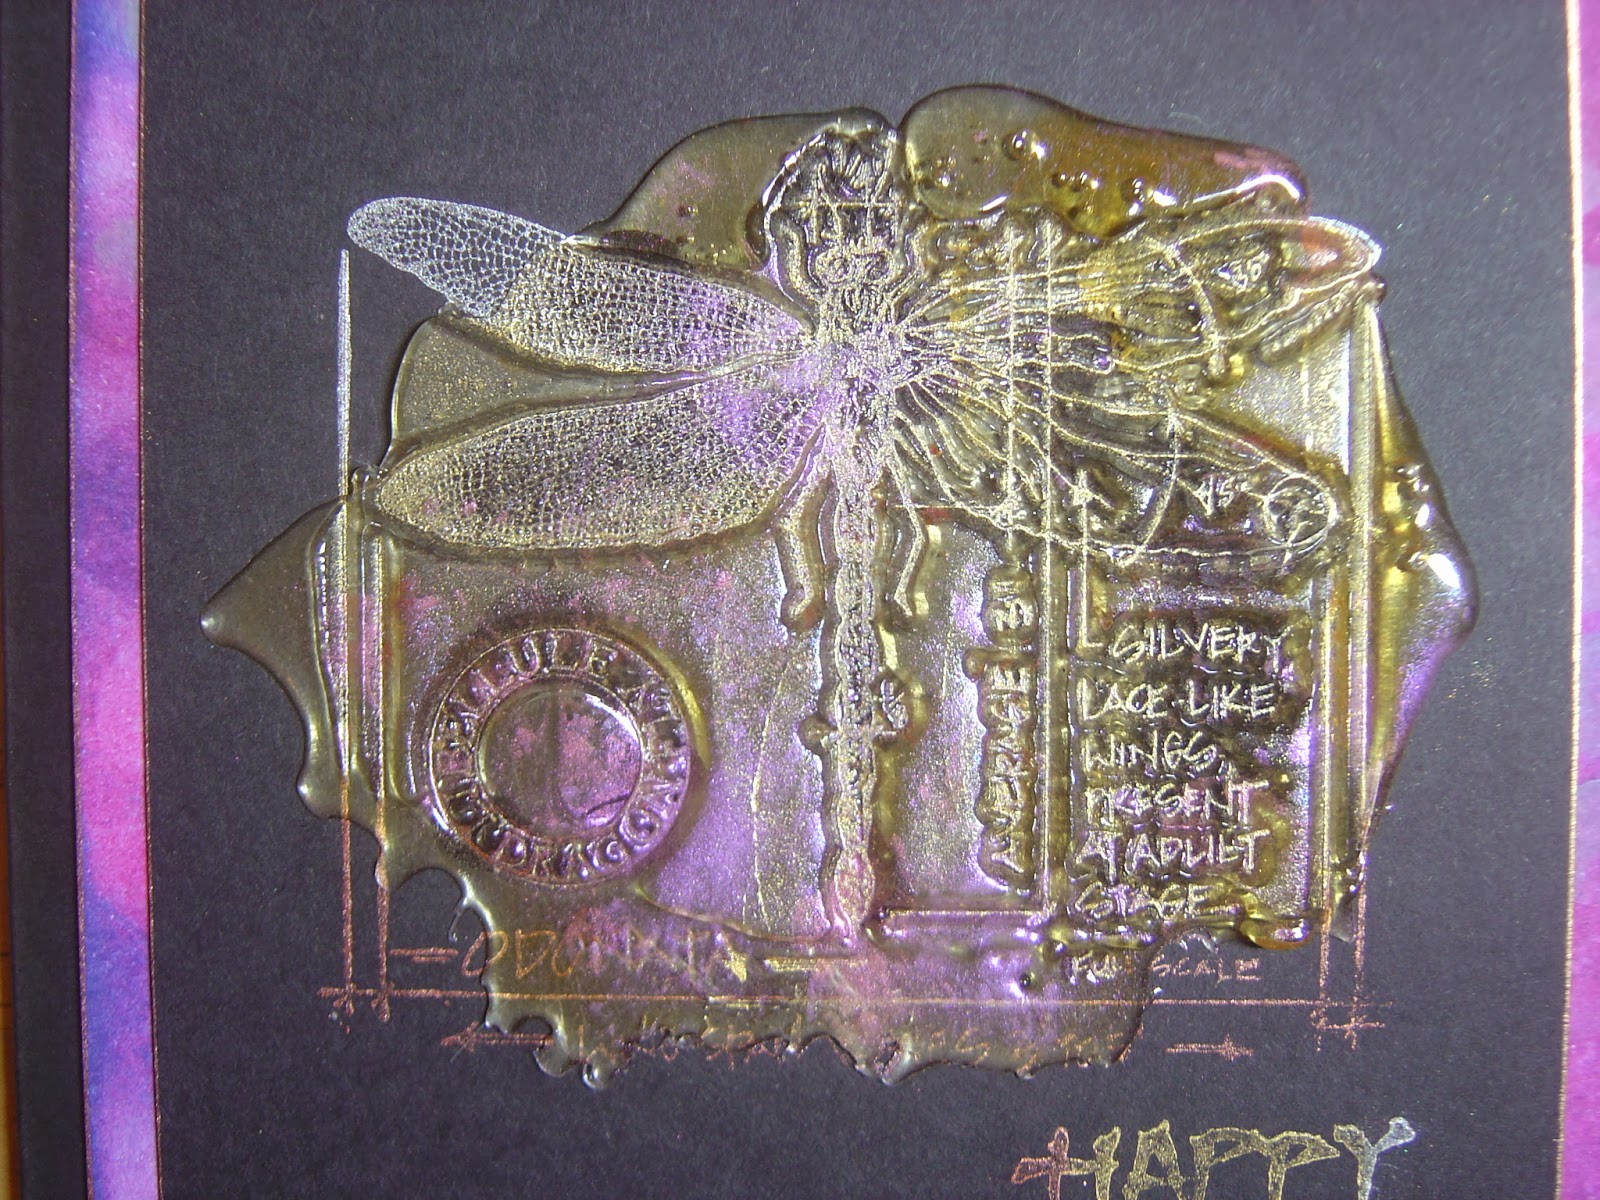
Happy Birthday Emma.  It's Emma's birthday today and she loves this TH dragonfly stamp, or at least I hope she does as she now owns it!!  She also has a love of pink.  I couldn't just use pink so had to tone it down with a bit of blue for the background piece!!


This is a close up of the stamped image in the Utee with various pink and purple colours of perfect pearls.


And finally a close up of the stamped happy birthday in the brilliance triple metallics pad.

Wednesday, 1 January 2014

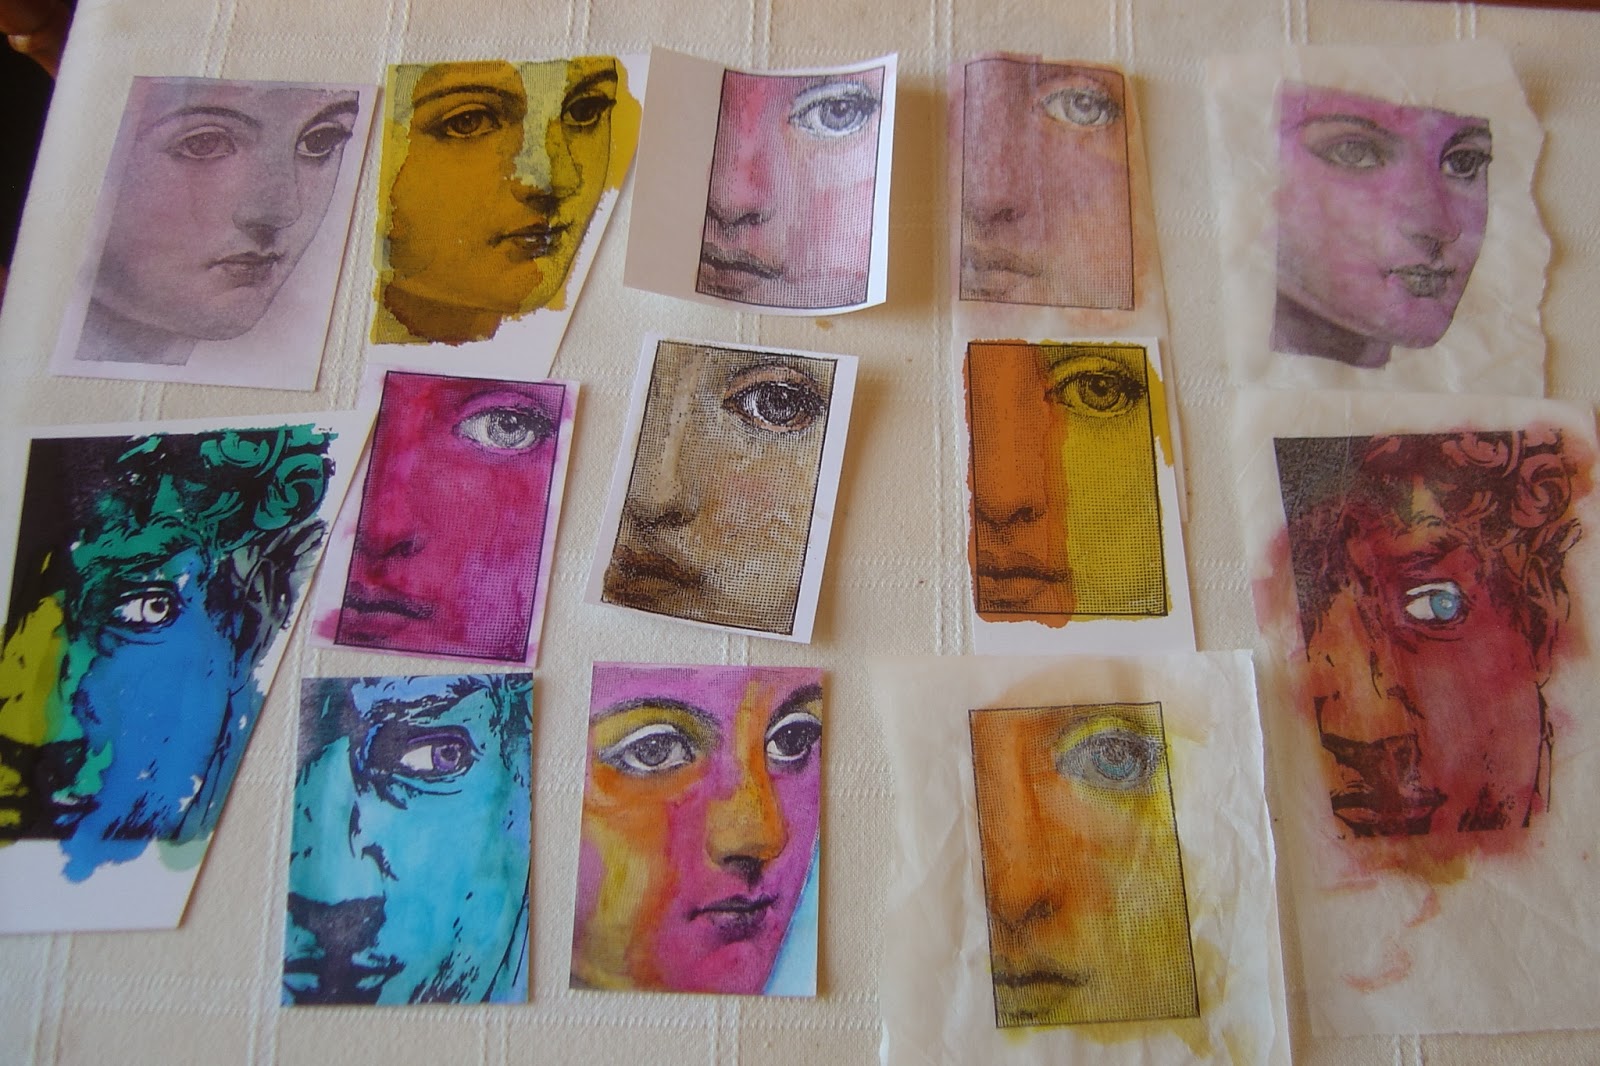
Making Faces


I stamped 3 styles of faces onto various different bases, ie matt card, glossy card and different thickness's of tissue paper.


Then I played with some backgrounds using silver mirri card, embossing folders, alcohol inks and treasure gold.


Then black card, embossing folders, metallic pan pastels and treasure gold.


And created these. Here they are in more detail below.


Image from T!m Holtz Classics #5 set, coloured with portfolio pastels on white matt card. Background embossed script coloured with metallic PP's and a piece of embossed mirri card and words added.


Left - Sunset and Lemonade alcohol inks onto glossy card, pieces of coloured cd added to decorate.
Middle - coloured with distress marker pens, ripped and posca pen doodling added.
Right - coloured with portfolio pastels, ripped and edged in black pen. Piece of blue coloured acetate over eye.
Image used on all by Hampton Art and all mounted onto plain black card.


Image from T!m Holtz Artful Artifacts stamp plate. Coloured with portfolio pastels, mount onto black card. Silver mirri card embossed in Dymo machine with 'obsession' and coloured with stream alcohol ink and black paint. Cd pieces used to embellish.


And finally this image was stamped onto glossy card with versa mark and heat embossed in black embossing powder. Coloured with metallic colours of perfect pearls, added onto a piece of black card and white posca pen doodling.

Monday, 18 November 2013

Stamping in Utee


Over at the PanPastelUk site this week they are challenging us to make our own embellishments.  I found this Utube video on Utee and mica powders.  As she used one of my favourite stamps I decided to use it too.  For the background I spritzed a dark blue piece of card with biscotti perfect pearls mist and outlined both pieces in white fire liquid leaf.


Close up of the stamped Utee using blue shades of perfect pearls. The image was re-stamped onto the black card using gold galaxy brilliance ink.


Then I decided to try a green one been as I had leftover Utee.  For the background I used mint perfect pearls mist on black card.


And again, a close up of the stamped Utee with the green perfect pearl powders.

Blog Archive