Showing posts with label Bisters. Show all posts

Tuesday, 1 June 2021

Up-cycled Tags


Our hoover gave up the ghost at the weekend so Martin went to Currys for another one.  I cut the packaging up and kept the three pieces above.


Coated them in black powertex.


Next I mixed some powertex sand into some soft gel medium and spread it onto the tags.


Once dry, I painted over them with powertex and then used metallic waxes to colour the edges and bring out the texture.


I cut up some squares from an old scarf.


Took them out in the garden and sprayed them with bisters.


Next I cut some squares from this ice-cream box.


I machine sewed the pieces of scarf to the cardboard for stability.


I powertexed some resin pieces.


Steampunk balloon tag.


Gothic style tag.
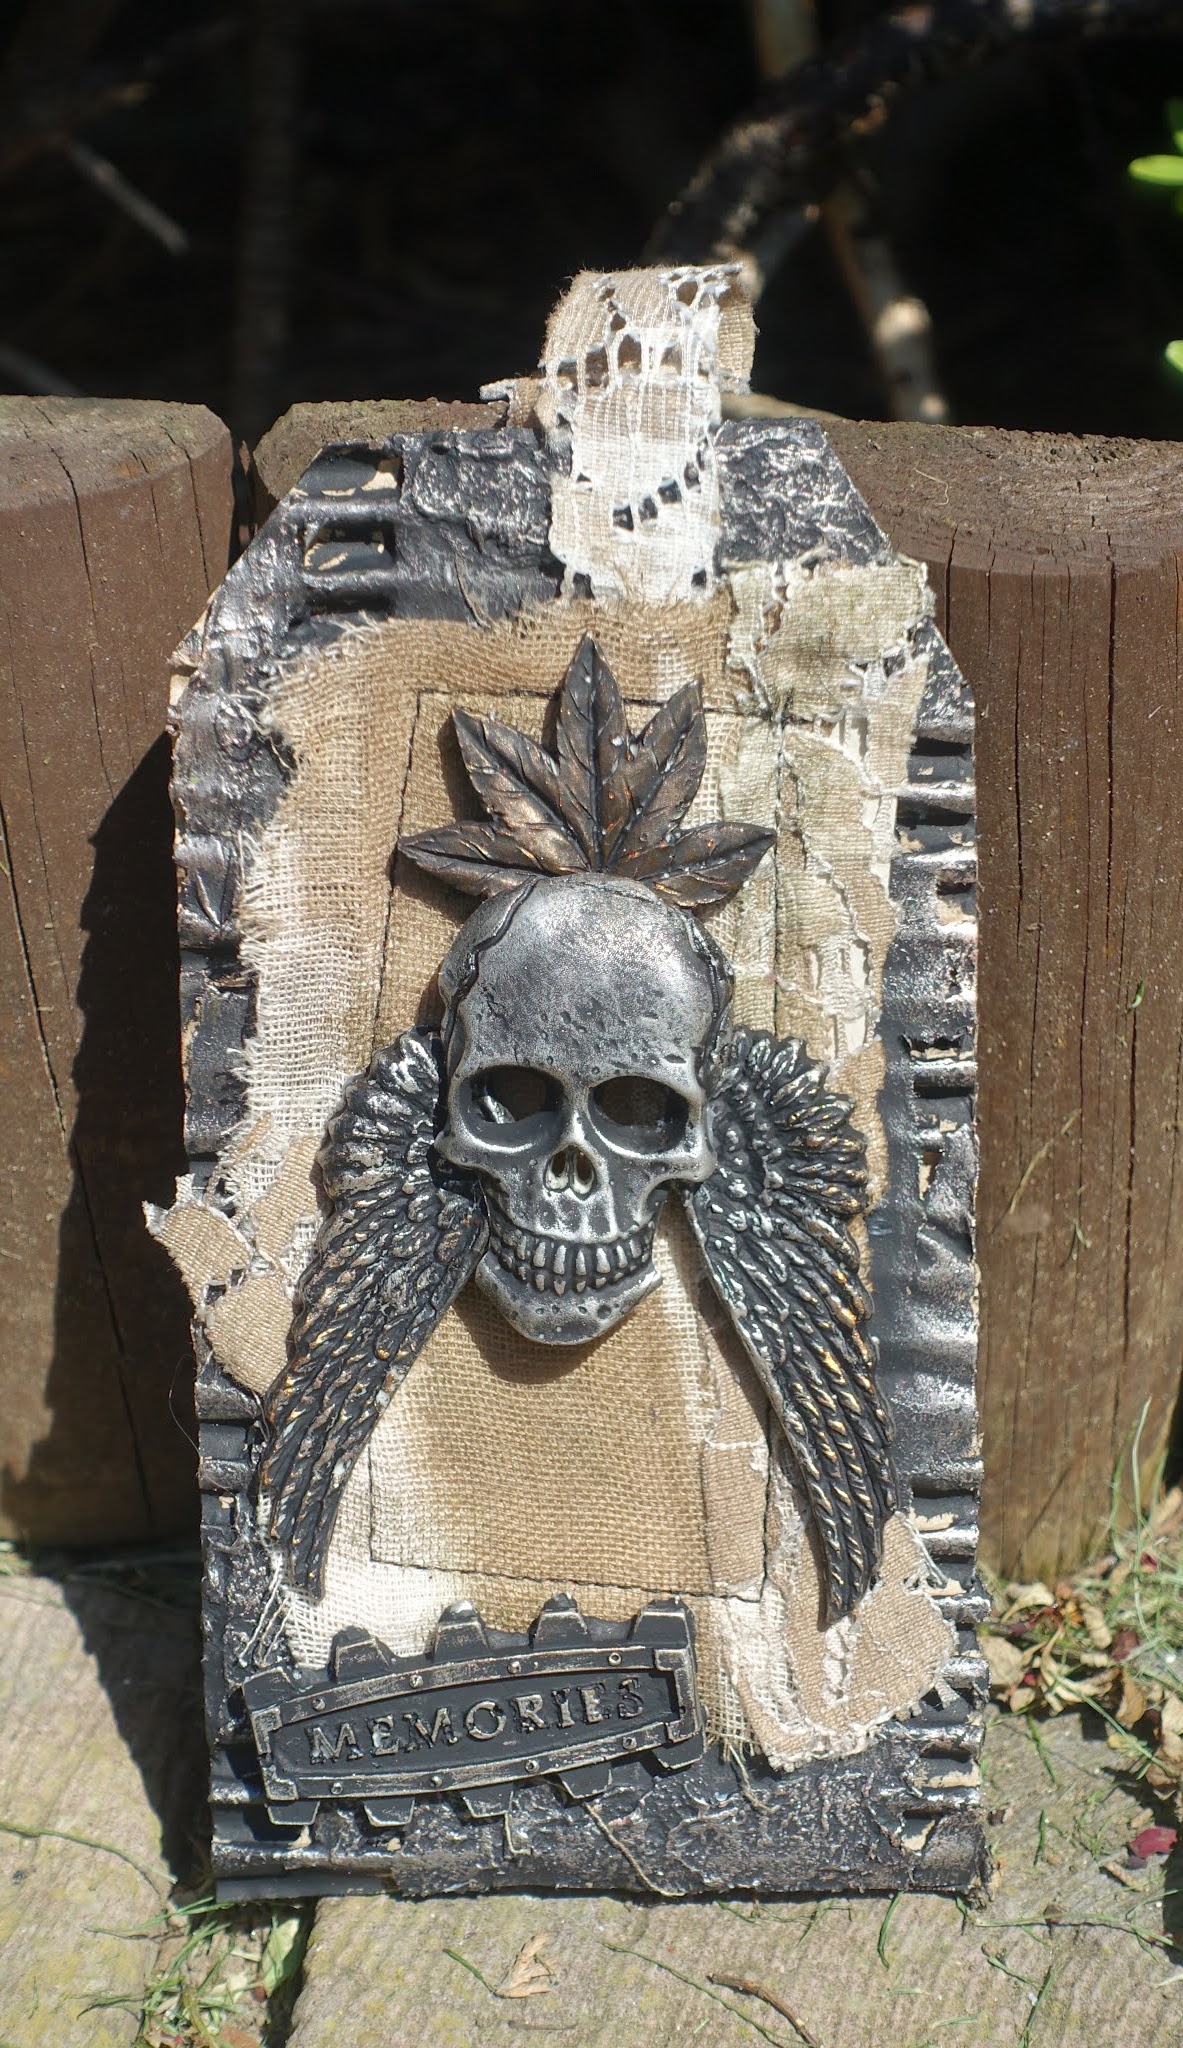

Skull and wings tag.

Tags created from up-cycled materials for the challenge.

#rusteffects #powertex #upcyclingchallenge

Saturday, 13 February 2021

Canvas Heads


Chopped one of the heads in half.


Used powertex, bister and a hairdryer to get these fabulous effects on the canvas.


Canvas covered in white powertex and sprayed with red and black bisters.


Canvas covered in red powertex and sprayed with red bister.


I painted each side of the head.

And once dry, adhered them to the canvas.

Saturday, 2 January 2021

Festive Stone Art Sculpture


Again this started life as a polystyrene circle, then I cut a piece cut out.


I covered the piece in stone art and ivory powertex and then threw everything at it until I was happy with the outcome.


Close up of the stone art texture and the colouring.


I added yellow, brown and blue bister, black powertex and then transparent.


And I incorporated some of the elements left from our gluhwein together with some elements from a previous woods forage which I coated in transparent powertex so I could keep their natural look.

Friday, 1 January 2021

Rustic


Another of my circles with a hole and piece cut out the middle.


I just kept going with it until I got the look that I wanted.


Close up of the rust powder, small balls and transparent powertex mix.


Then I went outside and took some photos when the sun popped out.


A close up of the colours and rust.


I love how this bit at the top has rusted.


I added rusty wire and nails.


Love how this bit rusted too with the dark and light.


More rust on the cardboard.

Sunday, 5 August 2018

Powertex tags


I had some Powertex left in my tray, so I grabbed three little tags to use it up.


I coloured the left one with bisters, the middle one with hi flow inks and the right one with acrylic paint.


Then I played with pigments and the Powerwax until I was happy with what I had, adding and removing colours as I went along.


Once I'd decided I was there, I left them a couple of hours to dry in the sun and then did some dry brushing over the top with the ivory Powertex.


Close ups of the dry brushing with the ivory Powertex. I think they came out pretty good and I have no preference over the different mediums I used, it just depends what effect you are going for.

Thursday, 26 July 2018

Fossil Tag


Before I went away for my weekend at the garden party I prepped some fossils to play with when I got back. I used one of the huge TH style tags as a substrate. I first coated the tag in a layer of ivory Powertex and added all sorts to create some texture. I put it outside to dry, which didn't take long!


I sprayed it with yellow bister, took a bit off with a paper towel, then added some natural, which is brown and once dry sprayed on some red.


I used all different colours of pigments until I was happy with what I'd got.


And in a different light, just before it started to rain.

Really pleased with how it came out.

Sunday, 11 June 2017

Cherub Canvas


So I watched this video posted on FB and just had to have a go. Quite pleased with how it turned out for a first go, but next time I need to be more generous with the powertex.


Close up of the fab crackle with the ivory powertex and the bisters.


I used kitchen roll to frame the picture and added in a little powertex cherub and some small wooden hearts.

Blog Archive