Showing posts with label Wooden Plaque. Show all posts

Wednesday, 17 August 2022

Mixed Media Plaque - Ram


I painted a piece of wood black and then started playing around with different elements until I was happy with the layout.

Once I was happy I started to work on the background. I used gold leaf and then went over with a stencil and modelling paste.


I used Finnabairs mechanical stencil.

Next after I'd painted all the elements black, I glued them onto the background.

I threw on different shades of brown, rust, red and orange mica powders. I then sprayed them and watched them disburse.  You don't have much control over this, so you just have to let them do their thing.


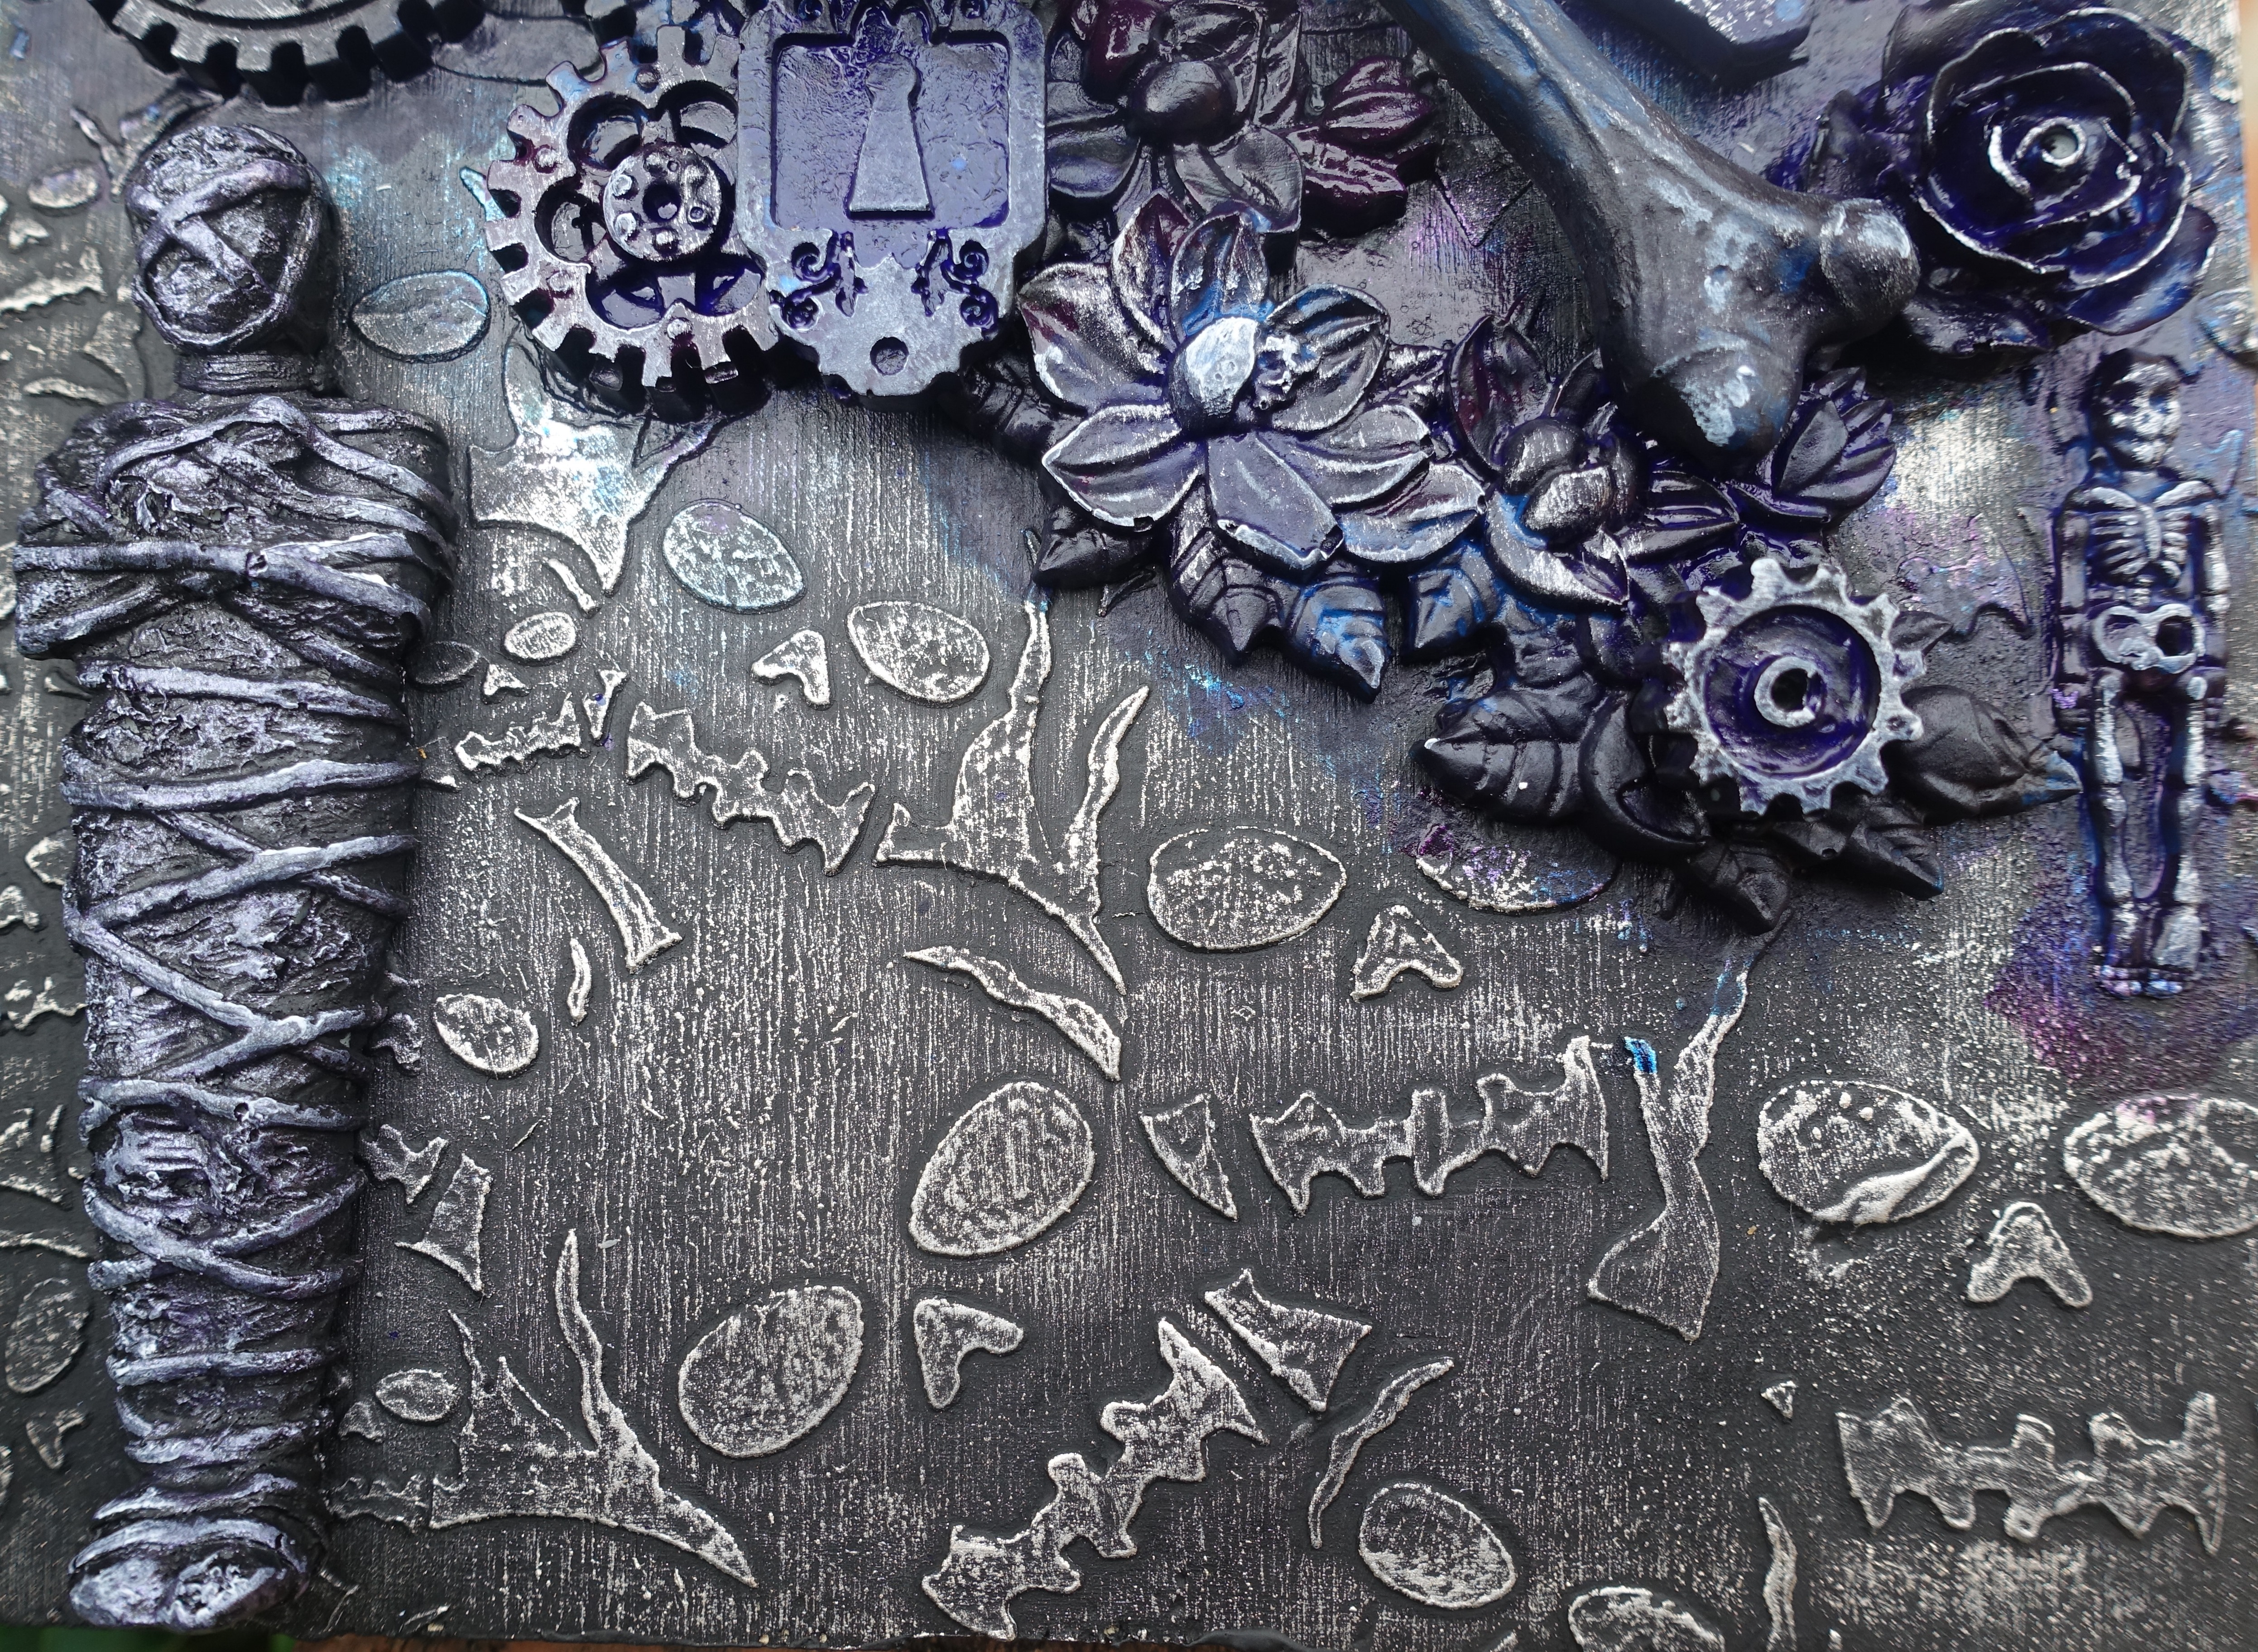
Close up of the different colours of mica powders.


I just kept adding and spraying until I was happy with the result.


More close ups of the different colours of mica powders.


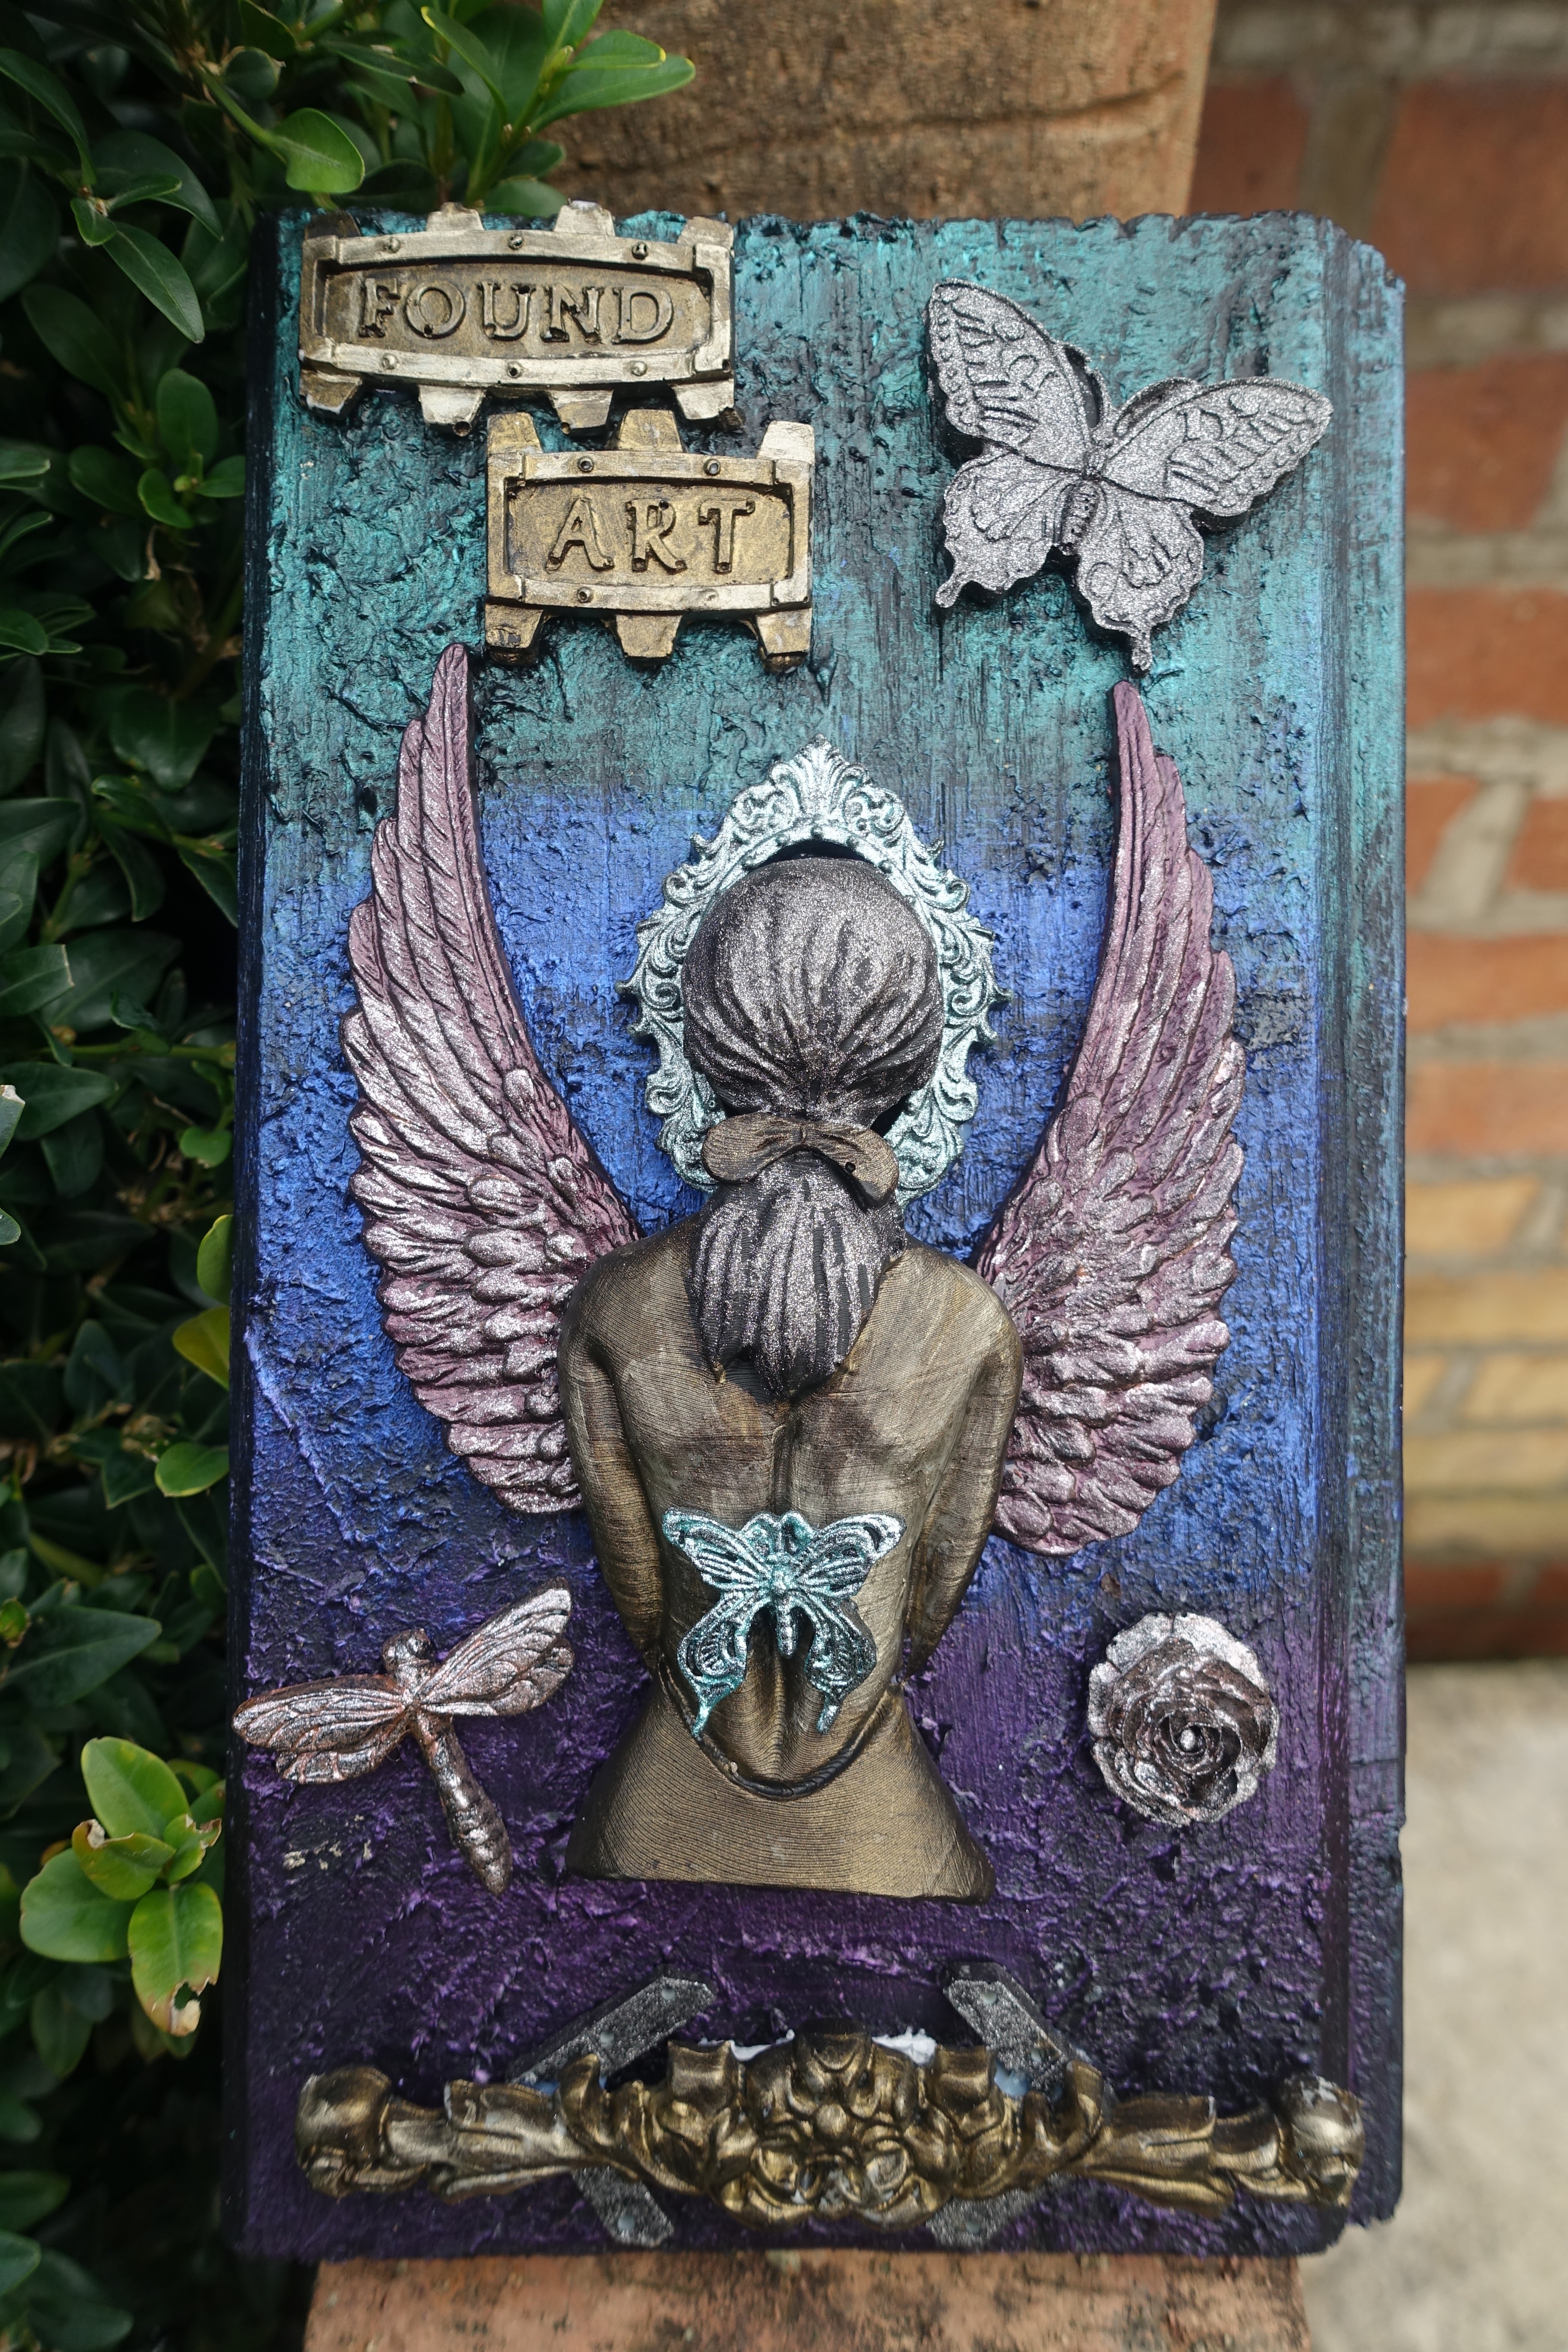
And this is the finished plaque.

Monday, 4 July 2022

Up-cycled Skeleton Plaque


This is the front of a kitchen drawer that was being thrown out.


Painted it with black gesso then used grunge paste through a couple of stencils.


Once dried, I painted over it in black gesso.


I made a mould from a skeleton that I was given by a friend. Then I cast it in fast cast resin.


Got a few more bits and bobs out and started to build a composition.


Dry brushed the background with silver to bring out the texture from the stencils.


I used various purples and blues to paint the background pieces.


Close up of the top of the composition.


The skeleton clothing is coloured with pewter treasure gold and the bones of the skelly are coloured with old white matte wax by Finn.


I painted the cross gold as I wanted it to stand out.


Another close up of the various elements.


And finally, the finished piece.

I usually paint all the different embellishments / elements before I stick them down, but this time I glued them down, painted everything black and then added colour.

Saturday, 16 October 2021

Lady in Shadows Plaque


I arranged some embellishments on a piece of wood covered in black powertex.


I decided that I needed to create some texture, so I used fibre paste.


Once dry, I used three different colours of iridescents and covered the whole of the background.


Then I coloured the embellishment pieces and changed my mind about the layout.


Close up of the bottom of the plaque.


Close up of the top of the plaque.


Close up of the main image and the middle of the plaque.

Sunday, 25 May 2014

Collaged Tag


I started off by painting a wooden tag using Liquitex heavy body paint in a range of colours, blue, green and yellow and also added green golden high flow paint, mixing it up until I liked the look of it. I added some stencilling with snowflake fresco.


I decided I wanted to collage all the images, so took lots of different stamps out and just randomly stamped on the background, but masked each image off along the way, again until I was happy with how it looked.


And finally added black posca pen to the white bits and white posca pen to the black bits!!

Sunday, 7 July 2013

Little Man


I started off with a wooden plaque, painted it with French roast fresco paint, followed by a random layer of crackle glaze and then a layer of stone, sanded it back and added more French roast.


And it evolved into this!!

Over at Hobby House their theme for July is 'vintage' and if you use products sold by them, you are in with a chance of being picked for their top 3.  The gems are Hobby House pearls from the wedding day selection.

Alison has also informed me that I can join in with Our Creative Corner challenge this month too which carries the theme of 'captured memories', where the project must include a photo.

Thursday, 2 May 2013

#3UP #PAtwit


Now this is a long story but it has to do with Twitter, PaperArtsy and Ally Pally!! Say no more I hear you cry!!  We were asked to hash tag 3UP and PAtwit. No-one knew what 3UP was but the PAtwit was a PaperArtsy Twitter follower. So I did my duty and hash tagged and these turned up in the post after receiving a DM via Twitter. I was asked to make something with them by 26 April and email a photo for the PA Blog.


I sponged the wooden plaque with cut n dry foam in various colours of fresco paints, vanilla, limelight, zesty zing, smoked paprika, pumpkin soup, london bus, eggplant, beach hut and probably some others!!


The rough diamond stencil was sponged through with Baltic blue and bumped with stone fresco paints.


My lovely and now real friends, Helen and Carol, both very kindly sent me some crackly tissue paper as it's now discontinued as Leandra can't find anything as good to do the same job! So I stamped these 3 images in black stazon as I wasn't sure which I wanted to use and the crackly tissue is so rare, you can't waste any!!


Then onto my favourites the crocheted flowers (not), and the Tando chipboard key and I also threw in an ornate frame from my stash. I coloured them all with eggplant and south pacific fresco paint.


I turned the stamped images over and painted them from the back in fresco paints. Once finished I completely covered the backs in snowflake.


After playing about with the images I decided on this one. I painted golden matte medium on the wood, laid the crackly tissue image on and painted the matte medium over the top whilst smoothing it out at the same time. Once dried I blended in the edges with fresco paint.


I stamped the script from the ink and the dog background #2 plate in black stazon and white versamagic ink randomly over the background avoiding the main image. I took this photo outside when the sun was out. The colours are a truer reflection.


And finally I added one of the flowers to which I added a brad and coloured it with the vintaj patina paint. Stamped the word admire from the ink and the dog vintage nudes #2 plate and mounted it in the ornate frame with a couple of yellow brads and stamped the frame with script in black stazon. The key looked totally lost in the background, so I painted it black and stamped it in white ink to give more definition.

It has been showcased on the blog here.


Wednesday, 3 April 2013

One Day at a Time


Over on the PaperArtsy blog Michelle has been painting wood.  My plaque is approx 5.5" x 3.5". 


I loved the way she'd blended the blues and greens so I stuck with the same colour wave but different shades.  I used south pacific, tinned peas (one of my new fantastic shades of green) and limelight.


Once painted, I sanded it down not only to give it a smooth finish, but to make it look more distressed.


I stamped one of the LP images onto a piece of tissue paper, unfortunately not the crackly variety which is no longer available, but anyway it turned out okay with normal stuff. I stamped the words and script directly onto the wood.


A close up of the tissue paper stamped image.


A close up of the edges stamped directly onto the wood using the #44 mini PaperArtsy stamp and black stazon.


Blog Archive