Showing posts with label Online Workshop. Show all posts

Monday, 17 February 2025

Winter Steampunk Online Class


All set up ready for the class to start.


Painted the background, added silver flakes, stencilling and lace.


Started to build up a composition using found objects, resin pieces and wooden shapes.


And I kept going until I liked what I saw whilst trying to build up dimension.


Painted the edges to tone down the silver flakes.


Added the main focal point to check she would fit on her machine.


Painted everything with white gesso, two coats.


Put silver flake over the two light bulbs and painted the rest in chest of gold metallic paint.


Added black for some contrast and shadow.


Added white pearl wax with my finger over the top of the elements. Added some white splatters.


Added carmine to create a rust effect. Added pebbles.


Added crushed crystal effect paste and touched up with more wax, silver and pearl.  Watered down unicorn sparks and painted over the light bulbs and the wooden snowflakes.


Added the main image and the wing once everything else was dry.


Managed to get a couple of photos out in the garden.


Close up of the main image (from DigitalsbyJen on Etsy).

Friday, 6 August 2021

Master Mind Online Workshop with Belinda Basson


All set up and ready to go.


We had to perform a lobotomy so I had my styrofoam cutter at the ready.


And now we have  the top of the head spliced off, we can make a start.


Next we covered the head with random pieces of silver sticky foil.


And used a ball point pen to add some marks.


Then the classic, cover with black paint and wipe most of it off again so the paint stays in the impressions made with the pen.


Then the piece for the top was put through an embossing folder, cut out and stuck on the top.


And the same treatment to the top using the black paint again and wiping back.


Painted the cogs black and then used brushed iron alchemy wax over the top.


Then I started to assemble the gears on the top of the head.


The gears are now dry and thankfully they stayed in place.


And the side view from the right.


And the back of the head.


And the left side view.


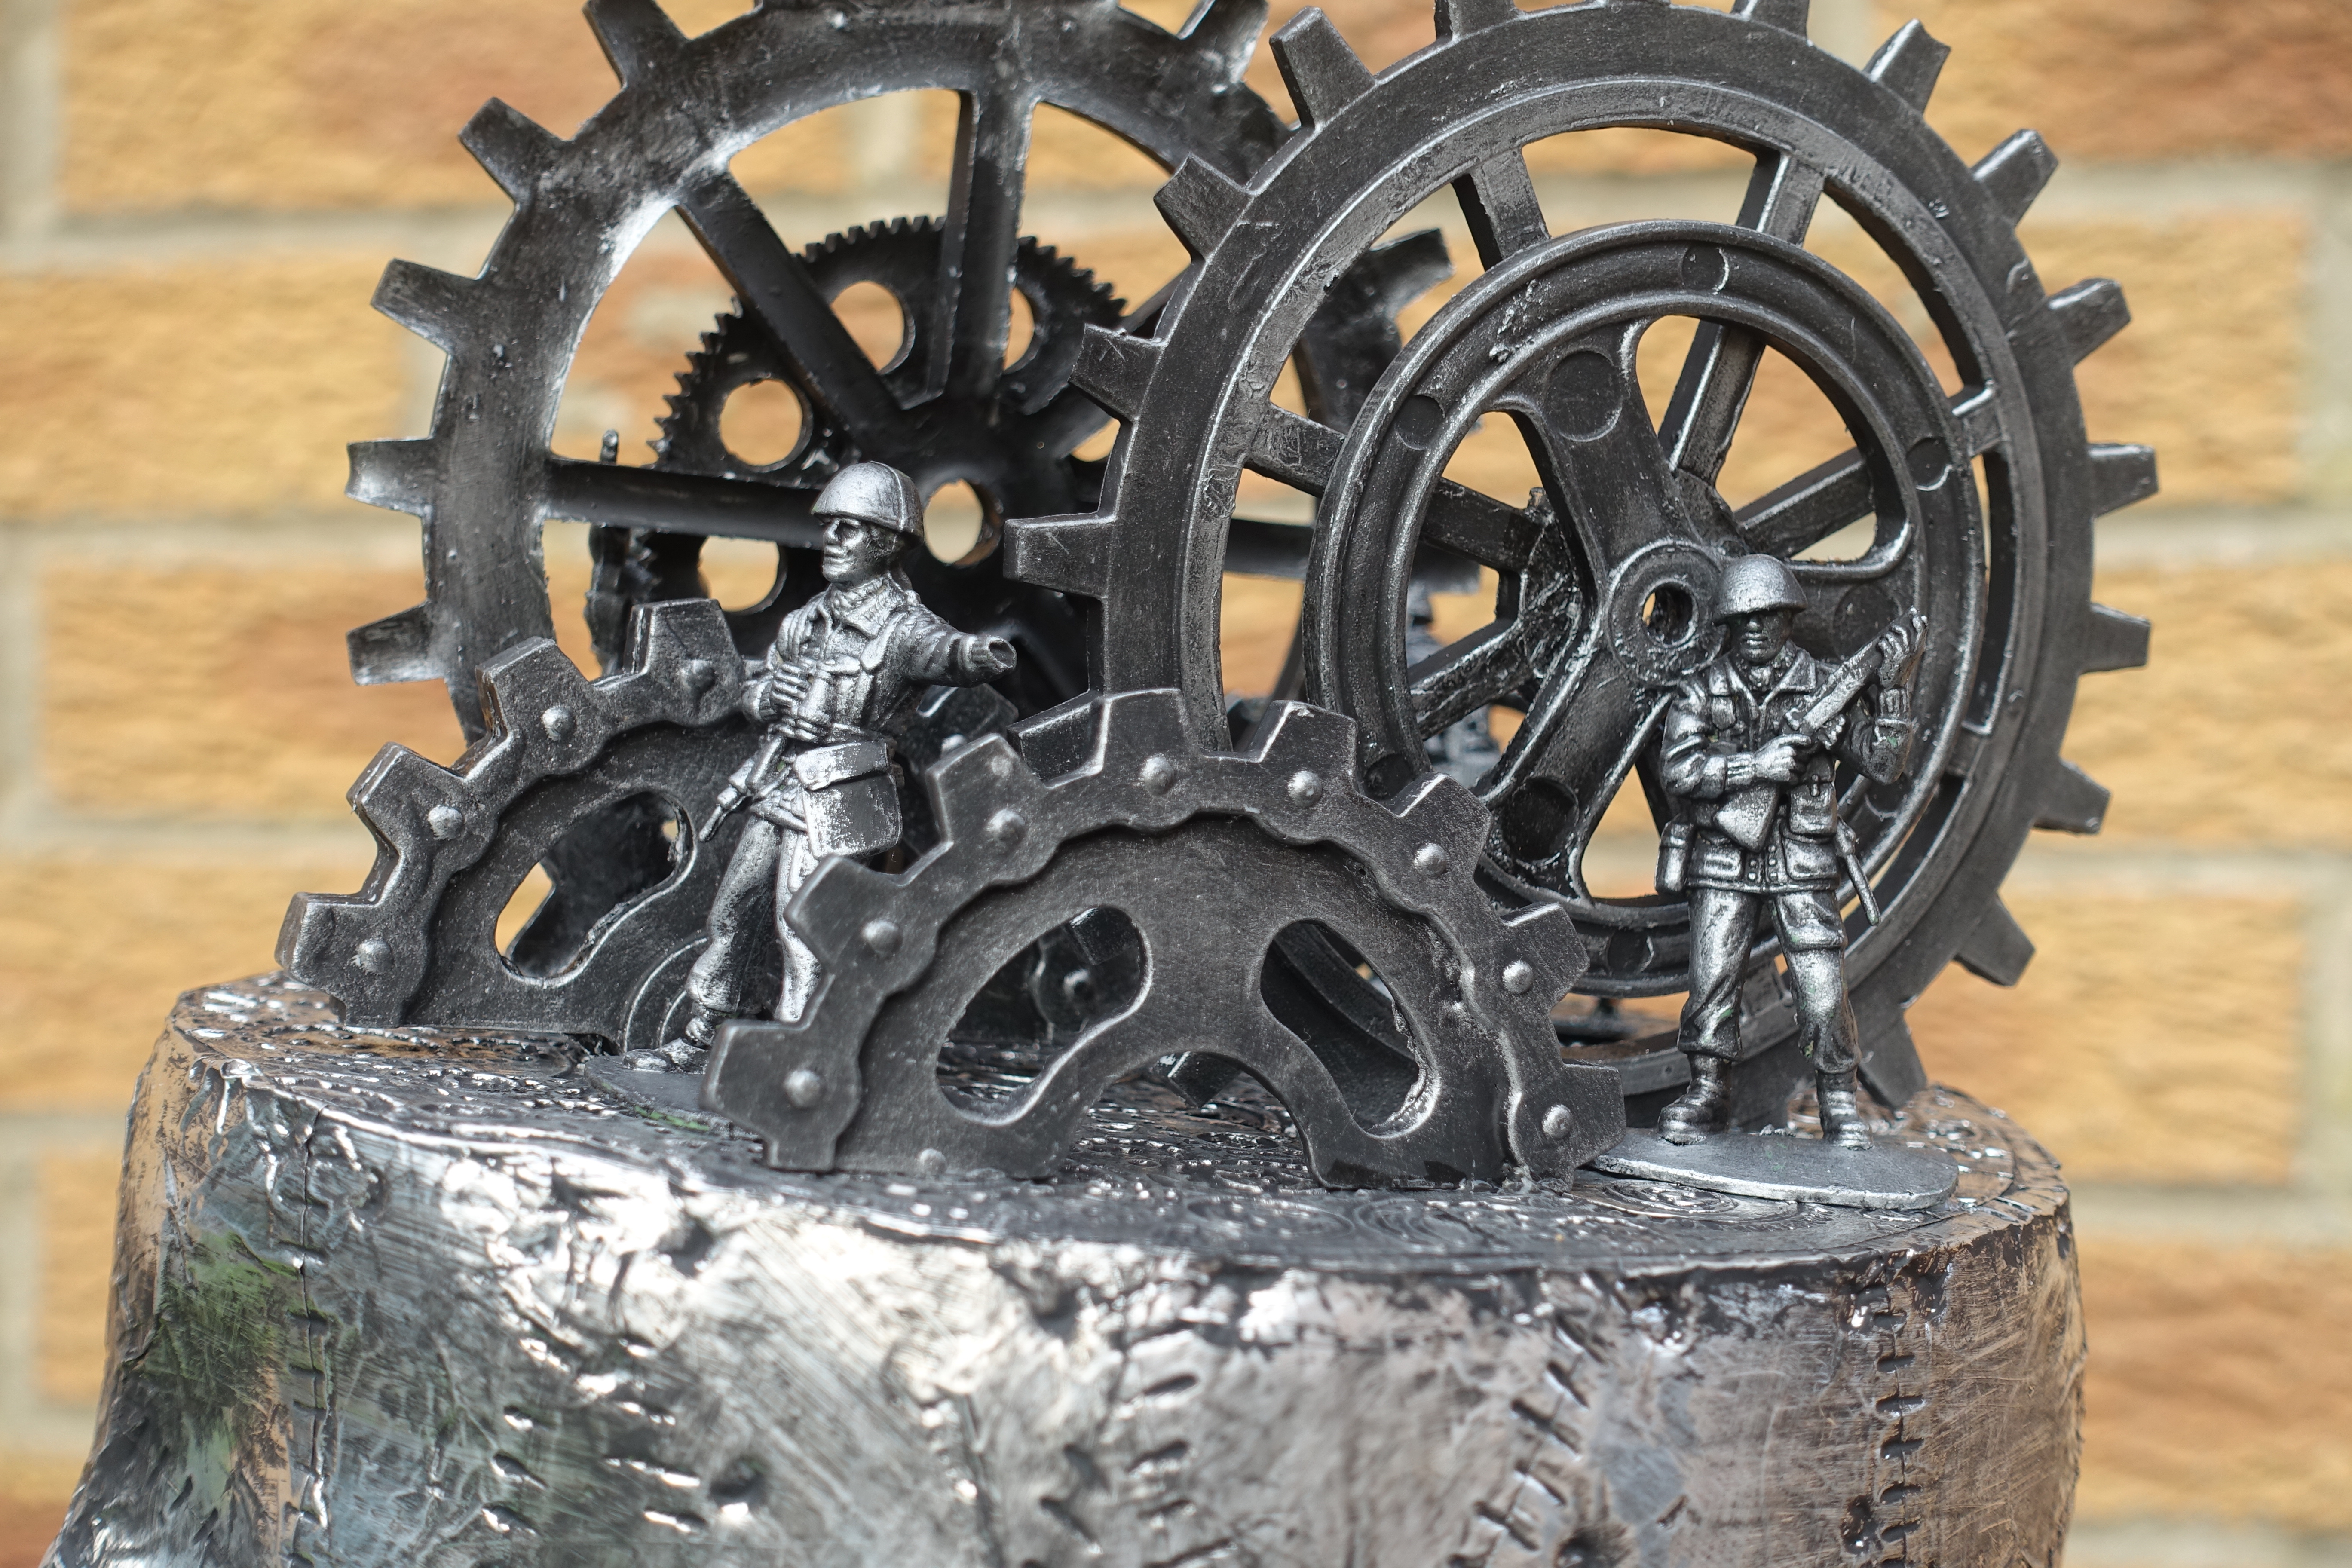
Then Janet came to my rescue providing me with some plastic green soldiers - thank you.


And a close up of the top with the soldiers mounted on there.


A more frontal view.


And from the back but to the side.


And the view from the back square on.


And another back and side view.


And a close up view of the top.


I decided that I needed to put it on a proper base.  So I painted a piece of wood black, then I created a skin using an embossing folder and Finnabair icing paste in silver.  Once dry I peeled it off and stuck it to the piece of wood.


Once dry, I used a cheap black dye inkpad and swooshed it over the top and as you can see it only caught the raised pieces.


I then glued the head onto the base.


And a close up of the base and bottom of neck.

Sunday, 16 August 2020

Patchwork - Online Workshop


All set up and ready to go


Firstly we created a collaged background.


Then created some repeating stamping patterns.


Built up the patchwork pieces.


Swooshed over the background with timber brown stazon and jet black.


Next I decided where to place my patchwork pieces and added some faux stitching.


The final product I didn't have, so I improvised and used some tulip fabric paint.

This was a great workshop, and I look forward to the next one.

Blog Archive