Showing posts with label Spray Ink. Show all posts

Saturday, 25 September 2021

Cogs & Spoon Plaque


Remember this spoon I picked up from the car boot a few weeks ago?


I used my new Finn stencil and silver icing paste to put the pattern on this piece of wood.


I glued a piece of lace over the top.


Then I pulled out a few resin pieces and played around until I came up with something that I likes.


I painted on some prussian blue and sprayed water on it to dilute the colour.


Painted all the elements black except the spoon.


Next I sprayed the pieces with Decoart turquoise metallic spray.


Once dry, I used my new favourite colour of alchemy wax brushed iron, to high-light parts of the embellishments.


I decided to paint the spoon silver.


Close up of the head / bowl of the spoon.


And a close up of the other end, the fancy handle.


And finally the middle of the spoon.

This is going up for sale in my online website.

Thursday, 16 September 2021

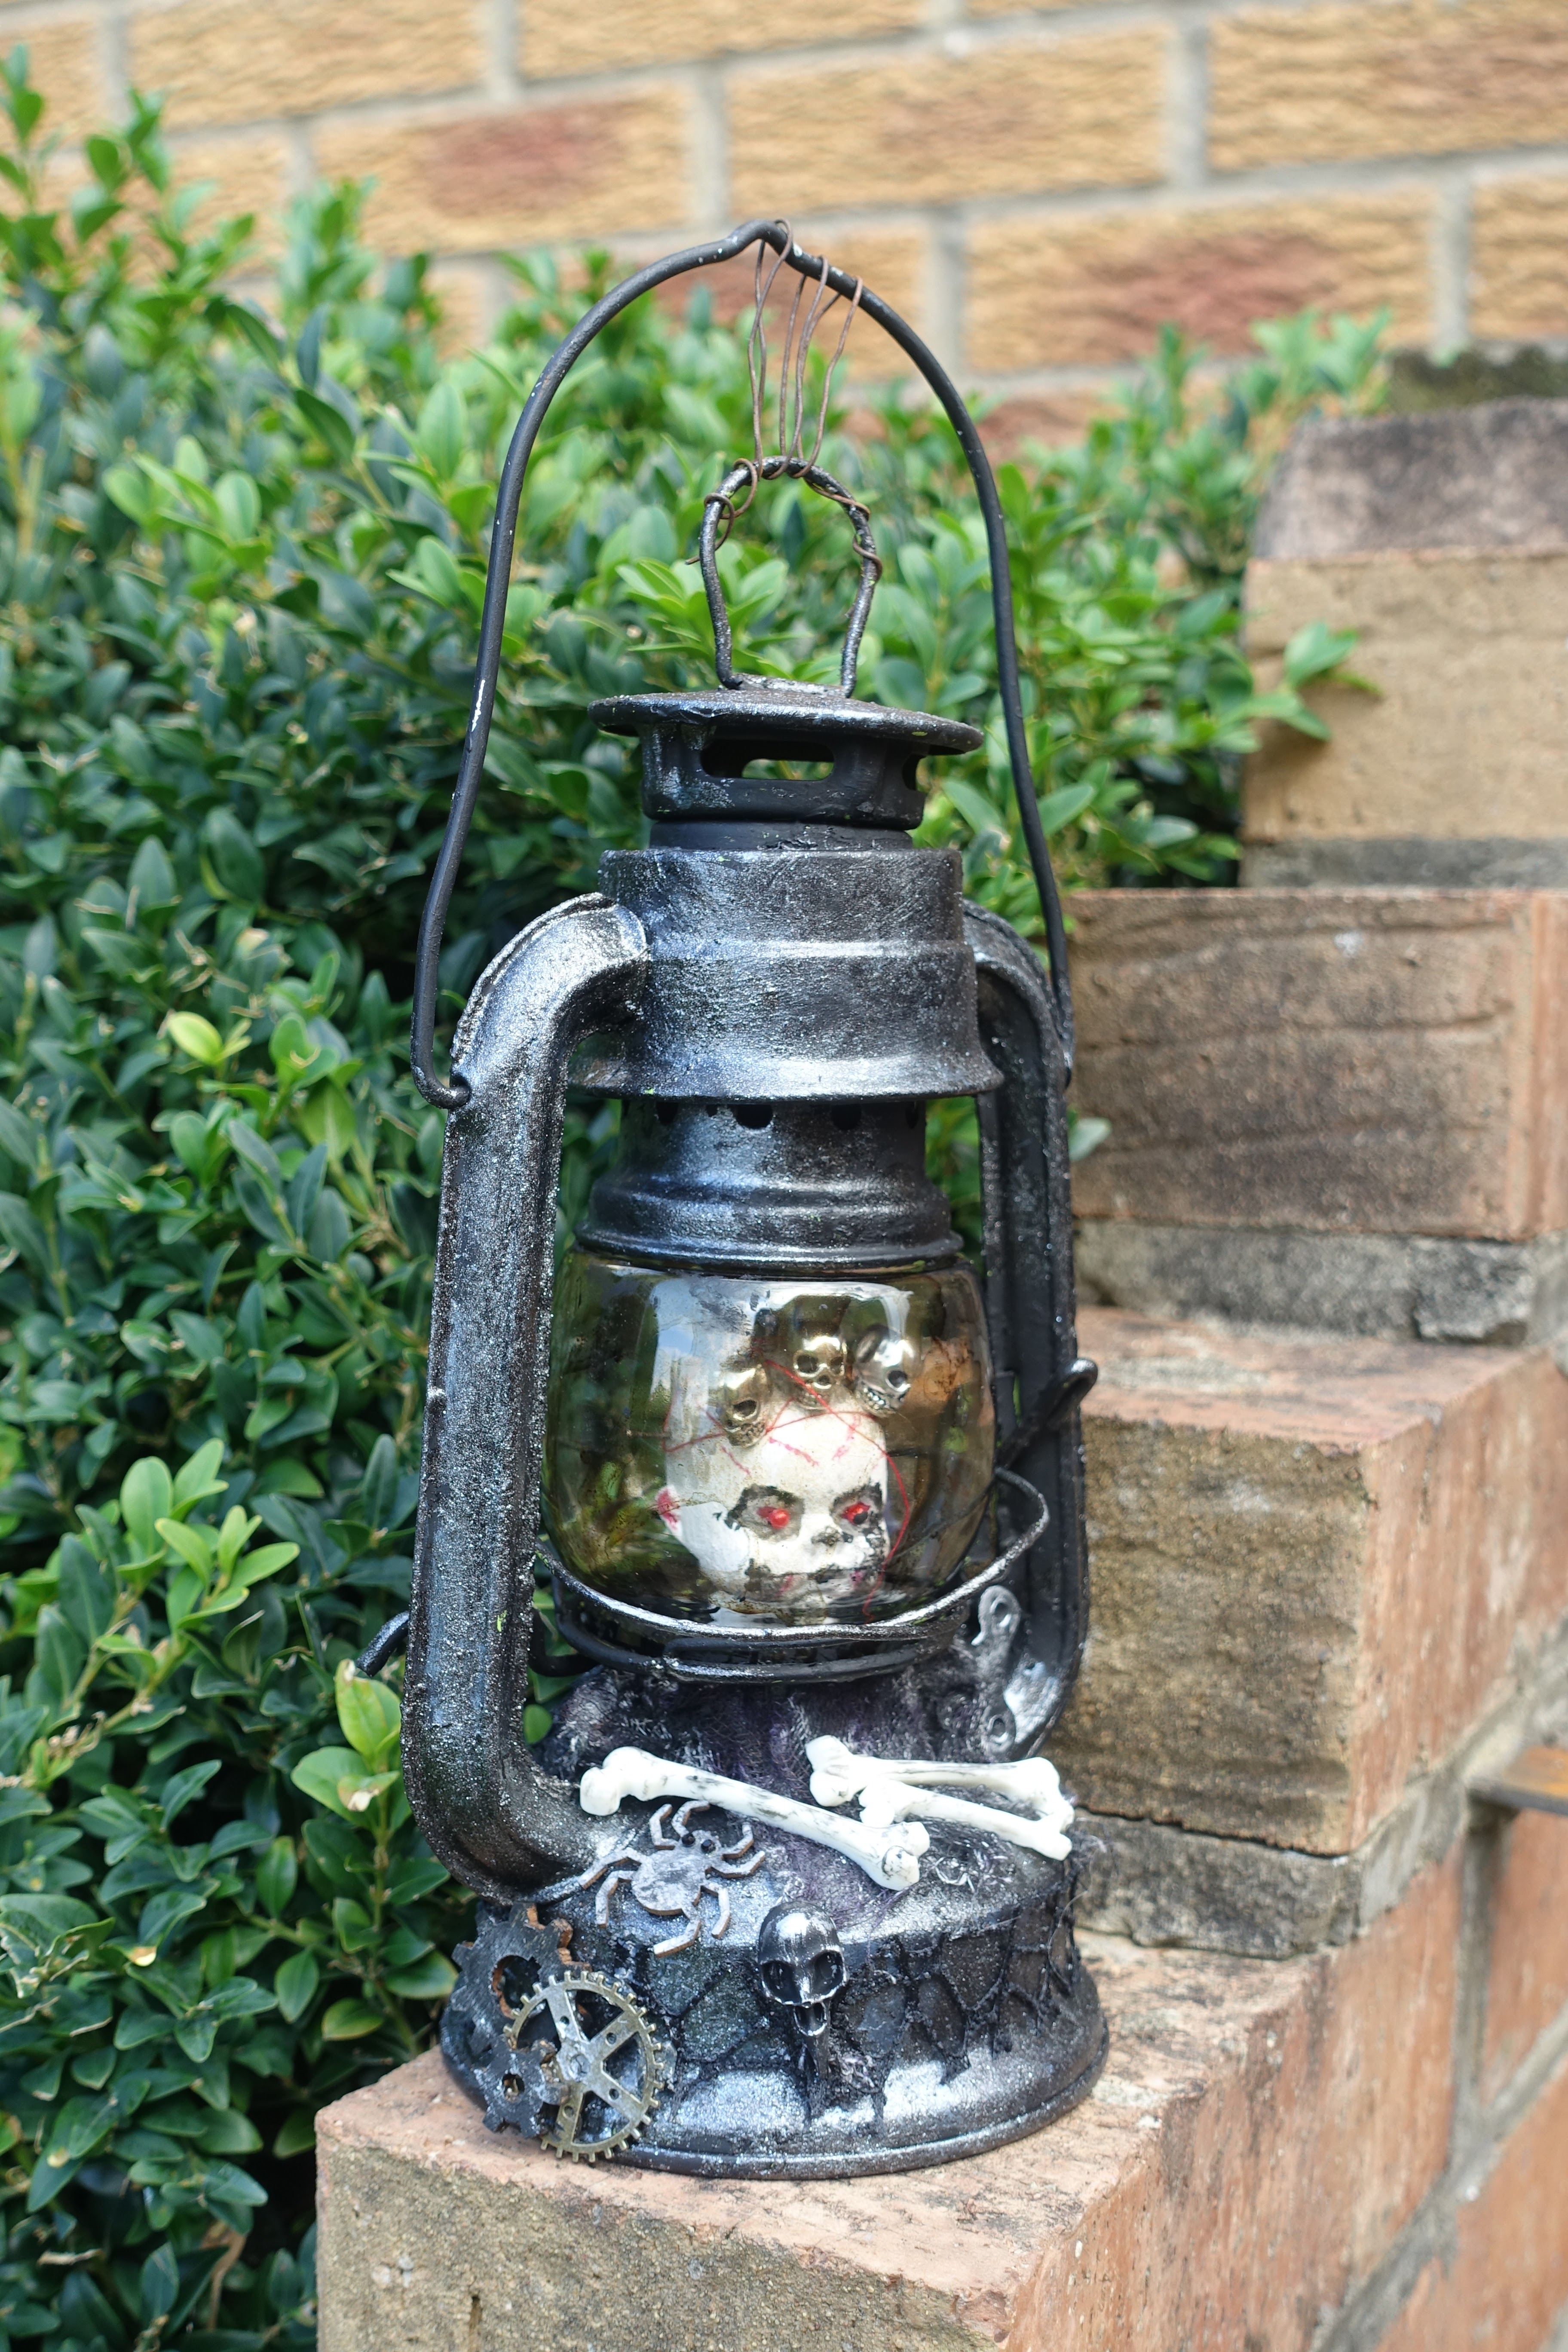
Creepy Doll Lantern


I picked up this lantern from the car boot.


I gave it a coat of black powertex.


I took a mini dolls head and painted it in white gesso.


Then I added some nails and painted the face on.


I added different colours of alcohol ink to the glass dome and swilled it around so its less shiny and clean.


I added cotton scrim which I sprayed with black and purple.  I also added some resin bones, a skull, a spider, three cogs and a key.  I also added metallic skulls to the dolls head.


This is the view from the back.


And a close up of the face.  It was really hard to get a good photo because of the glare on the glass and the bars that go across the bottom.

Sunday, 10 January 2021

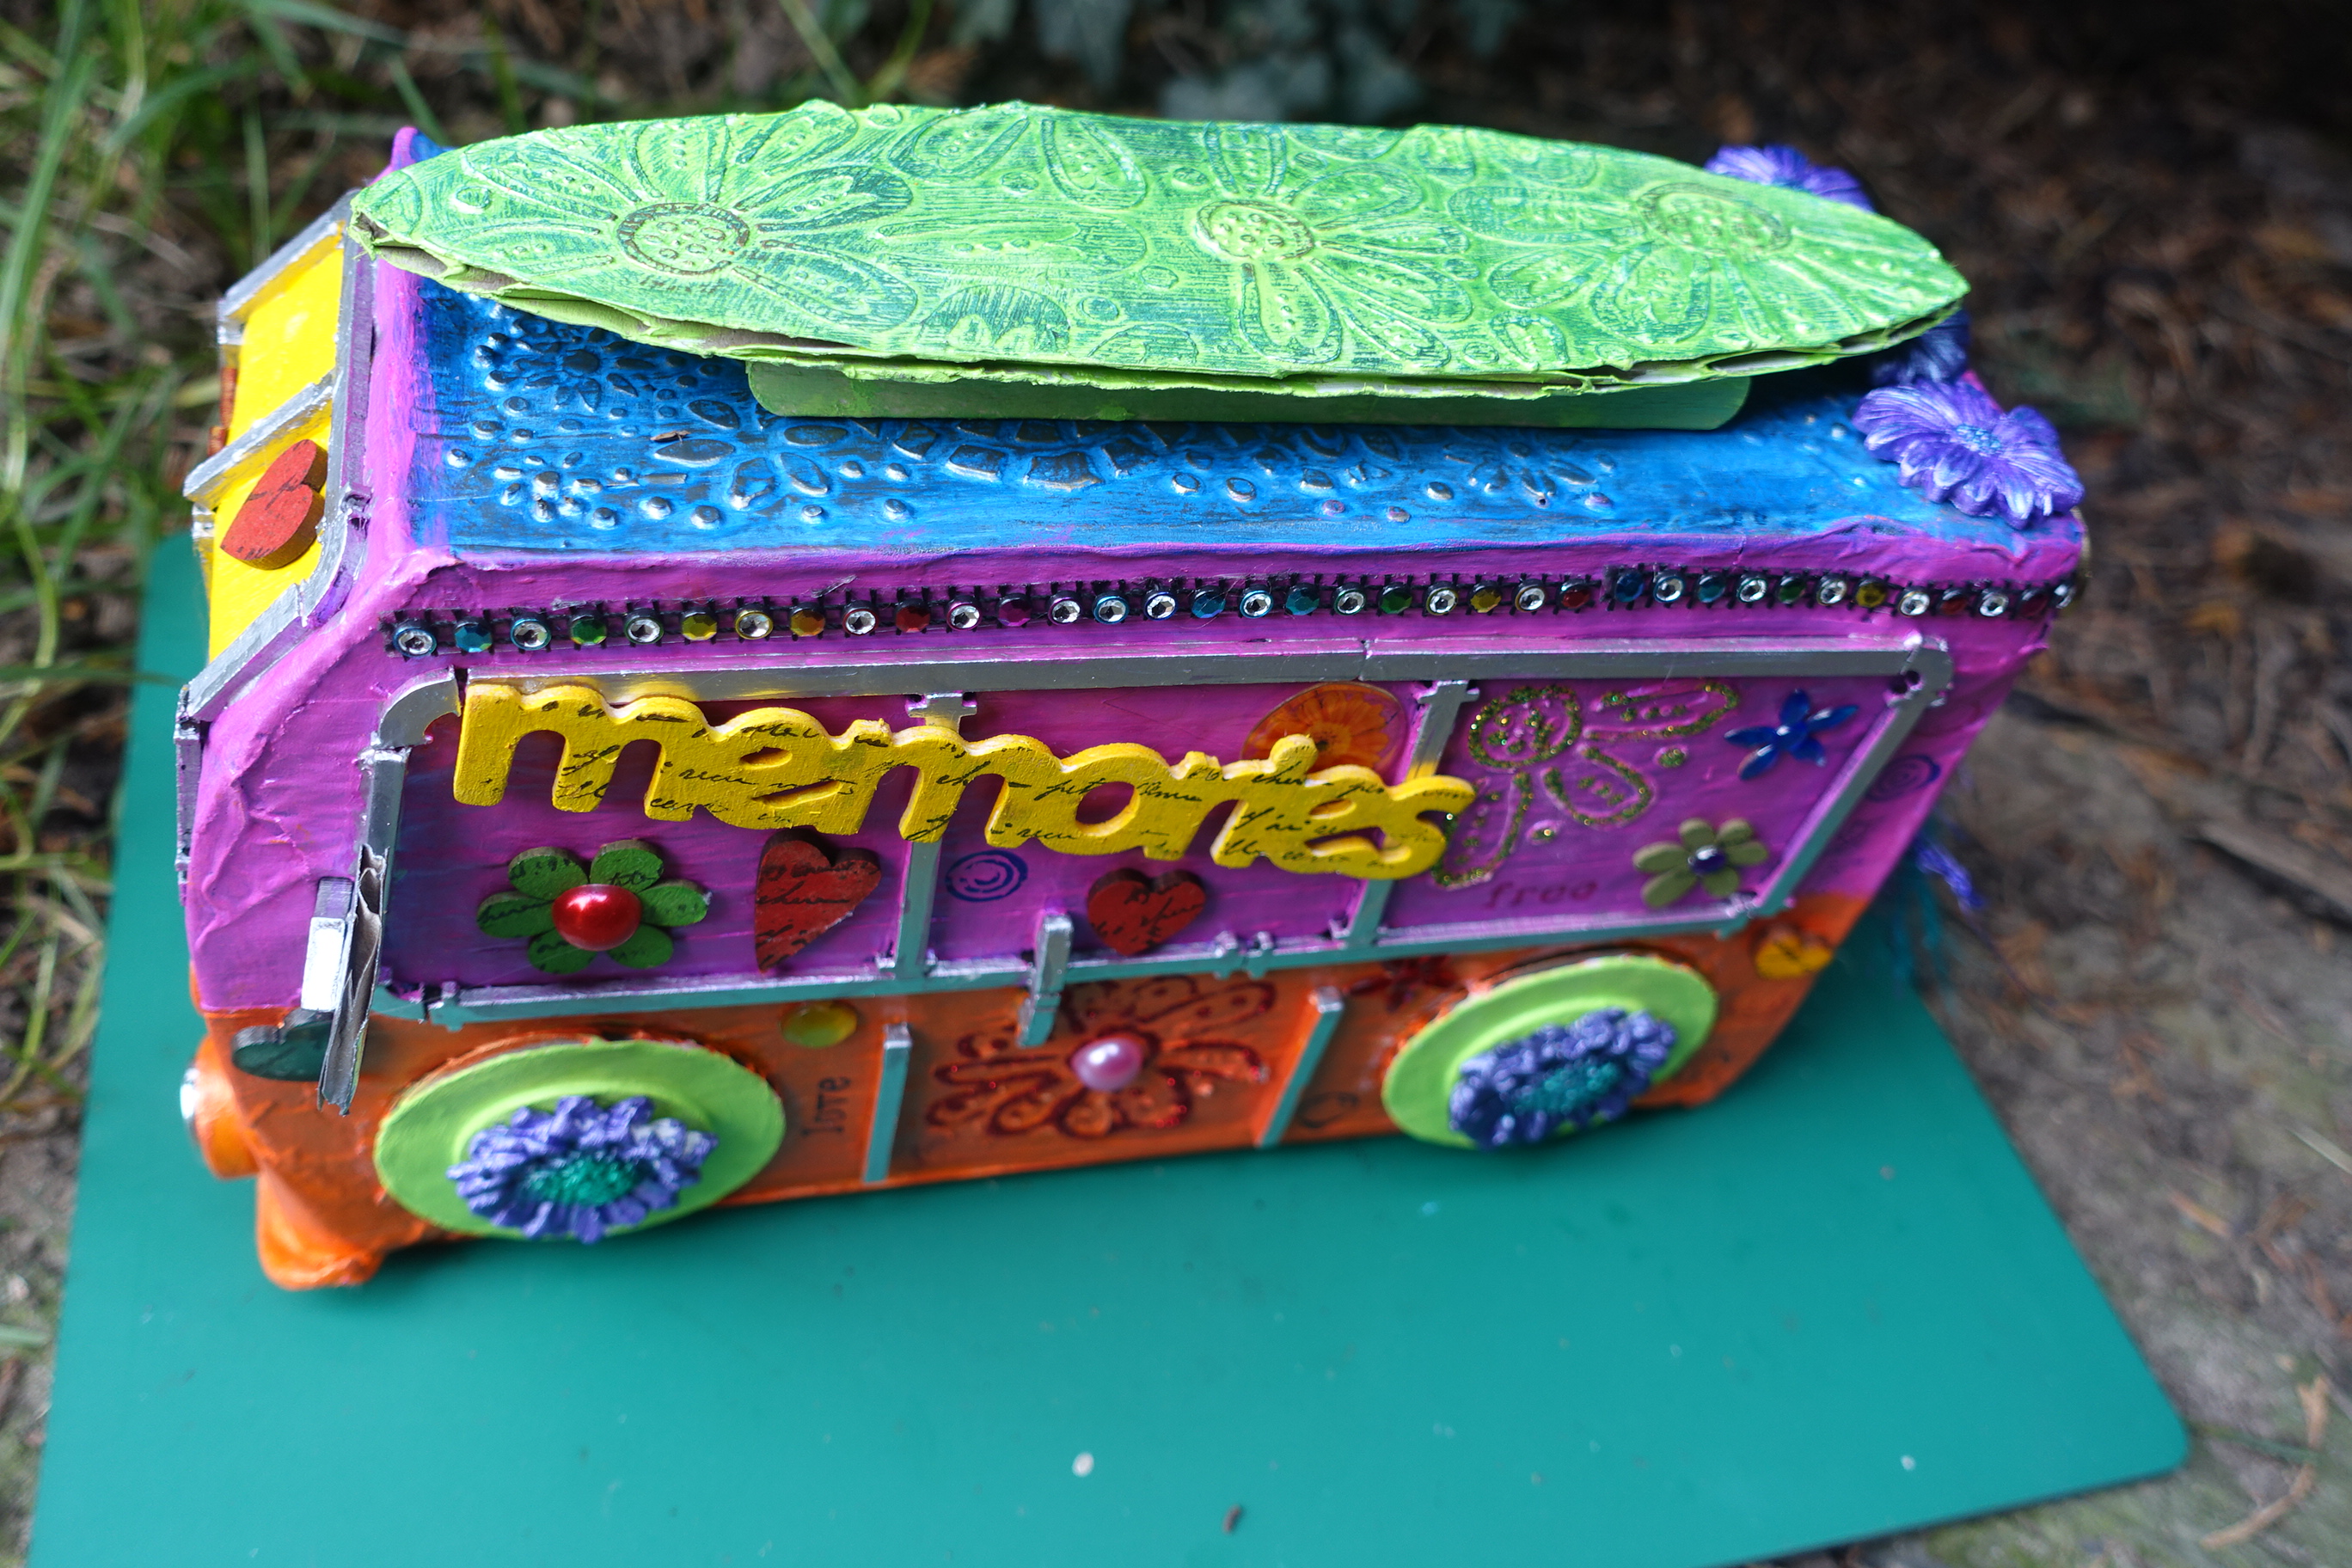
On the Road - Combi Camper Challenge


So over on the Powertex Australia Creative Hub FB page Ashley has started a challenge called 'On the Road - Combi Camper' and the idea is that we create a camper van to virtually travel around different points of Australia and create other challenge pieces when we get there. You can get a kit, but I wanted to challenge myself and see if I could make something like.  I used cardboard, bubble wrap and masking tape to get the basic shape.


I gave it all a coat of black powertex and once dried I used easy structure paste through a stencil on the roof.


I mixed up a batch of stoneart clay and made some flowers and a word.


I decorated the front with wooden pieces so they would stand out.


And then one side, wheels are done in cardboard.


And then more or less the same thing on the other side.  I wasn't precious about getting them exact, just similar will do for me.


I added more stencilling with the easy structure and then dry brushed everything in white pigment.


Next I got more or less everything out to get some colour on there.


As you can see, I went for bright bold colours.


And on the front I used quite a few chipboard offcuts and blended the colours in.


I'd decorated a few other bits and bobs I found in my stash.


Made sort of a spare wheel to put on the back panel and some lights and bumper.


I made a surfboard for the roof, let's face it, you can't have a camper van without a surfie now can you.


And this is what I ended up with.


And from the other side.


And this is the back.  I added some fibres to the ring and you will see why shortly.


That's because I've added a compartment inside and needed something to be able to pull it out easily.


And this is the front.


View from the top with the surfie.


A few close ups.


A bit of stamping.


Stone Art flowers on the roof.


And on the wheels.


And finally I made some tags including some postcards and a couple of tickets in case we need to get in anywhere.


This is my first tag.  As we are virtually travelling around Australia, my thinking is that when we make a stop I'm going to date a tag, write the place name and then after a bit or research, write a bit about it on the tag, or send a postcard and fill in a ticket.

Let the adventure begin xxx

If you want to join in, go to the FB page for Powertex Australia Creative Hub and join the group.

Tuesday, 11 November 2014

Time Canvas


I took an 8 x 10 canvas board and glued various items to it, ie chipboard letters and numbers, spellbinder dies and some stencilling with grunge paste.  Then painted over everything with gesso.


And coloured it with sprays, inks, primary elements and treasure gold.  I added some DecoArt media texture sand paste too.  I basically just kept going until I was happy with the colour.


Close up of the letters.


Close up of the top right corner.


And the bottom right corner.

Over at Pan PastelUK they have a theme of add some bling, well I used so much treasure gold that I think this will count!!!

Blog Archive