Showing posts with label Hampton Art. Show all posts

Wednesday, 3 September 2014

Brushos and Bleach


By this time I'd had everything out, so I carried on and made even more mess!!


Left is a brusho mop up and right is a sandwich off a bondaweb page


I used my new wooden TH stamp from Lesley on the left hand side of the left piece and I bleached out the cobwebs on the right.


Close up of the bleached areas.


To create this background I used a pipette to add a pool of water on the card, then added the brusho - thanks Amanda


Then simply stamped the wonderful dragonfly image.

Wednesday, 20 August 2014

More Playing with Brusho


Well finding the right paper defo makes a difference and I also used versafine black ink. Really pleased with the spread of the Brusho on this page.


And again quite pleased with the disbursement of these colours too.

Tuesday, 5 August 2014

Follow Your Art


Background is a mix of mustard seed, ripe persimmon and a dash of festive berries distress stains applied with a brayer onto a piece of white card. The gaps were filled in using the same colours of distress ink and flicked with water to create a water mark effect. Various images randomly stamped in black stazon.

Our Creative Corner have a theme of Summertime and A Vintage Journey are asking us to stain it.

Wednesday, 1 January 2014

Making Faces


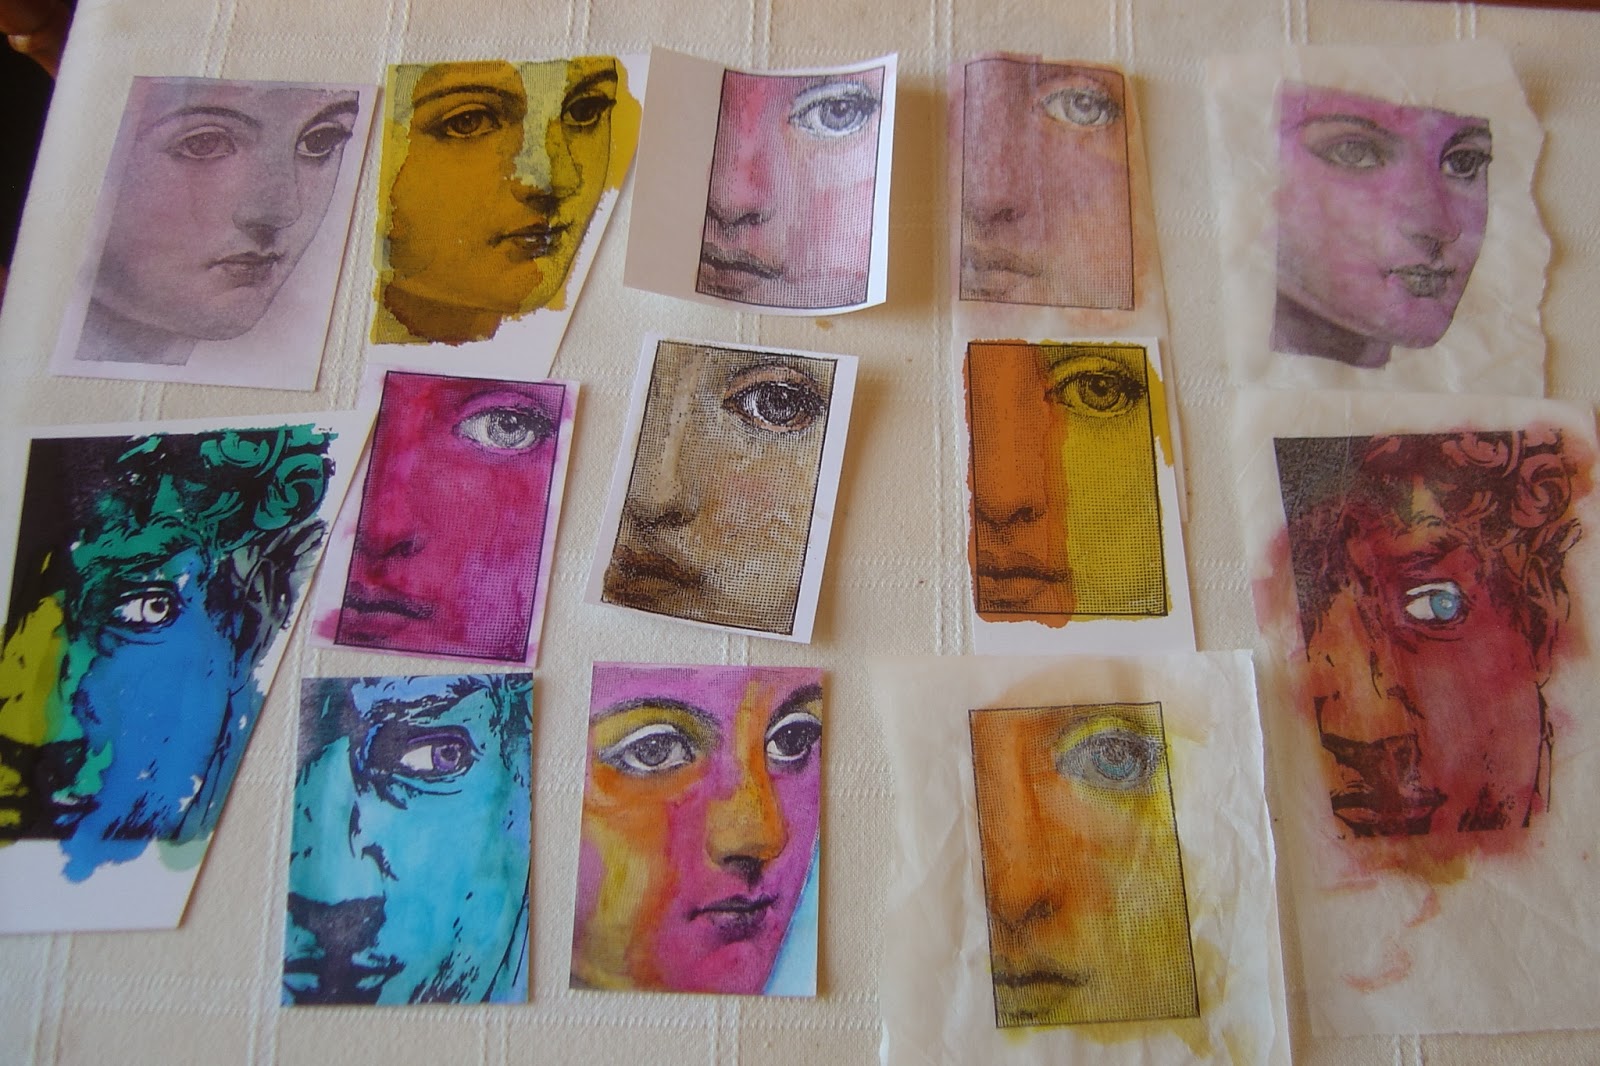
I stamped 3 styles of faces onto various different bases, ie matt card, glossy card and different thickness's of tissue paper.


Then I played with some backgrounds using silver mirri card, embossing folders, alcohol inks and treasure gold.


Then black card, embossing folders, metallic pan pastels and treasure gold.


And created these. Here they are in more detail below.


Image from T!m Holtz Classics #5 set, coloured with portfolio pastels on white matt card. Background embossed script coloured with metallic PP's and a piece of embossed mirri card and words added.


Left - Sunset and Lemonade alcohol inks onto glossy card, pieces of coloured cd added to decorate.
Middle - coloured with distress marker pens, ripped and posca pen doodling added.
Right - coloured with portfolio pastels, ripped and edged in black pen. Piece of blue coloured acetate over eye.
Image used on all by Hampton Art and all mounted onto plain black card.


Image from T!m Holtz Artful Artifacts stamp plate. Coloured with portfolio pastels, mount onto black card. Silver mirri card embossed in Dymo machine with 'obsession' and coloured with stream alcohol ink and black paint. Cd pieces used to embellish.


And finally this image was stamped onto glossy card with versa mark and heat embossed in black embossing powder. Coloured with metallic colours of perfect pearls, added onto a piece of black card and white posca pen doodling.

Sunday, 29 December 2013

Creating Faces


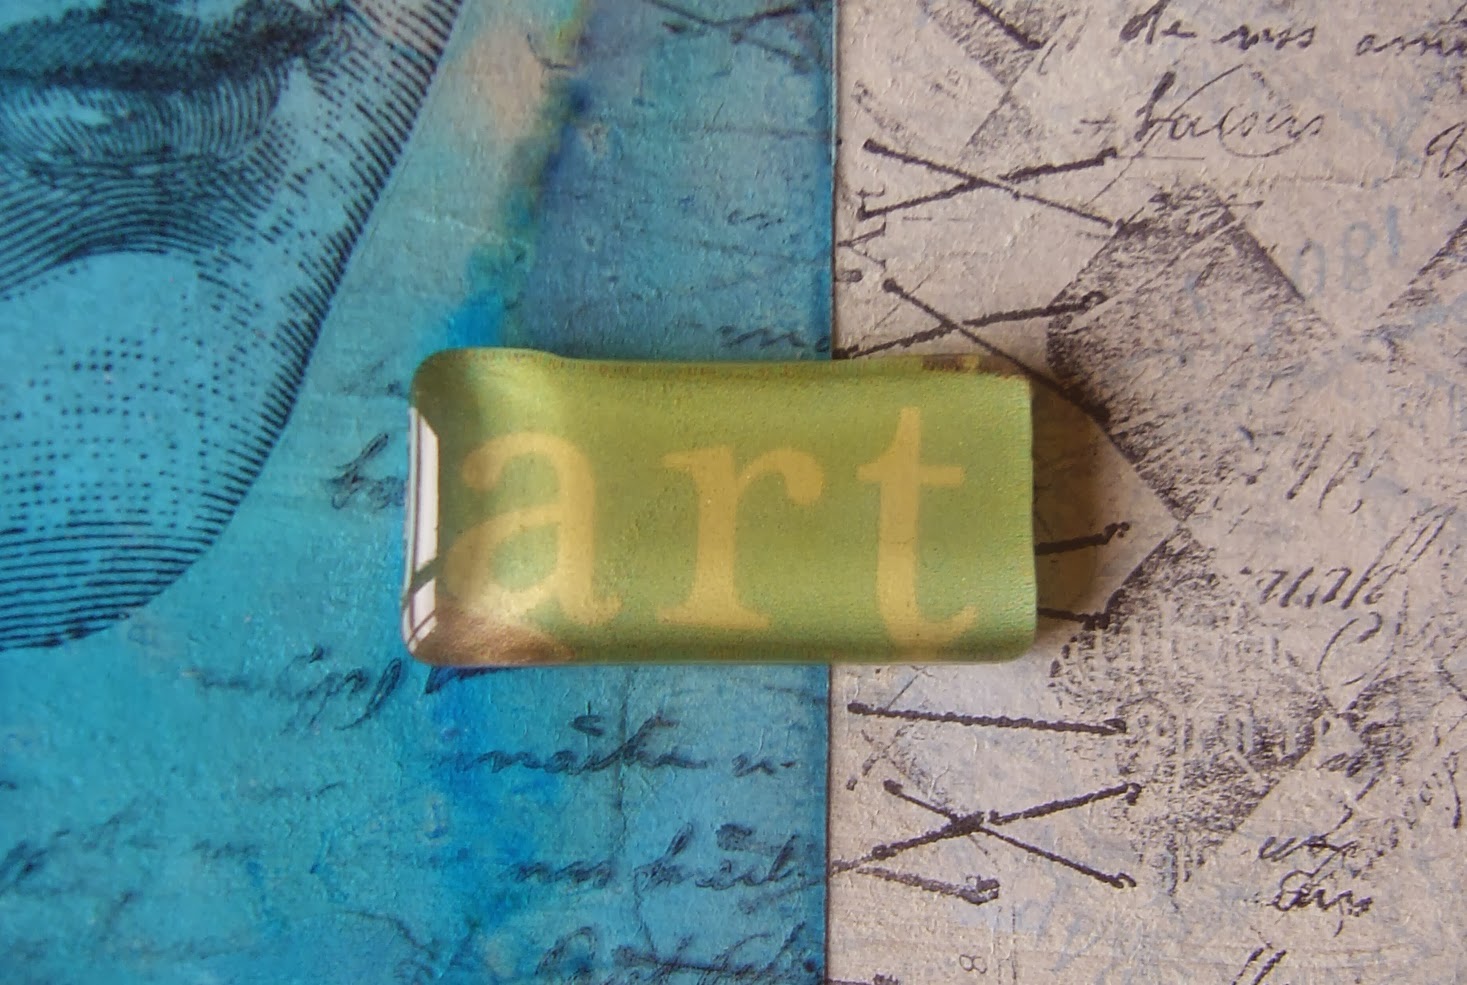
I loosely painted a piece of chipboard with ice blue fresco paint, and once dried randomly slapped on some grunge paste and scored and prodded it to create some texture. The grunge paste is coloured with sapphire treasure gold to bring out the texture. The Hampton Arts image is stamped in black stazon onto crackly tissue paper to allow the texture and the colour to show through.  Finally a piece of coloured acetate was added to the eye.


Close up of the grunge paste and treasure gold.


The background of this piece was painted in stone fresco paint. Using the largest face from my new classics #5 plate I stamped in black stazon again onto crackly tissue paper and used mod podge to glue it to the background. I coloured a piece of acetate with eggplant, sail boat blue and juniper and placed it over the top.


Remember when I was playing with Utee here, this is one of the pieces I made which I've used as an embellishment.

Saturday, 12 October 2013

Day 1 - Eroded Metallic


I signed up for T!m's CC 102 classes more or less as soon as it was available as I absolutely loved 101.  Day 1 was all about the fantastic distress paints.  My favourite technique of the day is called eroded metallic.  As T!m says, it doesn't work every time and this was my first attempt.


As it's extremely dark outside due to the constant rain, I used the auto correct on the Photoshop program so you could see how good the metallic paint looked.


Using Stampotique images and black archival ink, I stamped the tag.


My second attempt still using the same colour paints.


Again, I used the auto correct to really show up the metallic paint.


Stamped in black archival using T!m, Stampotique and Hampton Art stamps.


Monday, 28 January 2013

Seeing Stars


Over at Simon Says Stamp and Show this week they are also asking for stars.  I used my really useful Queen Tag stamp from Hampton Art and created this layered tag.  The row of stars are from the TH Rock Star stamp plate.  They were stamped in white versamagic ink and outlined with a white Posca pen.  I doodled around the outside of the bottom layer with a black Posca pen.


This is a close to show the individual layers.

Blog Archive