Showing posts with label SA stamps. Show all posts

Saturday, 16 November 2019

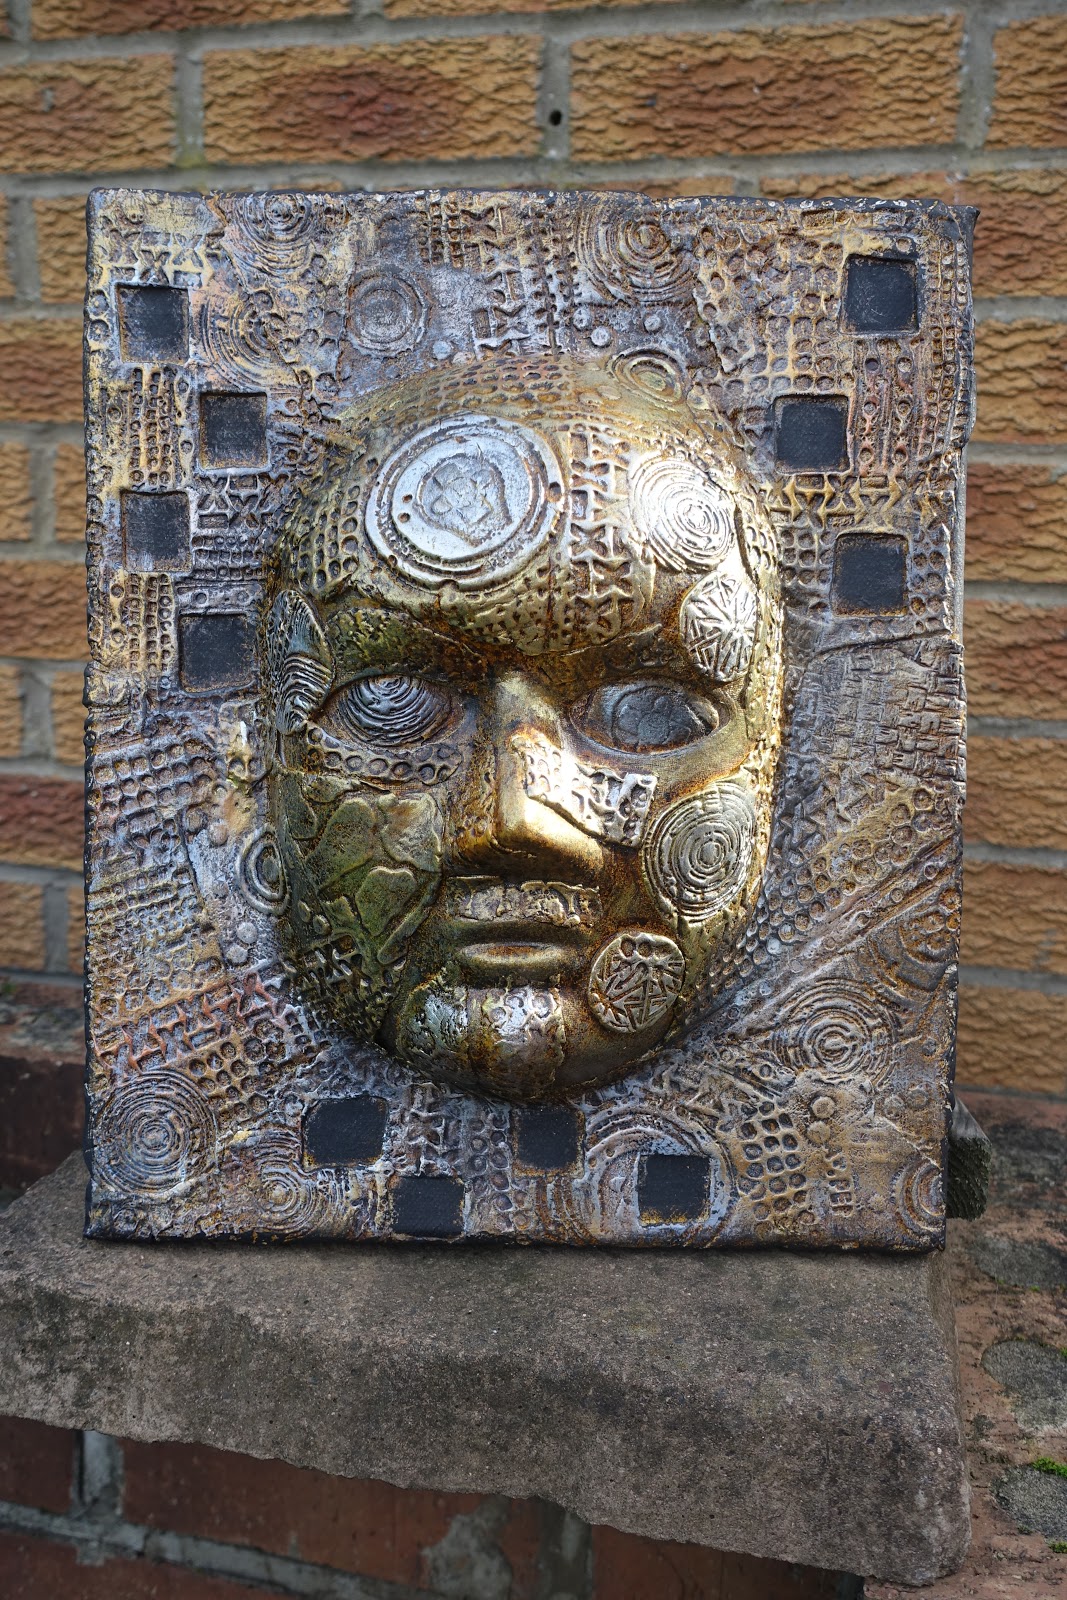
Canvas Mask


I rolled out various pieces of clay after making it with Powertex and Stone Art.


I stamped into it and also used a small cookie cutter to cut out the squares.


I then put smaller pieces on to fill in some of the gaps. 


Close up of the stamping and cut out shapes.
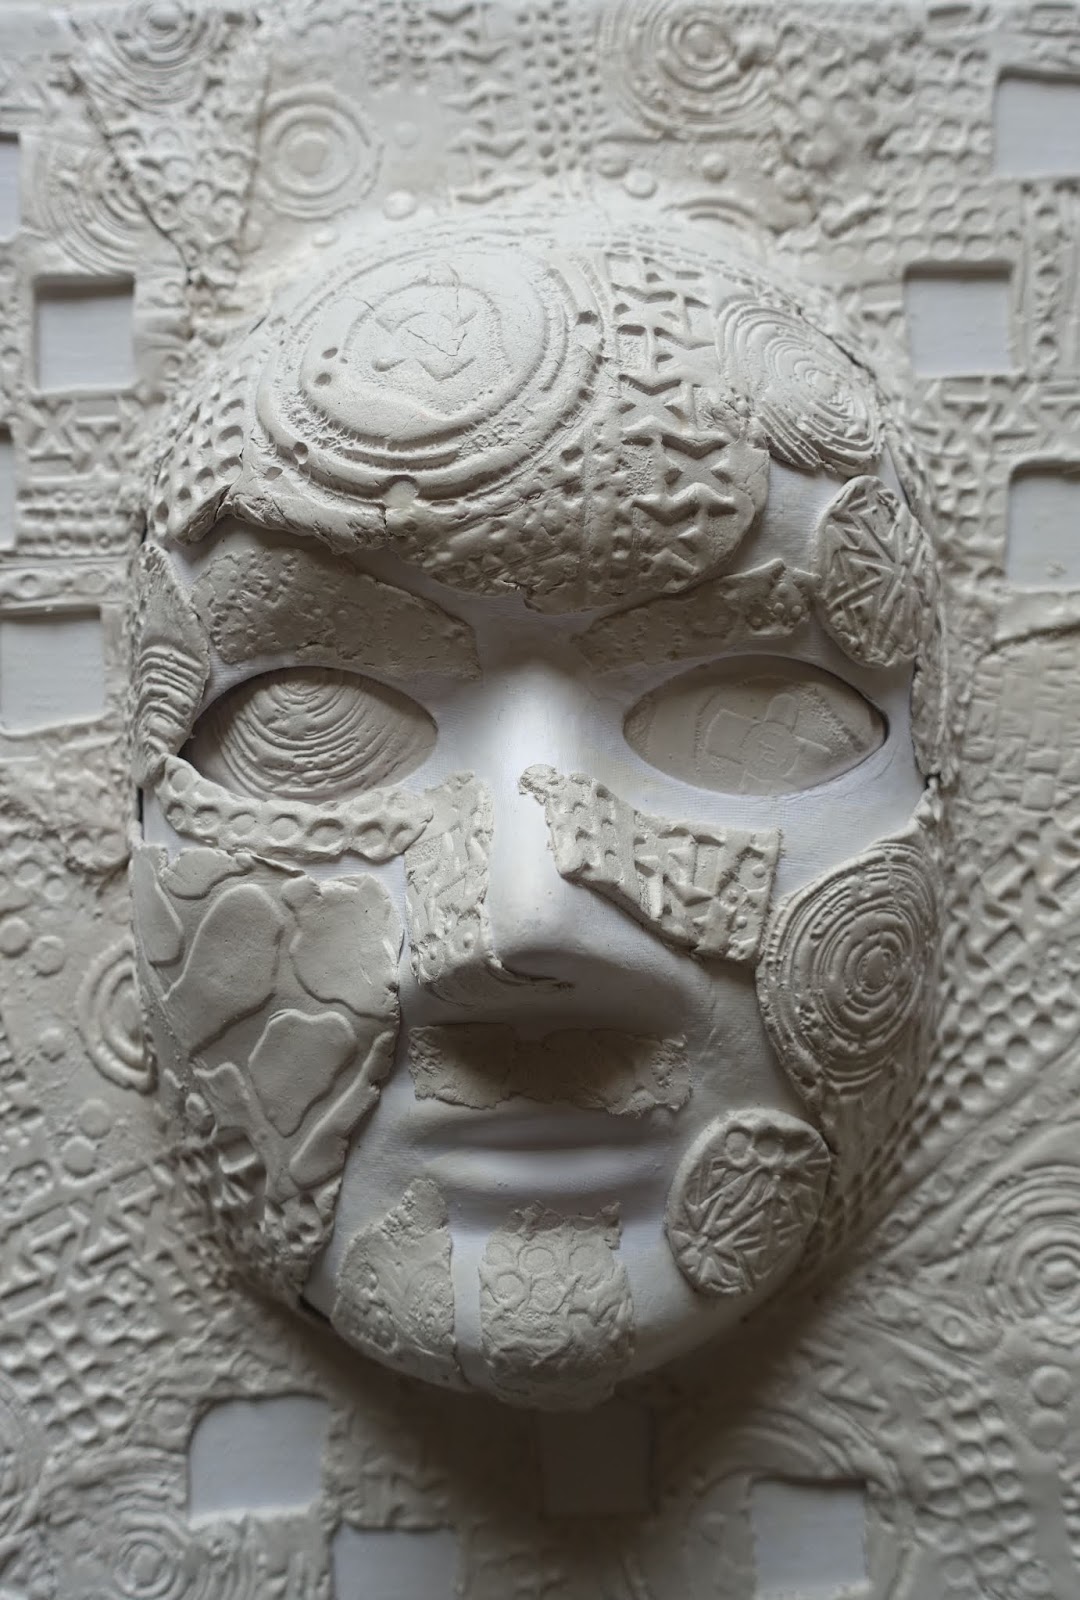

I cut some circles out and placed them on the face too.


Once it had thoroughly dried, I painted areas with ochre Powertex and then once dry I also used black.


I sprayed with yellow, brown and black Bister. Drying between each colour.


I filled the spaces in with black Powertex.


I added various colours of paints and pigments, starting with the matt colours and moving onto the metallics until I was happy with what I had.


View from the side, so you can see how much the mask protrudes.


More close ups of the metallics to hi-light the stamping.


The size of the canvas is 10" x 12" and I used a £1 mask from The Works.

Sunday, 18 June 2017

6 x 6 & Tag


I muted down some of the background page that I created yesterday by brayering over with a wash of titan buff media paint.  Then using a toothbrush, I spritzed and flicked the rest of the paint. I used a couple of T!m Holtz stamps in timber brown stazon, a dog from the paper dolls Idea-ology pack and whizzed around the outside with the sewing machine. It measures 6" x 6".


And another tag with a Stampotique figure, an Idea-ology dog and again more machine stitching around the edges.

Saturday, 6 May 2017

Oxide Cards


I used a couple of my oxide backgrounds to make these two birthday cards which I can now show you as they have both been received.


For the explanation of how I created the backgrounds check out the blog post here.

Saturday, 15 April 2017

Huge MDF Tags


This is a 12" x 6.5" mdf tag covered with a piece of TH paper and then stencilled with gathered twig and iced spruce distress inks and a bit of background stamping in the same colours with Seths borders.


I added a couple of the vignette boxes with some bits and bobs inside them, and then some other ephemera onto the tag. The numbers and letters don't represent anything, they are just random!


And finally I coloured a piece of rope with distress stains in vintage photo and ice spruce, however it turned out green!! And the sun was out so I took the photo outside.


I covered this tag in a piece of spiders web paper, the silver web is actually embossed onto the paper. I intended to create a spooky kind of tag.


As you can see, it didn't turn out spooky at all, in fact, I think it looks more like a clown than a skull as the wings look like tufts of hair!!


And this time I used black soot to colour the rope, and again the photo is taken outside and it hi-lights the embossed background. I guess it's still spooky it an odd kind of way!!


I decided to paint the skull with carbon black media paint and then wiped some of it back to reveal the colours underneath.


So this is what it looks like now. It may stay like this or it may not!


Changed it yet again, added and wiped back white antiquing cream.


This is it now, not changing it any more!!

Sunday, 15 January 2017

Layers and more layers


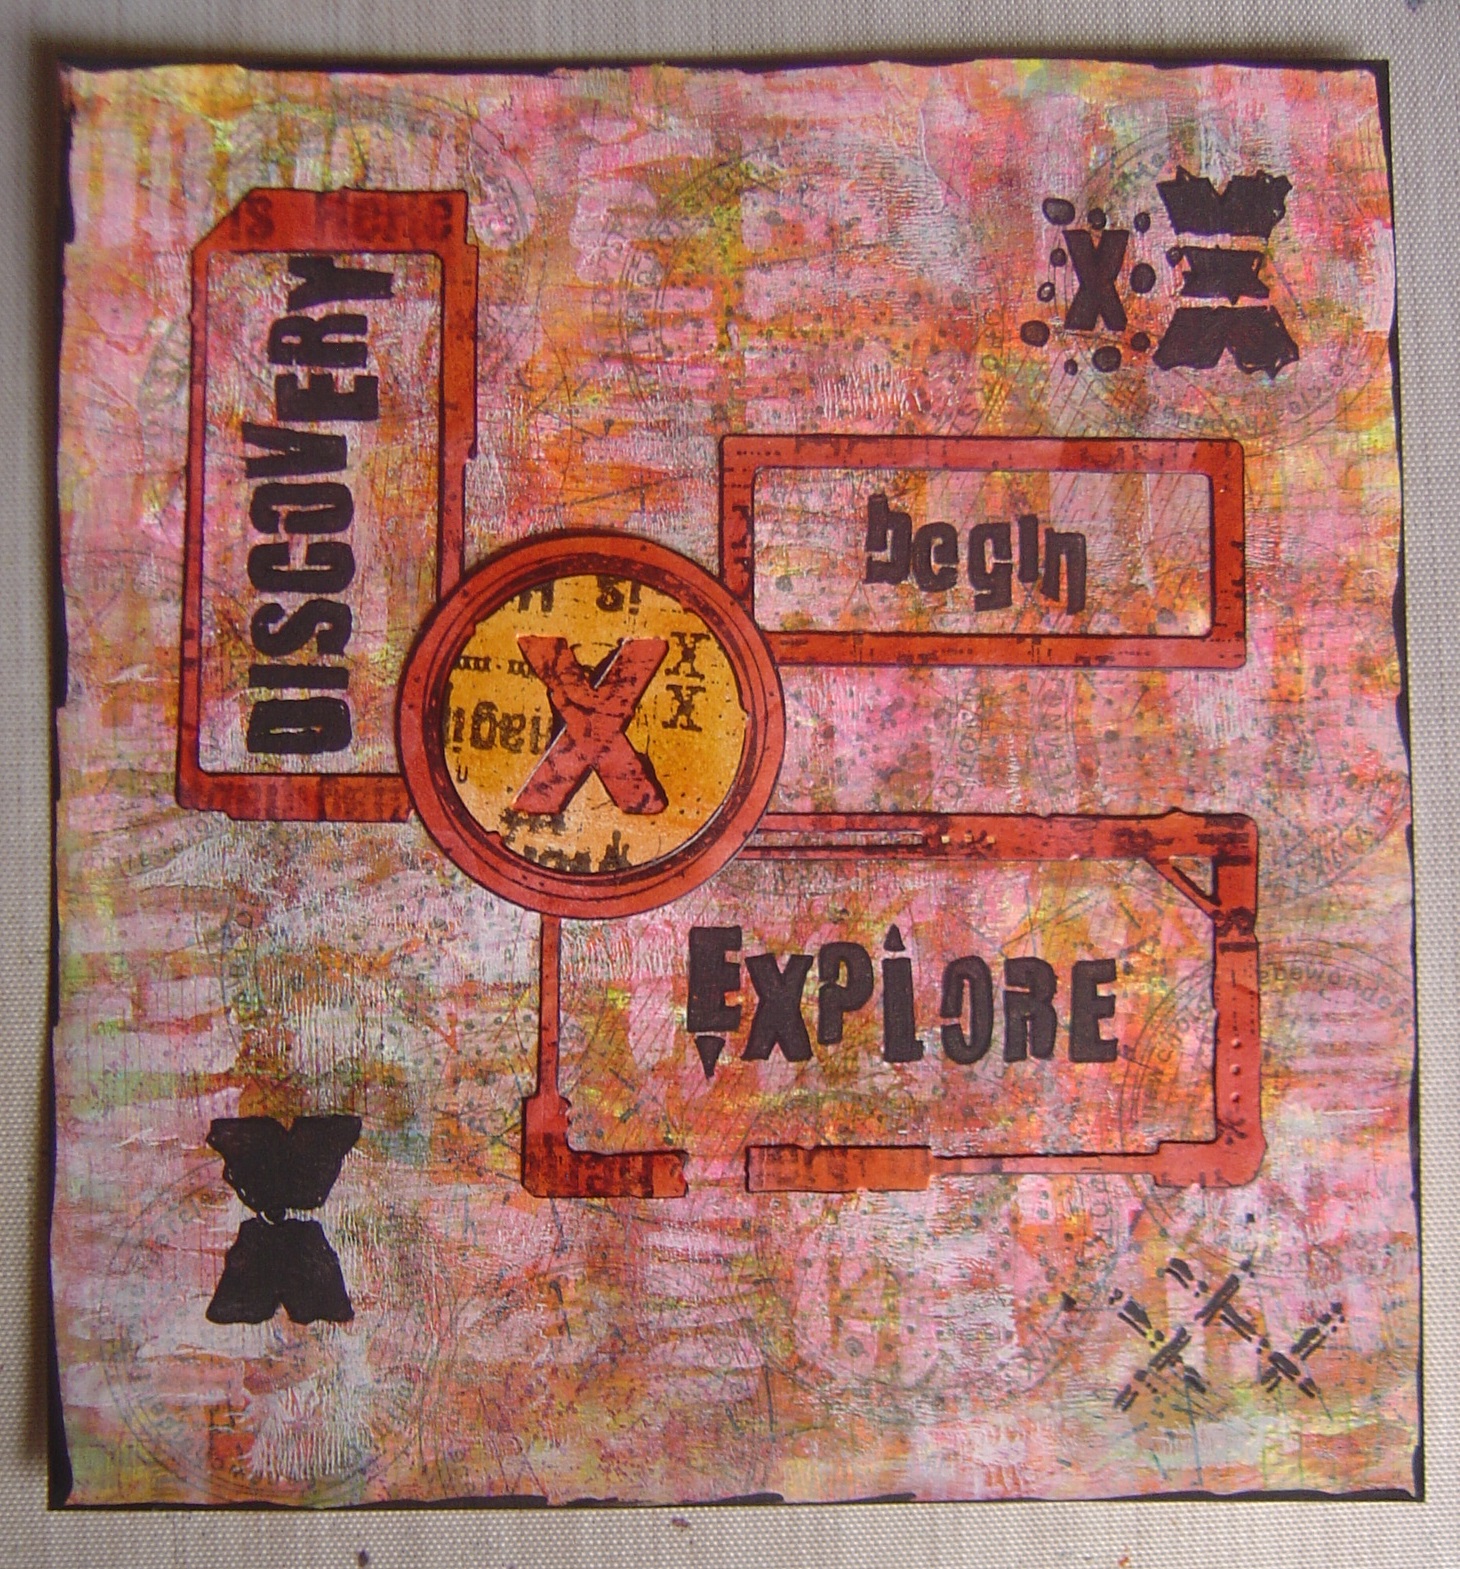
I couldn't even begin to tell you how many layers this piece of card has taken, I simply just kept going until I liked what I saw. There is brayering, stenciling, stamping and I must have used about twelve different colours and varieties of paint from the DecoArt range. I had some of Seth dies already cut, so grabbed a handful and started to place them on the background, as this is what I ended up with, which incidently was nothing like what it started out as! Finally I added the black words and 'X's. 

I'm sat looking at this photo and I'm thinking that something needs to added to the space at the bottom between the two sets of 'x's. I may go back in and add another word in black.

Little Book of Wonder


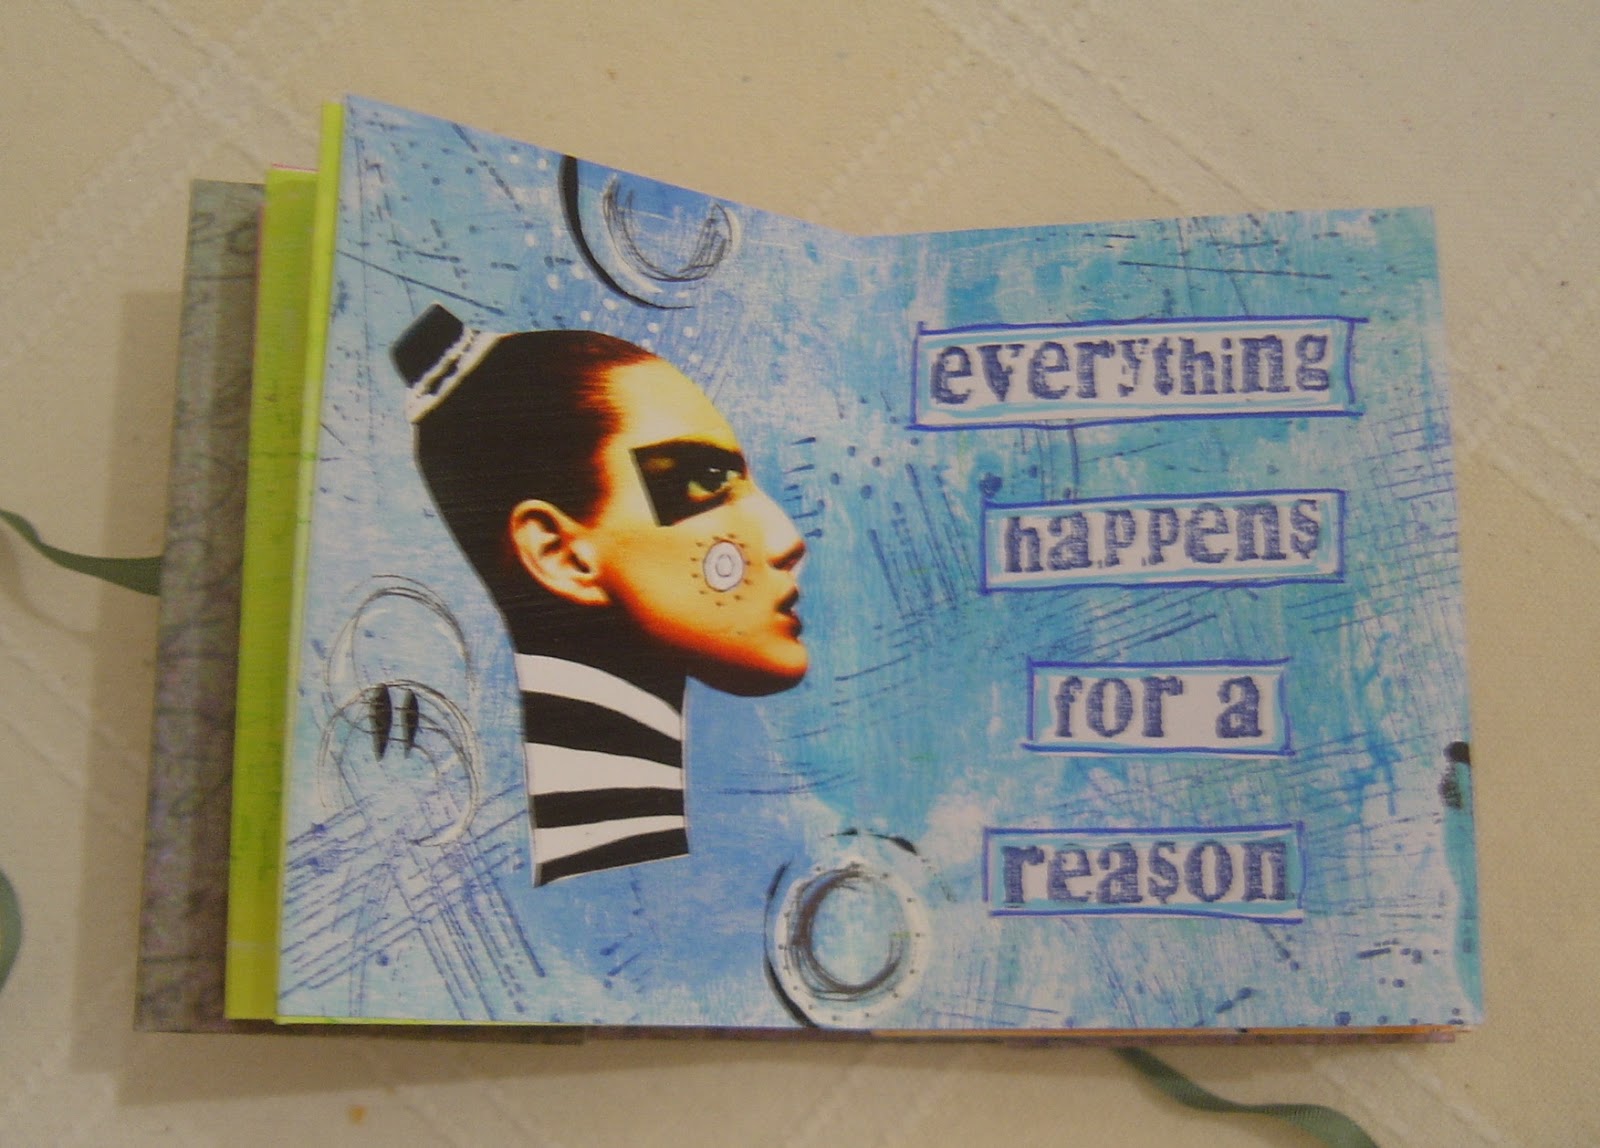
I'm involved in a swap over on a Facebook group and the criteria was for it to be no larger than 4" x 4" with a maximum of 12 pages / signatures, decorated in whatever medium you fancy or how you like, with quotes on at least half of the amount of pages you have in your book.


All the quotes are stamped in a coloured stazon.


The pages were painted with DecoArt multi satin paints and stamped in co-ordinating colour of stazon inks.


Also included are some images including ones from Teesha Moore.


I used DecoArt chalky black and white paint with lid tops and a credit card to make the marks.


These images are from the Crowabout pages.


This quote is from Stampotique.


This quote is also from Stampotique.


Seth Apter and Andy Skinner stamps used in the backgrounds.


Another Stampotique quote.


And I thought I'd add my name to the back page.


I added a piece of ribbon as a closure for the book.

I hope my swap partner likes it, I had fun making it.

Wednesday, 28 December 2016

Layers and Layers & Layers and Layers!!!


I can't even begin to tell you how many layers there are on this canvas as I just kept adding more and more layers of paint amongst some stamping and stenciling. Once I'd decided the background was finished, I added brighter coloured paints to the Seth Apter die cut shapes.

That's Crafty have any anything goes theme this week.

Sunday, 20 November 2016

Build a Tag Challenge


Over on Mini Marvels FB group Chris started a weekly challenge of build a tag. Week 1's instruction was to choose a tag any size, any colour, any texture


Add one layer of gesso and


when dry, add one colour.


Week 2's instruction - Add a further paint colour to your tag and while it is still wet, draw or write into it with the end of a paintbrush or pencil.


Week 3's instruction - press modelling / grunge paste / gel paste through any stencil of your choice.


Week 4's instruction - Add some collage with matte / gloss medium, collage pauge or your preferred glue. Add a layer of matte medium over the top of the collage pieces.


Week 5's instruction - add a layer of translucent paint.


Week 6's instruction - Spray or drip a contrasting colour of paint or ink across / down your tag.


Week 7's instruction - Add more stencilled layers. (No idea why, but I don't have any photos of this stage, as this photo includes step 9.)

Week 8's instruction - use clear gesso to completely cover your tag.
I didn't carry out this step as I don't have any clear gesso.


Week 9's instruction - stamp one or more images across your tag.


Week 10's instruction - Cut our and adhere a main focal image to your tag. This can be drawn, stamped, collages, downloaded or cut from a book / magazine.


Week 11's instruction - Add doodles, marks and / or embellishments


Week 12, final instruction - Find a word in a book or magazine to attach to your image

Absolutely loved this challenge, thanks Chris, was a fab few weeks.

All paint and mediums used were from the DecoArt range.

Blog Archive